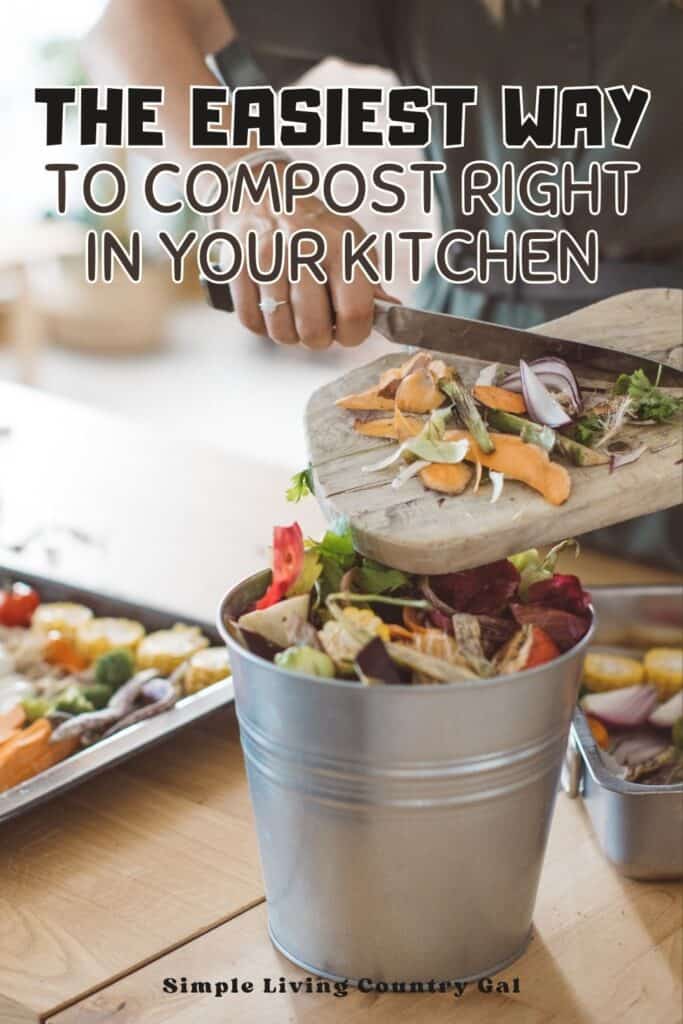
How to Compost Indoors to Help your Garden Explode!
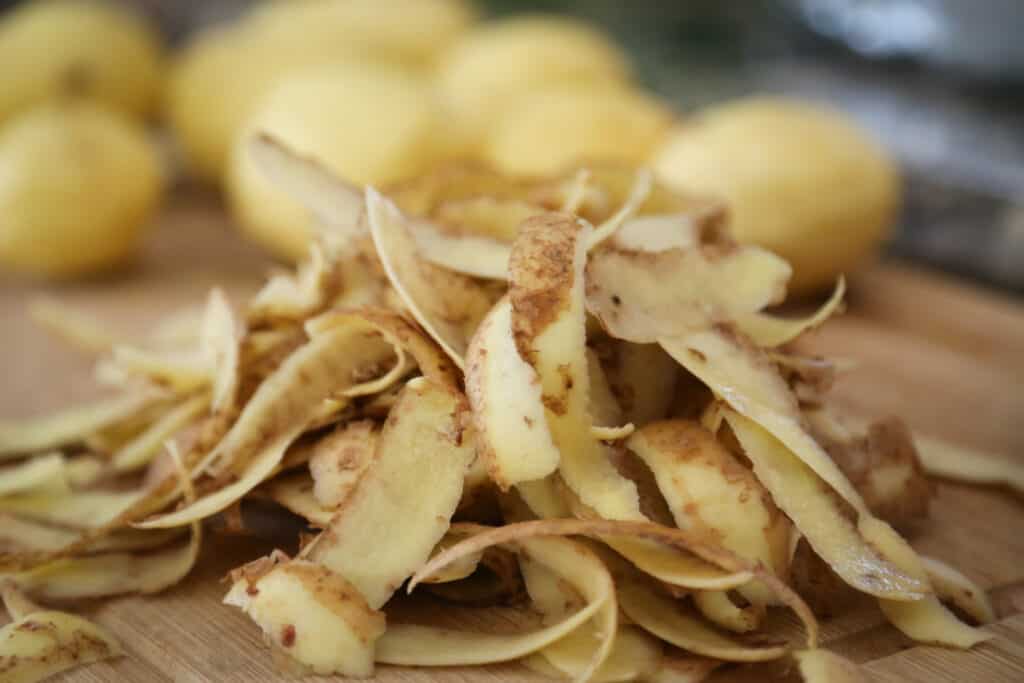
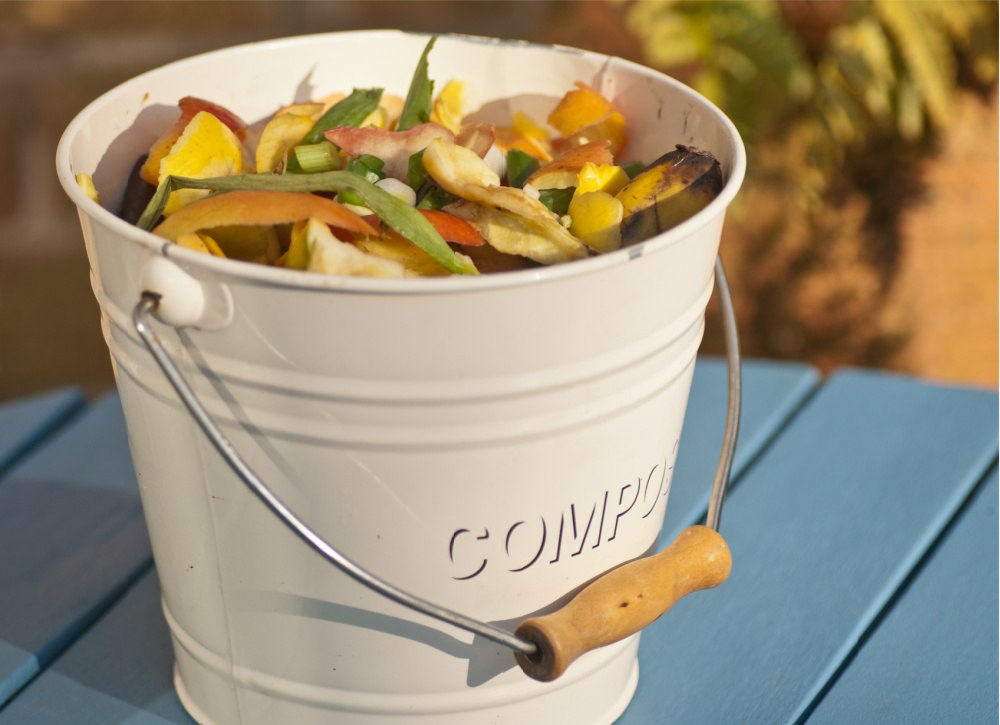
Before you toss those potato peels or apple cores, put them to good use by turning them into a valuable resource for your flower beds and gardens.
How to compost indoors so you are wasting less and amending your backyard soil into a growing, vibrant area.
Grow your food, eat organically, compost the waste, and replenish the soil. Can all of this be done with kitchen compost? It sure can, and today I will show you how. Another great tip that you can use to learn how to start a backyard garden.
Living simply is all about using what you have so you buy less. A backbone of this is repurposing; giving second life to things so you waste less, and nothing does this better than composting.
With so many people looking to create a more simple life, we are starting to see more and more unique garden setups. Gardens are no longer only meant for large backyards and are now being seen in the city, in apartments, and even in growing setups found in the corner of a family room.
You might be surprised how much food you can grow in a confined space.
Yes, you can grow a garden in the city. Read more about Urban Gardening to make the most of your space.
This is great news because it is allowing many families to take back control of their food and where it comes from.
There is something pretty wonderful about stepping outside, picking a ripe red tomato, and biting into it right there in the warm sunshine.

Composting – An Amazing Benefit of Simple Living
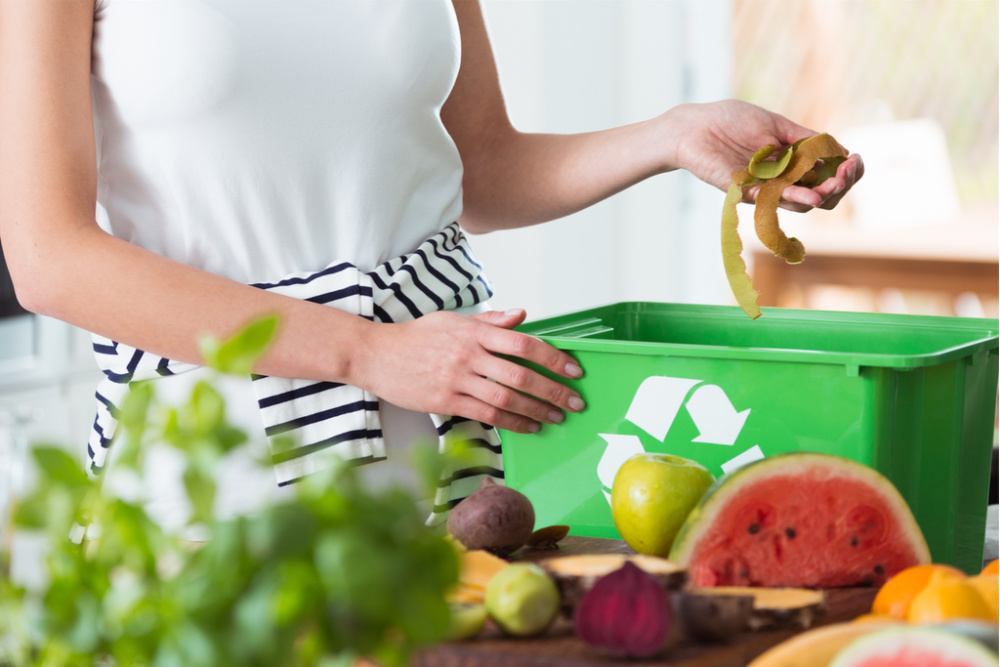
Another surprising change is how many people are learning the benefits of composting.
Composting is a great way to feed your garden naturally and organically, but if you live in an urban neighborhood, you may find it difficult to create an outdoor dedicated compost area.
The good news is that you can also compost indoors with all the same benefits and no need for extra space in your yard.
Sure, it is on a much smaller scale, but every little bit helps when growing healthy organic food.
Indoor composting can thrive year-round as the temperatures tend to be more regulated.
This is great news for anyone who lives in an overly hot or cold environment. Outdoor compost areas slow down and will even stop altogether in cold weather.
What happens to compost in the winter?
Composting tends to slow down in colder temperatures and will even stop altogether if the materials become frozen.
If you have a large pile, however, the center will continue decomposing as that area is protected by the outer layer.
Benefits of Indoor Composting
The are many benefits of composting indoors, the first being that it reduces waste, both in your trash can and in your local landfill.
Another advantage is the amount of space you need. Inside, you can keep a compost bin in any dark, dry space, like a basement or under the kitchen sink. (Finally, a use for that awkward cabinet space!)
On the other hand, an outdoor compost pile requires at least a three-foot square amount of space in your yard, something city dwellers may not have.
Electric Composter for Kitchen Indoor: 3.8L Large Capacity Odorless Composter Kitchen Counter, Smart Auto Garbage Disposal Home Compost Machine With Timer Display, Turn Waste to Pre-Compost for Plants Moreborn by Neakasa 12L Larger Capacity Electric Composter for Kitchen, Smart Odorless Food Waste Compost Machine, Turn Food Waste Into Organic Fertilizer for Plants, Indoor Compost Bin4L Electric Composter for Kitchen: Indoor Smart Quick Composting Machine with LED Timer Display, Odorless/Low-Noise Auto Garbage Disposal Home Countertop Compost Bin,Turn Waste into Natural Fertilizer


How to Compost Indoors
If you are new to gardening or have been at it a while, knowing how to replenish your soil so your garden thrives year after year is crucial. Sure, you can do this with purchased manure and compost when you can easily make your own?
When I first started composting there was more to learn than I realized.
I did quite a few things the wrong way in the beginning so I hope I can save you that frustration and make it easier. Let’s go over each step in order to compost indoors so you can get started with ease.
Methods of Indoor Composting
There are two standard methods of indoor composting: aerobic composting and vermicomposting. Let’s take a look at them:
Aerobic Composting – this method uses microbes in garden soil to convert your kitchen waste as well as other organic matter into compost. This organic compost can be used as a homemade plant fertilizer.
Vermicomposting – this method may not be as appealing to indoor composting as it uses worms along with soil microbes. Vermicompost consists of worm casings (i.e. manure) and decayed organic material.
Both forms of compost are rich in phosphorus, nitrogen, and potassium and are excellent nutrients for garden soil. However, vermicompost tends to help the soil retain more water and it is better at preventing soil pathogens.
Indoor Composting Bins
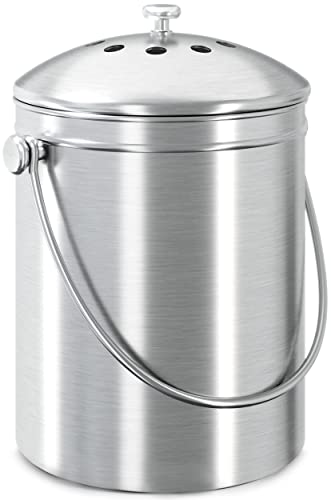
You’re going to need a bin to collect your food waste for composting indoors. Your best bet is some kind of lidded storage container.
Large plastic storage containers, ceramic containers, or even metal trash cans are all good choices. You can also use a wooden crate as long as you top it with a board that’s cut to fit the opening.
When choosing your bin look for a container that is large enough to hold at least a week’s worth of food scraps.
This means you will want a 5-10 gallon container for households with 1-2 people. For a family of 2-4 people, you may want something as big as 18 gallons.
Next, choose an area to keep your container in your kitchen. You can choose to store it on your kitchen counter, on the floor, or inside of a cabinet as we do.
It’s important that your composter fits, allowing you enough space to remove the lid and add in scraps comfortably.
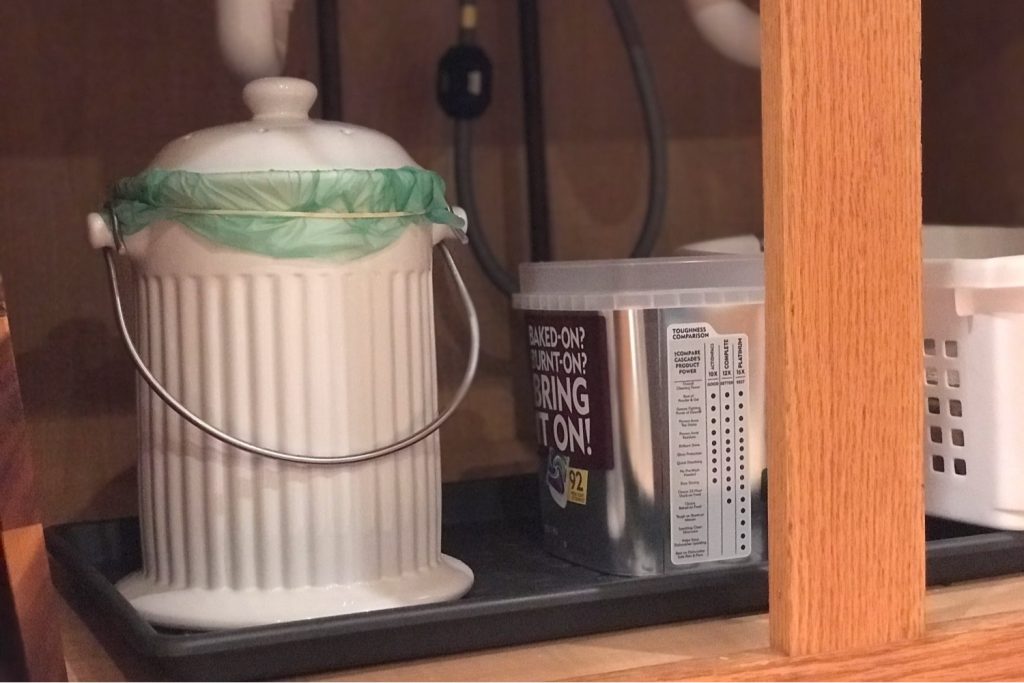
We have this kitchen composter under our kitchen sink, and it works perfectly.
The best part is there is a charcoal filter that completely contains the smell, so you are not reminded that it’s in your kitchen until you go to empty it out.
Whichever method of composting you choose, your compost pile will need oxygen to decompose and for soil microbes and worms to thrive. For this, you’ll need to drill holes if your container does not have them already.
The good news is most containers you purchase online will have holes that allow the air to flow.
Utopia Kitchen Compost Bin for Kitchen Countertop – 1.3 Gallon Compost Bucket for Kitchen with Lid – Includes 1 Spare Charcoal Filter (Silver)GEME World First Bio Smart 19L Electric Composter for Kitchen, Filter No Need to Change, Not Dehydration Tec, Add Waste Anytime Compost Machine, Electric Compost Bin Kitchen, Food Cycler Real CompostCollapsible Small Compost Bin Kitchen Counter Caddy with Lid – 1 Gallon Eco Countertop Compost Container Made of Wheat Straw – Food Waste Composter Indoor Use with 20 Trash Bags and 2 Carbon Filters


How to DIY your own Kitchen Indoor Compost Bin.
If you are going to create your own kitchen composter, you may do better with plastic however you can use metal or wood if you prefer.
Using a marker, draw a grid of about 25 dots, evenly spaced, in both the lid and the base of your bin.
Then draw another two rows of evenly spaced dots on each side of your bin. Use these dots to guide where you need to drill holes.
You’ll also want to place a charcoal filter on the underside of the container lid, which you can simply glue on. This will not only keep bugs out it will also help to prevent odors. Be sure to change the filter out every 4-6 months.
Lastly, you’ll need a rubber tray, one that is slightly bigger than the base of your compost bin. Set your bin on the tray and use it to catch any water waste that leaks out.
Be sure to check the tray weekly and dump out any accumulated water.
How to Compost Without a Bin
You may decide that you’d rather compost without a bin. Is this even possible in an urban area if you don’t have a yard? Yes! This is where trench composting comes in.
What is trench composting?
Simply put, it means digging a hole or trench in the pots of your plant containers and, placing compost material directly in the soil, then covering it back up.
Your plants will benefit directly from the compost material you place in the soil.
You can place compost scraps in one plant one day and another plant on another day.
In order for the compost scraps to have time to decompose and feed the plant, you’ll only need to add material to the plant once every week to ten days so you can easily rotate the scraps between all of your plants.
Best Veggies to Grow in Containers:
When it comes to trench composting, there are a few things to keep in mind. You want to make sure you don’t dig too close to your plant’s roots.
This will not only save you from accidentally cutting any of your plant’s roots, but it will also keep any rotting food away from the roots that can cause the roots to possibly rot.
Trench composting is best done with large round planters where it’s easy to keep your compost away from the roots or in long, wide planters where you can dig a trench far enough away from the roots to place compost material next to the plants without getting too close to the roots.
Once you have your trench dug you can then put in the compost and cover it with a layer of soil. Then simply allow nature to take over from there.
How to Set Up and Maintain Your Compost Bin
If you have an outdoor compost area, then all you need to do is add kitchen scraps to your crock, and when it is full you can dump the contents right into your outdoor bin.
If, however, you only have your indoor system, there are a few additional steps to remember.
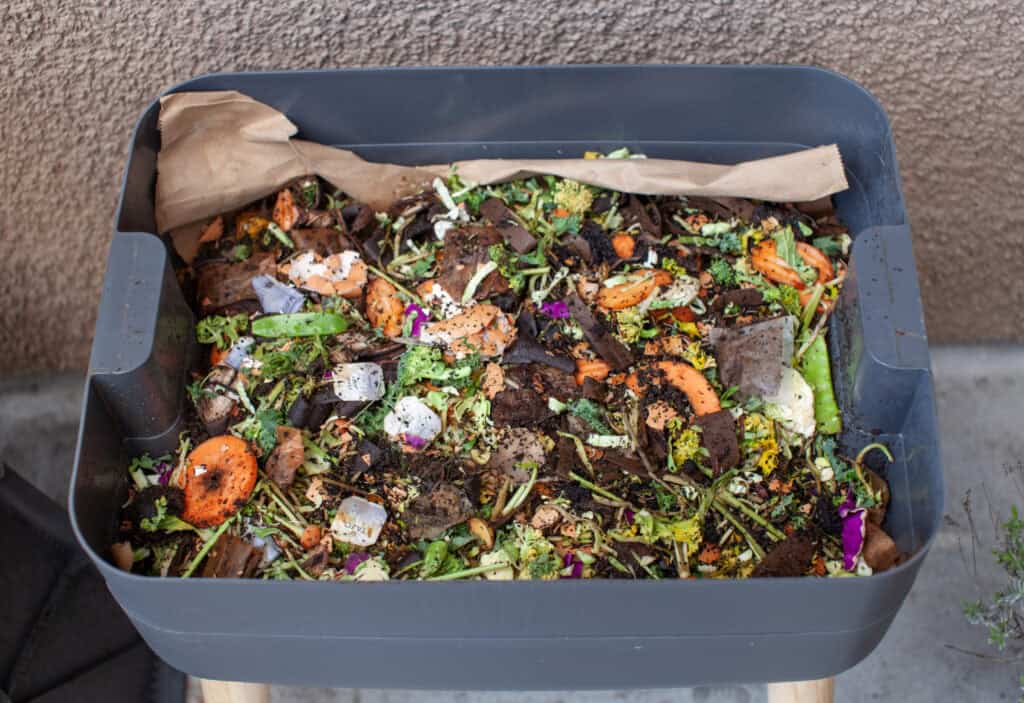
When composting, you will need a mixture of grown and green matter for the process to work. Let’s talk about each quickly.
You want a base of three parts brown material (think shredded newspaper, torn cardboard, and/or dead leaves) and one part green matter (food scraps and plant clippings).
To get started, dampen your brown matter with water and fill your bin three-quarters full with it. You don’t need to pack it down, just gently toss it.
Then sprinkle a cup of garden soil over it. Now you’re ready to add your food waste.
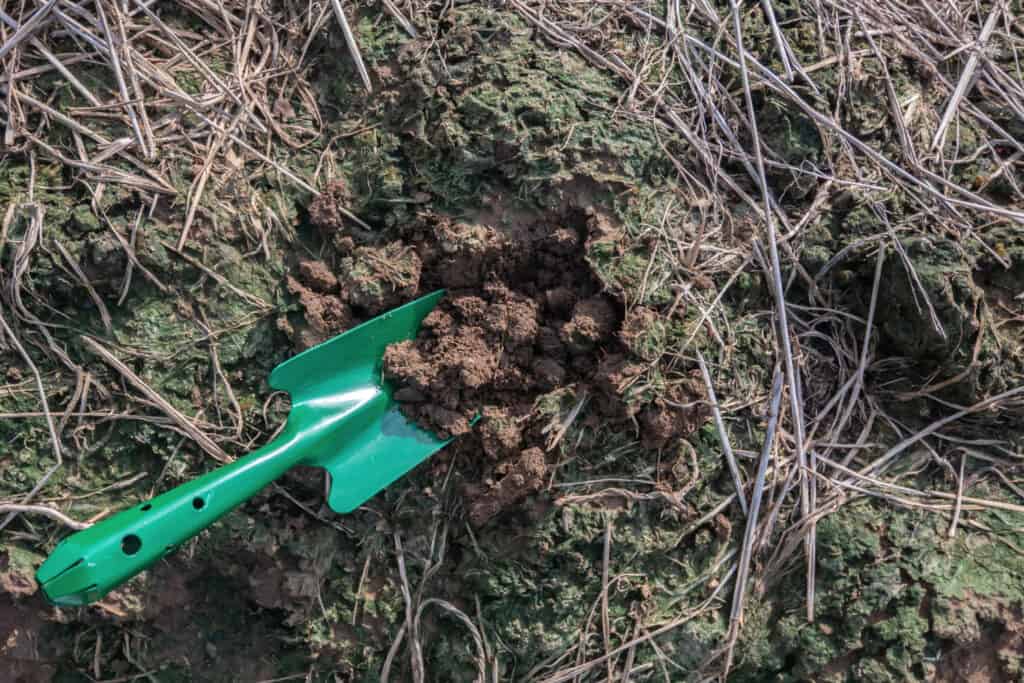
If you’re using the aerobic composting method, use a hand trowel to bury your food scraps and plant clippings in the layer of soil and replace the lid to allow composting to begin.
If you’re using the vermicomposting method, top your soil layer with a pound of red worms for every three and a half pounds of waste you generate in a week.
Worms can be purchased online or at most garden centers for about $30-$40 a pound.
Gather your food scraps in a separate container over the course of the week, then bury them all at once in the worm layer using a trowel.
Or you can use a kit to make it easier. Indoor composting kits can be purchased online and will give you the container and additives to help you get started.
What foods can be composted?
Not everything can be composted so it’s important to know what you can place in your bin for maximum composting success.
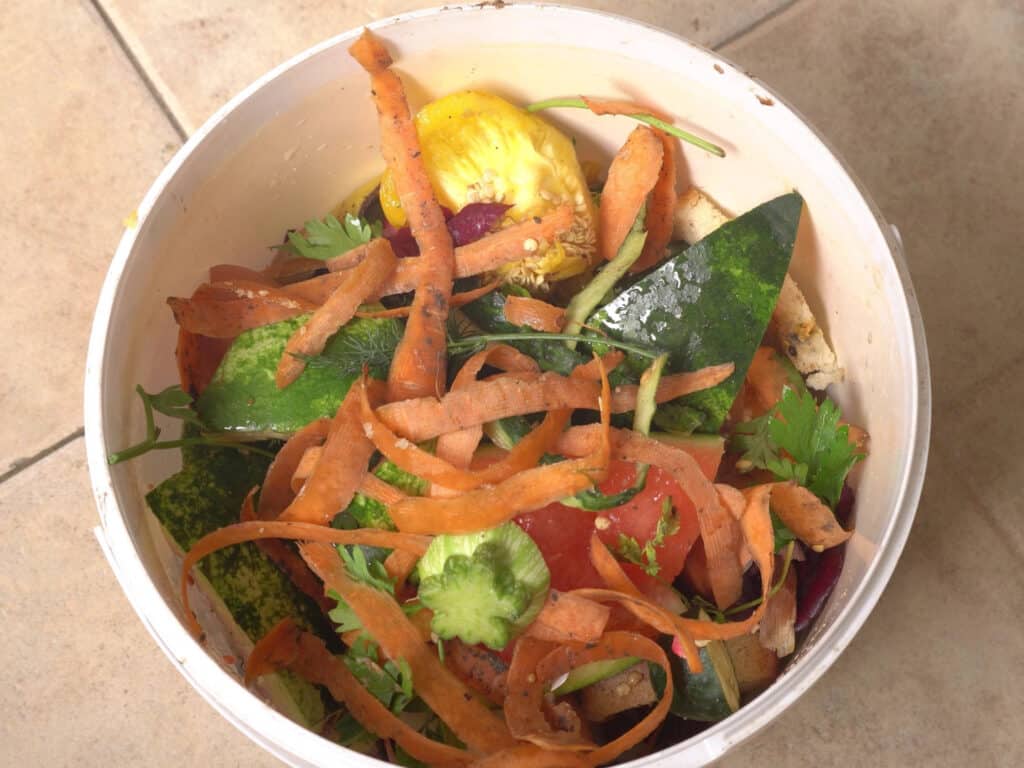
Things that make good compost include:
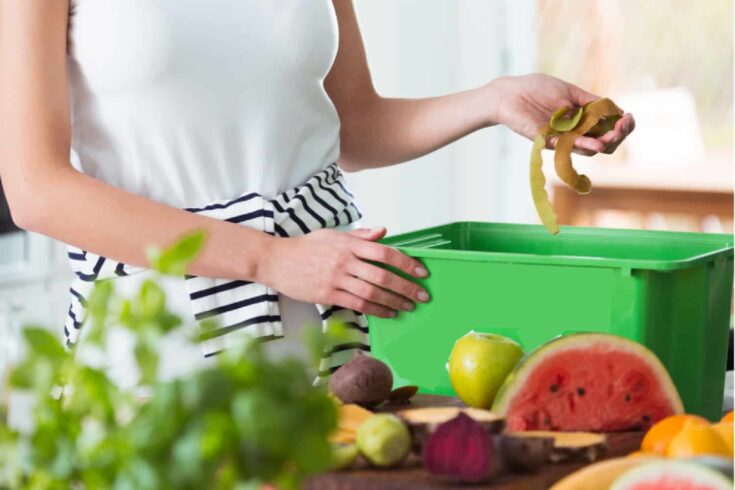
- Raw fruits and vegetables, including the flesh and peels
- Houseplant clippings and flowers
- Coffee grounds and tea leaves
- Coffee filters and tea bags
- Nutshells
- Crushed eggshells
- Cardboard scraps and newspaper
What Not to Compost
Some things won’t decompose and will keep your composting bin from doing its job, they’ll also cause a lot of smell.
- Cooked foods
- Dairy products
- Meat
- Fishbones
- Fats and grease
- Black Walnuts – these can be toxic to some plants
- Wheat-based products including pasta, cake, bread
- Any paper that contains ink and is not newsprint or cardboard including printer paper, magazines, catalogs, envelopes/mail
- Rice
- Sawdust
- Pet waste
- Sick or diseased plants
- Coal and/or charcoal
- Dryer lint
- Hair
- Smelly items such as onion skins
- Watery items such as melons and squashes should be kept to a minimum to avoid your bin getting too soggy
How waste is converted to compost.
Your waste is naturally converted to healthy compost for your plants. If you’re a science lover, you’ll enjoy watching this process. Here’s how it works:
Aerobic Composting – Microorganisms living in the soil layer of your compost bin use naturally produced nitrogen, carbon, and water (all within your bin) to break down your kitchen waste and the paper layer.
They then release nitrogen, potassium, and phosphorous leaving you with nutrient-rich compost.
The process also needs a regular intake of oxygen which is why you have to turn the soil and compost mixture to aerate it.
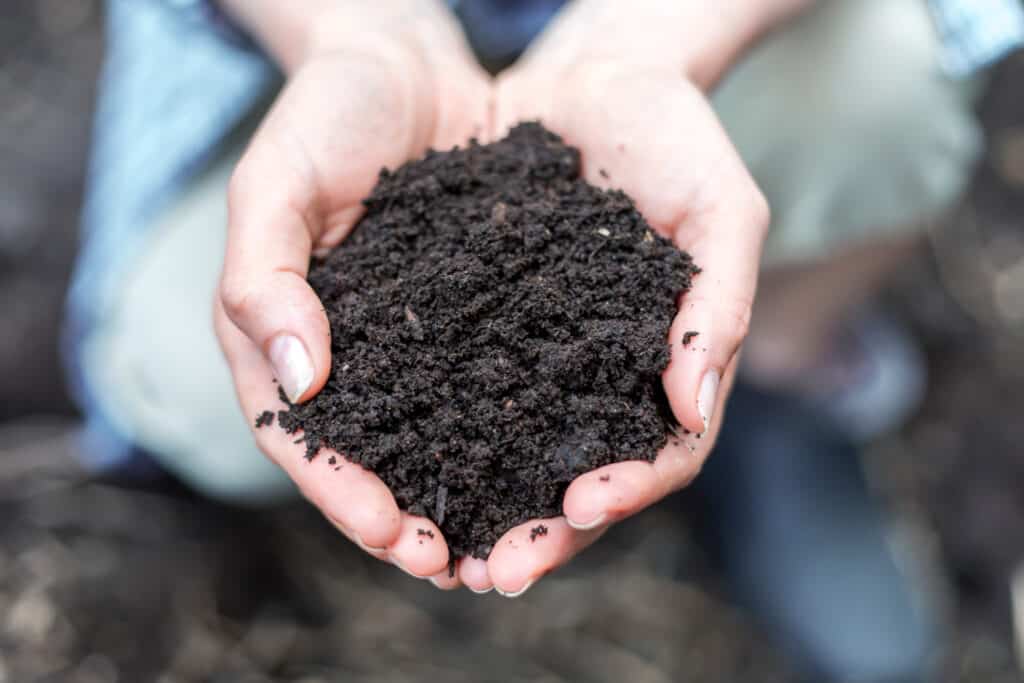
It can take anywhere from two to four months, sometimes longer, for the full contents of the bin to turn into a soil-like compost.
At this point, you can remove it, add it to your plants to keep them thriving, and start your composting process all over again.
Vermicomposting – Remember, this is the method that requires worms, and they do all the work for you.
The worms swallow the waste and bedding (they can eat half their weight each day!), which allows them to absorb the nutrients.
Then, excreted worm castings (yes, worm poop!) and partially decomposed material make up the vermicompost. With vermicomposting, you don’t need to turn the soil.
The worms do the work of aerating the soil for you as they tunnel through it. It will take three to four months for the vermicompost process to complete.
If you’d like, you can push the compost pile to one side of the bin with a shovel to make room for another compost pile.
Just add new bedding and soil to the empty area. When you add more kitchen waste, the worms will do the job of moving it from the fresh side to the composted side.
Does an indoor composter smell?
Other than a subtle, earthy scent, you shouldn’t notice an odor with your indoor composter. If you do, here are some things to check:
- You may have too much moisture. If so, add more brown matter to absorb it and increase the dryness.
- There may be a lack of oxygen. If the compost isn’t getting enough air, add more holds to the bin and turn the mixture more often to help it aerate. You can also create more circulating air by placing the bin on a brick with the rubber mat under the brick. This will allow more air to circulate through the bottom.
- You may have added too much food. Add only a little food at a time, and don’t add more until what you’ve put in is decomposed.
Tips for Indoor Composting Success
- Keep a stash of shredded paper or dried leaves handy, and add a handful every time you add food scraps or coffee grounds to keep your pile from getting too soggy. This will also provide carbon to your bin.
- Smaller items break down faster. If you can, use a blender or food processor to pulverize your scraps before adding them to your bin. At the very least, chop them into small pieces. Use paper shreds that have been torn into thin strips.
- Use charcoal filter pads to help absorb odors.
- Use your garden trowel to turn the contents of your bin frequently to warm up your compost and increase microbial action. This can also help you avoid dry and soggy pockets.
- Don’t leave waste exposed to air in the bin; it will attract fruit flies. Be sure to bury it in the soil or worm layer and brown matter.
- If your compost pile is dry and the composting process has slowed down or stopped, you may not have enough moisture. Your pile should be about the dampness of a wrung-out sponge. If not, give it a little water and mix it up.
- If you’re using the vermicomposting option, pay attention to what the worms aren’t eating. This food will rot instead of decomposing so you’ll need to remove it and avoid adding it in the future.
- Keep an eye on the number of worms in your vermicomposting pile. They will breed, and you may end up with more worms than you need. Be sure to remove some if necessary.
How to use your compost.
Here are some great ways to put your fresh compost to good use:
- Spread it over the soil of your container garden as mulch. It’s beneficial to both indoor and outdoor plants.
- Create nutrient-rich soil for new plants by combining two parts of potting soil with one part compost before planting.
- Don’t throw out the water from your compost bin’s drainage tray. Dilute it with ten parts regular water to one part compost liquid and use it to water plants or spray over plant leaves for extra nutrients.
- Use it to boost your next compost pile by throwing a handful of finished compost into the soil layer of your new pile.
Now that you know how to compost indoors, and you’ve seen just how easy it is along with all the amazing benefits it can give both your patio garden and your yard garden, are you ready to give it a try?
Learning how to compost indoors is one of those homesteading tips that keeps on giving.
It will allow you to make good use of your kitchen scraps and feed your garden for a better harvest.
The sooner you get started with indoor composting, the sooner your plants will reap the benefits.
More Garden Resources:
How to Compost Indoors
Make composting a part of your routine! Learn how to manage food scraps indoors with this step-by-step guide.
Materials
- Compost bin
- Brown materials (shredded newspaper, cardboard, dry leaves)
- Green materials ( vegetable peels, fruit scraps, coffee grounds)
- Garden soil (to introduce beneficial microbes)
- Worms (for vermicomposting)
- Rubber tray or liner (to catch any moisture from the bin)
Tools
- Drill with a small drill bit (for making air holes in DIY compost bins)
- Hand trowel (for turning and mixing compost)
- Rubber gloves (for handling compost materials)
- Charcoal filter (to control odors in lidded compost bins)
Instructions
- Choose a composting method. Decide between aerobic composting and vermicomposting.
- Use a lidded container made of plastic, metal, or wood as your compost bin. Make sure it is large enough to hold your weekly food scraps, typically 5–18 gallons depending on household size.
- Place the compost bin in a convenient spot, like under the sink, on the countertop, or in a cabinet.
- Create a base of three parts brown material and one part green matter. Then, add a small amount of damp garden soil to introduce microbes.
- Add food scraps regularly. Collect vegetable peels, fruit cores, coffee grounds and other kitchen scraps.
- Maintain airflow and moisture. If the compost pile is too wet, add more brown material, and if too dry, lightly mist with water.
- Monitor and harvest. Compost is ready when it turns dark and crumbly with an earthy smell. Use it to enrich your garden soil and potted plants.
Notes
- Experiment with different browns and greens. If your compost isn’t breaking down well, try adding varied materials like dry leaves.
- Label your bin if needed. If you share your kitchen, a clear label helps remind everyone what the bin is for and prevents non-compostable items from sneaking in.
- If you’re new to composting, start with a small bin and scale up once you get the hang of it.
Recommended Products
As an Amazon Associate and member of other affiliate programs, I earn from qualifying purchases.


This really is realistic composting. I never want to walk all the way to the compost pile every day. This is a great way to keep it going and send a kid out occasionally with the pot. Thanks for sharing with us on the Homestead Blog Hop. We’re featuring you this weekend.