The Benefits Of Mulching Your Garden
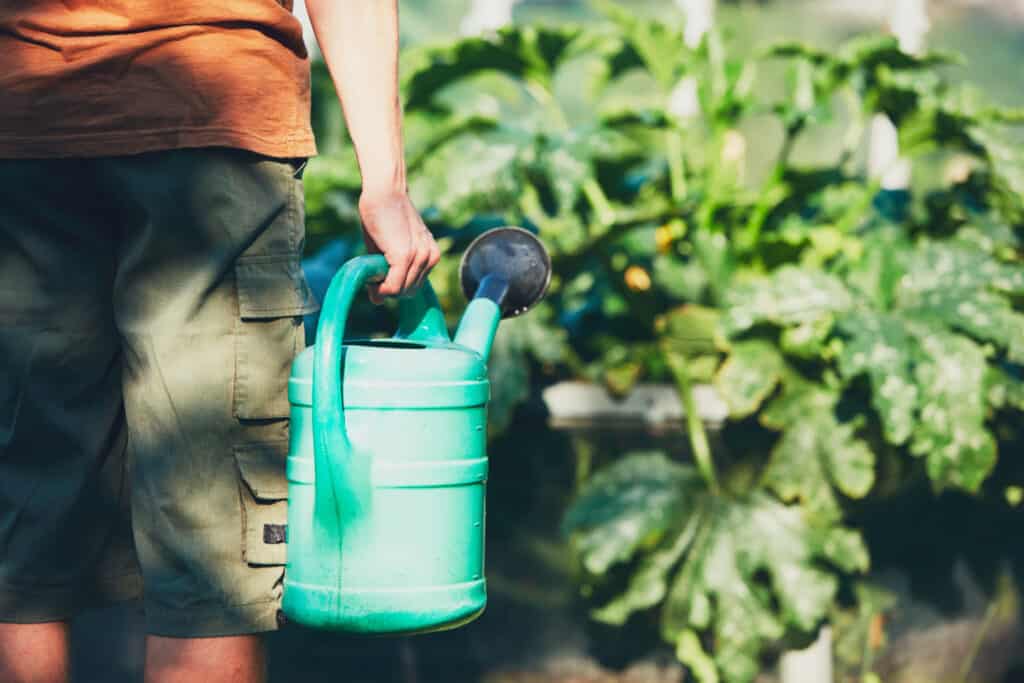
Use this tip to help you grow a bigger and better garden year after year. All the amazing benefits of mulching your garden do outweigh any work involved.
Simple mulching tips that you can use to start your backyard garden that will prevent weeds, disease, pests, and dry roots.
If you love to garden but hate to weed, this tip will be the game-changer you have been looking for. This is a step that most gardeners skip over but is incredibly beneficial to not only your plants but your back and knees as well.
I love to garden, really I do.
Every January, it’s the same. I get excited when the seed catalogs appear in the mail. Once they arrive, I spend most of February planning and mapping everything out for my summer garden. I have some very lofty dreams in February. Read how to use a garden planner for tips.
I am an “eyes are bigger than my stomach” kind of gardener. 🙂
For me, the growing season begins in March. Winter is usually still here, but we can safely start planting our onions in mounds, giving them the jump start they need to mature in time. Just a few of our gardening tips can help you grow huge organic onions.
March
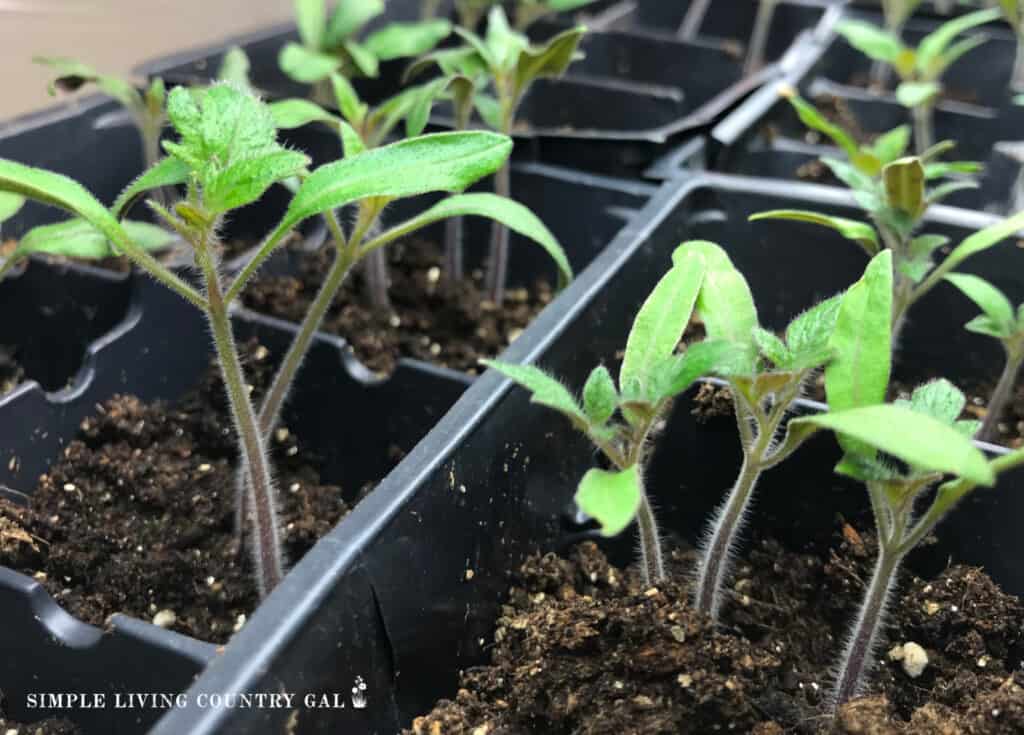
This is when I start all my peppers and tomato plants indoors by planting seeds in small containers and letting them grow in a warm, bright area. If you have not tried this yourself, the good news, it’s easy and enjoyable. It’s also a great way to share your love of gardening with your children and grandchildren.
Read How to Start Tomato Plants Indoors to learn how. Once my seeds are planted in our indoor growing area, I set a schedule to tend them daily.
READ: The Benefits of Gardening With Children
Daily Seed Care Schedule:
- Check seeds are adequately watered. You want to give them enough to encourage a strong root system without overwatering.
- If needed, adjust the lighting in the growing area.
- Watch for signs of sprouting through the soil.
It is amazing what happens simply because we put a small seed into a little pot of dirt.
If our soil is workable at the end of the month, I will plant a row or two of onions. Onions are a great vegetable to grow and freeze well. I like to plant a row every week for a constant summer supply.
April
I will begin to prep the soil outside in our main garden in April by adding compost and turning the soil. This will help to balance the pH to where it needs to be for my plants.
To improve your soil for a better growing season, start by testing the levels in your soil so you know what you need to add.
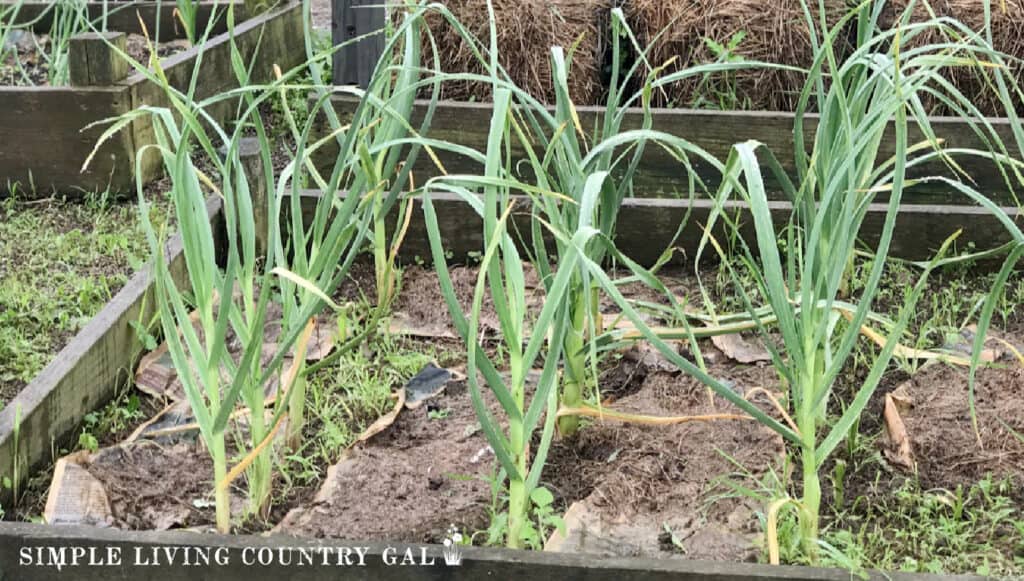
I usually plant a row of onions each week throughout the month. April is also when I start to check in on my garlic, watching for shoots and removing some of the covering if the weather is warm enough.
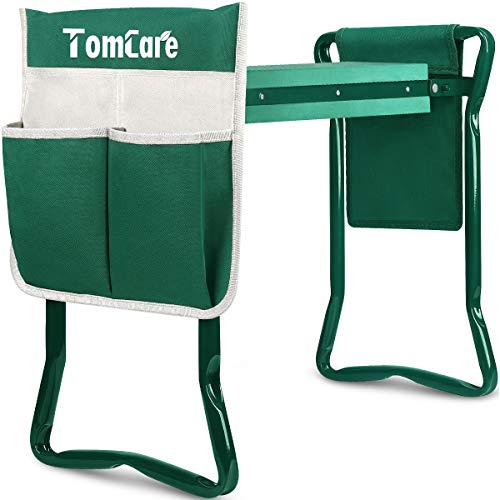
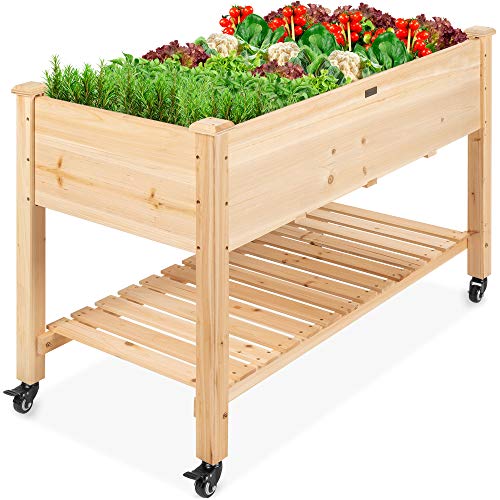
TomCare Garden Kneeler Seat Garden Bench Garden Stools Foldable Stool with Tool Bag Pouch EVA Foam Pad Outdoor Portable Kneeler Gardening Gifts for Women Men, Large 21.65 Best Choice Products Raised Garden Bed 48x24x32-inch Mobile Elevated Wood Planter w/Lockable Wheels, Storage Shelf, Protective Liner – Natural8 Pcs Plant Mama Gardening for Women Include 5 Pcs Gardening Tools Kit with Planting Tools, Gardening Hat, Waterproof Garden Apron, Gardening Glove for Outdoor Mom Spring Horticulture

More April GArden Resources:
May
May is when everything gets planted and transplanted outside, from the new seedlings I grew over the winter to the packets of organic seeds I recently purchased. Each plant has a designated spot that I mapped out in my planner over the winter.
June
June is all about watering as seeds grow and seedlings begin to develop a healthy and strong root system. Roots are important and the key to a big and healthy harvest later on.
July
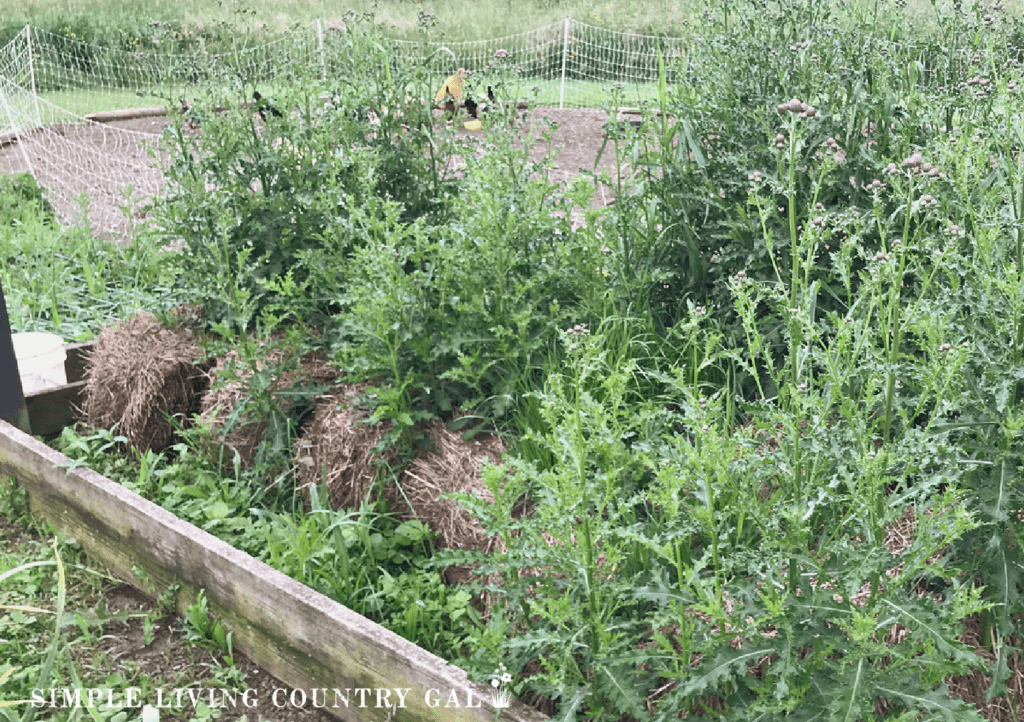
July is when it hits.
The weeds.
Thousands and thousands of weeds. This is when I begin to lose interest. A girl can only weed a 40 x 80-foot garden so much as the novelty begins to wear off. For some reason, people tend to frown upon dirt as a nail polish option.
A few years ago, I began mulching my garden…HEAVILY.
Hubby was appalled. He insisted that rototilling in between the rows was the way to go. Unfortunately, he doesn’t have the time to till up a garden every week or even more, especially if we have a wet summer.
BARAYSTUS Rotary Cultivator Garden Rotary Tiller Adjustable Stainless Steel Poles Hand Tiller for Soil Mixing or Reseeding Grass Lawn Tiller Total Length 57 Inch.Earthwise TC70025 7.5-Inch 2.5-Amp Corded Electric Tiller/Cultivator, 7.5-Inch, 2.5-Amp Corded, GreyEarthwise Power Tools by ALM TC70018EW 14-Amp 18-Inch Electric Garden Tiller Cultivator, Fixed Tines, Black


Therefore I am left to my own devices (Little does he know how much I LOVE to be left to my own devices!), looking for an easier way to keep the weeds under control.
I researched heavily and realized that mulching wasn’t just for flower beds. If done correctly, that mulching could work well in my vegetable garden. After some trial and error, I now have the perfect recipe for how to mulch my vegetables so that the weeds are fewer, I have less disease, and I no longer need to water like crazy.
Yes, just by mulching, you can cut your work time in half. And that is a good thing. A very, VERY good thing.
Why should you mulch your garden?
There are a few benefits to mulching your vegetable garden. These are things that will be helpful not only to your plants but to you as well.
Benefit #1. Stop weeds.
The primary purpose of mulching is to deter weeds from growing, which can choke out your plants and take nutrients away, affecting their growth. Fewer weeds naturally means less work, less stress on your back, and less time wasted on an unnecessary project.
Let’s face it: Homesteading and growing a garden are a lot of work, and there seem to be so many chores that always need to be done. Why not do what you can to limit the frequency of those chores so you can put your attention elsewhere?


The good news is since I have been mulching my garden, weeding is pretty much a thing of the past. You may still have to weed a bit, especially in the beginning, but as you build up a nice mulch foundation, the weeds will get choked out, allowing your vegetables to flourish.
Benefit #2. Protection.
Mulching can also protect your plants from disease by acting as a splash barrier when watering. You may not realize this, but most diseases happen during watering. When you water from above in a shower, covering the entire plant, you risk splashing soil up onto the leaves. In the soil, there may be soil-borne diseases or pests that are not getting in contact with your plant.
One way to prevent this is to water close to the ground where the roots are. You can do this by holding the hose at the base of the plant or setting up irrigation lines using a ground soaker hose to do the work for you.
Benefit #3. Keep moisture in.
Mulching also works well at keeping moisture in the soil. This is great, especially if you live in a dry area. Keep that moisture where the roots are, encouraging a strong and healthy root system which is the key to a healthy producing plant.
The mulch keeps the sun from drying out the moisture in the soil giving the roots the help they need to spread out and grow.
Mulching Your Garden Step-by-Step
No matter when you are reading this, you can incorporate mulching now to keep weeds from getting any worse later on.
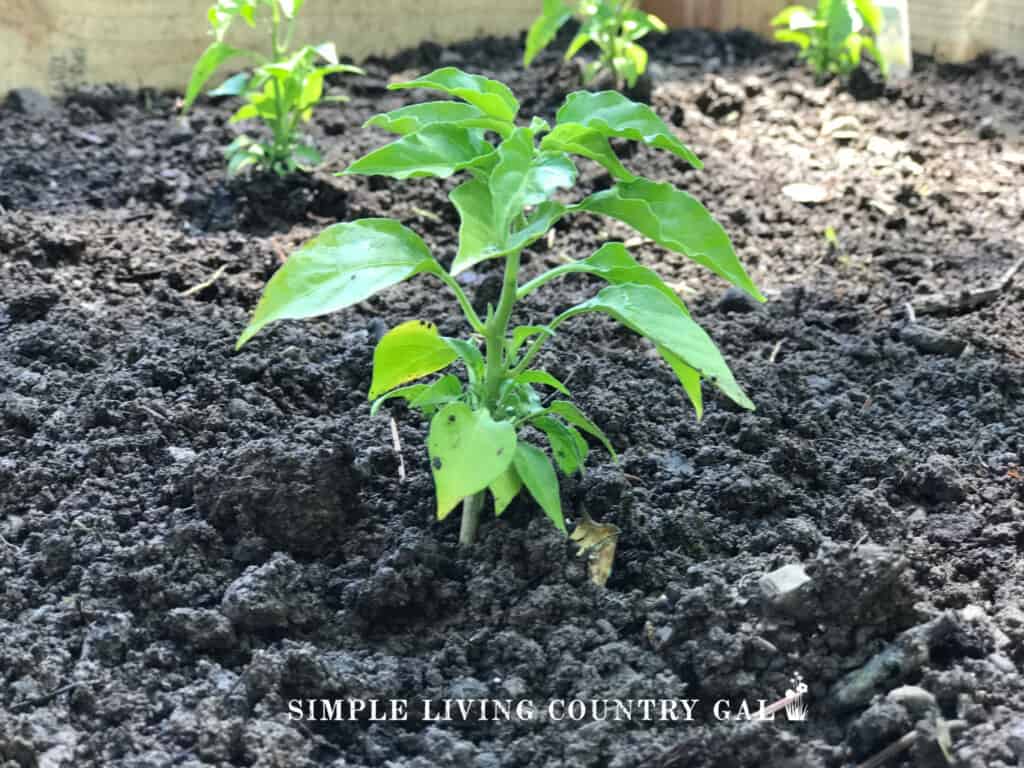
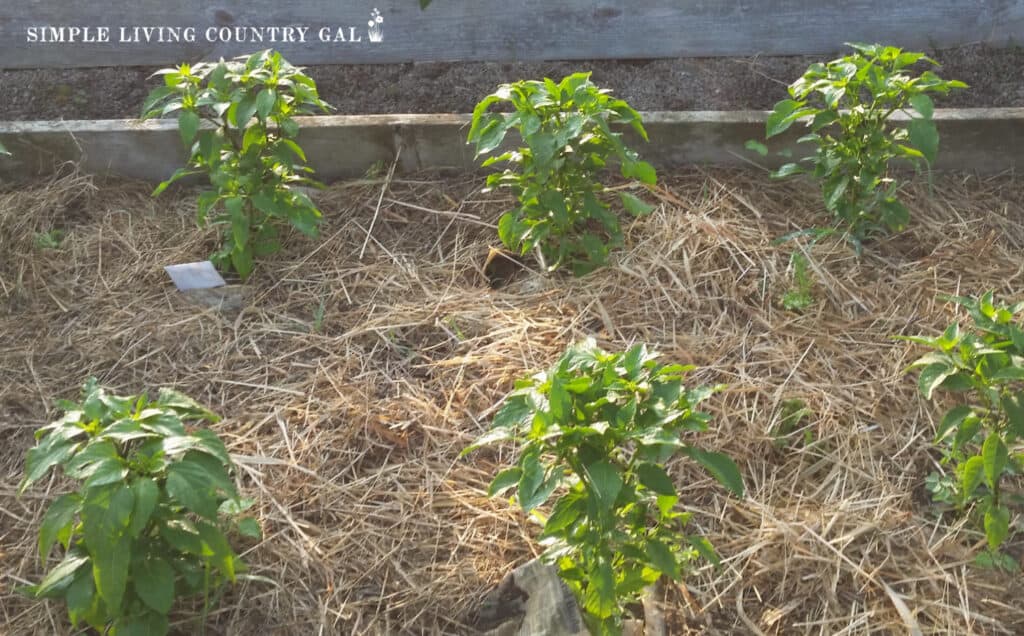
Step #1 Plant your garden
When planting seeds, you will want to be sure you are marking your rows well. This will make knowing where to put your mulch easier, ensuring you are not covering up your new seeds.
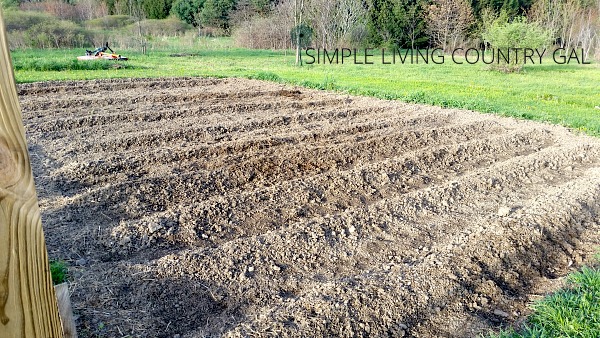
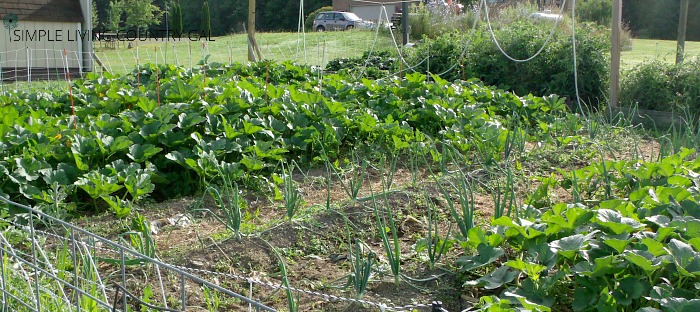
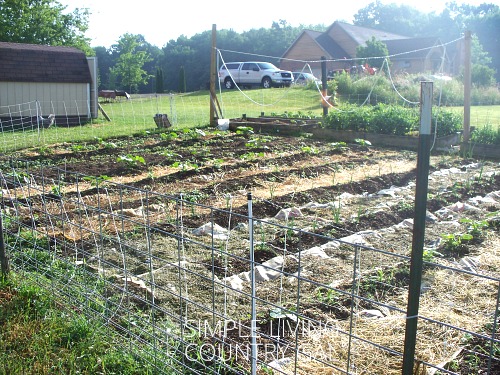
I like to use mounds when planting my garden. This helps regulate moisture and allows me to see my planted rows more clearly. This can be incredibly helpful in the beginning. Planting in raised mounds is also helpful if you have a very rainy season or live in an overly wet area, as we do.
The mounds keep the water from pooling near the base of the plant. A condition that can cause rotting out of the roots. Root rot can deter your plants from flourishing and producing a healthy harvest.
Using raised rows can also help to organize a very large garden.
Raised rows work especially well with our onion crop. Onions grow so much bigger when planted in mounds. Not only does it produce larger onions, but it also keeps the water evenly dispersed and helps prevent bolt from occurring.
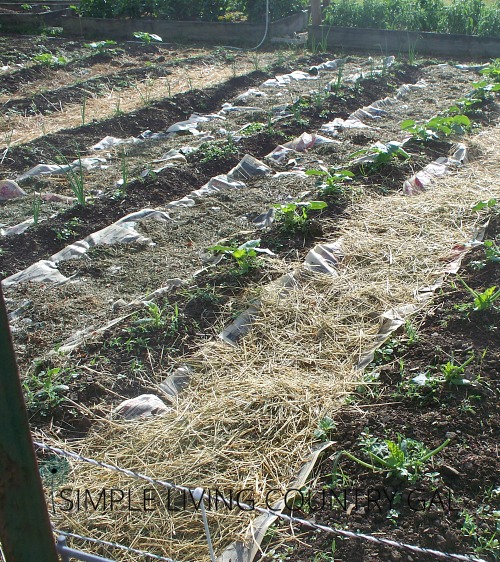
Step #2 Start With Paper
Start by laying down a layer of newspaper, cardboard, or brown paper bags wherever you plan to lay mulch. This will keep the weeds from growing more effectively than just using mulch.
Newspaper, cardboard, and paper bags are also perfect for composting because they will compost as routine watering helps it to decompose quickly. Usually, by the end of the growing season, you will only have shreds left instead of the whole sheets you put down in the spring.
When you close up your garden for the fall if you see too much newspaper, you can remove some of the larger pieces. Leave behind any small or shredded pieces of newspaper, as they can be worked into your soil or left to finish composting over the winter.
If you are concerned about the ink and composting it directly into your garden, you can read more here. There is some debate as to whether or not composting with newspapers is a bad thing, so do your research and make the choice that is best for you and your garden. Today, most newspapers use soy-based ink for printing, meaning it should be fine as compost.
Be sure to place your paper as close to your plants as possible without hindering your watering. You want to keep the weeds away yet not crowd your plants with newspaper and mulch. A few inches of space will be just about perfect.
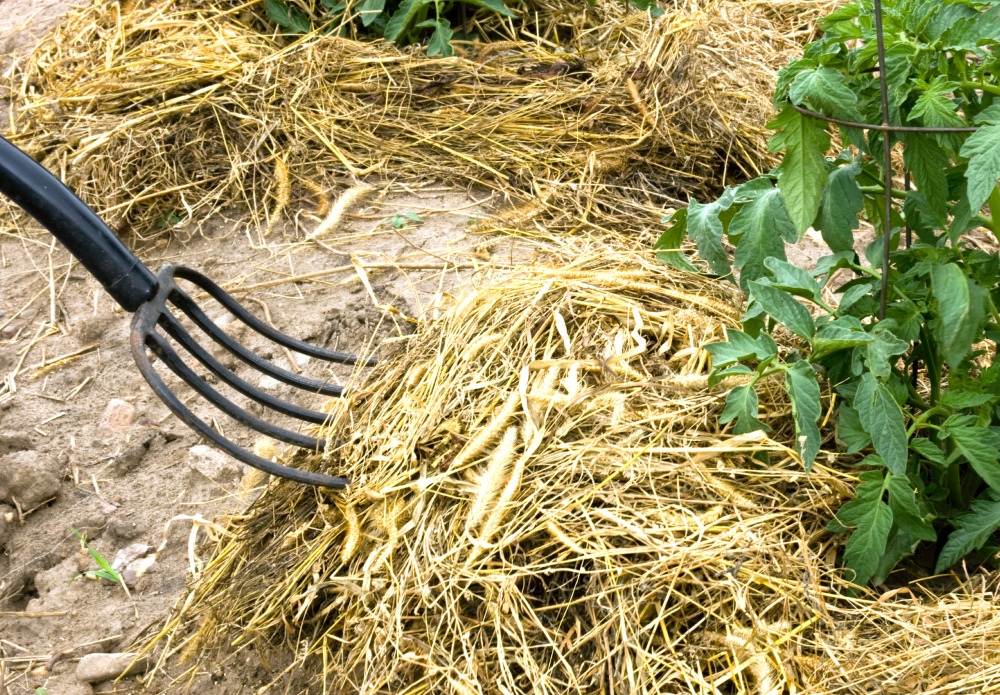
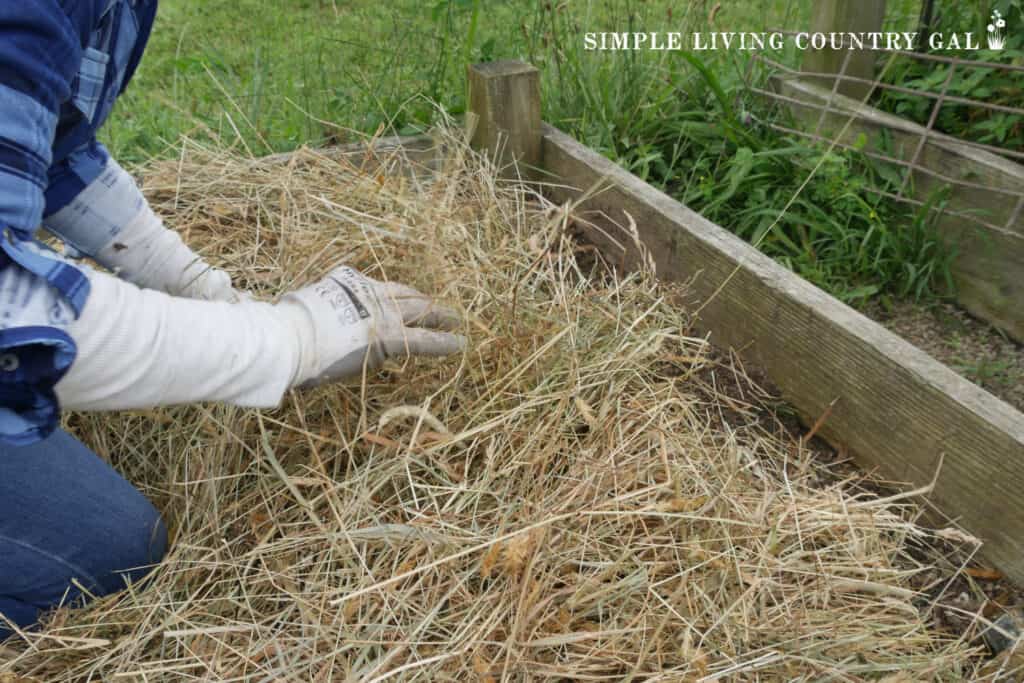
Step #3 Cover the Paper
Next, put a layer of organic materials on top of the paper you placed down. This will not only help to keep the paper from blowing away, but it will also help prevent weeds from growing. I like to put a thick layer of mulch about 4-5 inches.
Grass clippings are a great option for mulch in your garden and are what I mainly use. I like to have a “grass dumping pile” near my garden; whenever we mow, I can dump the clippings there. This way, I can replenish the mulch in my garden whenever I need to.
Just use caution with grass. If your lawn is covered in weeds, you may not want to use grass as a mulch as you risk having weed seeds in your vegetable garden.
SLCG PRO TIP: Do not let the grass clippings sit too long before using, or they will start to cook in the warm sunshine turning the loose grass into damp clumps. Use fresh grass clippings within a few days.
You can also use dry leaves or straw as mulch in your garden.
Many gardeners prefer these options as they tend to be the least invasive regarding weeds and seeds. Again you will want to be sure any leaves you use are from healthy trees.
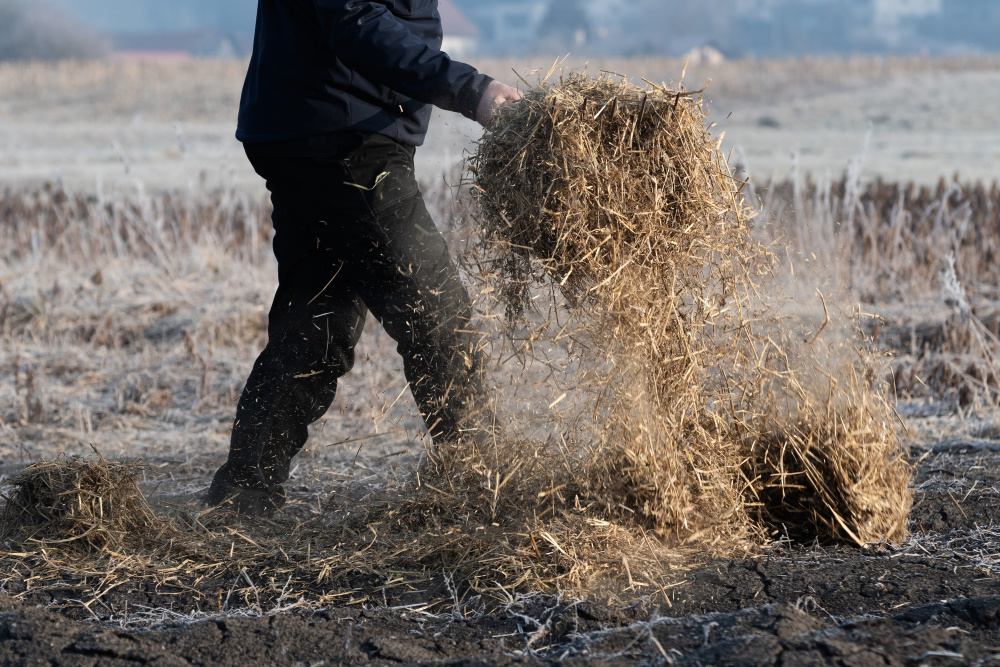
Be sure not to use hay when mulching between your rows, as hay contains plants’ seeds and any weeds cut in. Straw is only the stems making it the best option for your vegetable garden.
Seeds mean weeds, so always use straw to mulch in a garden.
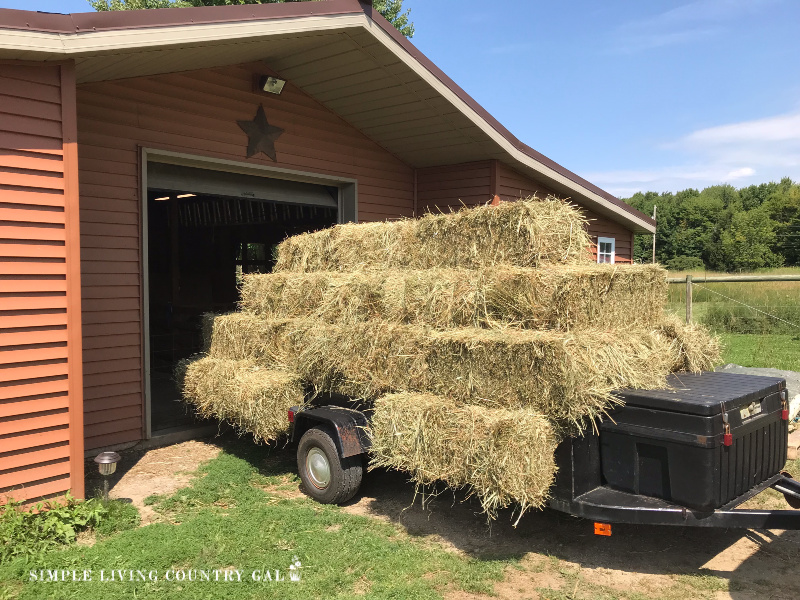
What is the difference between straw and hay?
Let’s discuss this a bit so you fully understand the difference. This will help not only you out in your garden but with your animals as well.
A straw bale is made of up stalks which is the waste product of wheat. This type of bale is most commonly used as bedding for livestock, or it can be used in a garden. Since it contains no seed heads or seeds, it can be safely used in gardens as a mulch or a winter cover.
A hay bale is cut grass or alfalfa used to feed livestock. It contains every part of the plant, including the seeds. If you use this type of bale in your garden beds, you will add a load of seeds to your beds, including weed seeds. Trust me on this; I have done the legwork. Hay in a garden is a no-no and will only cause you to weed more than you ever imagined.
The purpose of the mulch is three-fold.
Purpose #1. Mulch will help to hold that paper down so it doesn’t blow away. Remember, the paper is the weed barrier, and holding it securely in place is key.
Purpose #2. Green matter (nitrogen-rich) and brown matter (carbon-rich) will, in turn, benefit your soil. This means as it composts down, it will give your soil natural benefits. Green matter will be your grass or manure; brown matter will be straw or fall leaves.
Third, the mulch is also there to hold that newspaper in place so it doesn’t blow away.

If unsure of what your soil needs, you can purchase an inexpensive soil test kit. These kits are great to have on hand. They are super easy to use and work remarkably well. If you want a more thorough test of your garden’s soil, you can contact your local county extension office to see if they offer this service.
Natural options for mulching your vegetable garden
- Cut grass clippings
- Leaves
- Straw (remember, do not use hay)
- Bark (be sure to use non-treated)
- Sawdust (be sure it is not from pressure-treated woods)
Step #4 Water Everything
Once you have a lawyer of mulch down onto the newspaper, you will need to spray things down with a garden hose. This step ensures that all your hard work doesn’t blow away. The goal here is to give a good watering but not heavily soak things. As I said, you are just anchoring down the mulch and the paper so it doesn’t blow away in the wind.
And that’s it!
In the beginning, Mulching can take about a week or two to complete for a large-sized garden. Remember, as time passes, you may need to add more mulch and even paper. Just watch for any weeds poking through in different areas. If you see any, you can add another layer of newspaper and mulch material, which should take care of things.
What type of natural garden mulch do I prefer to use?
I prefer to use grass clippings in our garden, but in spring, those cut grass can be hard to come by as we usually do not begin cutting our lawn until early to mid-May. Until we can get clippings, I will sometimes use straw to get started.
Later as we begin to cut the lawn more routinely, we will dump all grass clippings in an area next to the garden. This way, I can mulch as I go, and everything I need to do the job is nearby.
My spring mulching routine is this:
- Every day when I water, I look at the area between my plants and rows.
- If things look sparse or mulch is missing, I can add more grass clippings from the nearby pile.
If you have a large garden, mulching all at once can be a pretty big job. To help, work to do a little every day until it’s all done. Small steps help to make a large job less overwhelming.
Weeding can be very time consuming and sometimes a shock to a new gardener. Although mulching is quite a bit of work initially, it is an investment that will save you a lot of time later in the season.
And don’t forget the added benefits of giving your plants room to flourish and grow.
Have you tried your hand at mulching your garden? If so, how did it work for you?
More Gardening Resources:
Am I right that you just “mulch” the aisle ways, not the actual plant rows? (i.e. not in between the plants in a row, you still weed that portion if anything pops up)
Thanks!
Hi, Jessica!
With my raised beds I mulch all around my plants. Especially my tomatoes and pepper plants. The reason is that if our soil splashes up onto our plants when I water I tend to get diseases rather quickly. Once I began mulching all the way around the base of the plant as well, no more diseases! Now, in my other part of my garden (the big lower part) I just simply mulch the rows. However, it was so incredibly weedy this year from all the rain/sun that I couldn’t keep up. I am rethinking and may mulch in-between the plants on the lower garden as well. Sorry, not much help I know!
Tracy Lynn
Love that you are sharing this info. We mulch our garden and use newspapers around plants. Our newspaper uses soy based ink! We also use cardboard for our walk ways and grass on top. It does not break down as fast as newspaper so sturdy to walk on with our clay soil. Yes we do pull it up and replace in spring. Cardboard then finishes composting in chicken poo piles to go back into garden later.
Can I use pine straw for between the rows I have lots of this under my pine trees ?
You can use pine needles, AKA pine straw as mulch in your garden. Just be aware there is a chance it can lower the pH of your soil. Just check your soil levels each spring and add in compost if needed to correct any issues.
I hope this helps!
Tracy Lynn
Sooooo helpful. Thank you for spending time to share. Very interesting and well explained. We live in Catalonia so I think I’ll have to tweak here and there, however! The weeds grow, especially nettles, and it hasn’t rained since last year. Raised beds for root veg is an amazing idea. We are already planting so we make good use of the ‘rainy’ season. Thx once more.
Hello, Sofia!
To be clear, nettles are a force of their own and you will need to go heavy and hard to keep them down. Use thick layers of newspaper and a thick layer of cut grass if you can. Then every few days, lift the paper up and pull any nettles you see coming up. The should be easy to pull, go slow so you get the entire root.
Good luck!
Tracy Lynn
Hi Tracy,
Do you ever deal with weed seeds in your grass clippings? A lot of our lawns have various weeds and I worry if I use them I’m only adding to the proble.problem.. but we have a LOT of yard we mow, so it feels like such a sad waste throwing them out versus using them in compost or as mulch. Any thoughts?? One thing I thought of was to perhaps tlet them dry and turn into brown instead of green.. but would the seeds still remain perhaps? I’m at a loss.
Yes, Leah that is a great point. If you have weedy grass, you will risk transferring seeds of those weeds into your garden. If you have more weeds than grass I would refrain from using it. If you have chickens you can toss the grass into their run or use it as bedding in their nesting boxes. The chickens will love to scratch through the grass looking for any bugs.
Sorry, I don’t have better news!
Tracy Lynn
Make sure to stay away from straw that has been treated with weed killer. It will kill your garden. It is very hard to find organic straw now days.
Yes, great point!
We get our bales from local farmers that we already have a relationship with.
Leah you can not use any old straw. If the farmer treated his wheat with weed killer it will kill your garden. You HAVE TO USE ORGANIC STRAW. Other wise you will be starting a new garden in a different location. It will take years to get out of the dirt. I have straw bales that I used for bedding two years ago and it still won’t grow anything in that place.
Last summer I flattened cardboard boxes and laid them out between rows. Then leaves and pine straw on top. Worked well. Very few weeds and the soil stayed moist longer.
Every time I have tried to use straw as mulch, It turns into a wheat field! There are seeds in the bales.
There should NOT be seeds on a straw bale. If there are, then the bales you are buying are not straw bales.
I found your article very informative. Do keep posting such articles! Thank You.