Prepping Soil for a New Garden
When I first started homesteading, I knew that gardening was going to be one of the most important skills to master. If you’re looking into prepping soil for a new garden that will thrive and produce healthy plants, the key is all in how you prepare your soil. By taking the time to properly lay the groundwork now, you’re setting yourself up for success—not just this year, but for every growing season to come.
How to start a backyard garden from seed to harvest, beginning with a foundation that is healthy and organic.

Start with Healthy Soil for Thriving Plants
When we first started our little homestead, I didn’t have much experience growing my own food. But I was confident it would be simple enough since everyone I knew seemed to have a garden somewhere on their property. I figured all I needed was a patch of soil and a handful of seeds, and I’d be good to go.
Boy, was I wrong!
Maybe that approach works in some places, but not where we lived. Our soil was nothing like the rich, dark soil you see in gardening magazines. Instead, we had coarse dirt mixed with chunks of clay. And when I say clay, I mean actual clumps that were impossible to work with. Trying to grow anything in that was a lost cause.
I gave it a shot for one season, but it didn’t take long to realize the soil needed serious preparation. Here’s the big lesson I learned that first year: to grow healthy plants, you have to start with healthy soil. That’s the secret to giving your seeds and seedlings the best shot at thriving.
Getting Your Soil Right: The Key to a Thriving Garden
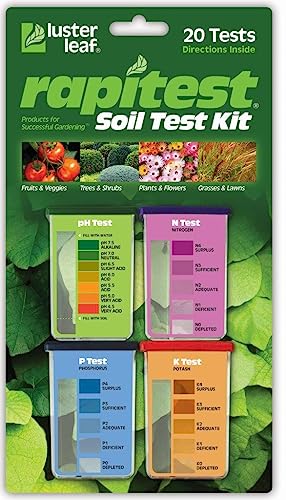
The first step in starting a garden is figuring out the pH of your soil. Don’t worry, it’s easier than it sounds! You can grab a soil test kit for just a few dollars, or check with your local extension office to see if they provide this service.
Your soil’s pH tells you how much calcium it has. It’s measured on a scale from 1 to 14, with 7.0 being neutral. Ideally, you want your soil to be in the 6-8 range, which is perfect for most vegetables. While different veggies may have slightly different needs, staying within this range will generally set you up for better growing success.
DAQVQ 2-in-1 Soil Moisture Meter, Soil PH Meter, Large Dual-Screen Soil PH Tester & Moisture Meter for Plants Indoor&Outdoor Garden,Lawn,Farm Soil Test Kit-Avocadogreen NewTest Soil pH Test Kit: Upgraded 125 Soil pH Test Strips with Measuring Cylinders for Accurate Testing pH Level of Garden Lawn Grass Flower Vegetable Compost DirtRapitest Soil Test Kit for Gardens, Vegetables, Flowers and Lawns. USA designed and assembled soil tester completely, quickly and accurately measures/analyzes soil pH acidity and garden nutrients.


Fixing Soil Problems for a Healthier Garden
Before you start planting, you’ll want to make sure your soil is in great shape. The two most common issues are acidic and alkaline soil, but don’t worry—we’ll walk through how to fix both so your garden will be ready for planting.
How to Fix Acidic Soil
If your soil test shows a pH below 7.0, it’s considered acidic. The easiest fix is to add lime, also called limestone, to neutralize the acid. You can find it in various forms, but for gardens, pulverized lime is often the best choice. It’s a fine powder that’s easy to spread (just remember to wear gloves to protect your hands).
Aim for about 40 pounds of lime per 1,000 square feet of garden. Sprinkle it across the soil and work it in with a rake.
Looking for a more organic option? You can use wood ash instead. Simply sprinkle a generous amount of ash over your soil and mix it in with a rake or shovel. Keep in mind, this method takes longer to adjust the pH, but it’s a great way to recycle wood ash while naturally improving your soil.
How to Fix Alkaline Soil
If your soil tests above pH 7.0, you have alkaline soil, which needs to be neutralized. One of the best ways to lower the pH is by adding mulch or compost.
Compost is just a fancy word for organic material that’s been left to decompose until it’s ready to enrich your soil. You can use compost from your bin or purchase some from a garden center. Work it into your soil, and over time, it will help balance the pH and boost your garden’s overall health.
Prepping Soil for a New Garden
Starting a garden might feel overwhelming at first, but once you break it down into steps, it becomes very manageable. Most of your prep work will happen in the spring, and timing is important. Make sure you start a few weeks before planting, as this gives the soil time to rest in between steps.
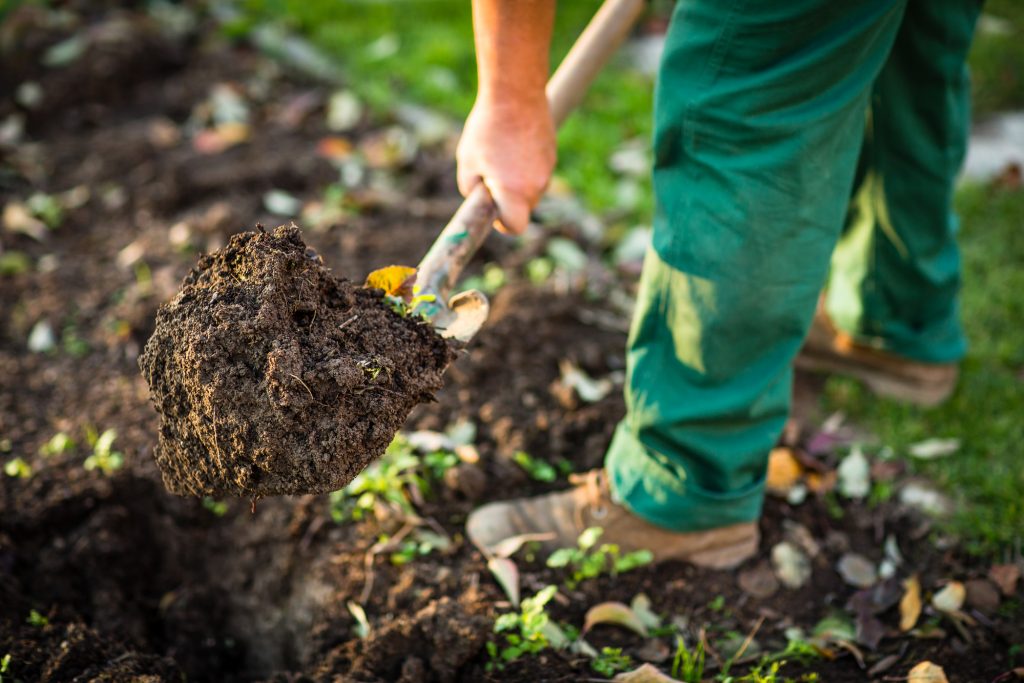
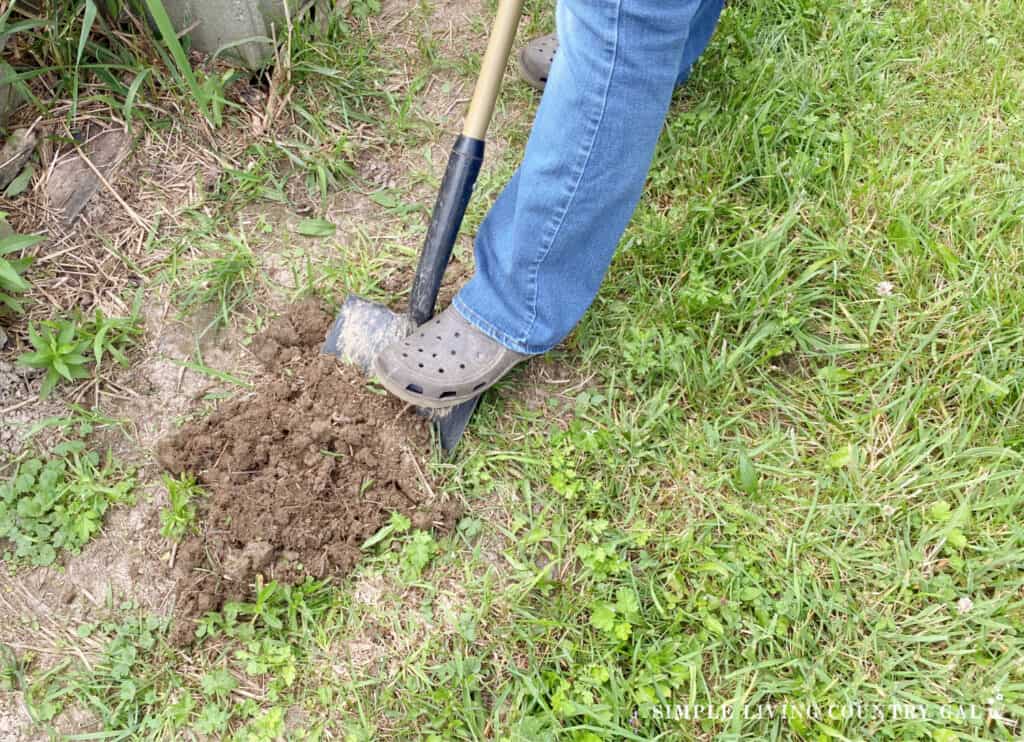
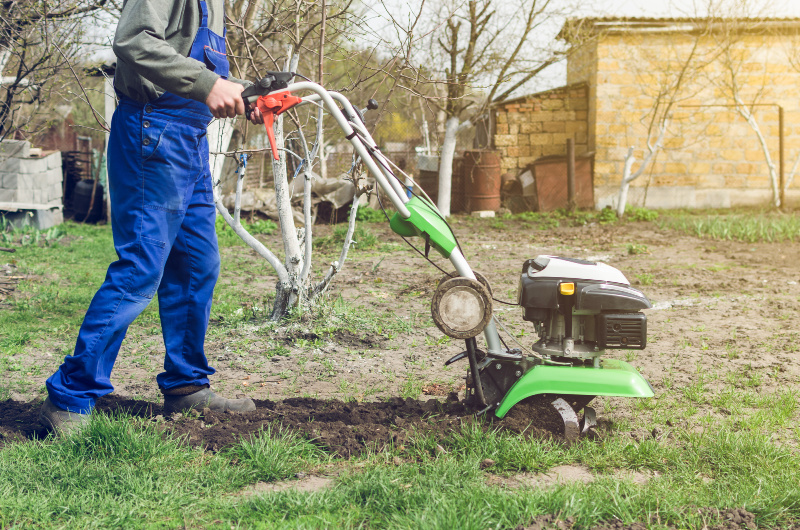
Step 1. Prepare the Soil
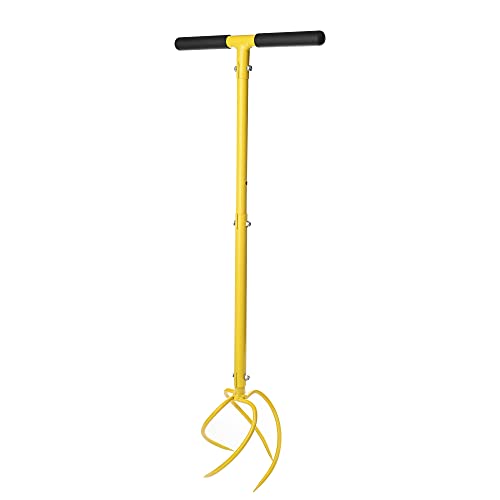
The first thing you need to do is get your soil loosened up so it is ready for planting. If you have a rototiller, use it to work through the soil in your garden space. If not, you can do it by hand with a shovel, pick, or rake.
As you work, remove any large rocks, roots, or other debris to make things easier for both you and your plants. The goal here is to create a nice, loose soil where plants won’t struggle to push their roots through hard ground.
Toro 58601 Cultivator, 43cc 2-Cycle Engine, Adjustable Tilling Width 6-10”, Overhand Handlebars, 8” Max Cultivating Depth, LightweightBARAYSTUS Garden Hand Tiller Garden Claw Twist Tiller Cultivator Tiller Soil Lossener Lawn Aerator Areator Loosen, Rototiller, Garden Bed and Plant Box Cultivator, Garden Tools.Cordless Tiller for Gardening 360 RPM Rototiller TH4000 Cultivator TaskStar Electric Garden Tiller Battery Powered Total 4000mAh,48 Heavy-Duty Steel Tines for Smooth Ground Breaking,Tending,Composting


Step 2. Test Your Soil’s pH
Once the soil is loose, it’s time to check where you’re starting. Use a soil test kit to measure the pH and nutrient levels. Knowing this information is key because it will tell you what your soil needs to thrive. Take notes in your garden planner during this process, and keep a record of your results each year. Over time, these notes will help you build a better garden season after season.
Read our step-by-step guide below on how to test and amend your soil if needed.
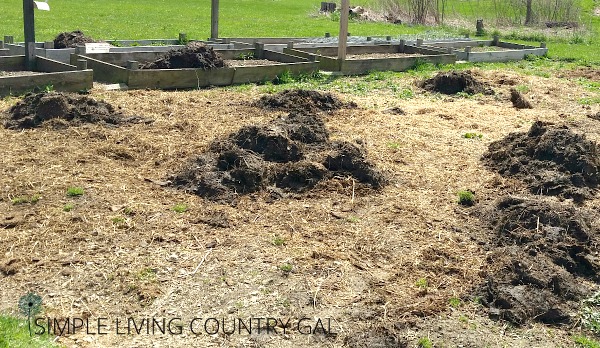
Step 3. Add Compost or Manure (If Needed)
If your soil lacks nutrients, this is where compost or manure comes in. Load up a wheelbarrow with either one and spread it out in small piles throughout your garden area. Use a rake or shovel to mix it into the soil.
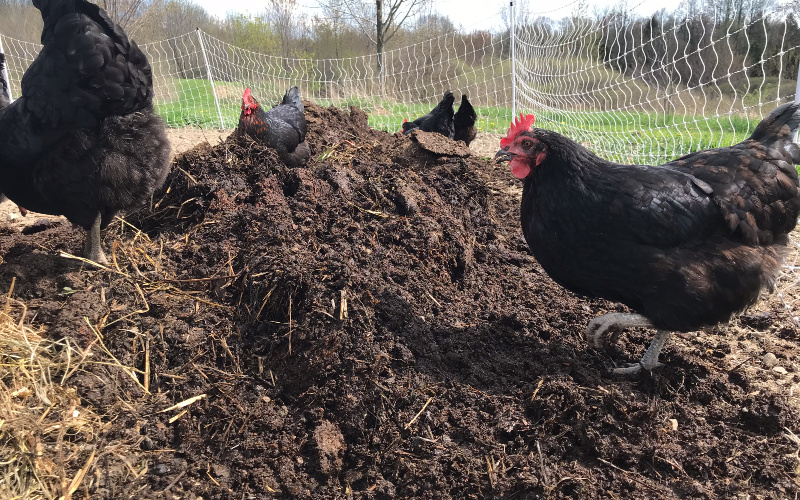
If you have chickens, you can let them roam your garden space. They’re great at spreading compost while also scratching up and working nutrients into the soil. Read our tips on How to Use Chickens in Your Garden.
Step 4. Give the Soil a Rest
After adding to your soil, it’s important to know when it’s ready for planting. The timing depends on what you’ve added.
If you used fully decomposed, mature compost, you’re in luck. You can start planting right away. Mature compost is already broken down and ready to work its magic, giving your plants a quick nutrient boost without delay.
Now, if you’ve added fresh manure, this is where a little patience comes in handy. Fresh manure is packed with nutrients, but it’s a bit too strong for plants right off the bat. It can overwhelm roots and even burn them if you rush to plant too soon. To avoid any problems, it’s best to wait 2-3 months. This gives the manure time to break down and compost naturally, turning into a nutrient-rich mix that’s safe and beneficial for your garden.
Getting started early in the season gives you time to work through these steps at your own pace. Whether you’re waiting on manure to break down or ready to plant with mature compost, a little planning ensures your soil is prepped and perfect for growing.
Step 5. Rototill Again
Once the rest period is over, go back and work the soil again. This time, your goal is to mix everything evenly. Yes, it might seem like extra effort, but this step ensures the compost, manure, or any other amendments are well-incorporated.
Working things into the soil provides the best possible environment for your plants’ roots. Skipping this step can lead to uneven growth, so it’s worth the time and energy.
Step 6. Re-Test and Fine-Tune
Take another soil test to see where your soil stands after all the prep work. If pH levels are still off, adjust accordingly. For example, if the soil is still too acidic, you might need to add a bit of lime. If it’s lacking nutrients, you may need another round of compost. It’s all about tweaking things so that your garden starts off as healthy as possible.
Step 7. Wait One More Week
Yes, there’s a bit of “hurry up and wait” here, but trust me, it’s worth it. Giving the soil one final week of rest ensures that everything has settled nicely, and your garden is ready to support strong, healthy plants. Rushing this step can lead to disappointing results, so be patient!
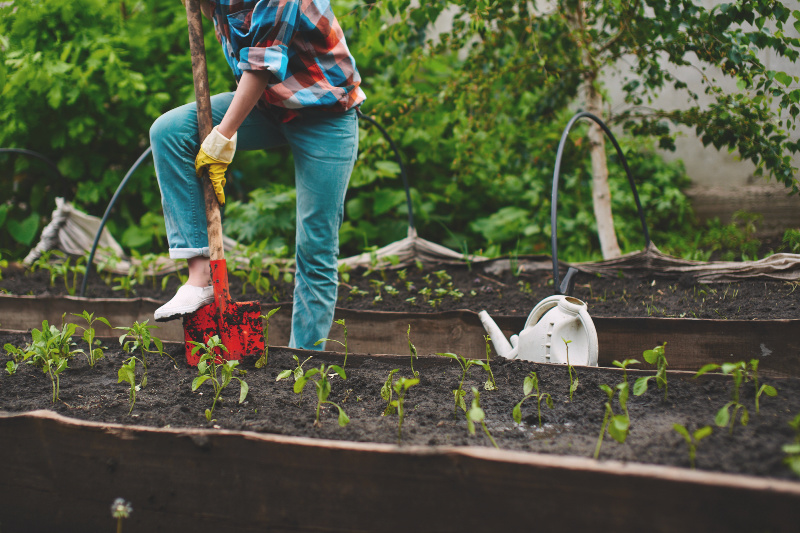
Step 8. Time to Plant!
Now for the fun part—planting your garden! Depending on your region and the length of your growing season, you can start with seeds, seedlings, or a mix of both. If you’re new to gardening, focus on beginner-friendly plants like lettuce, radishes, or tomatoes. Don’t forget to research when and how to plant each crop, ways to keep pests at bay, and the best time to harvest.
How to Grow Guides:
Get started growing with these step-by-step guides. They will help you plant, tend, harvest, and store enough food for now and for months to come.
- How to Grow Lettuce for Beginners
- How to Grow Pumpkins for Beginners
- How to Grow Tomatoes for Beginners
Garden Soil FAQ
Where can you get compost?
There are a few great options when it comes to finding compost. If you have a compost pile, you’re already ahead of the game! If not, try reaching out to a local farm or stable. Many farms are more than happy to give away free manure if you’re willing to haul it yourself.
Don’t live near any farms? No problem. Many garden centers sell bagged compost or manure in a mulch-like form. It can be on the pricey side, but trust me, it’s worth the investment. Your soil (and plants) will love it.
What is the best way to add compost to your soil?
Adding compost is super simple and highly effective. Grab a shovel and spread an even layer of compost across the surface of your soil. Once it’s spread out, use a rototiller or just a good old-fashioned shovel to mix it into the top few inches of dirt. This ensures all those nutrients get blended into the soil where your plants can access them easily.
Can I add old plants to my compost pile?
Absolutely! Old plants are great for compost. However, make sure you don’t add any diseased plants or cuttings to the pile. They can contaminate your compost and spread diseases to your garden later.
A handy tip? Set up a second pile far away from your garden and home for any questionable clippings. This way, you can safely dispose of plants that aren’t fit for your main compost pile without putting your “black gold” at risk.
More Composting Resources:
Gardening is a learning experience, and prepping soil for a new garden is one of the most important steps to get right. Every season brings new lessons, and with time, you’ll discover what works best for you and your garden.
Don’t stress about making everything perfect right from the start. Enjoy the process, take it one step at a time, and celebrate the small wins along the way. Before you know it, all that effort in prepping and planning will bloom into a flourishing garden that reflects your dedication and care.
Remember, every gardener starts somewhere, and every bit of progress you make is a step closer to success.
Thank you. Finally someone who can explain things in a simple way. I never understood the Ph until I read about it in your article. It seems most gardeners assume we know what that means. I am new at this AND the vocabulary. I appreciate you! Thank you so much!!
I already signed up for your garden planner.
Oh, yay, that is great to hear Leanet!
I try to teach how I learn so I am happy you were able to understand how pH works because it can be super tricky.
Good luck with your gardening journey!
Tracy Lynn