Cleaning up the Garden Fall Checklist
This fall cleaning up the garden checklist will help you to quickly get your garden ready to hibernate over the winter. This is the perfect time to amend any soil issues and prepare your beds for a healthy spring planting.
An important part on how to start a backyard garden is being sure you reset your summer growing area to a healthy state. This will allow the soil to replenish and heal before spring arrives giving you the healthiest soil to grow in.

When I finally finish canning the last of our tomatoes, I am burnt out 100 percent. And all I want to do is take a break from the dirt and let my poor nails recover.
But there is one more job that needs to be done. One I used to skip over mainly because I thought it was not important but I soon learned different.
If I wanted to have an easier time growing as well as a more successful harvest, closing out the garden before winter was a step that needed to be done.
And not just done, but done correctly.
Taking time in the fall to remove your old plants, doctor your soil, and prepare your beds for the long winter sleep, you will not only set yourself up with a healthy garden come spring but also give your soil a much-needed chance to rest and replenish.
This is especially important if you had issues this past summer. Things like infestations from any pests, fungus, or diseases.
By cleaning things out and removing any infected plants all the way to the roots, you will help your soil heal before you are ready to plant again.
Remember, healthy soil is the key to a beautiful and abundant garden and you can get our tips on Prepping Your Soil for a Healthier Garden here.
The Importance of Healthy Soil in a Garden
If you do not do a thorough cleaning out of your summer garden or if you choose to skip this step altogether, you will not only have the same problems next growing season, but you may find yourself in a disastrous growing situation.
Cucumber Beetles was one headache I had to deal with during a particularly tough gardening year. These pesky visitors decided to invade my garden along with another 10,000 of their aunts, uncles, and cousins.
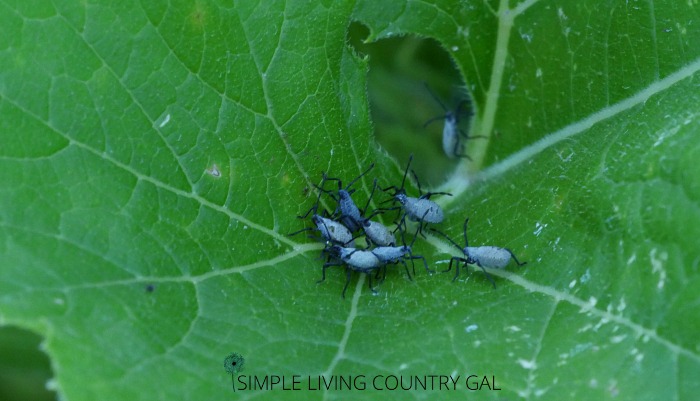
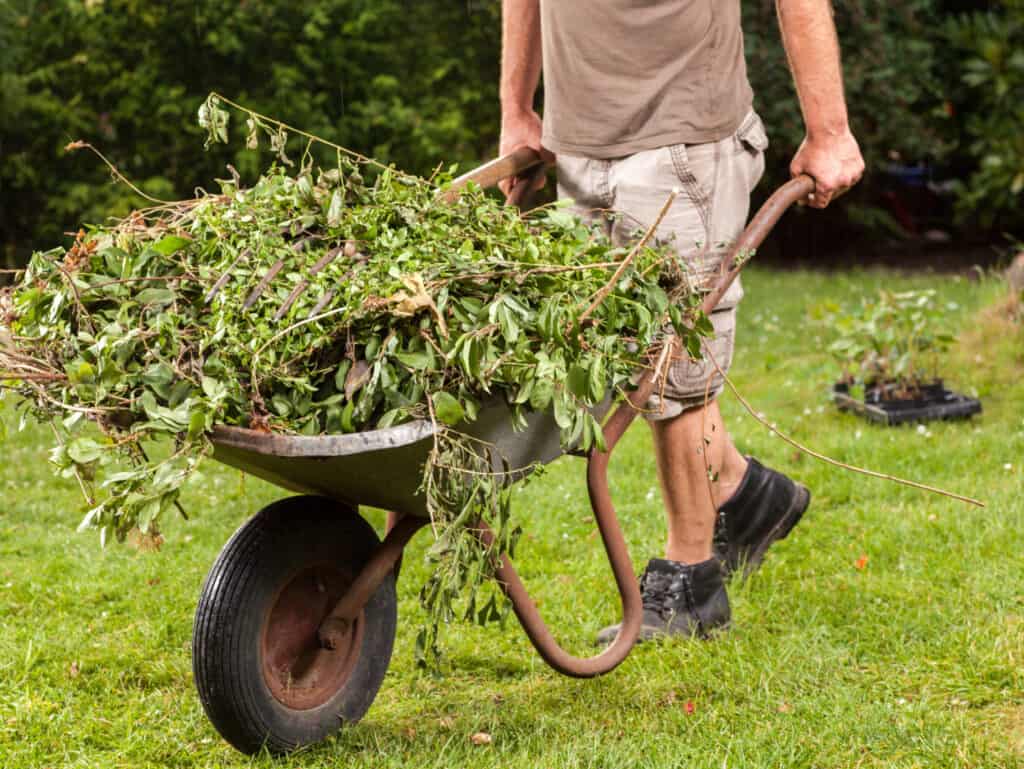
If you ever have pests visit your garden and you don’t want the same visitors next season, you will need to pull out any infected plants, dispose of them in an area that is far away from where your garden is now, or you can choose to burn the plants altogether.
That same year we had another visitor sneak in without my knowing and systematically destroy every pumpkin and squash plant in my garden.
These horrible little creatures are called Squash Vine Borers, and they can kill your vine plants quickly.
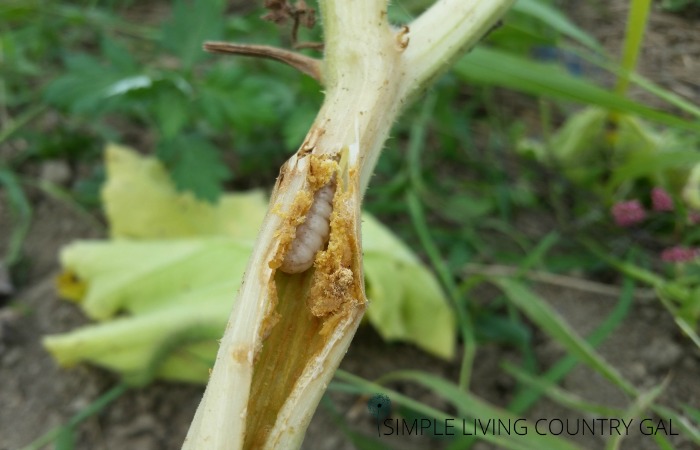
By the time you realize there is a problem, the damage has been done.
I learned this lesson the hard way, so my best advice to you is this: even if you had a perfect growing season, still do a thorough fall cleanout so you can ensure that success continues year after year.
How to Remove Pests in a Garden with Chickens!
I love to find shortcuts and if you have chickens, this one is great for any fall garden that had an issue with pests.
#1. Get rid of every root, no matter how small.
#2. Gather up all plant debris into a single pile.
#3. Take all that debris and either dump it as far away from your garden as you can or burn it.
#4. Dig up your soil using a rototiller. This will help pull any pest’s eggs up to the surface.
#5. If you have chickens, let them out to eat and destroy as many eggs as possible. To keep them in a specific area, use a temporary fence as an enclosure.

Fall Cleaning up your Garden Checklist
As with all big jobs, if you break things down into small steps it is much easier to tackle. Steps will ensure you do not forget anything and you can check this chore off your to-do list for the year.
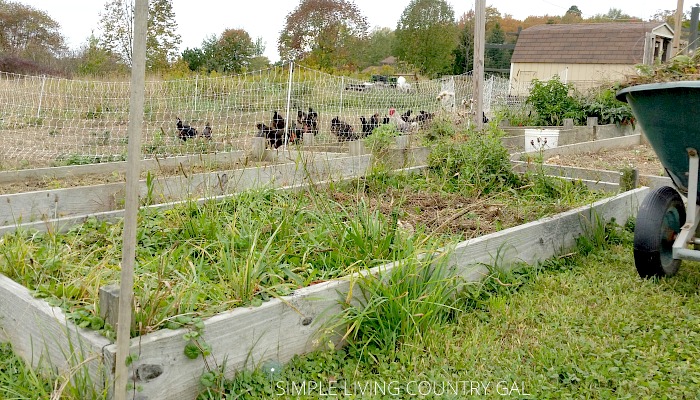
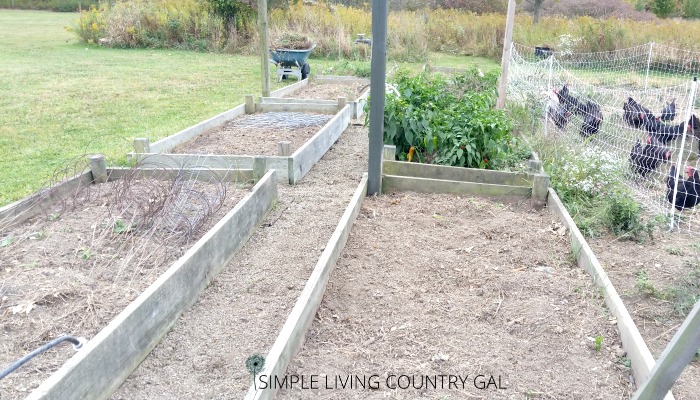
Step #1 Remove Any Old Growth
When cleaning up your garden, it is important that you make sure you remove everything. It is important to be thorough to keep any recurring diseases and pests to a minimum.
This includes:
- Old or rotted produce
- Dead plants
- Any roots
- Leaves and leftover mulch
- Any remaining weeds.
I am learning to be more vigilant myself with this step. Pick and pull everything out, dig down to get all the roots, and rake things up to help uncover anything you missed.
Get it all now to allow your soil a healthy rest before spring.
Step #2 Know What You Can Leave
If you had no issues in your garden, most mulch you use over the summer can be left and worked into the soil, this includes newspapers.
Like other mulch materials, stray pieces of paper will compost down over the winter months and help your soil.
If you are worried about toxic inks, you can contact your local paper to ask what base they use for their ink. Most use soy-based ink, which is fine for gardens, but it is best to ask just to be sure.
Step #3 Call in Reinforcements
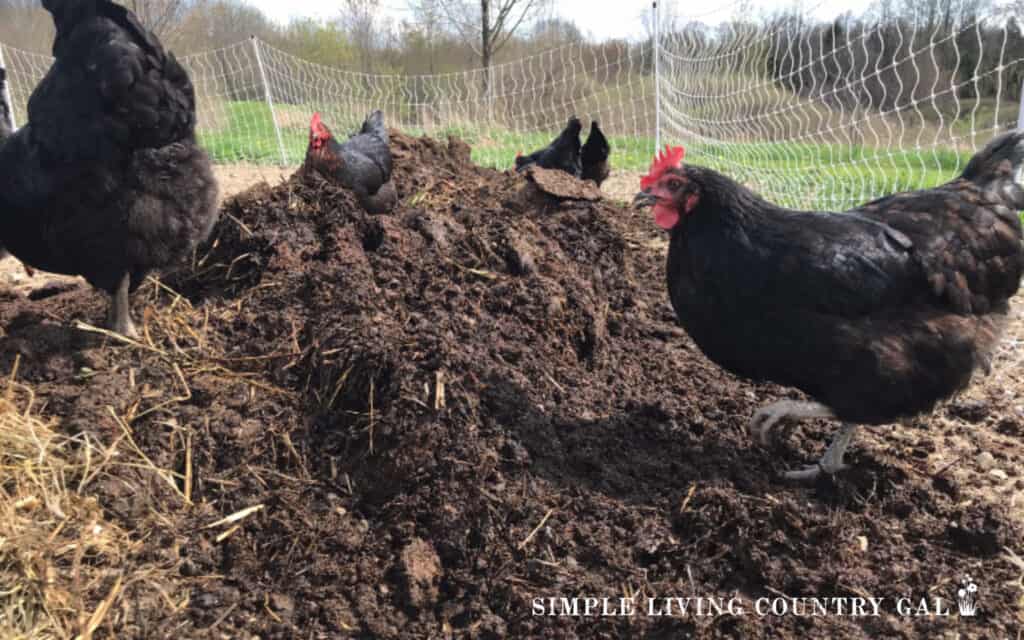
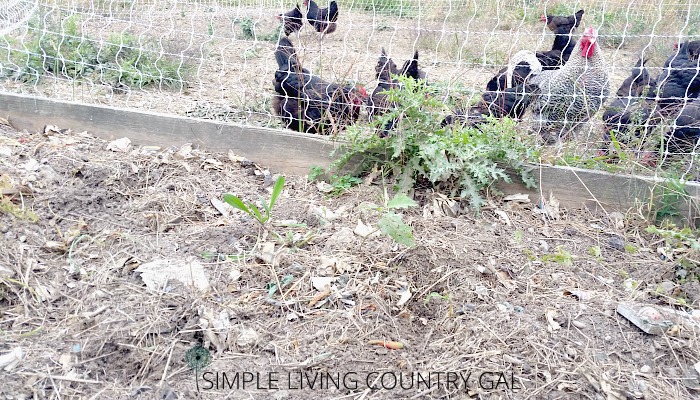
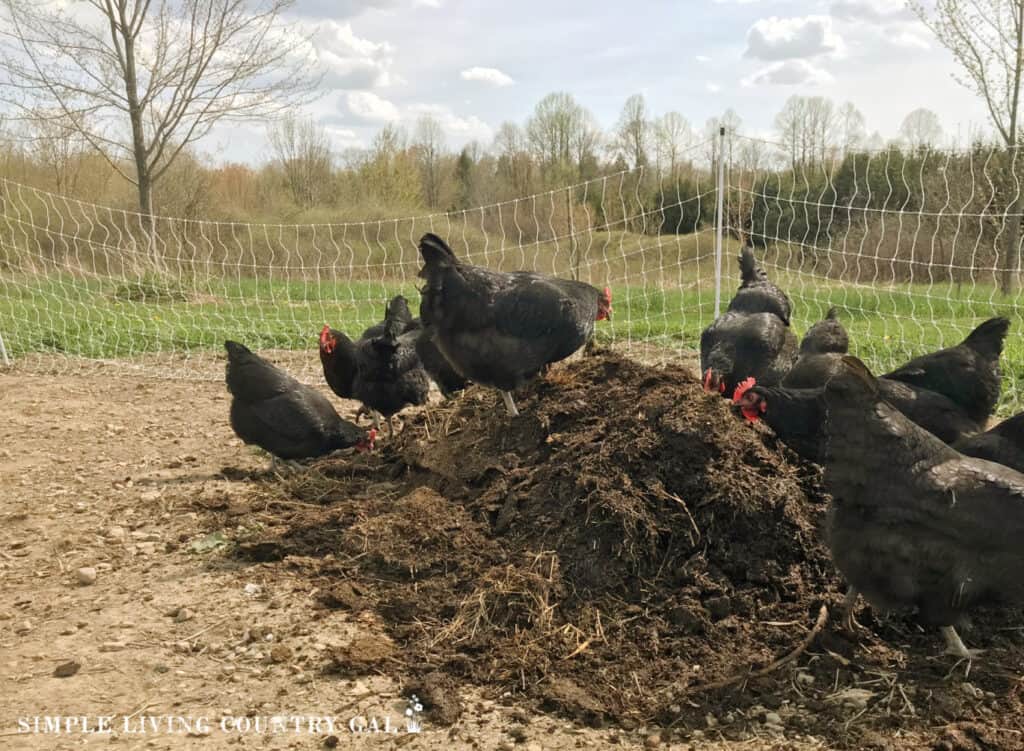
Remember to bring in your chickens to help amend your soil and break up any large clumps into a finer material.
Chickens love bugs, eggs, and most pests. They are natural garden rototillers, making their way around the entire area, eating and scratching as they go.
This really does help keep things under control. If you had a large infestation, you will need to help your flock a bit.
Using a rototiller, break up the soil in your garden a few times during the fall season to pull any eggs up to the surface so it is easier for your chickens to find them.
I usually allow my chickens access to our garden from the start of fall until the start of spring. This amount of time helps to get things cleaned up and allows them to do a little natural fertilizing along the way.
Chick manure is an excellent compost to add to your garden.

When to add chicken manure
Although manure is a great additive to your garden, you should never add fresh manure around your plants. This can burn your plants doing more harm than good.
If your garden is already planted, it is best to compost any fresh manure before adding it to the base of your plants.
Shovel, Garden Shovel for Digging, 31 inch Small Spade Shovel with Curved D-Handle, Heavy Duty Portable Mini Shovels for Gardening, Digging, Camping, Car Shovel, Kids Sand Beach Shovel Simplay3 Easy Haul Wheelbarrow with Garden Tool Storage Tray, Durable Heavy-Duty Plastic Wheelbarrow with Large Easy Turn Wheels – Green, Made in USA…VIVOSUN Outdoor Tumbling Composter Dual Rotating Batch Compost Bin, 43 Gallon Black Door


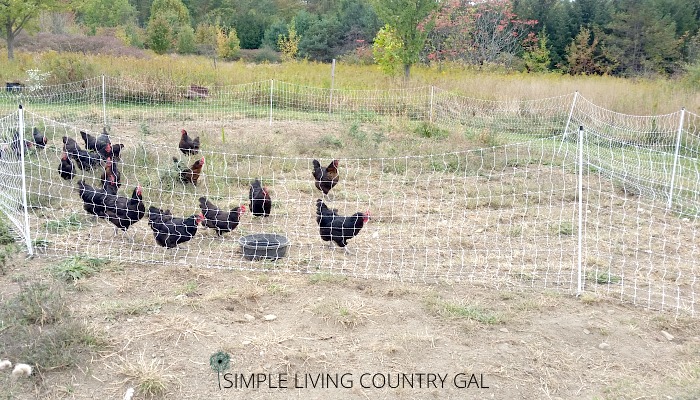
Another tip is to purchase a good fence so you can keep your chickens exactly where you want them. I prefer to use poultry netting for my chickens and find it to be the easiest way to free-range them without risking the health of my other plants.
Since the holes of this chicken fencing are pretty small, it keeps the chickens in with no incident of escape.
I simply shape my fence netting making a shoot from the chicken run directly into my garden. This allows me to quite effectively direct my chickens and ducks exactly where I need them. Once an area is picked over by my hens, I simply relocate the entire flock using the fence.
Step #5 Properly Dispose of Your Plants
If you had any incidents of disease or pest invasions this growing season, it is important to dispose of your plants properly. This means keeping all trimmings, old produce, and roots out of your compost bin.
This one crucial step will eliminate the risk of those plants, any airborne seeds, or dirt coming back into your garden come spring.
To do this, find an area where you can safely put your garden plants until you are able to burn them later. If you do not have an option on your own property you can contact your local county extension office for advice. Most extension offices have access to master gardeners that can be a valuable resource.
Note: Follow your area’s rules for burning, and of course, please follow all safety precautions and use caution. If you are not sure what they are, contact your county extension office.
We have a dump area in the back of our property where we put our diseased plants, diseased produce, and diseased mulch. This way we know for sure everything is well away from our garden and compost area.
Step #6 Remove All plant Stakes and Cages
When cleaning up a garden, don’t forget to remove your supports such as trellises, plant stakes, and tomato cages.
Before storing them, give them a good cleaning with soap and water. Allow the sun to dry them thoroughly as it is a good and natural disinfectant.
If you had a disease in your tomato plants and used supports, you may also want to spray them with a mixture of bleach and water, followed by a good rinse.
Step #7 Leave Your Winter Plants
If you have a winter garden, leave any plants you are growing. Not sure what can grow in the winter?
Here are a few ideas.
- Spinach, lettuce, Kale, and Swiss Chard – Harvest until winter, then use a cold frame to continue growing.
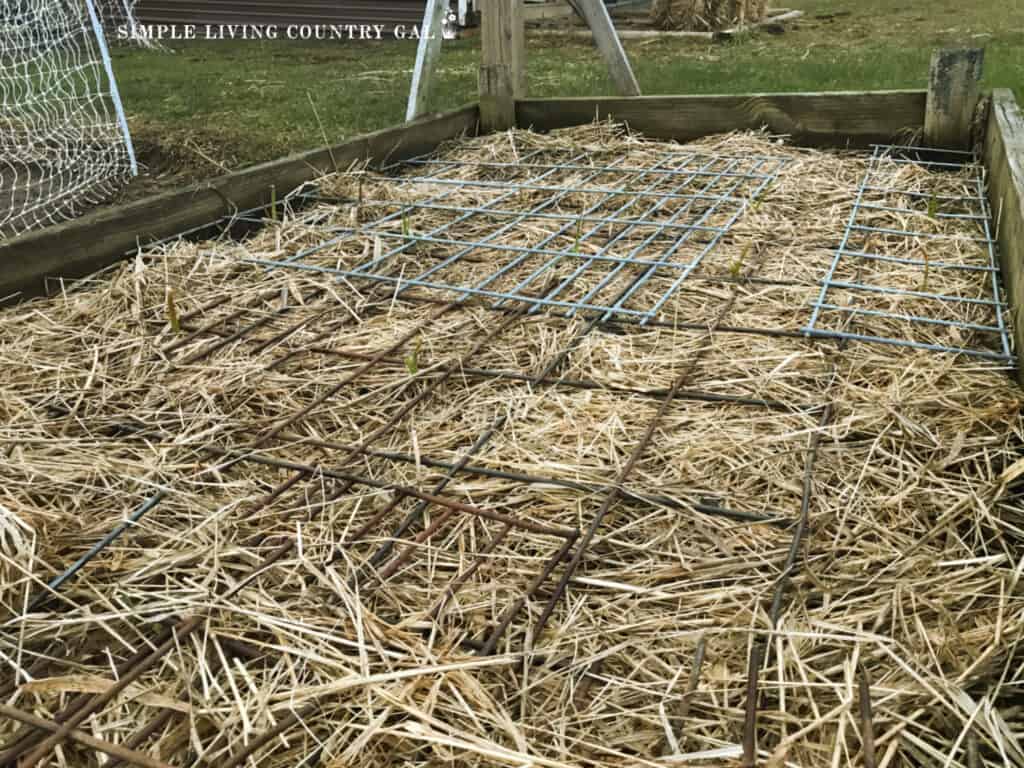
- Garlic – Once planted, put a thick layer of straw or other mulch over your plantings to keep plants better protected.
How to keep winter mulch in place
Be sure to add weight to keep mulch in place. I like to use a scrap piece of fencing for this job.
It is heavy enough to hold the straw covering in place yet will allow the sun and snow to nourish the soil.
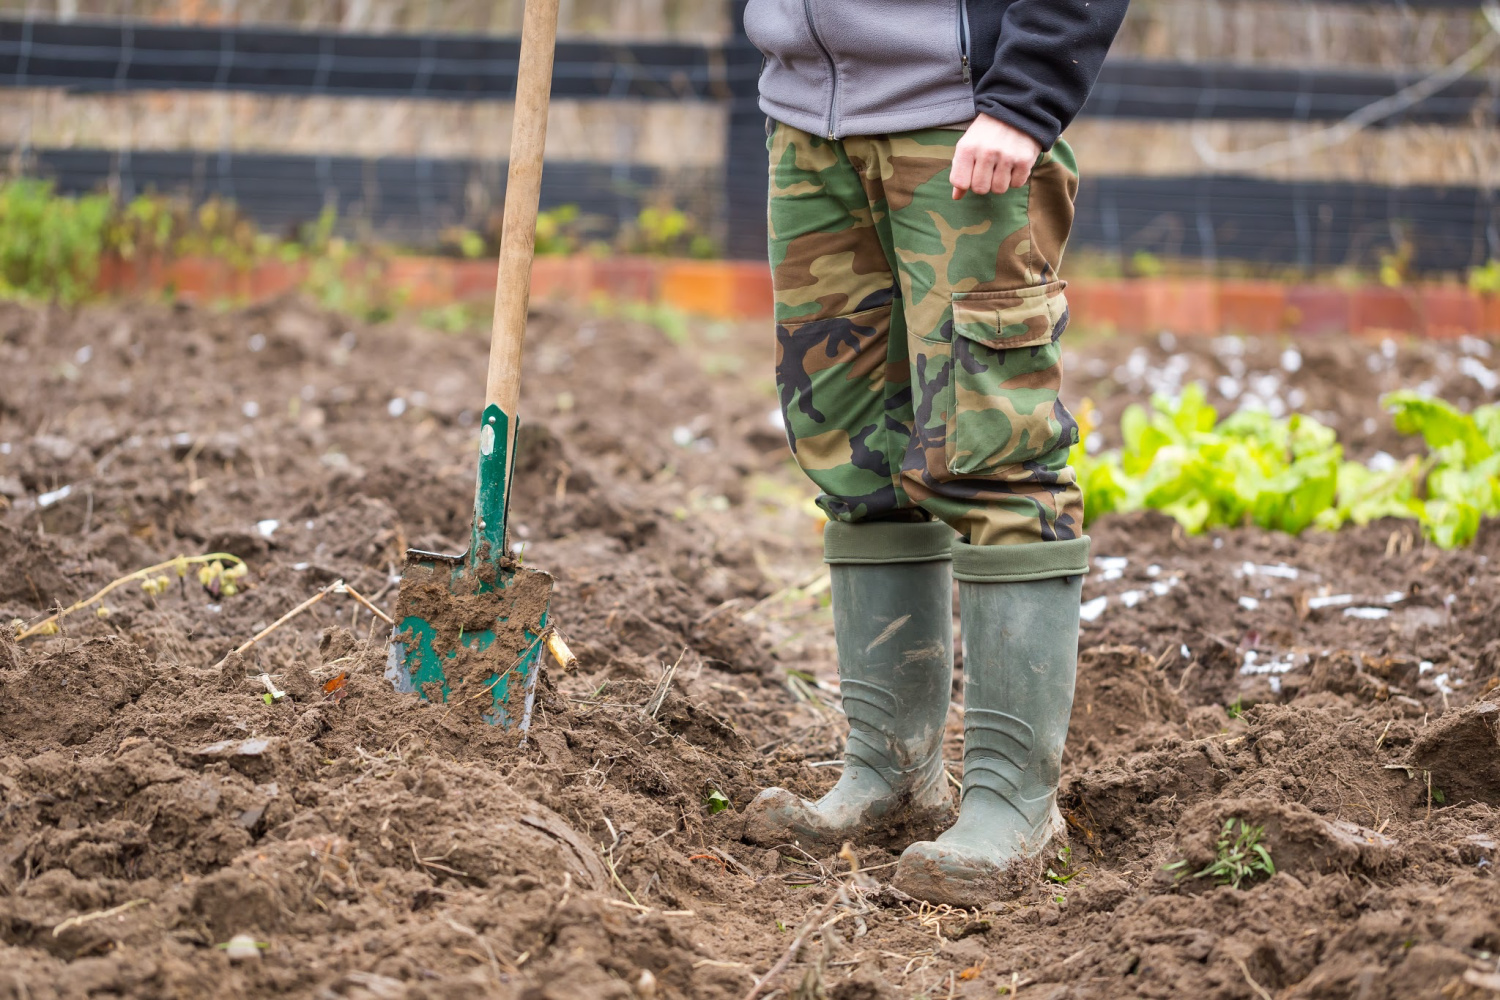
Step #8 Turn Your Soil
Take a shovel and do a quick turnover of your soil using the tip of your shovel to break up any large chunks of ground. This will help your soil to breathe and also bring any roots that you may have missed to the surface.
Remove any remaining scraps of roots or rocks as you go along.
Step #10 Feed Your Soil
The winter months are a great time to amend any issues with your soil. You can add compost in small piles, rake it out, and then use a tiller to work it into the ground.
SLCG PRO TIP: Before adding anything to your soil do a PH test first. Knowing exactly where your soil is now will better help you determine what needs to be corrected for a better growing foundation later on.
Fall is also a good time to add a layer of mulch. Mulch is a covering of organic materials such as grass (free of weeds) clippings, dried healthy leaves, wood ash, wood chips, or straw.
READ: HOW TO USE WOOD ASH ON THE HOMESTEAD
Adding mulch in the fall will go a long way to boosting your garden’s nutrition preparing it for a healthier growing season.
Keep this list close to you so you can refer to it each year making your fall garden clean up chore and easy project to get checked off your list.
What can you do to keep garden pests from returning year after year?
There are a few things you can do to stop garden pests even if you have had an outbreak.
Tip #1. Remove any Infected Plants
As I mentioned above you want to be thorough with this step. Be sure to get the entire infected plant, all the way down to the roots, out of your garden.
You can also include any soil near the base of the plant just in case there are eggs or pests nearby.
Tip #2. Compost Therapy
Adding organic compost can help encourage healthy soil. This will create a healthier support system for stronger-growing plants.
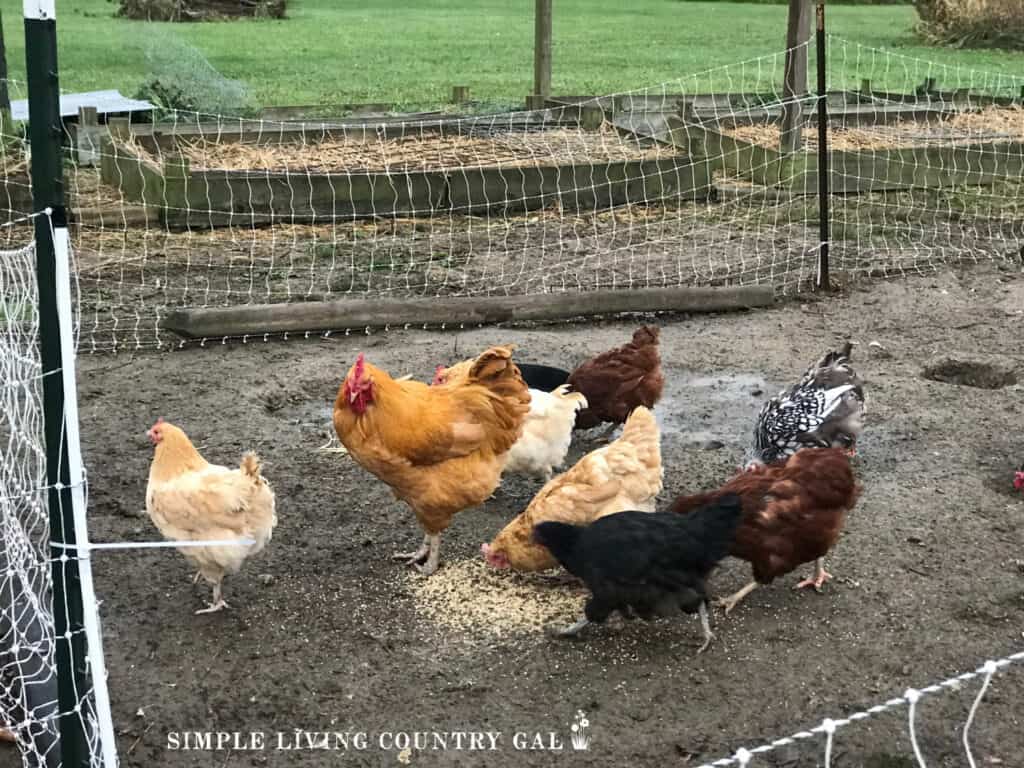
Put your chickens to work!
We like to add piles of fresh compost to the garden and let our chickens work it into the ground for us. They will use their feet to spread the piles out and peck at any bugs and worms. The scratch spreads out the piles and helps to work it into the existing soil.
This is a great midlife tip if you are looking for an easier way to amend your soil for fall.
Tip #3. Encourage Beneficial Microorganisms
Beneficial microorganisms will add beneficial nutrients to the soil. You can do this by adding compost to help improve the health of your soil. This is another reason why having a compost area near your garden is a great way to reuse waste on your homestead.
Tip #4. Take Notes
This might be the most important part of healing an unhealthy garden. Take thorough notes so you remember what your issues were, what steps you took to improve things, and what if any of those steps helped.
Square Foot Garden Planner+Guide 2024 Garden PlannerHerb Garden Planner+Guide


If you have not set up one yet, start building a gardening planner. You can do this in a spiral notebook or purchase a downloadable option that you can start using right away.
Tip #5. Bring in Extra Help
I know I have mentioned this a few times now, but that is for a good reason. Chickens can be so helpful when cleaning out pests from a fall garden.
Chickens love bugs and will work all day long scratching up eggs and pests keeping things under control.
Cleaning up your garden at the end of the growing season may seem like a tedious chore, but it is so much more than that. It is an investment in the future of your backyard vegetable garden.
Take the time now to remove the old plants, turn your soil over to allow it to breathe, and deter pests and disease by adding organic mulch and you will have a much healthier start come spring.
Now that you have a fall garden cleanup checklist, you are one step closer to a vegetable garden that will feed you and your family for years to come!
I think I’ve always known it was wise to tend the garden in the fall and prep it for winter and next year, but reading through your post really makes it clear WHY it is so important! Thanks so much for sharing all these tips.
Hi, Linda!
Thanks for stopping by!
Tracy Lynn
Oh this rings so close to home! We had a terrible time with horn worms and squash bugs! I’m hoping turning my chickens in the gardening spot will help with those little pesky things! The horn worms especially those suckers can eat a whole plant in a night! Thanks for the great read!
Hi, Virginia!
I had a horrible problem with horn worms a few years ago. I have since planted marigolds around my tomatoes and I have not had a problem since. You should try it out and see if it helps you!
Tracy Lynn