How to Grow Vegetables in the Winter
Get tips on how to Grow Vegetables in the Winter so you can enjoy fresh produce all year long no matter what the weather is like outside your window.
Gardening 101 tips that you can use the entire year, both indoors and out, so you can have fresh, amazing produce year round.
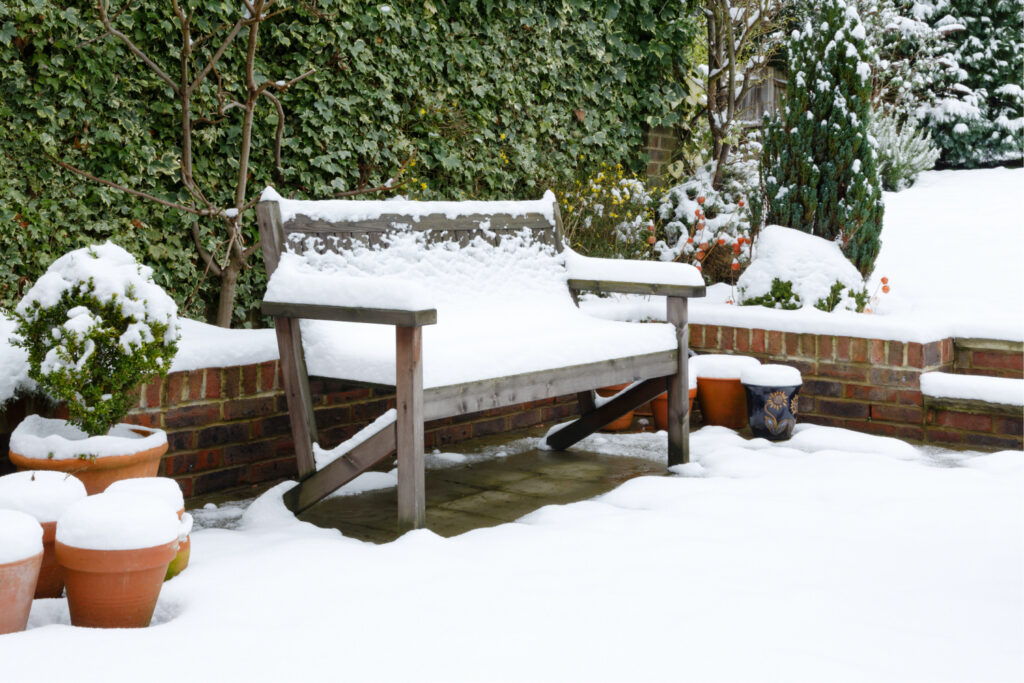
You’ve worked hard on your garden all year, but now winter’s just around the corner, and the cold weather is knocking on your door. Cold weather means you need to buy your produce and the selection my not be the best.
No need to worry; you can still grow vegetables and fruit, too, even in the winter and with a lot of success.
Rather than close up your garden in the fall, you can plant winter garden vegetables in ways that allow plants to grow even in the cold.
It’s true that not all vegetables can handle the rigors of a deep winter, but some will do quite well. Let’s take a look at what vegetables grow best in the winter and how to grow them so you can enjoy a fresh harvest.
What Winter Garden Vegetables are easy to Grow?
There are some vegetables that will grow well throughout the winter especially if they are protected from the harsh elements. If you already have some of these planted in your garden, the good news is that they’ll keep growing even as things cool down.
You will need to give them a bit of protection for when the frost and snow hits and we will talk about that in more detail later in this article.
Winter Vegetables
#1. Leeks
Leeks are winter-hardy vegetables that tend to grow slowly. For spring plantings seeds are started indoors in late winter. They are transplanted outside in shallow holes until they grow larger. Then in mid summer they are dug up again and planted in 8 inch deep holes.
They can be left to grow over the winter months so they can be harvested in the spring. This slow growth allows them to survive the winter chill. The leeks can be harvested throughout winter and used in a variety of dishes.
#2. Lettuce
Despite its reputation as a cool-season summer crop, lettuce can still thrive in winter with a little extra care. Start by choosing winter-hardy lettuce varieties such as Winter Gem or Winter Density. Sow the seeds in a greenhouse or indoors in a sunny spot about 4-6 weeks before the first expected frost.
Gradually expose the seedlings to outdoor conditions to harden them off before transplanting them into the garden. Once the frost arrives, protect the lettuce plants with a cold frame or row cover.
Ensure the soil remains moist but not waterlogged to prevent lettuce roots from freezing. Regular harvesting encourages more growth, so frequently pick the outer leaves of your lettuce plants throughout the winter season.
#3. Swiss Chard
Swiss chard is versatile and can be grown successfully during the winter months. It is best to start by selecting a winter-hardy variety like ‘Fordhook Giant’. Begin by sowing seeds indoors about 10 weeks before the first frost is expected. When the seedlings are about an inch tall, thin them out, leaving the strongest ones.
Gradually harden off the young plants by exposing them to outdoor conditions over a week. Transplant them into the garden, spacing them about 12 inches apart. Protect your Swiss chard plants from frost by cold frames.
Chard prefers well-drained soil that is rich in organic matter. Water thoroughly but infrequently, allowing the soil to dry out between waterings. Swiss chard can be harvested from winter through to spring by continually picking the outer leaves, allowing the center to continue producing.

#4. Peas
Peas are a cool-season crop that can survive light frost and, with a bit of care, can be successfully cultivated in winter. Choose winter-hardy varieties such as Austrian Winter pea or Windham. Begin by sowing seeds directly outdoors, approximately 6-8 weeks before the first expected frost. Plant the seeds about 1 to 1.5 inches deep and 2 inches apart in a sunny location.
Peas prefer well-drained soil rich in organic matter. Erect a trellis or a similar structure for the plants to climb as they grow. Once the frost hits, protect your pea plants by using row covers or a cold frame. Ensure the soil is kept moist but not waterlogged. Regularly check for any signs of disease or pests and take action if needed. Harvest the peas regularly to encourage continued production.
Square Foot Garden Planner+Guide 2024 Garden PlannerHerb Garden Planner+Guide


#5. Radishes
Radishes thrive in cooler temperatures, making them an ideal vegetable to grow during winter. Begin with choosing a winter-hardy variety such as ‘Black Spanish Round’ or ‘Watermelon’. Plant the seeds directly in the garden about 2-3 weeks before the first expected frost.
Sow the seeds half an inch deep and approximately one inch apart in rows that are 12 inches apart. Like most vegetables, radishes prefer well-drained soil rich in organic matter. Water the soil thoroughly and then allow it to dry slightly before watering again.
Protect the radish plants from any severe frost by using a cold frame for colder areas or a row cover for more mild winters. Radishes grow quickly and can be ready to harvest in as little as three weeks after planting.
#6. Kale
Kale is a hardy green thrives in cooler temperatures. Be sure to select a variety of kale that is known for its cold tolerance, such as Winterbor or Siberian kale.
Plant your seeds or seedlings in well-drained soil, and ensure they receive at least six hours of sunlight each day. Use row covers or a cold frame to protect your plants from heavy snow and freezing temperatures.
Regularly check the soil’s moisture level, as winter rains may not always provide enough water.
Plants that hibernate over winter
#1. Garlic
Garlic is one of those plants that is planted before winter but not ready to harvest until summer. Garlic bulbs go into the ground in the fall before the first frost. This allows them to jump-start their root growth.
Once planted, they are covered with a thick layer of bedding, such as straw, and allowed to hibernate over the winter. Once spring comes, they have a good solid head start, making them the perfect size for a summer harvest.
Of all the fall veggies, garlic is one of our favorites to plant. They don’t take up a lot of room, and they don’t need a lot of attention.
#2. Onions
Onions are a great vegetable to plant long before spring arrives. The sooner you can get them into the ground the bigger onions you have at harvest time. Onions love nutrient-rich soil with good drainage and protection from weeds.
It is best to start with bulbs and to plant them as soon as your ground can be worked.

What to Know About Cold Frame Gardening
A cold frame is essentially a bottomless box with a lid that is set over your vegetable garden to protect them from freezing temperatures and frost. They are usually built low to the ground and have a transparent roof to let light in with a hinge for easy access.
The inside temperature needed to grow in a cold frame is around 70 degrees Fahrenheit. There are steps you can take to help keep that temperature, which we will discuss below.
Monitoring your temperature is the key to growing veggies throughout the winter, along with a few extra steps to keep the enclosure warm for better growth.
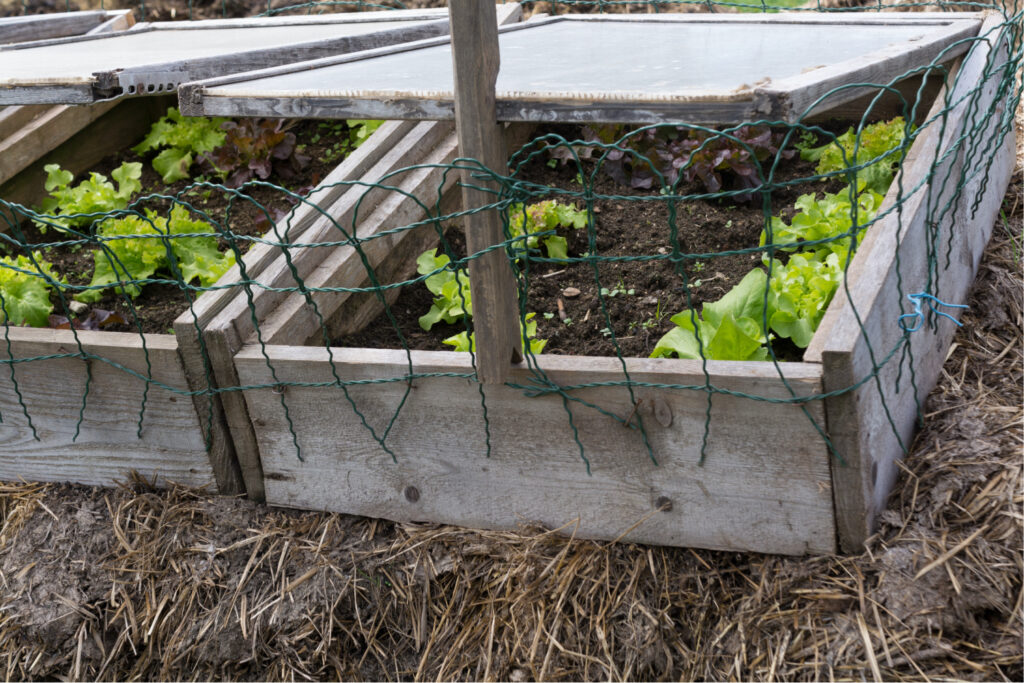
Cold frames protect your plants from chilling temperatures and strong winds while retaining heat and allowing sun in. You can use them to extend your current garden or to start a winter vegetable garden. You can also use them in the spring to jumpstart your seed growth as they act as a greenhouse. They are also used to “harden off” seedlings that were started indoors.
SLCG PR TIP: Monitoring your temperature inside of the cold frame is key. If you see it is too warm, you can vent by propping the lid slightly. If it is too cold, you can cover it with straw or another material to insulate your plants.
As you see how your plants do you will be able to gauge things more easily without constantly checking temps.
Types of Cold Frames
Option #1. Cinder Block Frame
A sunken cold frame with cinder block walls and a hard plastic cover will work best for overwintering plants and hardening-off seedlings.
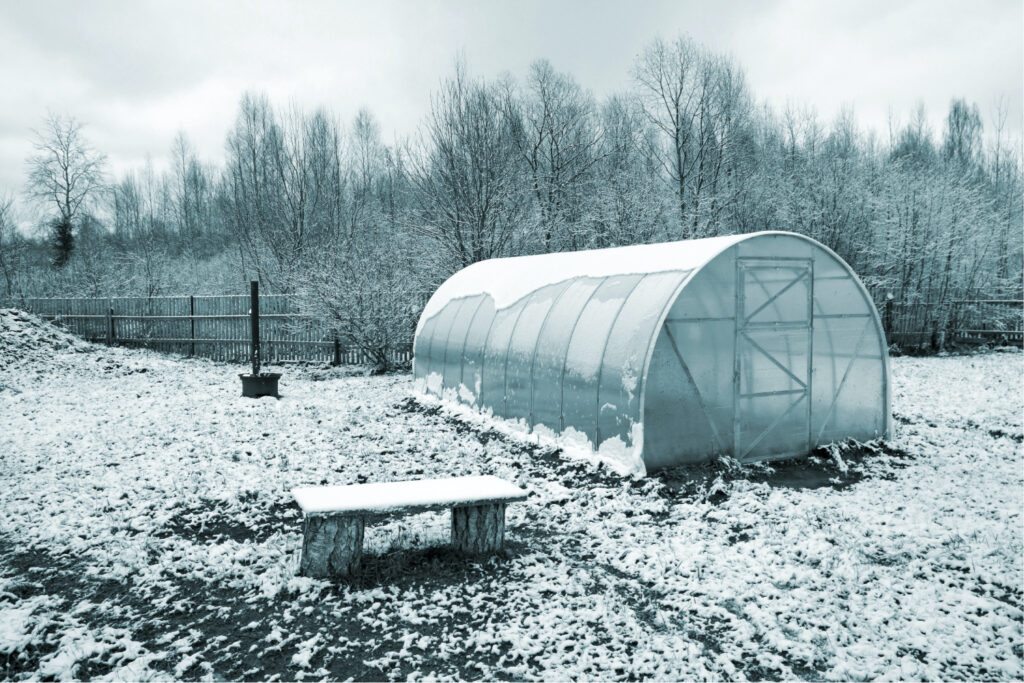
Option #2. Hoop Tunnel
A plastic hoop tunnel will warm the soil for spring seedlings while protecting frost-sensitive plants through cooler temperatures.
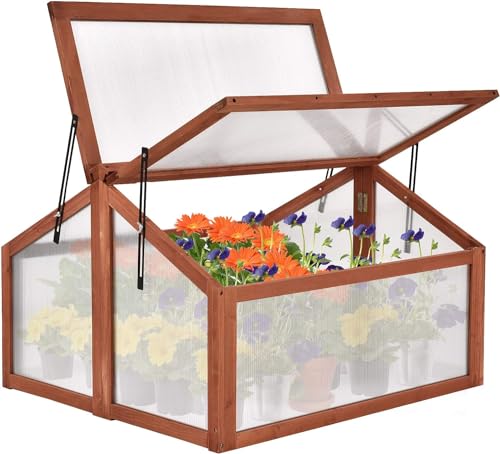
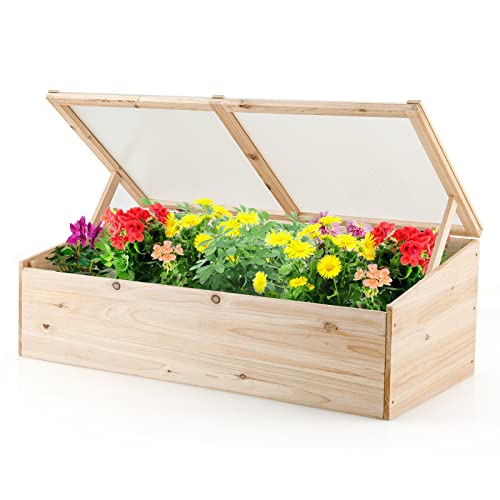
Option #3. Wood Frame
A portable wooden frame with a rigid plastic lid is best for your winter vegetable garden. As an added benefit, you can direct-sow seeds early in the spring.
What You Need to Build a Cold Frame Garden
Cold frame kits can be purchased at most hardware supply stores and nurseries or online. You can easily construct your own for a fraction of the cost with wood and heavy plastic. Bricks and concrete blocks can also be used.
Happygrill Cold Frame, Indoor Outdoor Greenhouse with Foldable Transparent Top, Adjustable Stays & Easy Installation, Portable Mini Greenhouse for Balcony, Garden, Backyard, 35.5 Exaco BioStar 1500 Premium Cold Frame Gardening Tool, pack of 1, ClearZenport SH3212A+BTP Garden Raised Bed and Cold Frame Greenhouse Cloche for Easy Access Protected GardeningOutsunny Raised Garden Bed with Polycarbonate Greenhouse, Wooden Cold Frame Greenhouse, Garden Flower Planter Protection, Peak Roof, 35.5Happygrill Cold Frame Greenhouse, Wood Potable Greenhouse with Foldable Top, Transparent Lid, Raised Planter Box Protection, Indoor & Outdoor Mini Greenhouse for Garden, Patio, Balcony, TerraceLoibinfen Wooden Garden Portable Greenhouse Sturdy Cold Frame Raised Plants Bed Protection with 8 PC boards and Openable Top Door Raised Flower Planter Box 70.9


Most gardeners prefer to use wood frames as the materials are readily available and easier to customize to their setup. Avoid using wood that’s been treated with creosote or other non-earth-friendly products.
SLCP PRO TIP: Take a walk around your property and look for materials you can use to construct a cold frame garden. It doesn’t have to be pretty, just functional, and that mindset can save you quite a bit of money when beginning a new project.
The Lid:
Glass (an old storm window works well), a clear door (such as a shower door), or twin-wall polycarbonate are the best options for a lid that allows plenty of sunshine in. You’ll also need strong hinges to attach it to the box and, if you choose, a handle.
The Frame:
Find or purchase your lumber and cut to match the dimensions of your garden and lid. The back of your frame should be slightly higher than the front to create a slope so rainwater and snow drain off allowing the sunlight to be maximized.
A basic frame consists of three boards in the front and four in the back. Seven shorter boards make up the sides with the seventh cut in half diagonally to create two triangular boards, one for each side, creating the slope.
The boards will need to be screwed to four vertical posts at each corner to match the height of the front and back of the frame. Attaching wood to use as a stand will allow you to prop the lid open on sunny days.
Tools:
A cold frame doesn’t require much in the way of tools for assembly, just some wood screws, a drill, and a screwdriver. If you have yet to stock up a tool kit for your homestead you can buy a kit online.
Making a Cold Frame:
- Start by screwing the side boards into their corner posts using two screws at each end of each board. Drilling pilot holes first will make it easier.
- Screw the narrow end of the triangular top board on each side with the wider end at the back of the frame.
- Add the front and back boards to the corner posts in the same way.
- Your box is now ready for you to add the lid. Carefully position it so it’s flush with the frame at the back, and screw in the hinges.
- If you have one long lid, you may need to add an extra hinge or two for balance.
- Screw the lid supports into place. Position them inside the frame with the shorter one in front and a longer one on the side.
- Give them a little slack to allow them to easily swivel up when needed, so the lid can be propped at different heights to allow more or less air to flow in.
- If you’d like, you can also screw handles onto your lid to make it easier to open.
That’s it! Your cold frame is done and ready to place over your garden.
Hot Bed Option
A hot bed is a cold frame that is heated. Electric heating tape or cables will work, but horse manure or compost is an easier option. Simply clear out about a foot and a half under the frame and add fresh manure or compost. Turn and moisten the compost every few days for a week or so until it settles then cover it with about six inches of soil.
As the manure or compost decomposes, it will generate heat that will protect your garden against early and late frosts.
Tips for Successful Cold Frame Gardening
- Make sure all of your crops are established before the freezing weather sets in.
- Use frost cloths for any plants that aren’t in a cold frame.
- Some plants may grow dormant, but that doesn’t mean they’ve died out. They’ll start growing again when more sunlight is available.
- You may find some of your favorite veggies taste better and sweeter with exposure to cold temperatures.
- On days when the temperatures are above freezing, open the lids to let in more sun and air then close them in the late afternoon as it starts to get colder.
- On damp days or days when the temperatures are at or below freezing, keep the lids closed.
- Plants will need regular watering so if you shut off your outdoor garden hose in freezing temperatures, have a plan for how you will get water to your cold frame garden.
- Keep your garden away from the house or the roof line to reduce the risk of heavy snow falling onto your plants.
- Cold frames made of wood and topped with polycarbonate will provide the best insulation from a freeze or frost for the coldest temperatures.
- Ventilation is important. When weather permits (be sure you have above freezing temperatures) prop the cold frames open to allow warm air to circulate. Improper ventilation can lead to soft growth that is easily damaged in cold weather.
- Keep the top clear of leaves and snow so that your crops can receive proper lighting.
- You can encourage more light and heat retention to your cold frame by painting the inside walls white or lining them with aluminum foil.
- Leave a little extra room in your cold frame for a few one-gallon water jugs painted black. They’ll absorb the heat during the day and release it back to your garden at night.
- Harvesting your garden regularly will keep it growing full and plentiful. Keeping your plants covered and warm with a cold frame will give you a plentiful winter harvest.
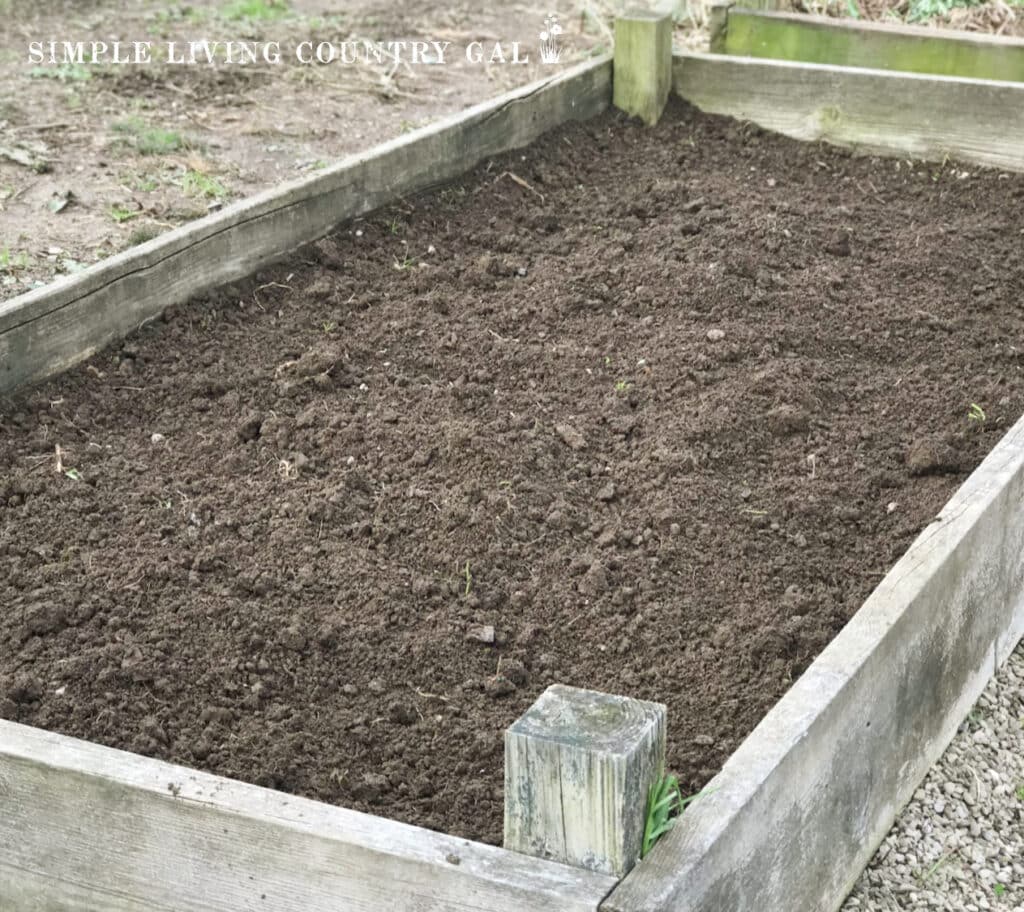
Preparing a Winter Vegetable Garden
You’ll need to do some work to prepare your beds for a winter vegetable garden, just as you would for the summer.
Step #1. Remove any remnants of your summer garden and add brown and green plant materials to your compost pile. Clearing out any spent plants will ensure that summer pest insects and diseases will not stick around through the winter. Don’t compost any pest infected or diseased plants.
Step #2. Use a garden spade to turn the soil deep, about twelve inches, to aerate your soil and break up any clods.
Step #3. Add composting materials and use a garden fork to mix it into the planting soil that you’ve turned.

Step #4. Add nutrients and work them into the top six inches of the soil.
Step #5. Shape the bed so it’s slightly raised about three to four inches and sloped to the south, higher on the north side. This will direct cold air away from the crops.
Step #6. Prepare to plant mounds with a garden hoe making sure they run north and south so your crops will get the full exposure of the sun.
Step #7. Plant tall crops on the north side and shorter ones on the south so they’re not shaded by the taller crops.
Step #8. Make sure your garden is in an area where it will get all day sun. Planting near south-facing stone walls, wooden fences, or buildings are ideal as they absorb the heat during the day and radiate it back to the garden at night.
Step #9. Keep portable cold frames or frost cloths ready to set over your garden at the first freeze or frost.
Step #10. Keep your feet out of the cold mud and snow in the winter by laying gravel or straw in a path around your garden bed.
Cold frame gardening will help to protect the garden you currently have and allow you to keep planting and growing vegetables in the winter. With a bit of preparation, you’ll be able to keep the soil warm, provide necessary sunlight, and keep the frost, rain, and snow from settling on your plants.
Cold frames are easy to build in any size that you need or you can find several inexpensive options for purchasing them. Building a cold frame of your own doesn’t require a lot of tools or supplies and it’s possible that you have everything you need already lying around.
When growing fresh vegetables in the winter, a cold frame garden is a way to go and it will even give you the added benefit of starting your spring garden early.