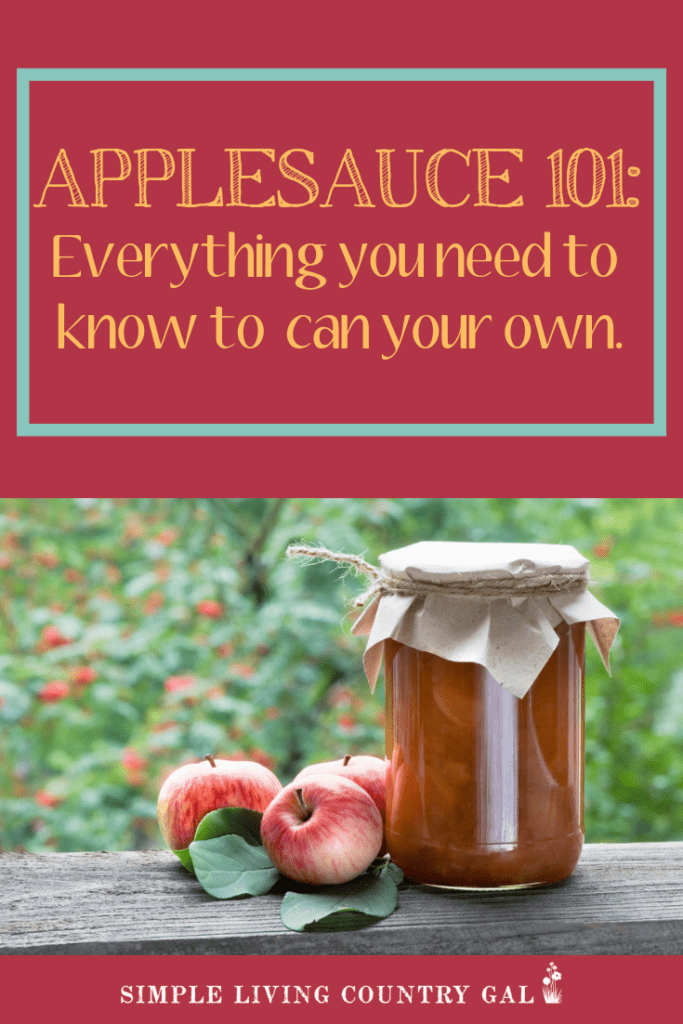
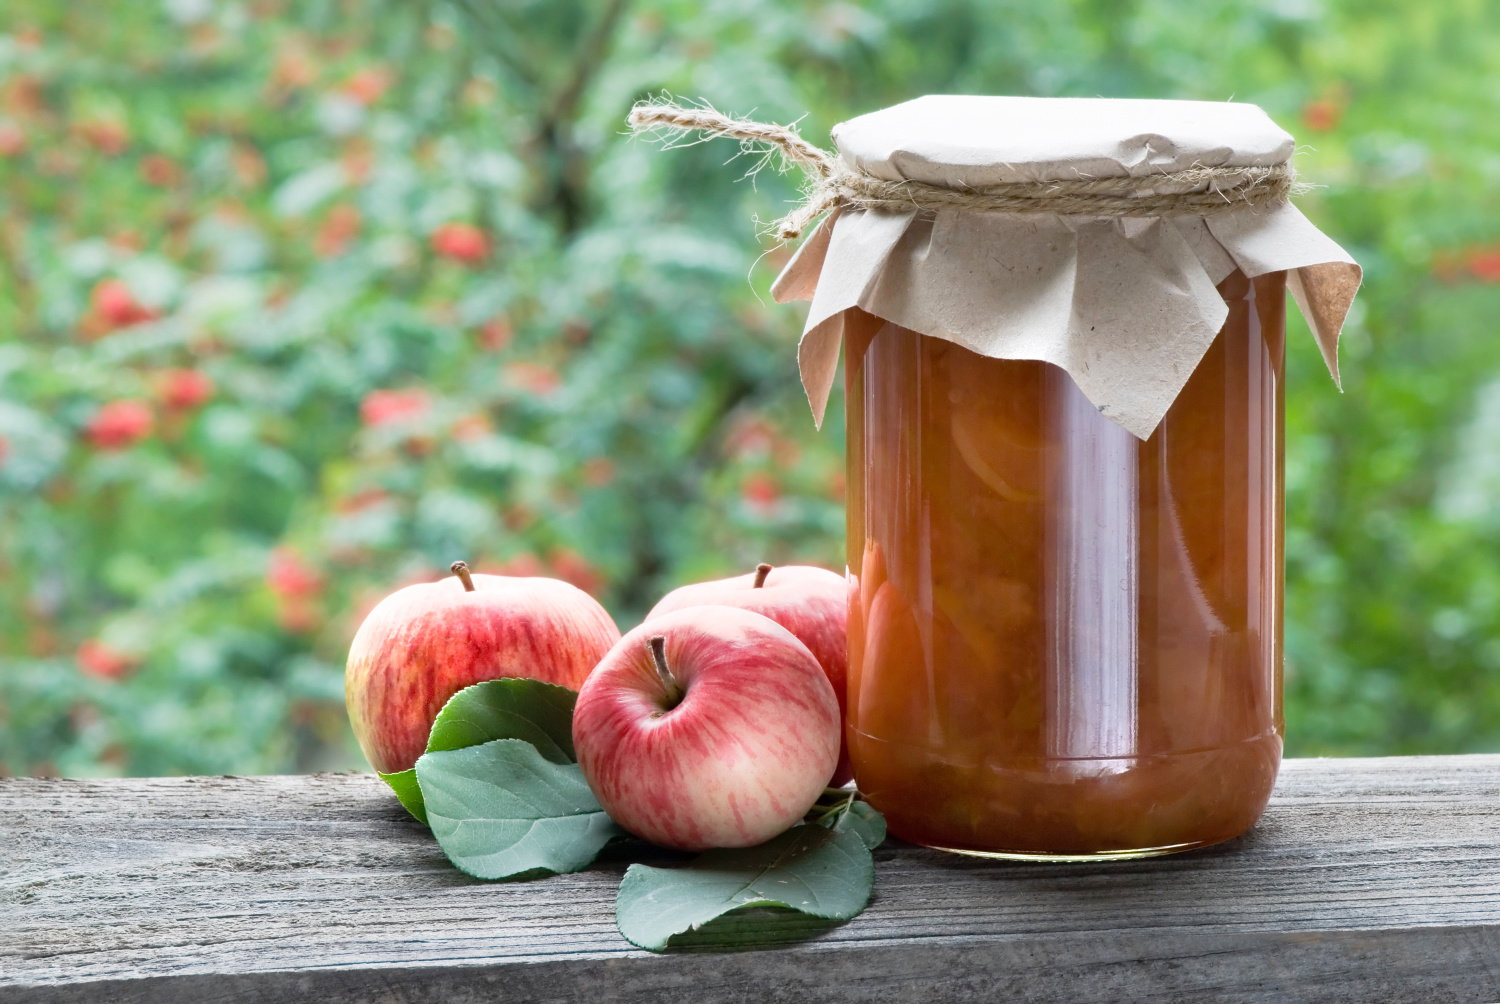
How to Can Applesauce for Beginners
If you are looking for help on how to can applesauce for beginners, this post will get you started off on the right track. Apples are one of those foods that you can do so much with, and applesauce fresh from the jar might be one of my favorite things.
Homesteading tips on how to preserve the food your family loves so you can enjoy it all year long.
Canning is not only fun to do, but it also saves money and is infinitely more healthful than buying store-bought processed foods.
Now, if you are new to canning food, please don’t worry! It is much easier than you think. And as a busy mom myself, I can help you love it as much as I do.
Get the steps and tips that you can use to fill your pantry with the best homegrown food ever from your backyard garden.

One of the biggest benefits of canning is how it makes feeding our kids and families a breeze. You can not only pick the size of the containers, but you can also pick the ingredients being sure to make these recipes not only healthy but delicious as well.
You can make half-pint jars of fruit cups, applesauce, and whole pitted cherries, often as convenience-sized, healthy snacks the whole family can take to go.
Mason jars are free from BPA, recyclable, and canning in small or medium batches can take less than an hour; not the whole afternoon or day the way Grandma did it.
Choosing cheap produce at its peak, from your favorite farmer’s market or grocery store, means you can eat local year-round at the lowest price point and at peak taste. There is nothing I love more than enjoying a bit of summer freshness in the middle of winter.
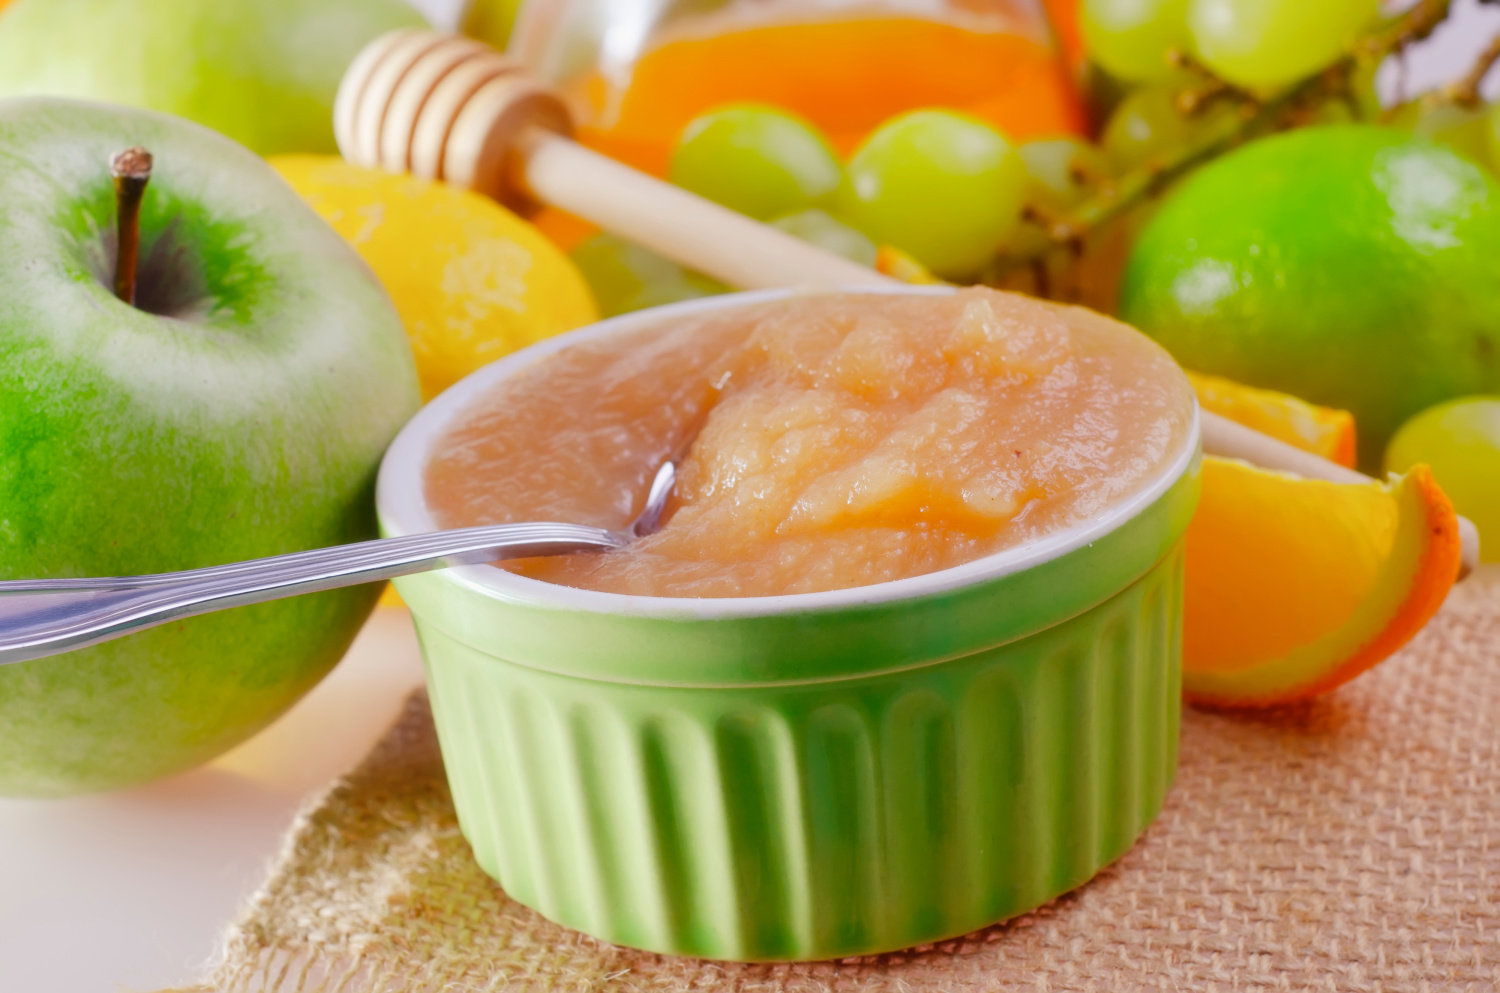
Applesauce is one of my favorite things to can because it is easy to do and loved by people of all ages. Making it at home allows you to do small jars so you can send them with your kids for their school lunch giving them a fun and healthy treat.
Applesauce is also a great after-school snack or a healthy option to have before heading off to after-school practice.
It is also a fun recipe to dress up with spices making it a favorite for your kids.
If you are worried about sugar, you can make it with zero sugar added and have more control over your family’s food health.
How to Can Applesauce Supply List
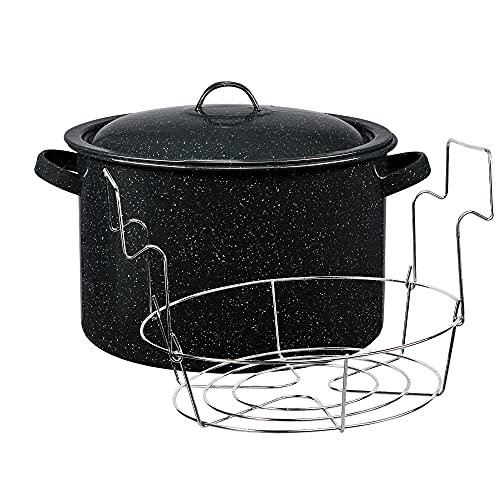
- Large pot – Used for processing jars (AKA canning) or you can use a steam canner (see below for more information).
- Wire rack or silicone trivet – Placed in the bottom of the large pot to keep jars from moving while being processed.
- Medium to large heavy-bottomed pot – Used for cooking apples prior to canning.
- Jar lifter – Used for safely lifting jars from boiling water.
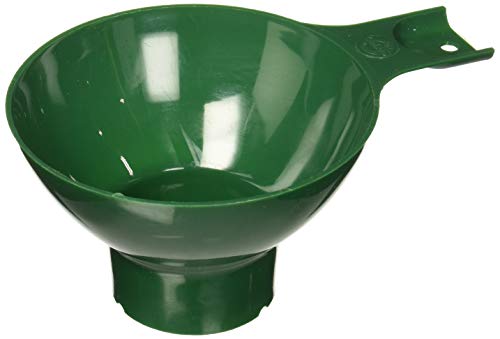
- Funnel – Used for pouring applesauce into jars reducing spilling.
- NEW lids – This ensures a good and solid seal on your jars.
- Rings – If reusing, be sure they are free from rust, dents, or damage.
- Jars – Choose the size that fits your family.
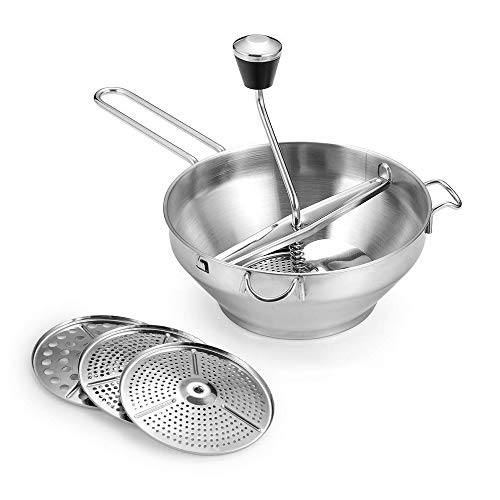
- Food mill – Used to puree your applesauce recipe to the desired consistency.
- trusted canning recipe – (try mine below!)
Canning Tip: I use a newly USDA-approved steam canner to can the fastest way possible. Not only are they quicker, ready to can in 5 minutes, as opposed to ready in 30 minutes, but they are smaller making it easier to move and use.
Homemade Applesauce Steam or Water Bath Canning Recipe
This recipe is mainly for a traditional water bath canner but it can be used in a steam canner as well. Watch for notes where you will want to adjust for the steam canner.
Ingredients you will need:
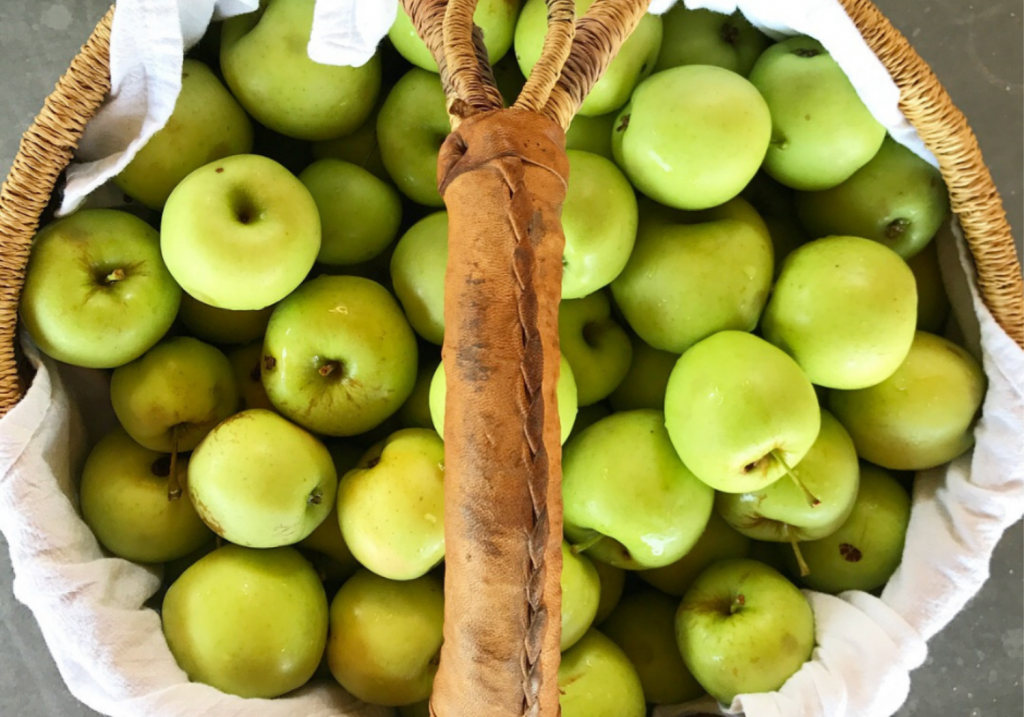
- 8 cups apples – washed and chopped, stems, cores, and seeds may remain
- water to cover- at least 8 cups
- 1 cup sugar
- 2 tablespoons real maple syrup
- 2 teaspoons vanilla
- 1 teaspoon cinnamon
** If desired/for baby food, omit all ingredients but the apples and water. Can using 4-ounce jelly jars.
Homemade Applesauce Directions:
Step #1. Prepare your water bath canning pot or your steam canner. Fill the water bath canning pot with water, add 8 empty half-pints (1 measuring cup total) jars, and bring to a boil OR fill the steam canner to fill line and turn on low with 10-11 pint jars nearby on a towel-covered countertop.
By adding the jars, you ensure you have enough water and sterilize your jars all at the same time.
Step #2. Combine apples and water and simmer together in a preserving pan (a heavy-bottomed, wide pan) or stockpot and stir occasionally for 30 minutes or until the apples are very soft.
Step #3. Once the apples are very soft puree to the desired consistency. Remove apples from heat and carefully ladle into a food mill. Run apple mixture through the mill into a bowl. Be careful, apples will be very hot.
If you prefer, you can skip this step by preparing your apples prior to cooking. Simply peel and core removing stems and seeds. Place into your pot and cook as before. Once ready mash with a potato masher.
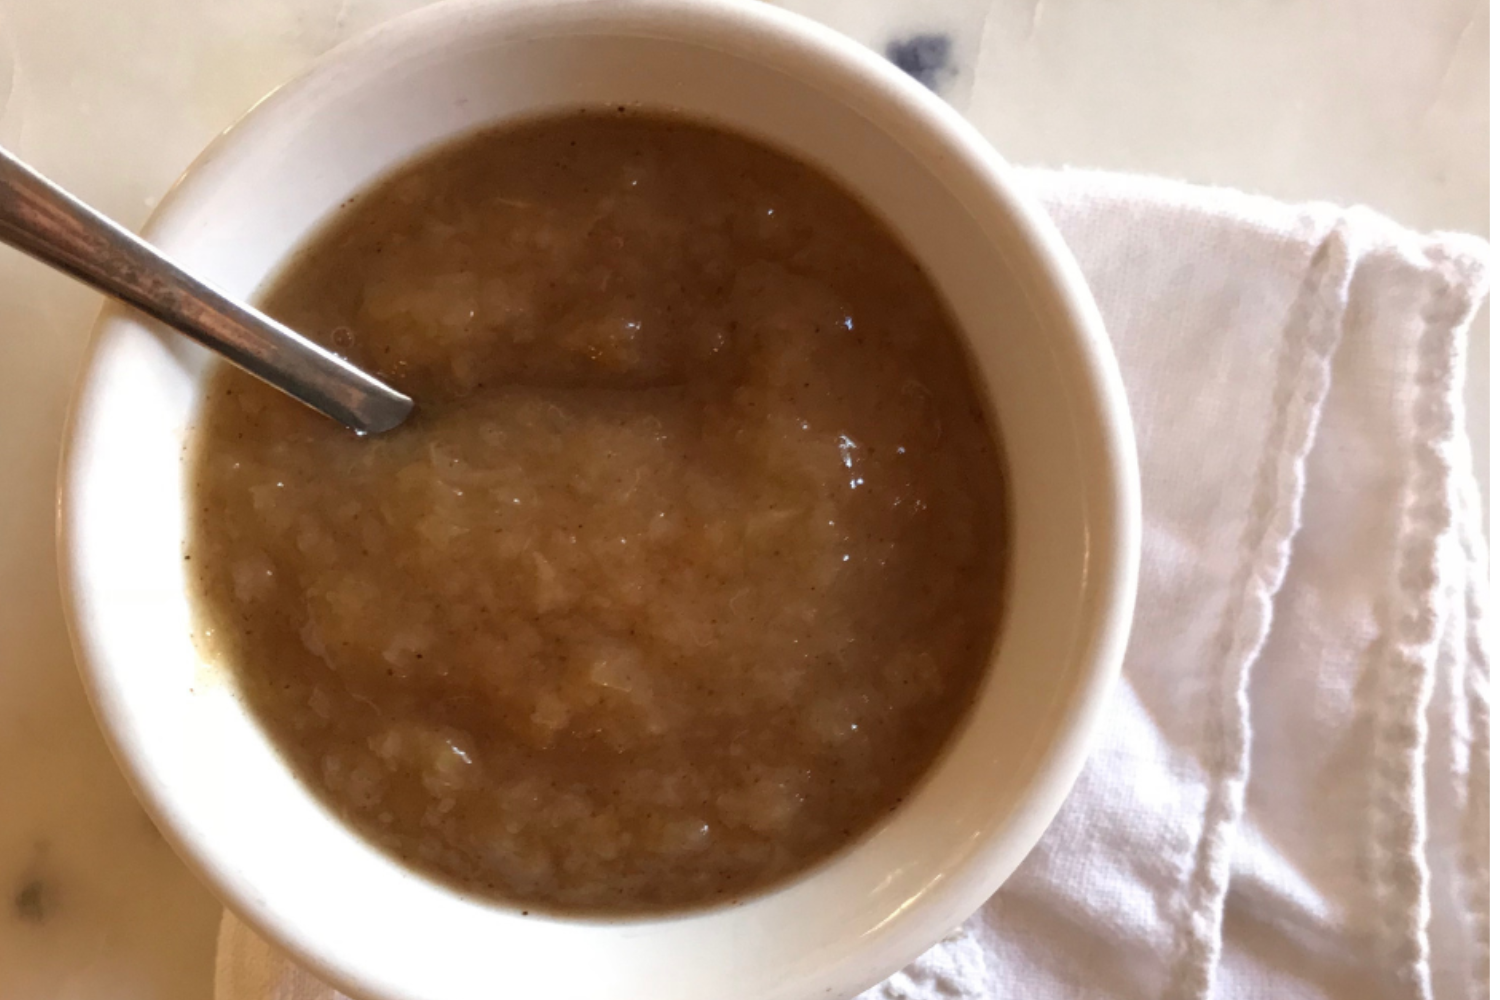
Step #4. Return pureed apples to the pot and bring to a boil. Once boiling add the sugar, maple syrup, vanilla, and cinnamon. Cook for 5 minutes.
Step #5. Ladle applesauce and leave a 1/2-inch headspace. Clean the rims with a cloth to ensure a good seal. Apply lids and rings, being sure not to tighten them too much.
Step #6. Place each jar into the boiling water of your bath canner. Remember, these jars will be hot, so use your jar lifter. If you are using a steam canner, gently set the jars on the rack.
Step #7. Process jars for 10 minutes PLUS 5 minutes for every 1000 ft above sea level.
Step #8. Remove from heat using your jar lifter. Set jars carefully on towel covered countertop. Allow jars to cool completely.
Step #9. Label and store for up to 1 year.
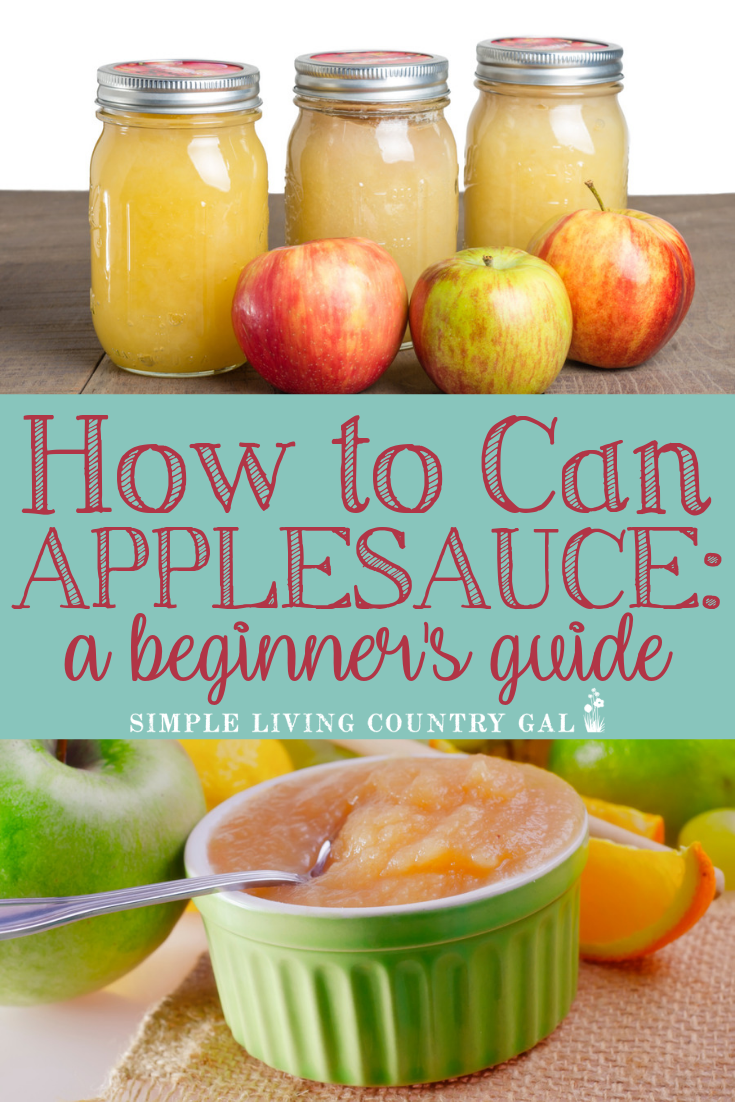
Yields about 10 cups of applesauce.
This recipe is so simple and a great way to give canning a try. Once you see how easy it is you can preserve just about anything filling your pantry with fresh delicious food for your family.
You can even give jars away as gifts, something I find many people love to receive, especially for the holidays.
Add a bit of charm to your jars with these canning labels and create some Homemade Gifts that are easy to make and fun to give!
More Food Resources:
Canning Applesauce
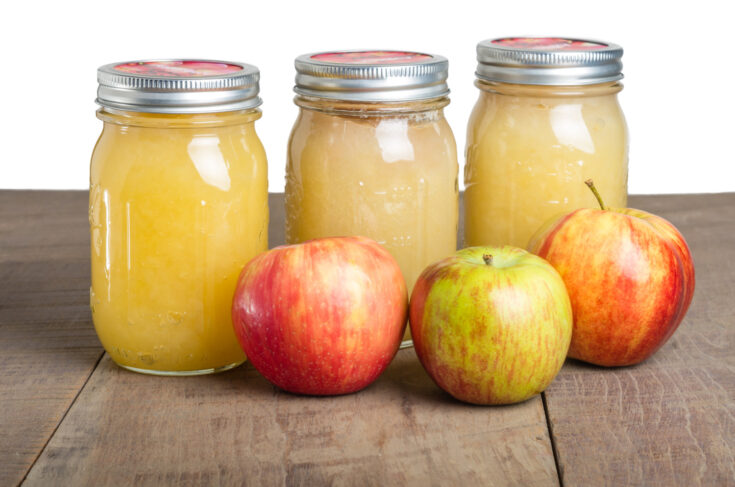
Fill your pantry with fresh applesauce made from the best ingredients. If you are new to canning this is a fun and easy way to get started.
Ingredients
- 8 cups apples – washed and chopped, stems, cores, and seeds may remain
- water to cover- at least 8 cups
- 1 cup sugar
- 2 tablespoons real maple syrup
- 2 teaspoons vanilla
- 1 teaspoon cinnamon
Instructions
Step #1. Prepare your water bath canning pot or your steam canner. Fill the water bath canning pot with water, add 8 empty half-pints (1 measuring cup total) jars, and bring to a boil OR fill the steam canner to fill line and turn on low with 10-11 pint jars nearby on a towel-covered countertop.
Step #2. Combine apples and water and simmer together in a preserving pan (a heavy-bottomed, wide pan) or stockpot and stir occasionally for 30 minutes or until the apples are very soft.
Step #3. Once the apples are very soft puree to the desired consistency. Remove apples from heat and carefully ladle into a food mill. Run apple mixture through the mill into a bowl. Be careful, apples will be very hot.
Step #4. Return pureed apples to the pot and return to a boil. Once boiling add the sugar, maple syrup, vanilla, and cinnamon. Cook for 5 minutes.
Step #5. Ladle applesauce into jars again being careful. Leave a 1/2 inch headspace. Clean the rims with a cloth to ensure a good seal. Apply lids and rings being sure not to tighten them too much.
Step #6. Place each jar into the boiling water of your bath canner. Remember these jars will be hot so use your jar lifter. If you are using a steam canner set the jars gently on the rack.
Step #7. Process jars for 10 minutes PLUS 5 minutes for every 1000 ft above sea level.
Step #8. Remove from heat using your jar lifter. Set jars carefully on towel covered countertop. Allow jars to cool completely.
Step #9. Label and store for up to 1 year.
Notes
- If desired/for baby food, omit all ingredients but the apples and water. Can using 4-ounce jelly jars.
- You can skip cooking the apples prior to canning. Simply peel and core removing stems and seeds. Place into your pot and cook as before. Once ready, mash with a potato masher.
Recommended Products
As an Amazon Associate and member of other affiliate programs, I earn from qualifying purchases.
-
 Cooks Standard Dutch Oven Casserole with Glass Lid, 7-Quart Classic Stainless Steel Stockpot, Silver
 -
Rotary Food Mill Potato Ricer with 3 Interchangeable Disks
-
SEWANTA Wide Mouth Mason Jars 16 oz [18 Pack]
-
Norpro CANNING Wide Mouth Plastic Funnel, Green, 4.75in/12cm
-
Kitchen Crop VKP Brands, Jar Lifter, Red, 1 Count (Pack of 1)
-
Granite Ware Enamel on Steel 12-Quart Water Bath Canner with Lid Black

![SEWANTA Wide Mouth Mason Jars 16 oz [18 Pack]](https://m.media-amazon.com/images/I/418qy+VyK7L._SL500_.jpg)


Jenny Gomes blogs about homemade food and crafts at www.thedomesticwildflower.com She’s a mom of 2, and an English teacher, and if she had to can one thing for the rest of her life, it would be tomato sauce. 😍
To learn more about canning, you can dive into the FREE Canning Basics Course here where you will get tips and help on canning with confidence.
This guest post is from Jenny, a healthy, homemade food enthusiast and who loves to teach others how simple it is to preserve food for our families. You can find out more about Jenny below!
It is very helpful, thank you
Very beautyful. Thanks you so much!
It is very helpful, thank you
Very easy recipe to follow. Great instructions. Thank you!
What about adding salt or lemon to jars? I’m very new at this but I like this recipe.
Thanks in advance
Lemon is optional and can be added if you want. I have not heard of adding salt, so unfortunately I do not have any advice on that part of it.
Tracy Lynn