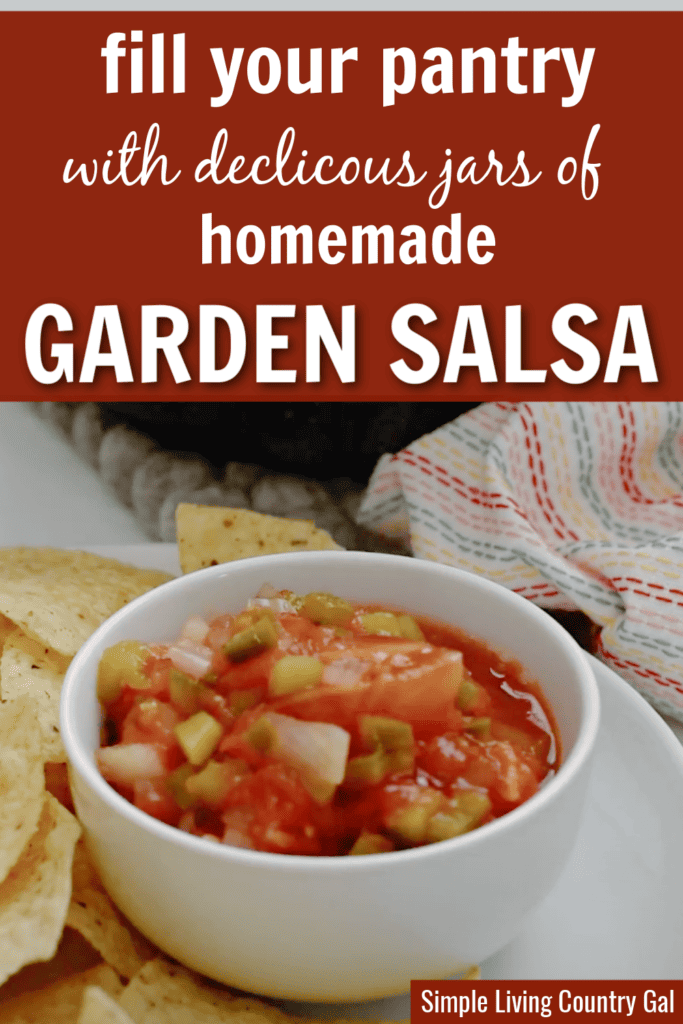
How to can salsa
Preserving foods from your own garden is a great way to preserve the fresh summer bounty of vegetables and bring some delicious flavor to your meals.
This guide on how to can salsa will help you to fill your pantry with foods from your summer garden. One of my favorite homesteading tips is preserving and freezing the food you worked so hard to grow in your summer garden.
Canning salsa allows you to store fresh foods for months at a time so that you can enjoy them all year long. This canning recipe is easy and safe and a great way to try out canning foods in your own kitchen.
If you have never canned before, it can seem quite overwhelming, maybe even a bit scary. The good news is canning is easy, and as long as you keep the rims clean and process them in the correct amount of time, you will have safely canned jars.
Before diving in, let’s go over a few common questions about canning salsa.
Do I have to cook salsa before canning?
Yes, fresh homemade garden salsa must be cooked before being canned. The cooking heat helps break down the tomatoes and peppers and kills any bacteria that may have been present in the vegetables.
Another reason is you want everything to be at the same temperature to ensure the jars do not crack while process. This means hot salsa poured into hot jars that then go into hot water in a canner.
Why do you put vinegar in salsa before canning?
The vinegar’s acidity helps preserve the salsa’s color, flavor, and texture. It also assists in killing any bacteria found in the ingredients.
Can I use white vinegar instead of apple cider vinegar in canning salsa?
No, white vinegar is too acidic and could alter the flavor of your salsa. Apple cider vinegar has a milder acidity to help preserve your salsa’s overall flavor profile.
If you have ever tried homemade salsa, you understand why it is such a popular item to make from scratch. The flavors are more amazing, the colors are more vibrant than storebought, and the texture tastes like you just picked the ingredients.
How to can salsa
Canning salsa at the end of the growing season is an annual event for our family. Once you see how simple it is to make, filling your pantry with jars of salsa may soon become a summer tradition in your home too.
What is canning?
Canning is a method of preserving food that is processed using boiling water or steam and sealed in an airtight container.
How long is the shelf life of home canned foods?
Home canned foods are good for up to 12 months in a kitchen pantry, with some lasting as long as 2-4 years.
Salsa Recipe Tips
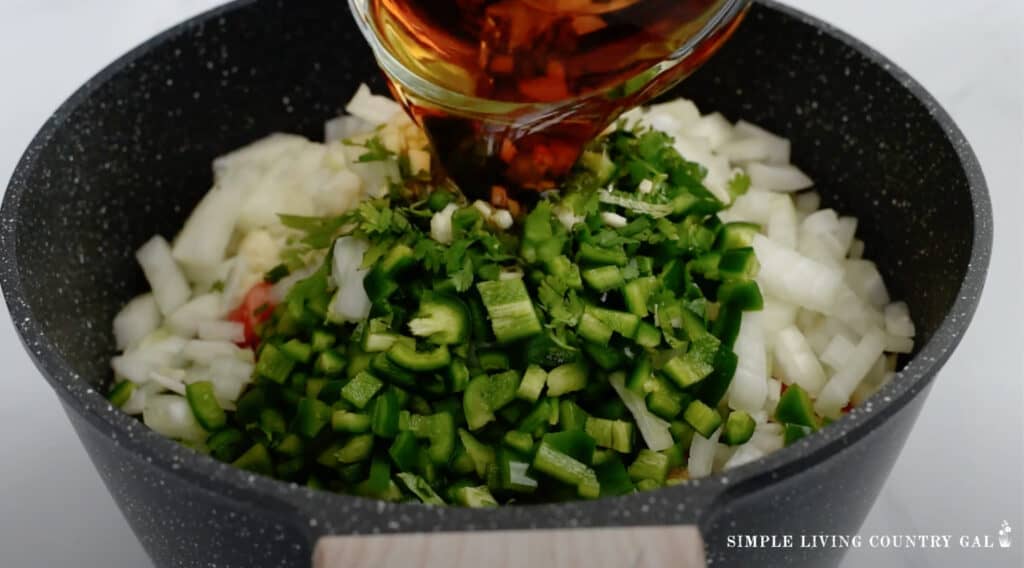
When making your own garden salsa for canning, there are several things to consider when selecting vegetables and other ingredients. Choose only the freshest ingredients that are free of pests and blemish free. Yes, you can make and can salsa using grocery store produce, but the end result will not be worth the effort you put in.
Start out with the freshest ingredients so you can enjoy fresh salsa later on.
Get My Favorite Garden Salsa Recipe here!
Since the salsa needs to be warm to hot when canning, it is best to make your salsa the day you plan to process it.
Canning Essentials from Amazon:
Use these tools to help make the process quicker and easier to do.
• 16 oz canning jars – The perfect size for canning salsa.
• Lids and rings – It’s always good to have extras on hand.
• Canning tongs – Great for lifting jars in and out of your canner.
• Water Bath Canner with Glass Lid
• Canning supplies – Everything you need to get started.
Canning Tips
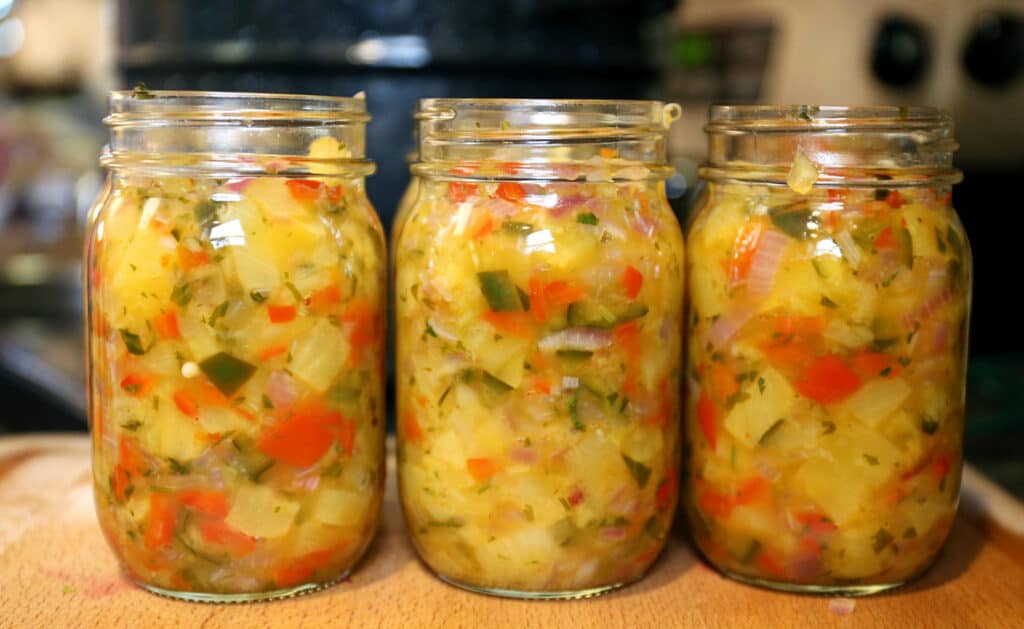
#1. Be sure whatever salsa recipe you use is a large enough batch for canning. 8-12 16 oz jars are worth the time investment this project calls for. Adjust your ingredients to ensure you have enough.
#2. Be sure you have enough space in your kitchen for cleaning, prepping, cooking, and canning.
#3. You can use a cooker outdoors for the canning process to keep your home cooler inside.
#4. Make sure you are using fresh, ripe vegetables from the garden.
Once the canning process is complete, your homemade garden salsa can be stored in your pantry for up to 18 months. Don’t forget to keep some fresh to enjoy as well. Store fresh salsa in your refrigerator for up to a week.
Uses for Homemade canned Salsa
Homemade salsa is a tasty addition to many dishes. You can use it as a dip with chips or crackers, top tacos or burritos with it, spread it on sandwiches and burgers, and add it to omelets, stews, soups, and chilis. You can also use it as a marinade for grilling or roasting meats.
Turning your garden harvest into an amazing bowl of salsa is one of the best reasons for having a backyard garden. Keep this guide on how to can salsa in your library to use at every summer garden harvest.
More Food Preserving Resources:

How to Can Salsa
Fill your pantry with fresh salsa made from your own backyard garden. This is a great way to enjoy your summer harvest all year long.
Ingredients
- 16 oz canning jars
- New lids
- Rings
- Water bath canner and supplies
- Fresh made garden salsa
Instructions
- Place jars in the canner and fill with water. You want the water to be just an inch above the jars.
- Remove the jars and bring the water in the canner to a light boil. (takes about 25 minutes)
- Sterilize jars, rings, and lids. Keep warm until needed.
- Ladle hot salsa into hot jars. Leave ½ headspace. Remove air bubbles and add more salsa to adjust the headspace if needed.
- Clean the rim, center the lid on the jar, and screw down the band until you feel resistance. Once you do, increase the tightness slightly.
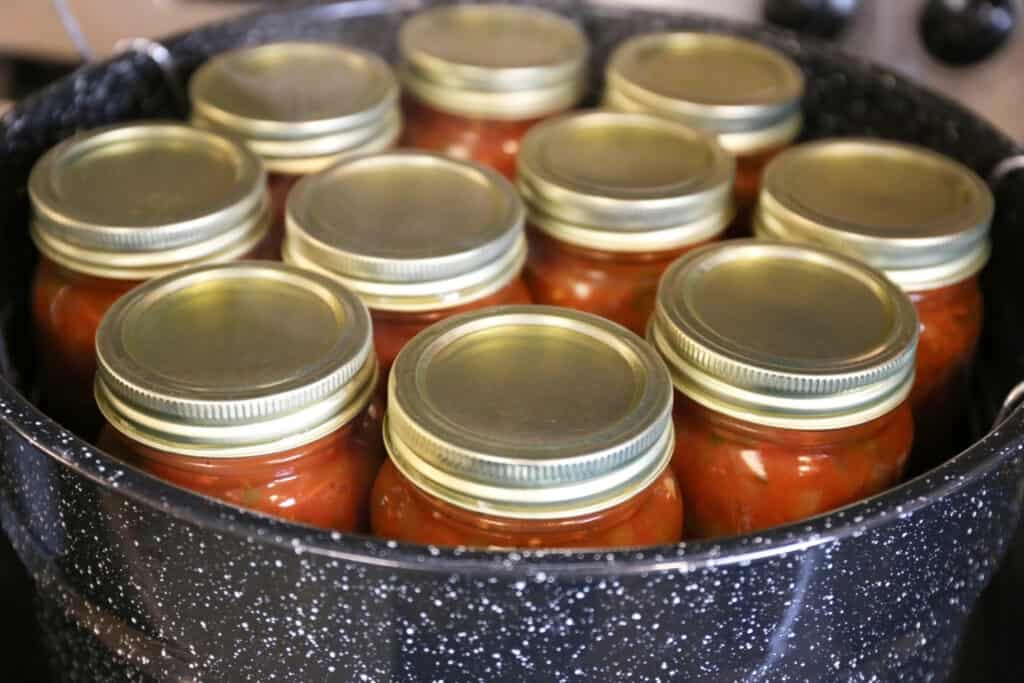
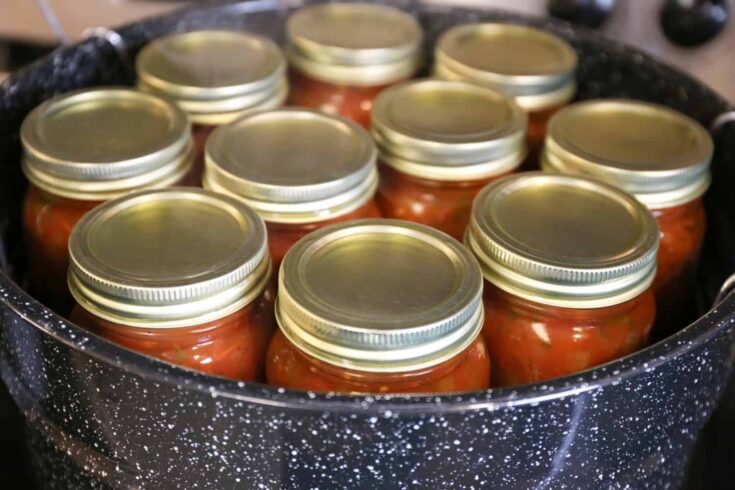
- Place jars in the canner, ensuring they are completely covered with water.
- Cover and bring water to a boil. Once the water is boiling, process for 15 minutes.
- Remove the lid from the canner and let rest for 5 minutes.
- Remove jars to cool from the canner onto a towel and allow them to cool. (4-6 hours)
- Once cooled, date the lids, label them, and store.
Notes
To know if your jars are sealed, you will hear a "pop" noise as they begin to cool. This usually happens in the first 5-8 minutes.
You can also check the seals by pressing down on the lids with your finger. If the lid presses down, it is not sealed and will need to be reprocessed.
Yum! I’ve canned lots of stuff but never salsa. It’s on my list for this summer though! Thanks for the handy tutorial.
I also can salsa! It’s so important to do it right. Thanks for the step by step run through and recipe and for sharing with us on the Homestead Blog Hop. We appreciate you taking the time to join us.