How to Dry Herbs
Do you love herbs but hate the cost of organic dried options at the store? If so, this article will give you the steps you need on how to dry herbs. Now you can have a full supply of home grown herbs to take your cooking to the next level.
Use this simple cooking tip for your kitchen to stock your home with the best ingredients.
When I was first married, my mother in law stocked our pantry with staples. From baking supplies to bottles of herbs and spices I had every thing I needed to cook basic meals.
It wasn’t until years later that I learned those bottles had a shelf life, and rust on the lid was not the clue I needed to see before I replaced things.
Now, I am happy to say that my cooking skills have improved, and so have my tastes. I no longer use store-bought herbs but instead, grow my own in the summer and dry them to use throughout the year. Get tips on how to grow herbs for beginners so you can start your summer harvest prep work.
Drying herbs is easy and enjoyable, and it is something you can add to your summer homesteading to-do list. Fill your pantry with some gardening freshness that you can use to create dishes that your family will rave about.
Dry herbs last longer
Drying herbs from your garden is a great way to take advantage of your harvest so you can then use those herbs later in your kitchen. Fresh herbs can die quickly, but drying them allows you to preserve them for later use, retaining flavor and preventing waste—great goals for any gardener or homesteader.
Dry fresh herbs right away
It’s best to dry herbs immediately after harvesting them to retain their flavor, giving your dishes even more of a punch later on.
SLCG PRO TIP: If your herb garden is outside, you’ll want to wash the leaves and stems and pat them dry with a paper towel before starting the drying process to ensure they’re free of insects and dirt.
While you can dry almost any herb for later use, some herbs retain their flavor more (and longer) than others, making them a better choice. Herbs that have a strong fresh flavor can retain that flavor when dried. Because of that, dried herbs tend to concentrate the flavor so you can use less of them in your recipes than if you are using fresh herbs.
what are the Best Herbs for Drying
Most herbs can be dried but there are some that do better than others.
- Basil
- Chives
- Mint
- Tarragon
- Bay
- Dill
- Oregano
- Rosemary
- Marjoram
- Thyme
Be sure to grab the free herb list below. Print it out and keep it in your food preserving or gardening binder. This list is a great way to ensure your work is going towards spices that will taste just as good later as they do now.
Harvesting Herbs for Drying
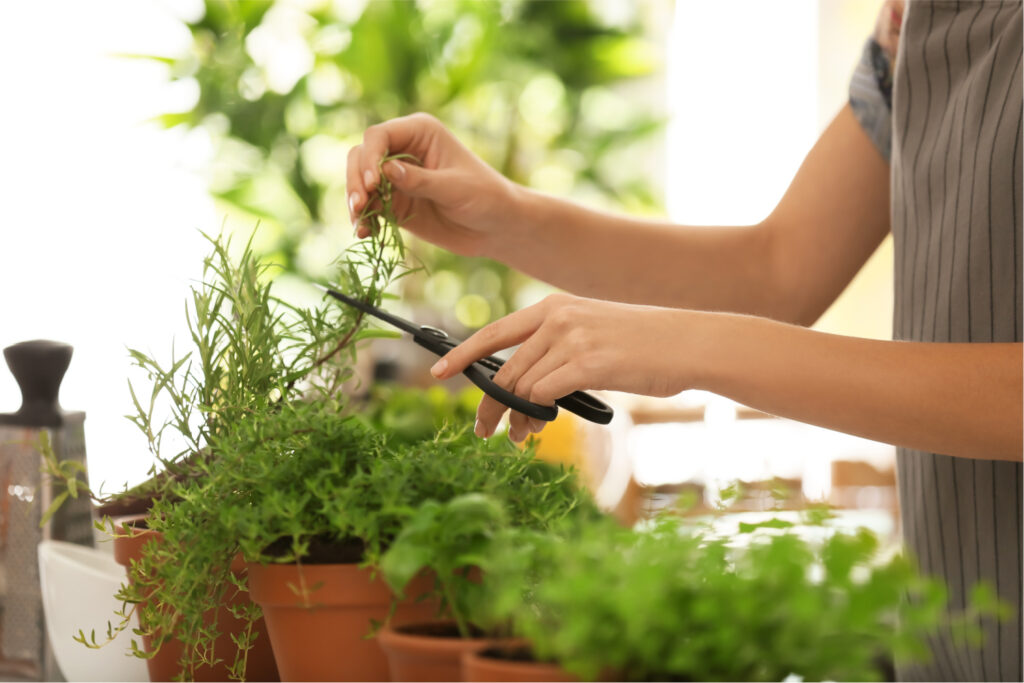
One of the reasons I love my kitchen herb garden is because the seasonings I need are right there all the time. But just because I have them growing in my kitchen year-round doesn’t mean I won’t be filling my pantry with dried herbs as well.
The good news is when you grow your herbs indoors, you can harvest them at any time, which means you will always have the very freshest herbs to use for drying.
READ: HOW TO GROW HERBS IN POTS
When is the best time to harvest herbs from outside:
Harvesting herbs at just the right time will ensure their flavor later on.
- Before the weather changes – By late summer, herbs will start to decline as the weather turns to
 cooler temperatures, so herbs planted outdoors will need to be harvested.
 - Before they flower – You’ll also want to harvest before they flower to help preserve the flavor.
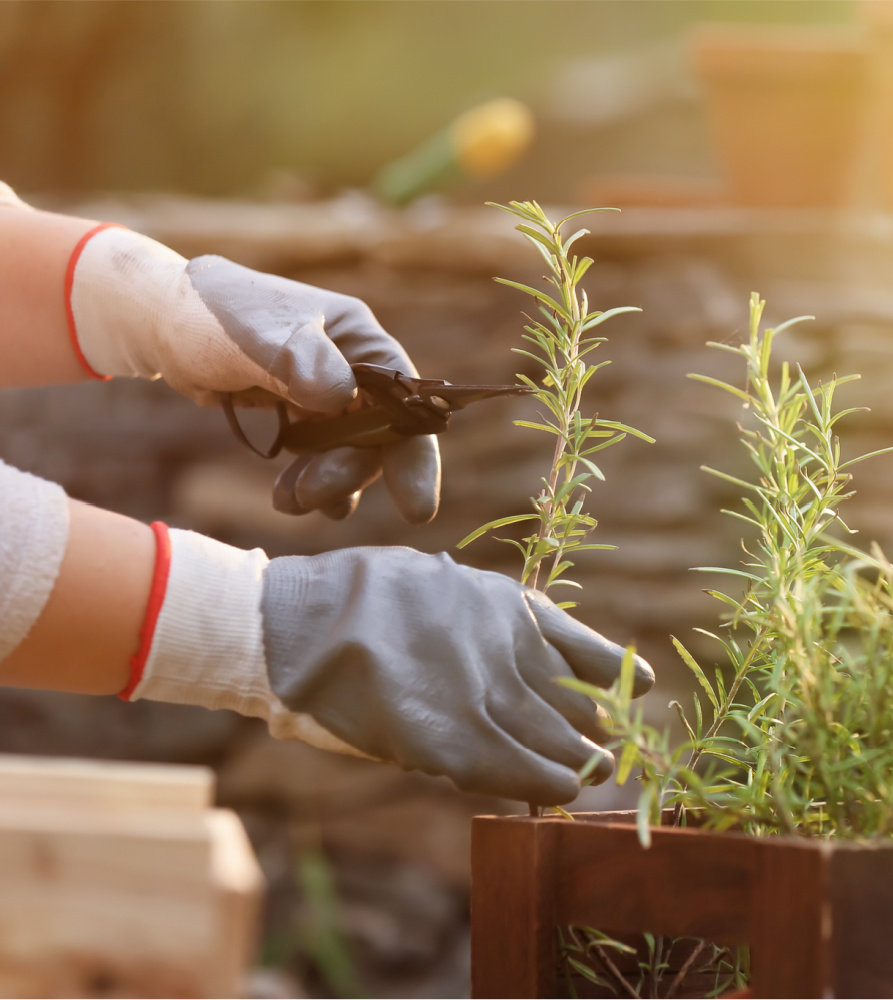
- In the late morning – There is a right time of day that makes harvesting herbs better; after the morning dew has dried and before they start to wilt in the afternoon sun. Plan a day to harvest when you can clip your herbs after sunrise and before early afternoon.
- Be selective – Cutting back too much at once can be damaging to the plant. Unless you replace or remove the entire plant, never remove more than one-third of its branches at a time.
 cooler temperatures, so herbs planted outdoors will need to be harvested.
 The Proper Tools needed
You’ll need to have a few tools to help with harvesting herbs and drying them for storage. Be sure to chose the method before you purchased the tools as not all tools are needed.
- Garden scissors or pruning shears – to use for harvesting.
- Airtight containers and labels – glass canning jars work best but plastic storage containers or bags will work as well
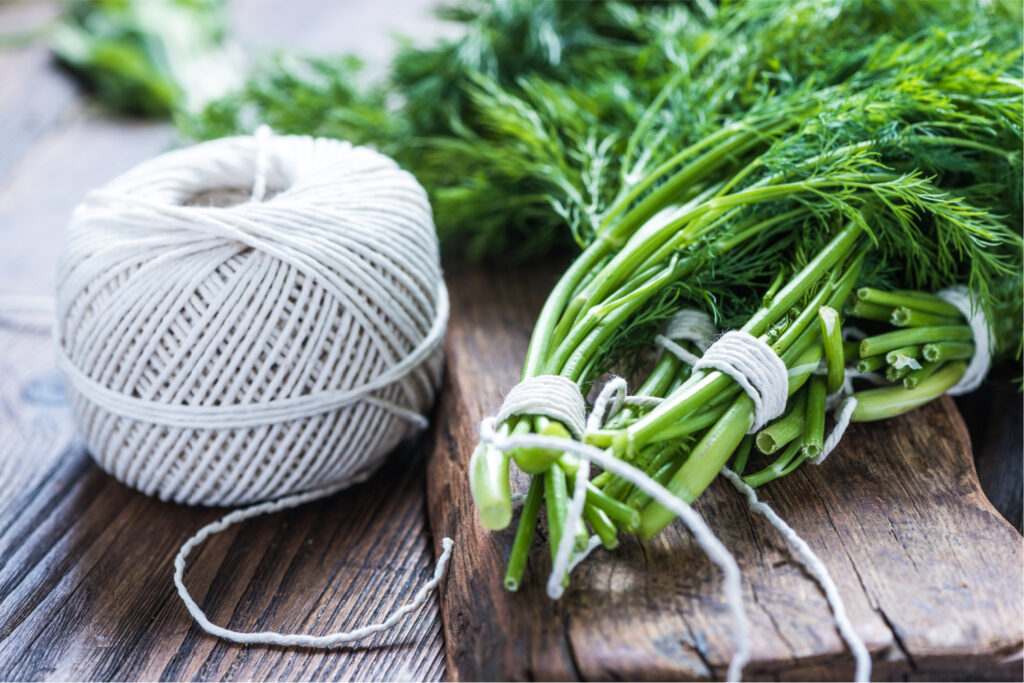
- String – used to bundle herbs together.
- Drying bag or food dehydrator – used for air-drying.
- Cookie sheet – use for oven drying.
- Cheesecloth and wooden frame – used for rack drying.
- Paper towels – used for microwave drying.
By this list, you can see there are various ways to dry herbs and you’ll need different equipment for each method so be sure to decide how you will dry them before you harvest them.
2 Pcs Garden Flower Scissors, 2024 Multifunctional Pruning Gardening Flower Shears, Premium Thickened Stainless Steel Garden Shears for Flowers, Fruits, Vegetables, Plant Branches, Potted Landscapes Commercial Chef Food Dehydrator, Dehydrator for Food and Jerky, 280W Meat Dehydrator Machine for Dehydrated Foods with 5 Drying Racks and Slide Out Tray, WhiteGardener’s Supply Company | Wooden Bamboo Herb Drying Rack | Floor Or Countertop Free Standing 4 Layers | with Removable Bamboo Mesh Trays | 20-1/2Herb Drying Rack Hanging Drying Rack Mesh for Plants Herb Dryer 2ft 4 Layer Collapsible Dry Net with Zipper, Gloves, Hook Hang Herbs, Seeds, Bud, Hydroponic Plants,Vegetable for Garden 24iPower 2 Feet 4 Layer Herb Drying Rack Hanging Foldable Dry Net with Heavy Duty Rings and Carrying Bag, for Plants, Seeds, and Buds, GreenDritz 606 Cheesecloth, Food Grade #10, 36-Inch x 6-Yards , White


Which Drying Methods Work Best for Each Herb
If you have never dried herbs before, don’t fill your cart with supplies just yet! Read through the rest of this article before you decide on the method you would like to use. Then jump back up here and only buy the exact supplies you need to begin drying herbs for your pantry.
#1. Air drying herbs
The paper bag method is best for herbs that don’t have a high moisture content, like dill, oregano, rosemary, bay, marjoram, and thyme.
For herbs with a higher moisture content, like basil, mint, chives, and tarragon, try the food dehydrator method or the oven drying method.
#2. Oven drying herbs
This method is easy; you only need a cookie sheet and your oven. The oven drying method does slightly cook the herbs, however, removing some of the flavors. This means you’ll need to use more when cooking with them. Just make a note on the jar so you remember that you used this method and adjust the amount accordingly.
#3. Rack drying herbs
This is another form of air drying, but it requires a warm and airy spot that is out of direct light. A pantry or kitchen cabinet will work well for this. A drying rack can be rather large, so you will need enough space. Something to consider this before choosing this option.
#4. Microwave drying herbs
If you have a few leaves to dry and want to do so quickly, the microwave method works well. It simply requires a plate and a few paper towels.
#5. Dehydrator drying herbs
This method requires a food dehydrator with mesh racks so the leaves don’t fall through. If you have a dehydrator, this is the best method for bulk drying.
If you would rather put herbs into cold storage, you can read: HOW TO FREEZE HERBS for our step-by-step guide.
Which method is best?
As you can see, there are various methods of drying herbs with some working better than others.
- Air-drying and oven-drying methods are most common.
- Rack drying and microwave drying work well if you have a few herbs to dry.
- The dehydrator method works well if you have a lot of herbs to dry all at once.
Please note that air drying, rack drying, and dehydrating methods will allow the herbs to retain most of their flavor while the oven and microwave methods will slightly cook the herbs, reducing their flavor so you’ll need to use a little more in your recipes.
Square Foot Garden Planner+Guide 2024 Garden PlannerHerb Garden Planner+Guide


herb drying methods
Let’s look at each method in more detail, allowing you to choose the best option.
Air Drying Herbs
The air-drying method is probably the easiest method and it’s been used for hundreds of years. This is also known as the hang-drying method. If your herbs were grown outside, clean and dry them well before starting. Then simply tie sprigs or branches together with string or bind them with a rubber band.
Keep the bunches small as large bunches can develop mold and the leaves can become discolored. Wrap the bundles in muslin or place them in a thin paper bag. This will help to keep dust out and it will catch any falling leave.
If using a paper bag, poke a few small holes in it to allow the air to circulate. Don’t use plastic bags; they can encourage mold growth.
Depending on the size of your herb bundles and the amount of humidity (keep the area dry and free of humidity), the drying process can take one to two weeks. When they’re completely dried, the leaves will be crisp and crush easily in the palm of your hand.
You can also use this method with individual leaves. Poke holes into a paper bag and place your herb leaves inside. Tie the paper bag closed with string or bind it with a rubber band. Allow the bag to hang in a dark, dry area for about a week then test your leaves for dryness. When they easily crumble, they’re ready to store.
Oven Drying Herbs
You can use your oven to help dry herbs quickly while still remaining fragrant. Cover a baking sheet with muslin, cheesecloth, or a silicone mat so the leaves don’t stick and set your oven to the lowest possible temperature, around 200 degrees. Pull the leaves from the stems, clean and dry them, and place them on your baking sheet.
Bake for about an hour, turning after 30 minutes for even drying, until the leaves crumble easily. Leave the oven door cracked to allow any moisture to escape. Once dried, leave the oven door cracked so the heat can escape and leave the tray in the oven until the leaves are completely cooled.
Microwave Drying Herbs
Drying herbs in the microwave is easy to do and it’s the perfect way to dry just a few leaves at a time. Start by separating the leaves from the stems and gently wash them if your herbs were grown outdoors then dry them well with a paper towel.
Once they’re completely dry, place a clean, dry paper towel on a microwave plate, place your leaves on top of it, and cover with another clean, dry paper towel.
Microwave for one minute then check to see if they’re done. If not, continue checking at 20-30 second intervals until the leaves are dried and crisp.

Rack Drying Herbs
The rack method works well if you want to speed up the air-drying method. It allows the leaves and sprigs more space and air circulates around them. You’ll need to make a drying rack by stretching muslin or cheesecloth over a wooden frame and affixing it.
A large, unused wooden picture frame works well; stretch the cloth over it, pull it tight, and staple it to the outside of the frame. Clean and dry your leaves or sprigs well then place your them on the cloth, spreading them out to make sure air can circulate around them, and place the frame in a warm, dark area away from direct sunlight. A cabinet or pantry works well.
Turn the leaves frequently for even drying. Your leaves should be dried and ready to store in two to three days.
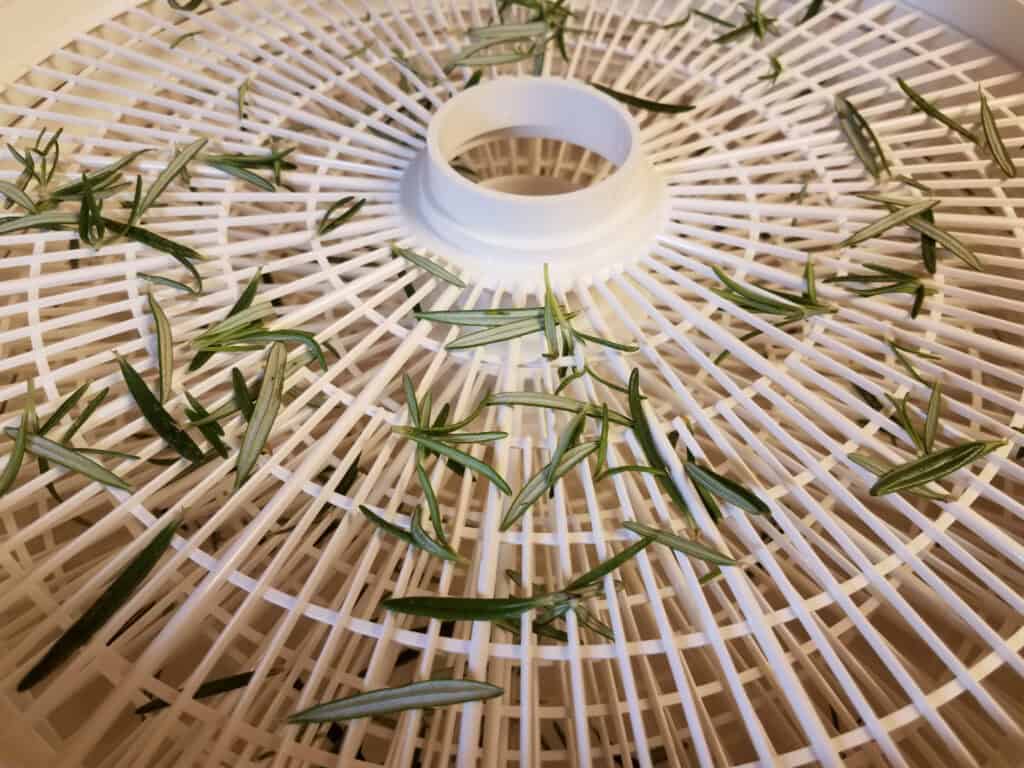
Dehydrating Herbs
A food dehydrator is a great tool for drying herbs in bulk, especially if it has a mesh insert that keeps leaves from falling through. As with the other methods, make sure your leaves are clean and dry then place them in a single layer on each tray of the dehydrator.
Cook at the lowest setting for two to four hours until they’re completely dried.
Carefully remove the trays over a clean cloth or bowl to catch any broken bits to save and store.
How to Store Dried Herbs
Once your herbs are dried, you’ll want to store them well to make sure they stay flavorful for future use. Here are a few handy tips for herb storage:
- Store the leaves whole and crush them when you’re ready to use them to help them retain more flavor.
- Store in airtight containers. Small canning jars or plastic zippered storage bags work well.
- Label and date your containers so months from now you’ll know exactly what’s in each container and how long you’ve had it. Dried herbs will retain their flavor for about a year when kept in a cool dark place like a cabinet or pantry.
- Throw out any dried herbs with signs of mold, it will only spread to other leaves.
- Keep your containers in a cool dry place away from direct sunlight. If you want to store them on your kitchen counter where you get natural light, use amber-colored canning jars to block light.
How to Cook with Dried Herbs
Dried herbs have a more concentrated flavor than fresh herbs so you may want to use a little less when cooking with them. Try using a little less when a recipe calls for fresh herbs and taste. It’s easier to add more than take away. As a general rule of thumb, a tablespoon of fresh herbs offers the same amount of flavor as a teaspoon of dried herbs.
When you’re ready to use them in a recipe, if you’ve stored them whole, simply pull the leaves off the stem and crumble the dried leaves right into your pot or mixing bowl.
Use your dried herbs within a year. As they start to lose their color, they’re also losing flavor so keep an eye on them. When their color fades, it’s time to discard them.
Tips for Success
- Remove any dry or diseased leaves from the cut herbs. Yellow or spotted leaves aren’t worth drying as their flavor has already been diminished.
- Remove any leaves with signs of mold. This will spread to the healthy leaves.
- Gently shake the sprigs to remove any insects that may have taken up residence.
- Make sure your herbs are completely dry of moisture before starting any of these methods. If you’ve washed them, they’ve been in the rain, or they have dew on them, pat them dry with paper towels and allow them to air out before drying them. Damp herbs will mold and rot.
Drying herbs is a great way to preserve your harvest for later use in your kitchen, or even a craft project like scented candles or lotions. Dried herbs are also perfect for making rubs for meat and vegetables. Don’t let good herbs go to waste.
When you see your herbs are in abundance, harvest and dry them immediately to retain flavor for months to come before they lose their freshness. Freezing or drying freshly grown herbs will ensure that you have plenty of herbs from your garden to use all year long.
Living a simple life centers around using what you have so you can stay out of the stores and drying herbs is a great way to do just that.
Learning how to dry herbs the best way will ensure you have a pantry that is fully stocked with delicious and organic seasonings and spice all year long.
Awesome article, thank you so much!
This post was very helpful. I tried to dry herbs last year for the first time and killed my lavender and peppermint plant. Thank you.