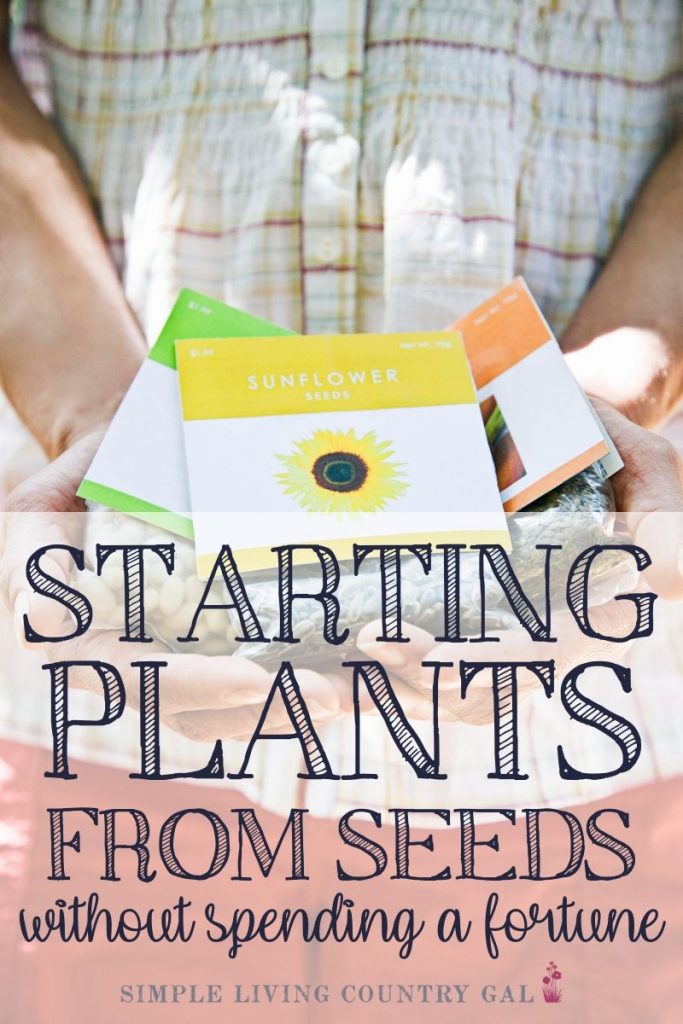
Starting Tomato Plants From SeedS
If you are looking to start tomato plants from seeds, you are in the right place. Starting seeds indoors before the weather warms up can help you jump-start your growing season. We will look at the best way to DIY an indoor seed starting garden for little money.
Get step-by-step help that you can use to start a backyard garden with amazing organic plants you started from seeds.
The first few months of the year can bring crazy weather where we live. One day, it’s frigid temps; the next, it’s in the 40s. Since our gardening season starts in this unpredictable way, starting seeds indoors is a great way to jumpstart the growing season no matter where you live.
If you are new to starting tomato plants from seeds, it’s much easier than you think. Not only that, it’s a great way to start a garden from scratch and ensure you know the exact source of your food.
Can starting your own seeds save money?
Yes, it can save you money, let’s do the math to see.
Cost of seedlings – Where I live, a tray of 18 tomato seedlings can cost around $18-$20. So, for this breakdown, that is the number we will work with.
Seeds – A packet of good seeds can range from $3-$8.
Potting Soil – Organic seed mix is usually around $5, depending on the bag size.
Supplies – A flat is a container that will hold 6 growing trays. Each tray can grow 6 plants so a flat will hold about 18 plants. The trays run about .5-.20 per tray, and the container is around $1.50 each.
Two packets of seeds and a bag of potting soil for starting seeds will allow you to start and grow about 2+ flats of plants, if not more.
By using the numbers above, the cost will be around $15 which is a savings of $15-$20. The good news is you can reuse the trays and containers year over year eliminating the supply cost going forward.
Seed Starting Setup
Before you can begin planting, you will need to set up an area for your indoor garden.
1. First, you will need to designate a place in your home to grow your young plants or seedlings. A place that is warm (although it’s not a requirement) and one that is out of the way of tiny hands and nosey pets.
2. Next, you will want a stand or shelves to hold your delicate plants’ flats. Yes, you can purchase stands for growing indoors and even elaborate growing systems, but I like to do things on the cheaper side and try to reuse what I have on hand before heading out to the store to buy.
For example, a metal shelf you are not using or even a table can be repurposed and work quite well as a growing area for your tomato seedlings.
Steps for Starting Tomato Plants From Seeds
Let’s break things down in steps so you can create a setup and a routine that works for the area where you live.
Step #1 Gather your containers
Before you purchase new containers for your seeds, take a look at what you already have. If you have ever purchased plants, you are probably familiar with the plastic containers they come in. From now on, never, ever throw those out.
Even though they may seem flimsy, they are more durable than you think and are perfect when starting your new batch of seedlings.
I believe I am in my 10th year with these same plastic containers, and they are still holding strong. I also have the trays the plants came in, which are really convenient when you are moving from inside to outside.
If you do have trays, you can use cardboard boxes lined with foil to help keep them dry when you are watering. It’s not the best option, but they will work in a pinch.

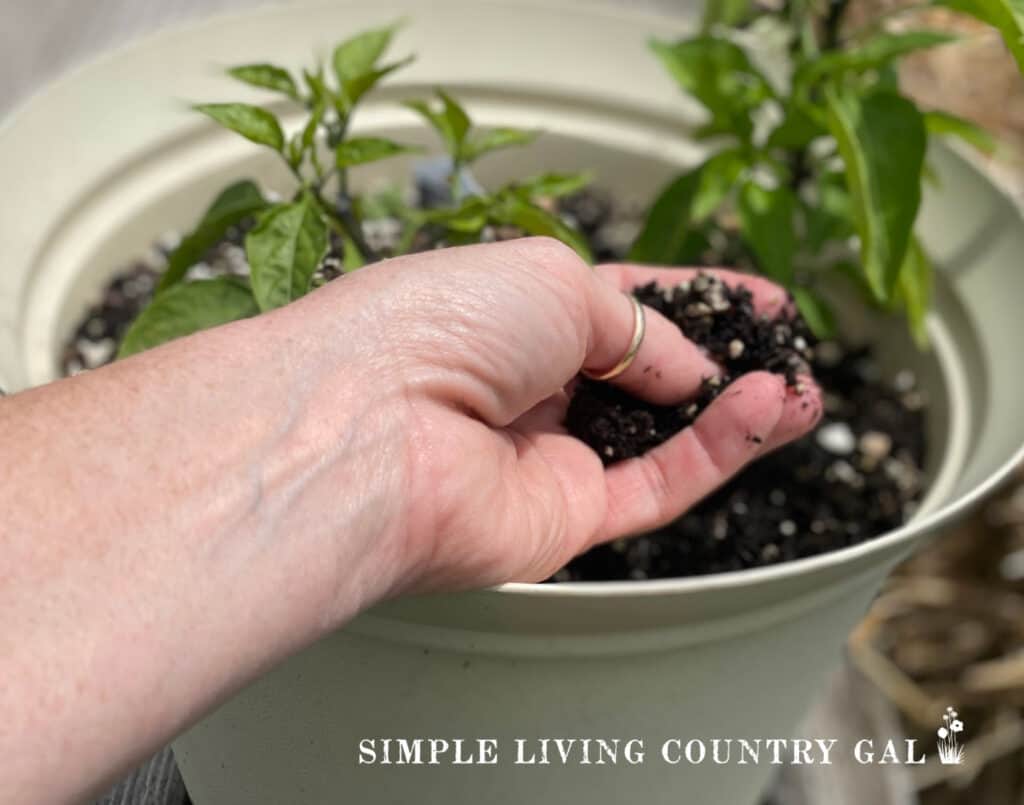
Step #2 Start with a good soil mix
If you want good plants from the start, you will want to invest in a good quality starter soil. I prefer an organic seed starting mix, although I have used others with good success.
For our area and the clay soil, we have to work with, I like to grow very sturdy and hardy seedlings. This will give me a more successful transplant into our less than optimal soil.
Remember, if you want strong and hardy plants, then you need to start with good quality soil.
This will give your seedlings the environment they need to grow strong, sturdy root systems. Root systems are the key to healthy plants and help your harvest to be a bigger and more abundant one.
The good news is it is easy to find a good mix that fits your budget; you can look for deals both online and in stores.
Step #3 Clean and sanitize your containers
If you choose to reuse planters as I mentioned above you will want to wash and sterilize them before using them again. This will remove any old soil along with any leftover pest residue or lingering diseases from previous years.
I like to use a bottle brush (bought from the dollar store) and warm soapy water with a bit of bleach added in.
Wash each container, rinse it well, and stack on a large towel to air dry. If it is a sunny day, you can allow your containers to dry in the sunshine. The sun acts as a natural sanitizer and is a great way to dry things up rather quickly.
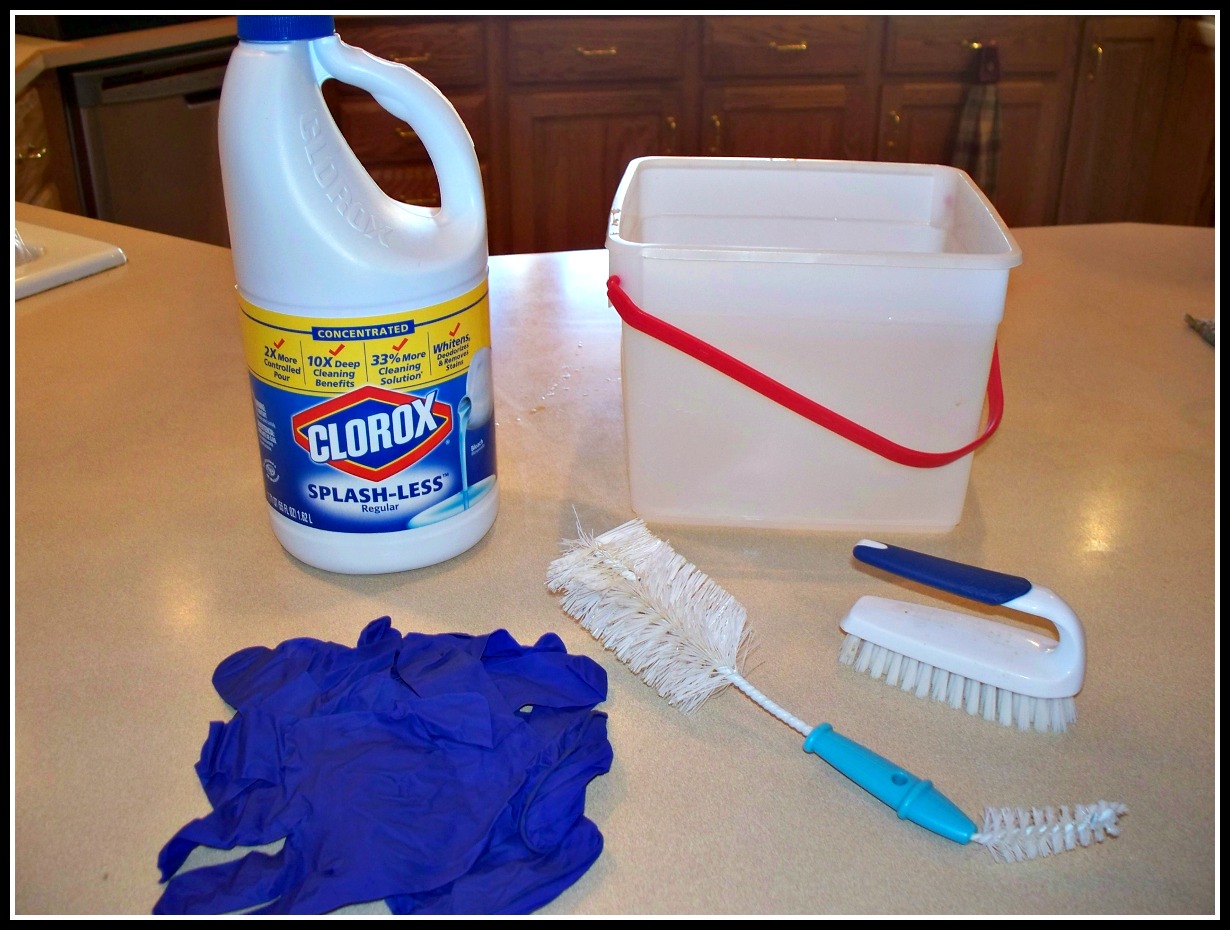
When using bleach, make sure to wear gloves so the bleach does not irritate your skin. The ratio I use is about 1 part bleach to 9 parts water. I usually just fill a bucket and pour in a little bleach, eyeballing the measurement.
Your goal with washing is to start with a clean and sterile container. Before planting your seeds giving them the very best environment to grow in early on.
MIXC 10 Packs Seed Starter Tray Seed Starter Kit with Humidity Dome (120 Cells Total Tray) Seed Starting Trays Plant Starter Kit and Base Mini Greenhouse Germination Kit for Seeds Growing Starting Burpee, 9 Quarts | Premium Organic Potting Natural Soil Mix Food Ideal for Container Garden-Vegetable, Flower & Herb Use for Indoor Outdoor PlantSereniseed Certified Organic Tomato Seeds (10-Pack) – Non GMO, Open Pollinated – Cherokee Purple, Chocolate Cherry, Green Zebra, Brandywine Pink, Black Krim and More – Tomato Seeds for Planting


Step #4 moisten your soil
One of the best tips I can pass on to start plants from seed is to make sure you presoak your starter mix. I have tried to plant my seeds without presoaking and they took forever to sprout setting me back a full week on my schedule.
The seed mix contains peat moss which will help to hold in moisture giving your seeds the perfect foundation for growth.
But adding water to seed starting mix is tricker than you might think. That’s because the main ingredient in most seed starters is peat moss as I mention above. Peat moss is really loose, lightweight, and rather dusty.
How to pre-Soak Seed Starter Mix
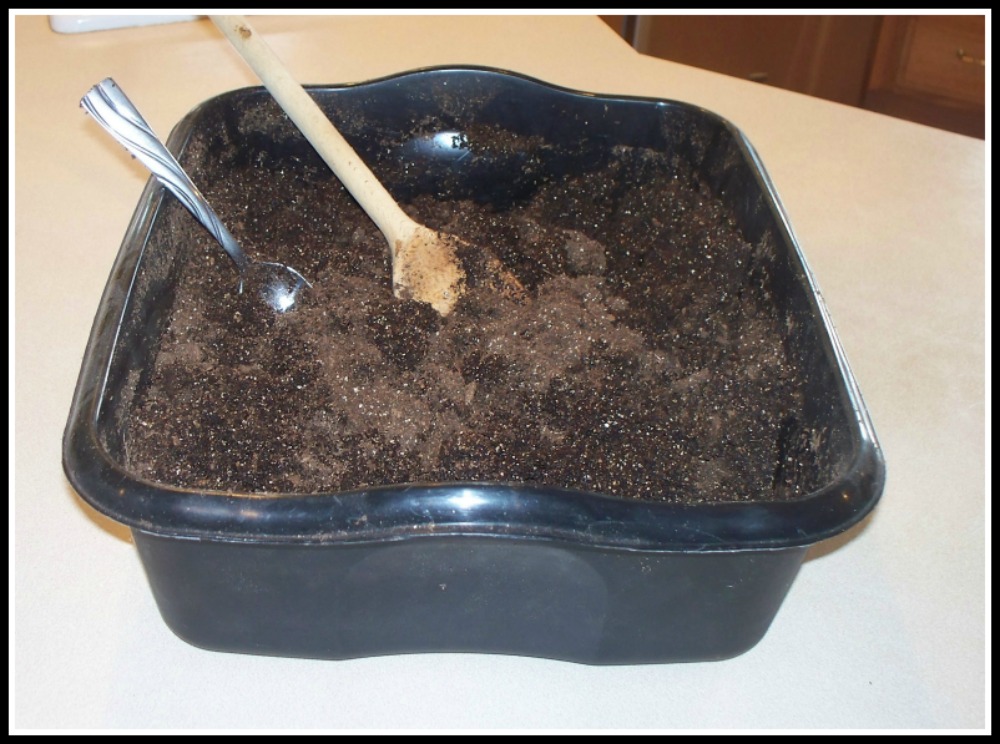
#1. Pour some seed mix into a large bowl or container.
#2. Pour water all over the surface. I like to use the spray nozzle on the hose at my kitchen sink. This allows me to add water more evenly over a larger area.
#3. Next, take a large wooden spoon and work the water into the mix. Mix slowly so you are not spilling the soil making a big mess.
#4. Add more water and mix.
$5. Continue until the soil damp but not wet; it is at a consistency that is good for planting.
SLCG Pro Tip: If you accidentally get the soil too wet you will want to let it sit for a day or two to dry out. Be sure to mix it a few times each day to help it dry more evenly.
Step #5 When to Plant your seeds
When planting your seeds, please be sure to follow the instructions on your seed packets. The actual time you plant your seeds will depend on the zone you are in and when you are able to transplant your seeds outdoors.
You can find your zone here.
Usually, you want to start your seeds indoors approximately 6-8 weeks before the last frost of spring in your area. Once you know your planting time, make a note so you have it to refer to next season.
Keeping good notes will save you loads of time every year. It will also keep you on the correct timeline.
A garden planner is a crucial part of your garden library. This is where you will journal your growing season year after year so you can improve as a gardener year after year.
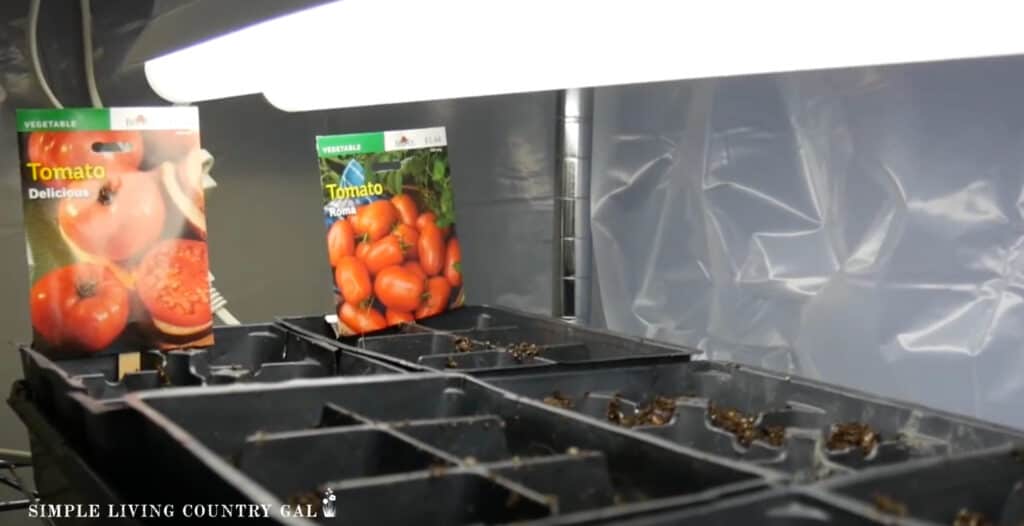
Step #6. Planting Seeds
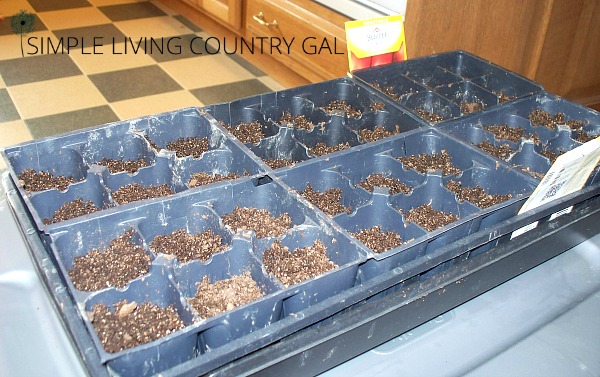
1. Begin by putting a layer of soil into each container of your seed flat.
2. Using your fingers lightly tamp down the soil without compacting it.
3. Next place 2 seeds per pot to ensure the growth of at least one plant. If both seeds take, you will need to pull one of the seedlings out later so that all the water and nutrients in the soil will be focused on just one plant. This will help the remaining plant to grow a strong root foundation that is important for an outdoor garden.
4. Once all the seeds are planted cover them with a layer of soil. Again you will want to tamp down the soil lightly over each seed.
5. As the dirt settles you can add in additional soil as needed. For this purpose, I usually keep damp soil ready for the first few weeks so I have a supply that is damp and ready to add in if needed.
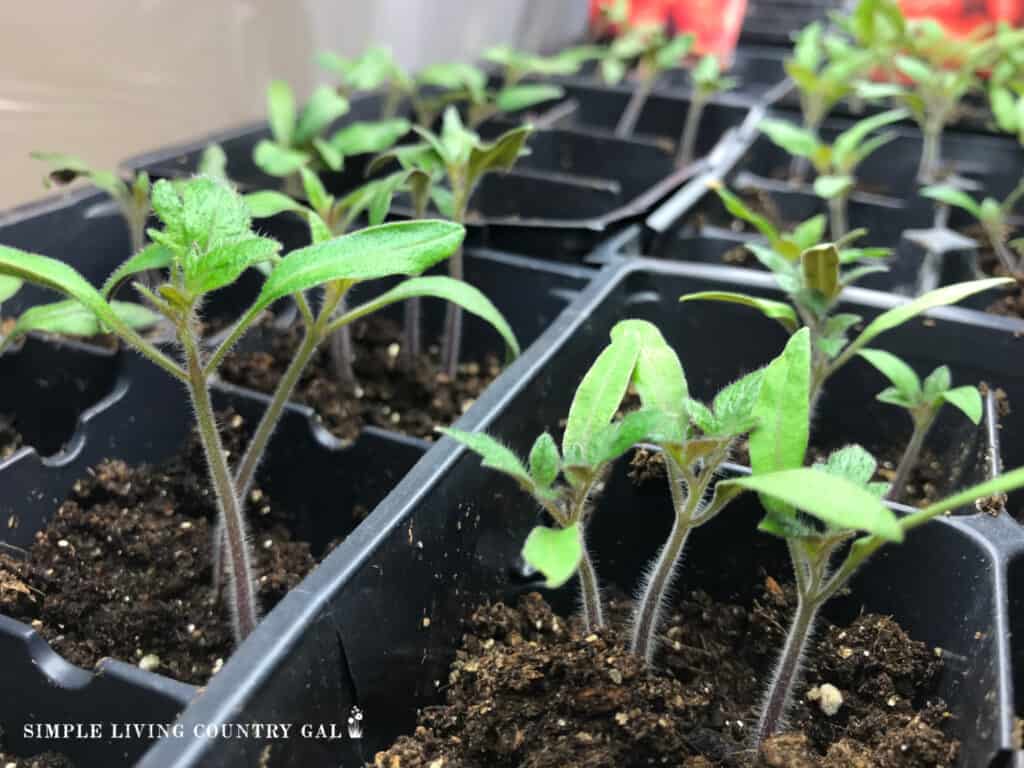
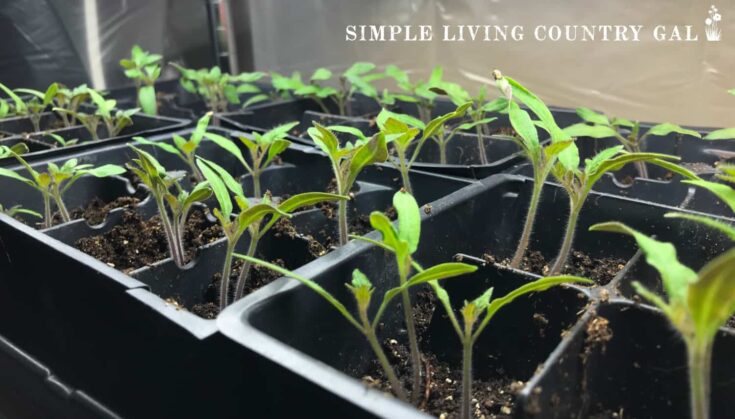
Step #7. Set up an indoor growing system
The great news about setting up a growing system is just about anything you have will work. There are just 2 things to keep in mind while setting up.
- Choose a space that is out of the way place so it is not is risk of being knocked over.
- Choose a space that is relatively warm.
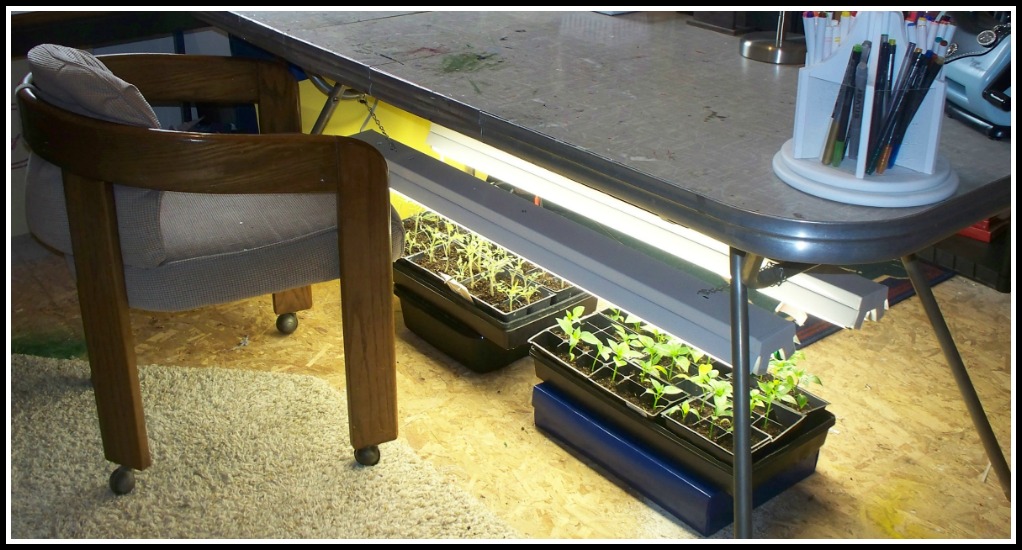
If you have shelves available, they work great for this. You can also use a table that is out of the way. When I first began growing my own seeds I used an old kitchen table that was in my craft room.
I placed my flats under the table so they were out of the way while I was crafting and suspended my lights from lightweight chains, attaching them to the sides of the table.
The lights I use are 4 feet long, and they are the perfect size to cover a set of flats. If the area of the home is warm, normal bulbs will usually give off enough heat to allow your plants to grow well.
If you are growing your plants in a colder area such as a basement, you will need to insulate the area to give adequate warmth for growing.
Barrina Plant Grow Light, 4FT 5000K Full Spectrum White, 252W(6 x 42W), T8 LED Grow Light, Growing Lamp Fixture, Plant Light for Indoor Plant, 6-PackVEVOR Plant Stand with Grow Light, 4-Tier Plant Shelf with 45W Full Spectrum Grow Light, 3 Mode Plant Light with Timer and Wheel for Seed Starting, Metal Grow Light Shelf for Indoor PlantsHigoro Seedling Heat Mat for Seed Starting, 10


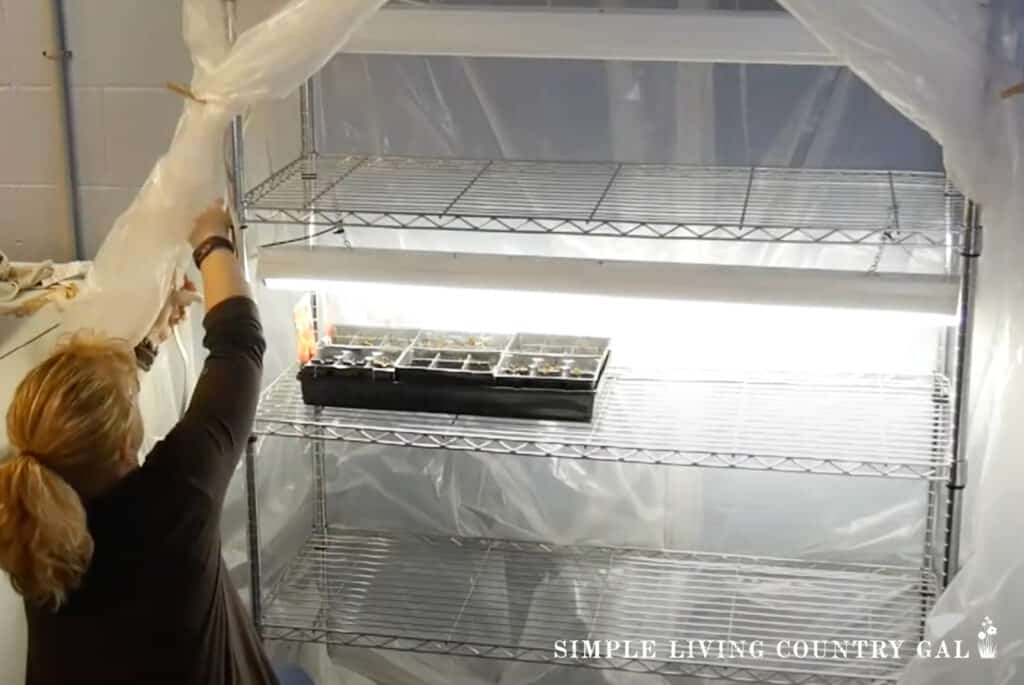
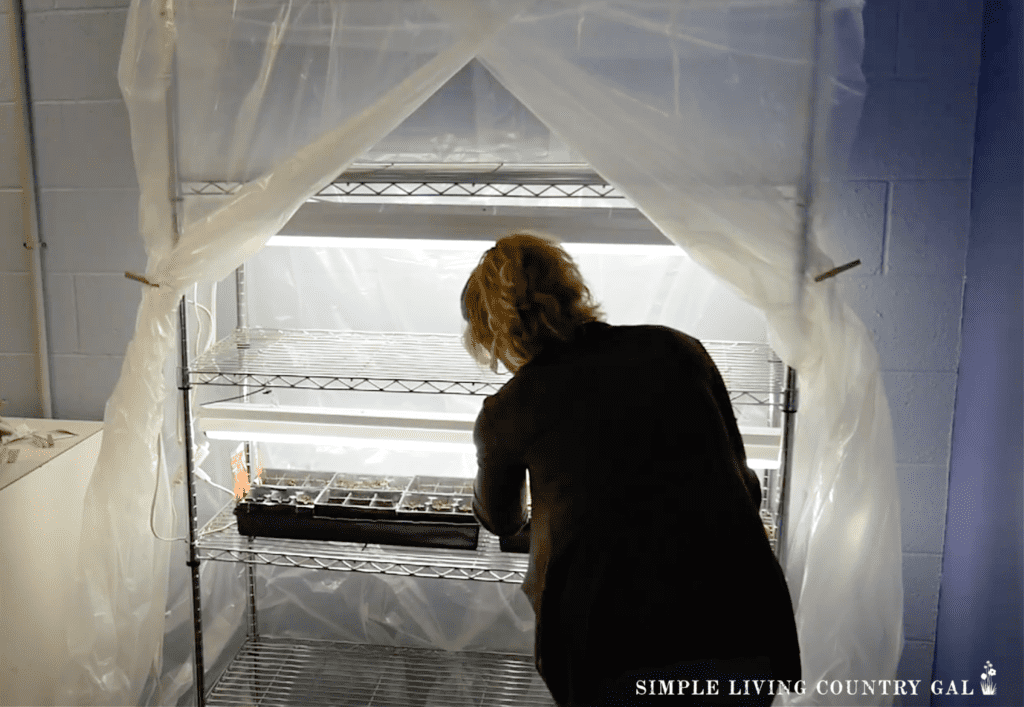
How can you set up an indoor greenhouse?
The purpose of a greenhouse is to keep as much heat inside where the plants are growing, replicating a warm sunny day. You can use inexpensive plastic sheeting to enclose the growing area. This will help keep any warmth inside with your plants, turning the area into a makeshift greenhouse.
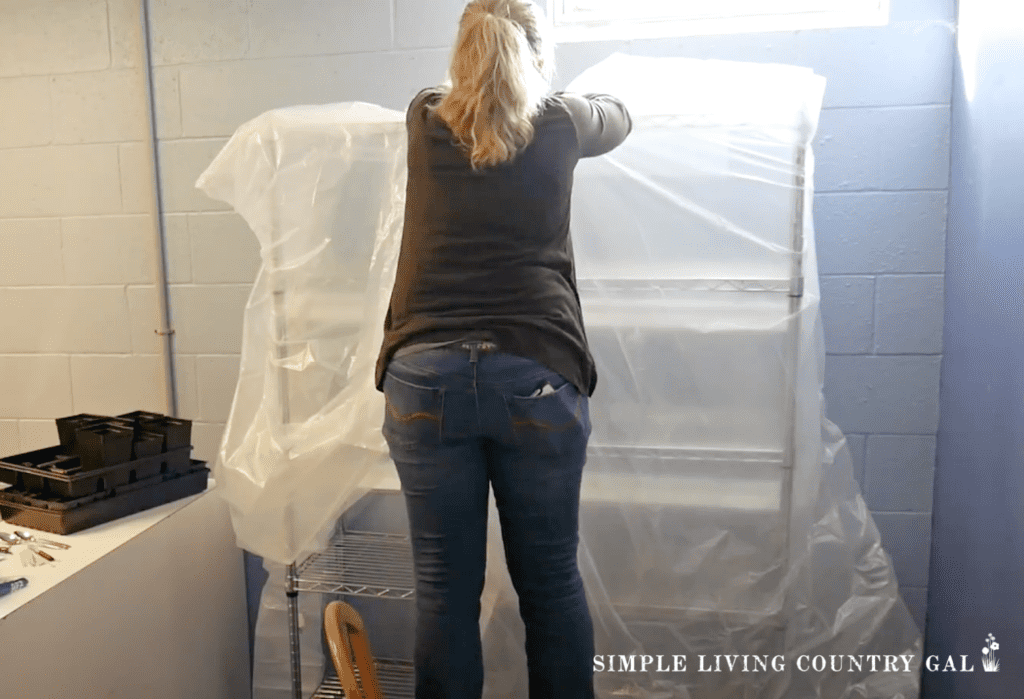
Your goal when starting tomato plants from seeds is a constant temperature of 65-75 degrees. You can place a thermometer inside of your setup and monitor the temperature daily.
Bulbs in a grow light give off a surprising amount of heat. The plastic will keep it all inside where your plants can benefit from it.
Step #8. Water gently and correctly.
In the first few days, you will not need to water much if at all, since you already dampened your soil before planting. When you do begin to water your seeds, I suggest using a disposable water bottle.
I find I can control the amount of water much better with one and there is less risk of drowning the seeds. Remember to water gently giving just enough without saturating them.
Once the young plants have sprouted you can then switch to a spray bottle. This will water your delicate seedlings without crushing them. It is so important not to overwater, especially in the beginning. If you are not sure, just check the soil with your finger.
Gently feel the soil, if it’s wet, don’t water.
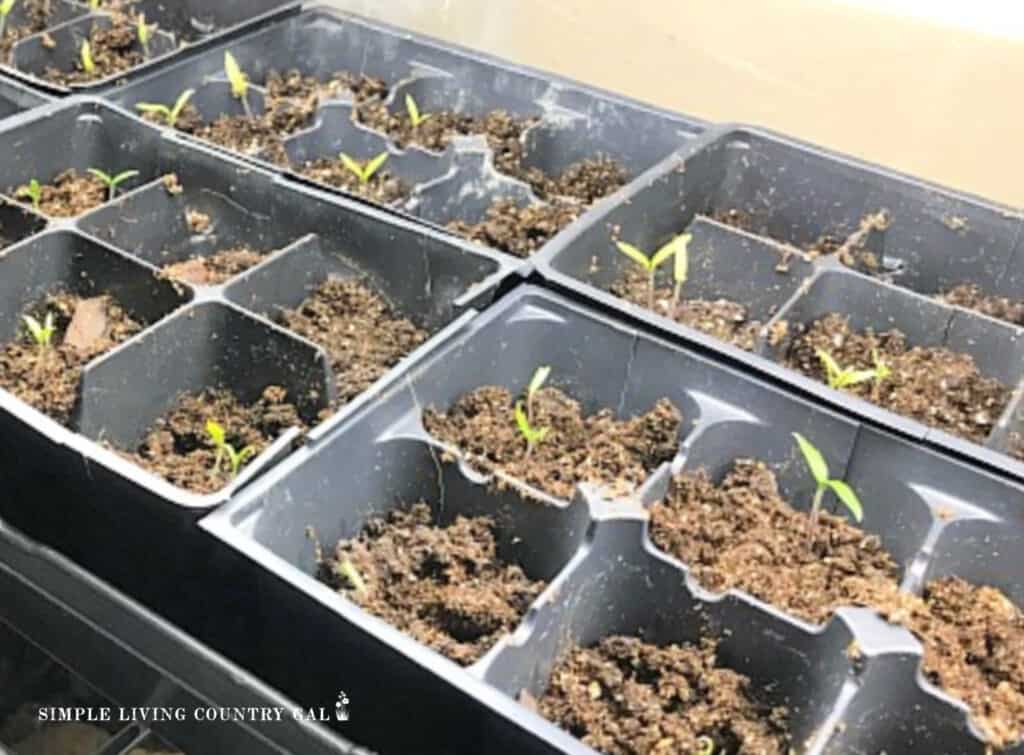
Depending on the type of seeds you plant you should see something sprout at about 6-8 weeks. If after 10 or 12 weeks you still see nothing breaking through the soil, then I would assume the seed did not take.
Refer to your seed packet to verify that you have given your seeds enough time to sprout.
If your temperatures are not warm enough, it may take longer for your plants to break the soil’s surface, which is something to keep in mind.
Step #9. Add more soil.
You may notice after the first few days, the seed mix will begin to settle, and you will need to add more soil. This is normal and will happen a few times in the beginning.
›This is why it is good to have extra soil that is damp and ready to go. Add soil as you see it is needed using your finger to lightly tamp things down into place.
Step #10. Thin your seedlings
This is always the hardest part for me. Remember in step 5 that I told you to put 2 seeds into each planter? Well, if you notice that you have 2 or even 3 sprouts inside of one growing section, you will need to remove all but one.
Choose the strongest seedling to keep and gently remove the extras. The best way to do this is to use your finger to gently hold the base of the seedling you are going to keep while removing the extra seedling. This will help to keep the roots in place as you pull.
Grab the seedling you are removing with your free hand and gently pull it out holding the other seedling in place.
SLCG Pro Tip: If you had seeds that did not sprout in one container, you could transplant an extra seedling in that spot. Just know they may not always take, as transplanting can be traumatic for a young seedling, but there is a chance they will.
Step #11. Hardening up your plants
As it gets closer to planting time, you will want to begin hardening off your tomato plants that you started from seeds.
Hardening means acclimating new seedlings to the weather outside so they are better able to withstand the fluctuations that tend to hit in the springtime. This is especially important if you live in a cooler climate, as I do.
To harden off your seedlings, take your planters outside on a sunny and preferably windless day and let them soak up the rays of the sunshine.
Try to keep this time outdoors short in the beginning so you do not damage your plants. As the seedlings strengthen up, you can increase the time longer and longer.
Step #12. Transplant your seedlings into your garden
This is the most exciting time for gardeners, getting those new plants into their summer garden. How you space, plant, water, all depend on the vegetable you have. For us, we will be transplanting tomato plants.
Be sure to space your tomato plants approximately 2 feet apart so there is plenty of space for them to grow. Add support now by using sturdy stakes or cages. The reason I like to do this early is so the plants can grow around the cages using them in the most beneficial way.
When setting up your garden, location does matter. Most vegetables including tomatoes love sunshine so choose an area that gets 6-8 hours of sun a day.
I prefer to use raised garden beds for our vegetable garden. This allows me to grow more in a smaller area giving me the most harvest year after year with less work. Raised beds are also easier to keep weeded, watered, and safe from predators such as rabbits and dear.
If you don’t have a garden, don’t worry, you can grow all you need right on your front porch using buckets, pots, and other containers.
Learn How to Grow Tomatoes in Pots. It’s the easiest way to enjoy fresh, homegrown veggies!
Starting tomato plants from seeds is not only economical but easy and fun as well. I just marvel each summer as we enjoy those beautiful tomatoes that all started from a tiny little seed. Try your hand at it this year so you too can enjoy the fruits of your labors come summer.
More Gardening Resources:
- Cleaning up the Garden Fall Checklist
- Use Chickens to Heal Your Garden
- How to Compost in Your Own Backyard
Your Guide to Growing Delicious Tomatoes from Seeds
Learn how to plant, water, and care for your tomato seedlings.
Materials
- Seed-Starting Mix
- Tomato Seeds
- Plastic Sheeting or Greenhouse Covering (to create a warm environment)
- Shelving or Tables (to set up an indoor growing area)
- Stakes or Cages (to support plants as they grow in the garden)
- Damp Soil
Tools
- Seed Trays or Containers
- Mixing Bowl (to pre-soak and prepare soil)
- Scrub Brushes (to clean containers)
- Grow Lights or LED Plant Lights
- Garden Trowel
- Plant Markers (to label seed varieties)
Instructions
- Gather your containers. You can reuse old plant containers or seed trays if you have them—they are durable and perfect for growing tomatoes.
- Get a good-quality organic seed-starting mix to provide your seeds with the nutrients they need.
- Clean reused containers with warm soapy water and a little bleach to remove pests or diseases.
- Pre-soak your soil mix. Add water gradually and mix thoroughly until the soil is damp but not soaked.
- Determine the best time to plant your seeds. Usually, it’s about 6 to 8 weeks before the last frost of spring in your area.
- Add soil to your containers, tamp it lightly, and plant two seeds per pot to make sure at least one germinates. Cover the seeds with a light layer of soil and keep some damp soil nearby to add if needed.
- Set up an indoor growing system. Use shelves or tables and hang grow lights to provide enough light and warmth for your seedlings.
- Water sparingly in the beginning, and switch to a spray bottle as seedlings grow to avoid overwatering.
- As the soil settles, top off with additional damp soil to support your seedlings. Gently tamp the soil to stabilize the plants without compacting the roots.
- Thin your seedlings. Once seeds sprout, choose the strongest seedling per pot and remove the rest.
- Gradually acclimate seedlings to outdoor conditions by placing them outside for short periods on sunny, calm days.
- Once the seedlings are ready, plant them in the garden with about 2 feet of space between each one. Add stakes or cages early to support their growth as they mature.
Notes
- Leave a little space at the top of the container when adding soil. This makes it easier to water the seeds without spilling or disturbing them.
- Place grow lights close to the seedlings but not so close that they overheat or burn. As the plants grow taller, adjust the lights to keep the right distance.
- Check your seedlings regularly for any signs of pests or disease. Catching problems early makes them easier to manage.
Recommended Products
As an Amazon Associate and member of other affiliate programs, I earn from qualifying purchases.


Great post! I’m usually starting seeds as well but we’re anticipating a move so I’m not going to be starting any. thank you for sharing your post on Our Simple Homestead Hop, as one of the co-hots I will be featuring your post tomorrow! Look forward to what you’ll be sharing this week!
-Nancy ( Nancy On The Home Front )
Hi, Nancy,
I am so happy you enjoyed it and that it will be featured. You just made my day!
Thanks for stopping by! Good luck with your move. 🙂
Tracy Lynn
MY TOMATO SEEDS HAVE SPROUTED AND LOOK YELLOW AND THEY WON’T GROW ANYMORE, WHAT’S WRONG?
Hello, Vincent.
Yellow plants could be a few things. Too much water for one. Make sure the soil is moist but not soaked. Another is not enough light. If you have your plants under grow lights, maybe raise them up by stacking a few books underneath.
Those two things should fix them for you!
Tracy Lynn
Suggestion: If you have more plants per pot then wanted or needed, don’t pull the extras out. Instead, cut them off with scissors so you don’t disturb the remaining plant.