How to use a garden planner
If you’re looking to level up as a gardener, keeping notes is a game-changer. This quick guide will show you how to use a garden planner to map out your planting plans—not just for this year, but for all the years ahead.
Whether it’s your first time planning a garden or you’ve been at it for years, a garden planner can make everything easier as you learn how to start a backyard garden.
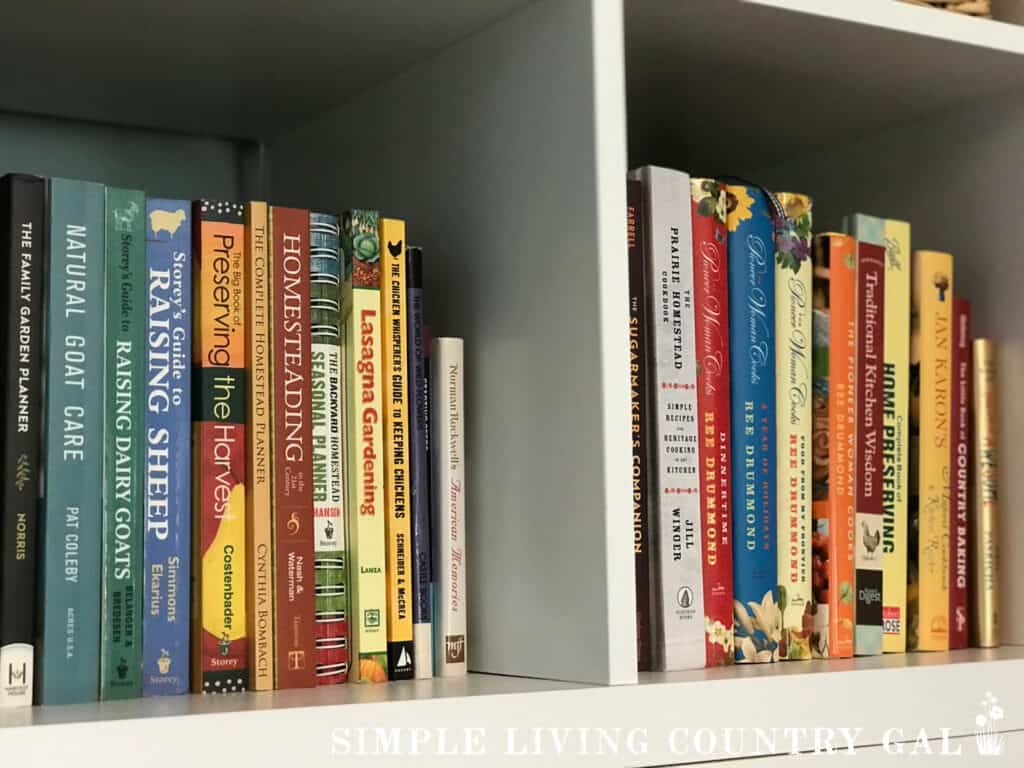
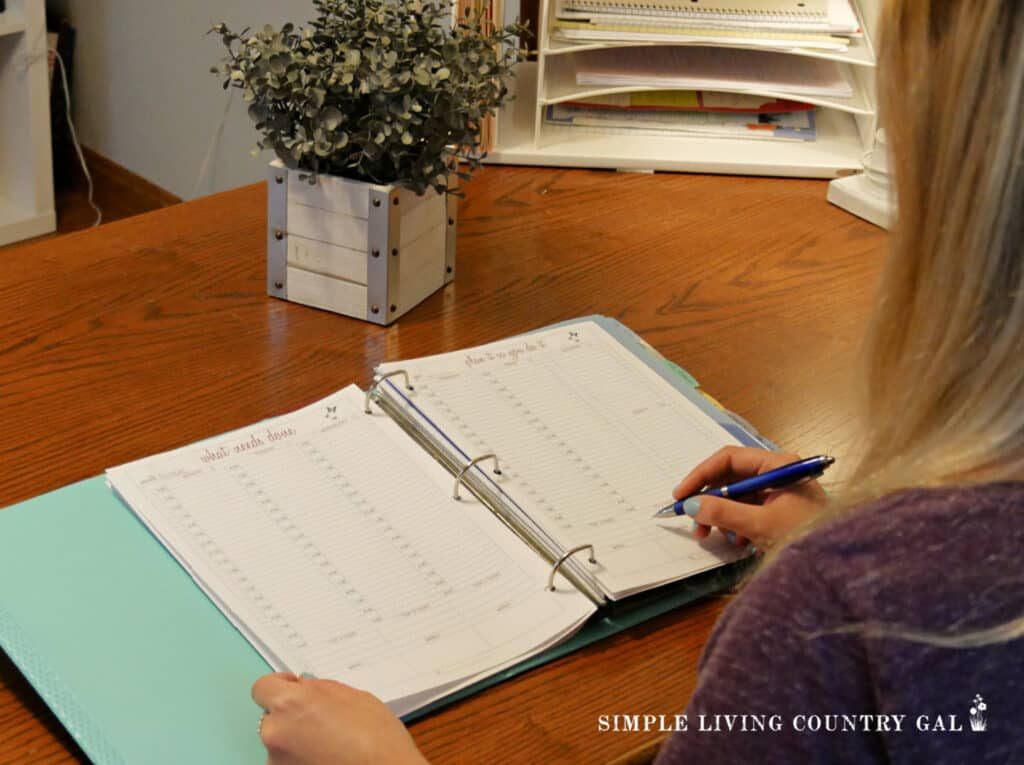
I am a planner and a list maker. Having things mapped out on paper helps me to stay focused and keeps me motivated to get things done. For years I would use a notebook having one for each project I was working on, but that quickly got out of control and the proof was all the stacks of them scattered throughout my home.
Later I moved to binders and found these worked much better for me allowing me to keep organized without taking up so much space in my home.
How to Grow Resources:
Why a Garden Planner is Your Secret Weapon
A garden planner is more than just a notebook or binder—it’s your personalized growing guide. It’s where you keep track of everything: your progress, upkeep, adjustments, wins, and yes, even those not-so-great moments.
The beauty of using a garden planner is how it helps you level up your growing skills year after year. It’s a lifesaver for keeping track of when to sow, transplant, or harvest each vegetable throughout the season.
Another big perk? It helps you stay on top of pest and disease management, so you can stop those pesky invaders from wreaking havoc every year. (Check out these tips on How to Stop Garden Pests Without Chemicals for healthier produce.)
And let’s not forget, a garden planner ensures you’re planting the right veggies in the right amounts—perfect for both eating fresh and preserving for later.
How to Use a Garden Planner (and Why It’s a Game-Changer)
Here’s the thing: there is no one “right” way to use a garden planner, but trust me, keeping notes is your secret weapon to becoming a better gardener. Your planner isn’t just a notebook—it’s your personal guide to growing success year over year.
Here’s how to make the most of it and why it’s worth the effort.
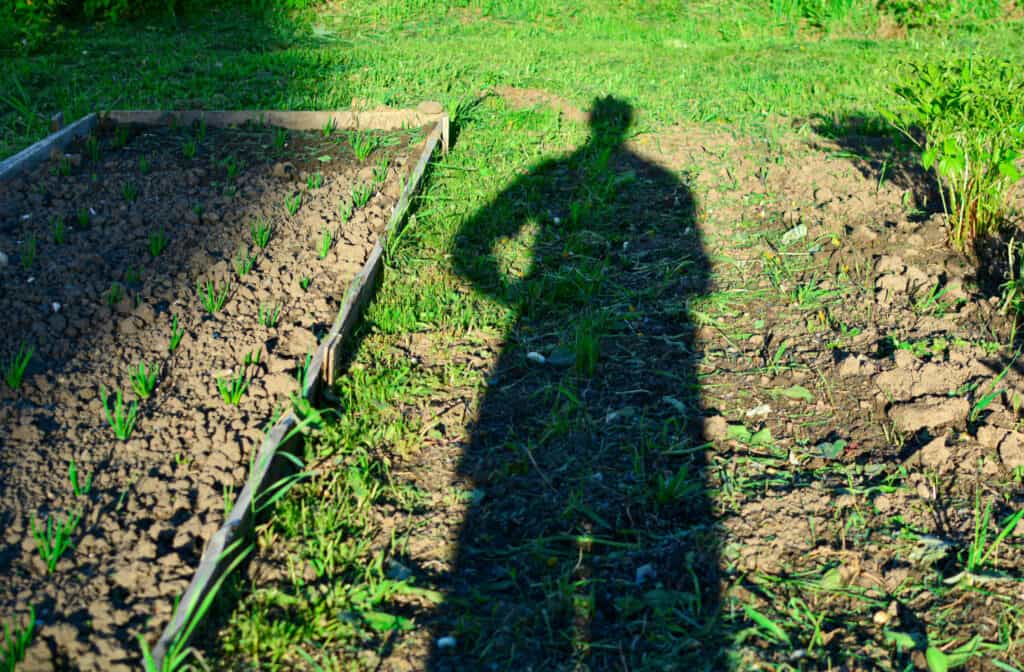
1. Get to Know Your Garden
Before you even think about planting, take a moment to study your garden space. Grab your planner and jot down the essentials:
- How big is your garden? Measure it if needed.
- What kind of sunlight does it get? Full sun, partial shade, or mostly shady?
- What type of soil are you working with? Is it sandy, clay-heavy, or a nice loamy mix?
Sketch out a rough map of your garden layout. Include anything that might affect planting, like fences, pathways, or large trees that cast shade.
Pro Move: Log your soil’s pH level and fertility every season. Add notes on any compost or fertilizers you’ve used so you can tweak your approach for better yields.
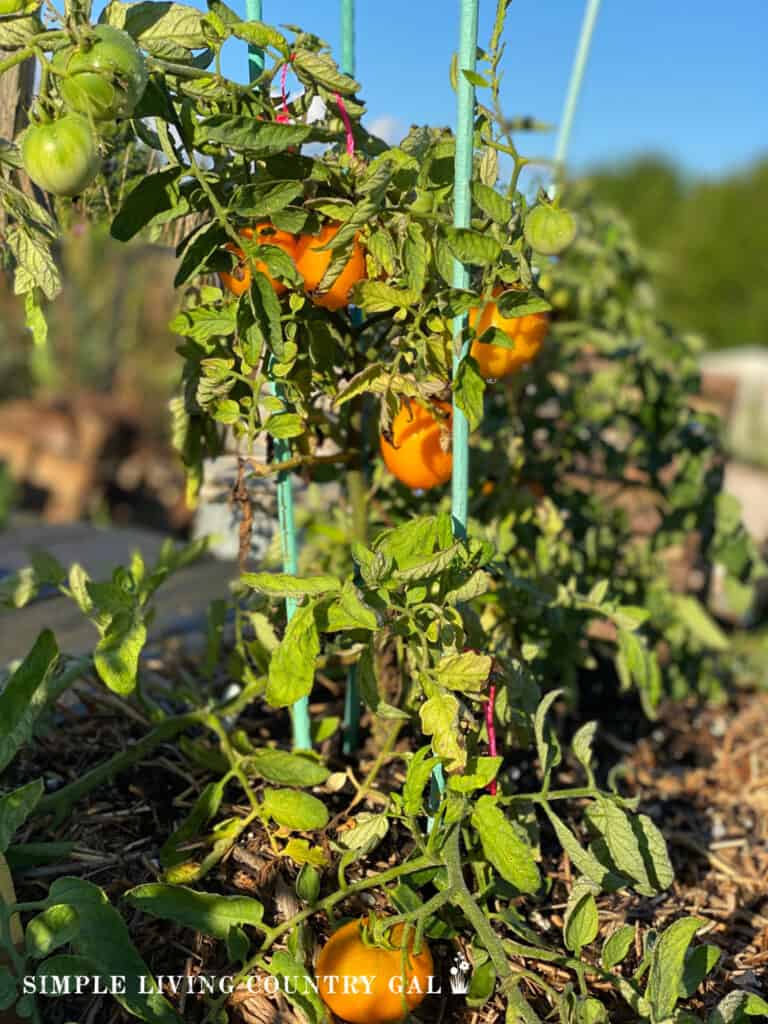
Bonus Tip: Note where the sunlight falls at different times of the day to find the perfect spots for sun-loving plants like tomatoes and peppers. Shadier corners can be reserved for crops like lettuce or spinach.
2. Plan Your Garden Layout Thoughtfully
Where everything goes matters more than you think. Use your planner to draw a detailed layout and include spacing for each plant. Keep in mind:
- Tall plants like corn or sunflowers should go where they won’t block sunlight.
- Climbers like peas or beans will need trellises, so plan where those will go.
- Sprawling veggies like pumpkins or zucchinis need plenty of elbow room.
Group plants with similar needs together; for example, herbs generally thrive together, and root vegetables like carrots and radishes prefer loose, well-drained soil.
Bonus Tip: Rotate your crops every year. This prevents nutrient depletion and keeps pests from settling in. Use your garden planner to track what you planted where so rotating is a breeze.
3. Track Important Dates Religiously
Timing can make or break your garden’s success. Use your planner to track:
- Sowing dates for seeds (indoors or outdoors).
- Transplanting dates for young plants.
- Harvest windows for different crops.
Having this information handy helps you stay ahead instead of playing catch-up. If your seed packets or plants come with specific instructions for spacing, depth, or watering, record those, too.
Bonus Tip: Add quick-reference charts to your planner for frost dates, planting calendars, or growing zones. These little cheatsheets save time and keep you on track.
Pro Move: Pencil in reminders to stagger plantings for crops like lettuce or beans. This way, you’ll have a steady harvest rather than everything ripening at once.
Square Foot Garden Planner+Guide 2024 Garden PlannerHerb Garden Planner+Guide


4. Monitor Pests and Problems
No matter how well you plan, garden pests and diseases can creep in. Use your planner as a diary for what went wrong and what you did to fix it. Record:
- Types of pests or diseases spotted (aphids, mold, etc.).
- Treatment methods, including any organic sprays or DIY solutions you tried.
- Dates when treatment was applied and notes on its effectiveness.
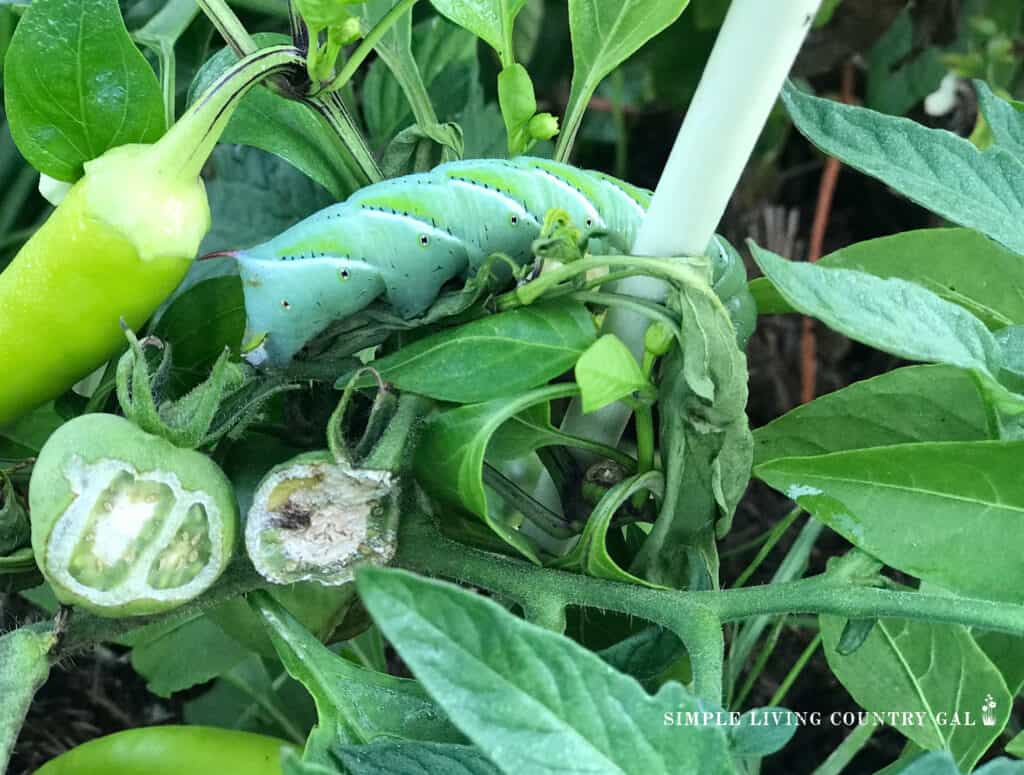
If you notice patterns, you’ll be better prepared to tackle those issues next season.
Bonus Tip: Keep a list of pest-repelling companion plants. For example, marigolds repel nematodes, and basil can keep mosquitoes at bay. Plant these where they’re most useful, and note their impact in your planner.
60 Pcs Garden Hoops for Raised Beds, 12 Sets Greenhouse Hoops Grow Tunnel Rust-Free Fiberglass Hoop House Kit, Plant Support Garden Stakes Hoops Frame for Netting Shade Cloth Row Cover Garden Supplies Gardeners Supply Company Garden Row Accelerator Plants Cover | Mini Greenhouse Seedlings & Plant Protector for Raised Garden Beds and Vegetable Rows – 45Plant Covers Freeze Protection,10Ft x 30Ft 1.0 oz/yd² Reusable Floating Row Cover, Freeze Protection Plant Blankets for Cold Weather (Support Hoops Not Included)


5. Harvest, Log, and Celebrate
You’ve done the hard work, now it’s time to enjoy the fruits (and veggies) of your labor. Always record your harvests:
- Which crops performed well and which ones disappointed.
- Amounts harvested and when.
- Notes on what you used your produce for (did that bumper crop of zucchini become bread, soup, or pickles?).
This information is gold for planning next year. If you noticed one variety thrives while another struggles, you’ll know which to stick with.
Bonus Tip: Take photos of your harvests and stick them in your planner. Not only will it inspire you, but it’s also a great way to track changes and improvements over time.
6. Plan for Next Year
Once your garden’s final harvest is over, don’t just toss your tools and call it a day. Your garden planner should help you reflect and plan ahead. Jot down:
- What crops and methods worked and what flopped.
- Ideas you’d like to try next season, like growing a new vegetable or practicing vertical gardening.
- Any equipment or tool repairs to tackle before spring.
Use winter downtime to research new gardening techniques, learn about companion planting, or sketch layout changes for next year’s plot.
Bonus Tip: Take inventory of leftover seeds and note their expiration dates in your planner. This prevents waste and helps you shop smarter when seed catalogs start showing up.
Why a Garden Planner Is Worth It
At first, it might feel like extra work, but trust me, using a garden planner turns chaos into clarity. You’ll understand what your garden needs, avoid repeating mistakes, and grow more bountiful harvests year after year. It’s like having your own gardening guidebook, written by none other than the season’s best teacher: your experience.
Grab a garden planner, and start building your roadmap to gardening success. Whether you’re a first-timer or a seasoned grower, you’ll wonder how you ever gardened without it.