How to Store Garlic
If you are looking for efficient ways and tips on How to Store Garlic, this list will help you out. What are the preferred ways to store, what issues should you watch for, and what is best to avoid.
How to start a backyard garden, that is full of the foods you and your family enjoy as well as tips on how to store that food in the healthiest way.
Spending time all summer growing food for your home and family is only one part of gardening, you also need to be sure you are storing that food in the best way so it’s flavor lasts until you use it.
It’s true that garlic takes a long time to grow. You plant cloves in the fall and watch them sprout in the spring until they are ready to harvest in the late summer. However, growing is only part of the process; you also need to know how to store it so that it stays fresh.
When it comes to storing garlic harvested from your garden, there are several great options that work well. But first, there are a few things to keep in mind.
- Be sure you’re storing bulbs of the best quality.
- Keep bulbs with blemishes for eating now and only preserve the best of the best.
Poor-quality bulbs won’t store well and can cause problems for the bulbs that are being stored near them. Remember this rule when preserving any food: When in doubt, eat it now.

What garlic bulbs are best for storing?
The best garlic for storing is firm, without sprouts, blemishes, or changes in color. To check, use your hands to gently feel the bulb. You want them to be firm to the touch with dry and papery skins.
Be sure to grab the FREE Garlic Storage Checklist below!!
How to Store Garlic
Let’s back up a bit to ensure you are prepping your garlic from day one.
Harvest
When your garlic is ready to harvest, dig it out of the ground and allow it to sit for a few days so the soil can dry. This will make it easier to remove without risking damage to the heads.
Square Foot Garden Planner+Guide 2024 Garden PlannerHerb Garden Planner+Guide


Frist Cleaning
Once dry, gently brush away any loose soil from the roots. Be careful not to bruise or damage your bulbs; leave the roots and leaves intact.
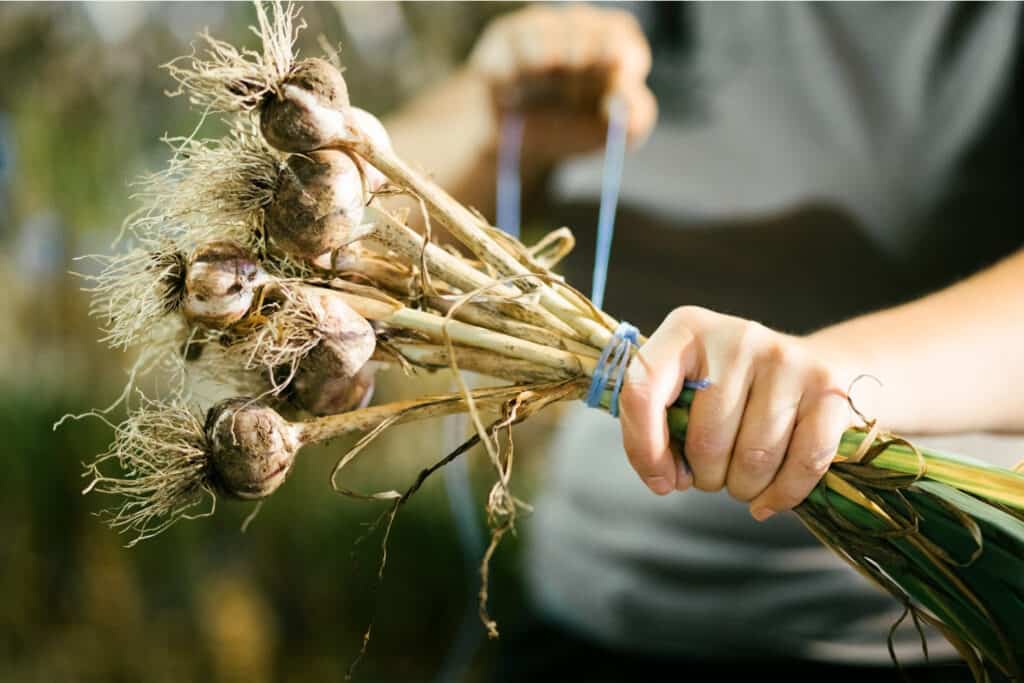
Curing
Next, you will want to cure the garlic, allowing it to dry so it is ready for storage. You can read how to cure garlic for a more thorough step-by-step approach, but the basics are this:
- Tie the garlic together in 3-6 plant bunches with a string.
- Hang by the string in an area with plenty of air circulation and a temp of around 80°F.
- Leave the garlic to hang for about two weeks.
- When the skin is dry and papery, similar to the garlic you’d buy in the store, the curing process is done.
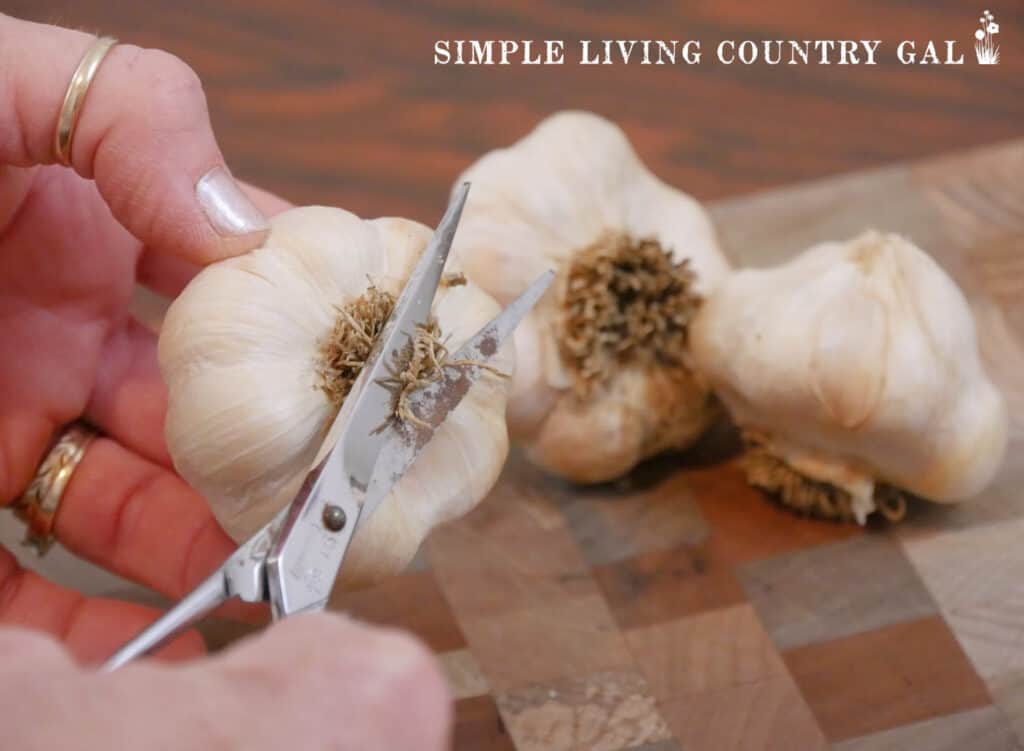
Second Cleaning
Once the garlic is cured, you’ll need to do a second cleaning before storing it. At this point, the tops should now be dry and brittle to the touch.
- Start by removing the roots and any soil that remain.
- Brush your hands along the roots.
- If you find there are still roots left, you can trim them away using scissors.
- Trim the tops, being careful not to trim too close to the bulb, you don’t want the cloves exposed to air.
- Remove only the outer layer of skin if it is drirty. This should be very papery once cured.
- Leave the rest of the skin intact, which will help your garlic stay fresh.
While you are cleaning your heads or garlic, If you see any damaged cloves, remove them from the bulbs. If you find that some of your bulbs are soft after curing, use them in your kitchen instead of storing them, they won’t stay fresh for long, but they are still good to eat.
Storing garlic
Lets look at a few options that you can use to store your garlic from short term to long term.
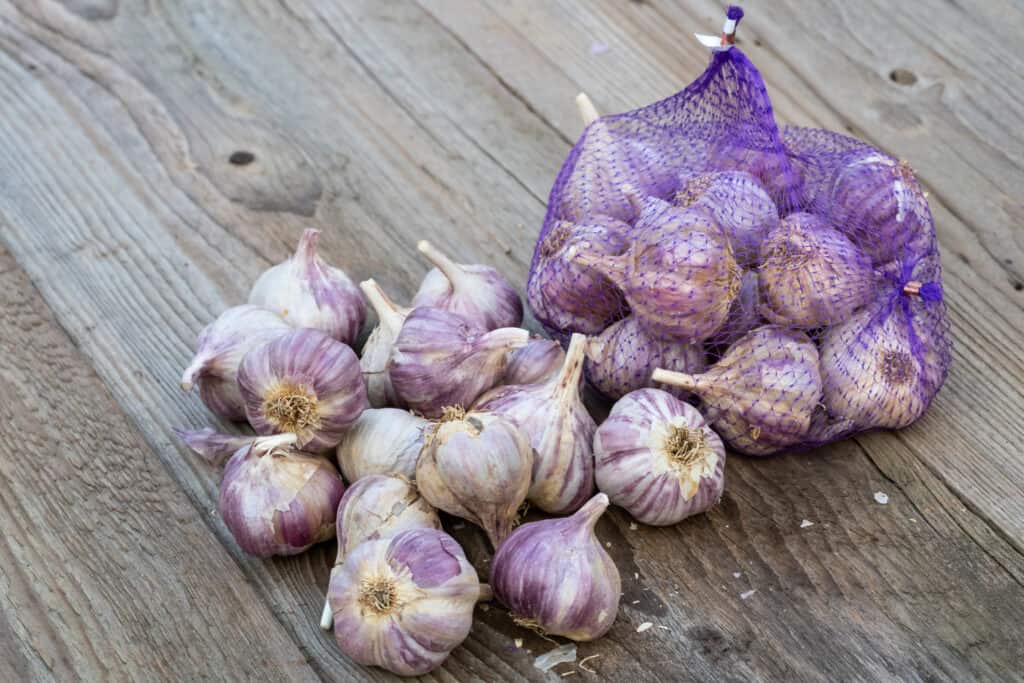
Short Term Storage options
The easiest and best way to store fresh garlic is in a mesh produce bag. There are several options available online, and many are reusable. These bags provide plenty of air circulation that will help maintain the freshness of your garlic.
- Store the garlic in an area where the temperature can be maintained at 50-60°F with moderate humidity and plenty of air circulation.
- If the temperature drops too low, the garlic bulbs will start to sprout once the temperature rises again, so it’s important to maintain a steady temperature.
- If the humidity in the storage area is too low, the garlic will dry out and shrivel up. Proper air circulation will keep your garlic from rotting.
When stored properly, fresh garlic can be maintained for at least six months, sometimes up to a year.
Can you store garlic in the refrigerator?
Yes, you can store garlic in the refrigerator, but it is not recommended as a storage option. The cold temperature can cause garlic to sprout more quickly if stored as a whole head, and if stored as peeled cloves, it may make it susceptible to food-borne illnesses, causing food poisoning.
Long term storage options
If you are looking for ways to store garlic so it lasts longer than a few weeks, try some of these options.
Freezing
Freezing garlic is a great option for long term storage. You can freeze garlic whole or as cloves.
Freezing Garlic as Cloves
- Do not peel the cloves to help them freeze better.
- Select the cloves you want to freeze and place them directly in the freezer after harvesting.
- When ready to use, just thaw and use as normal.
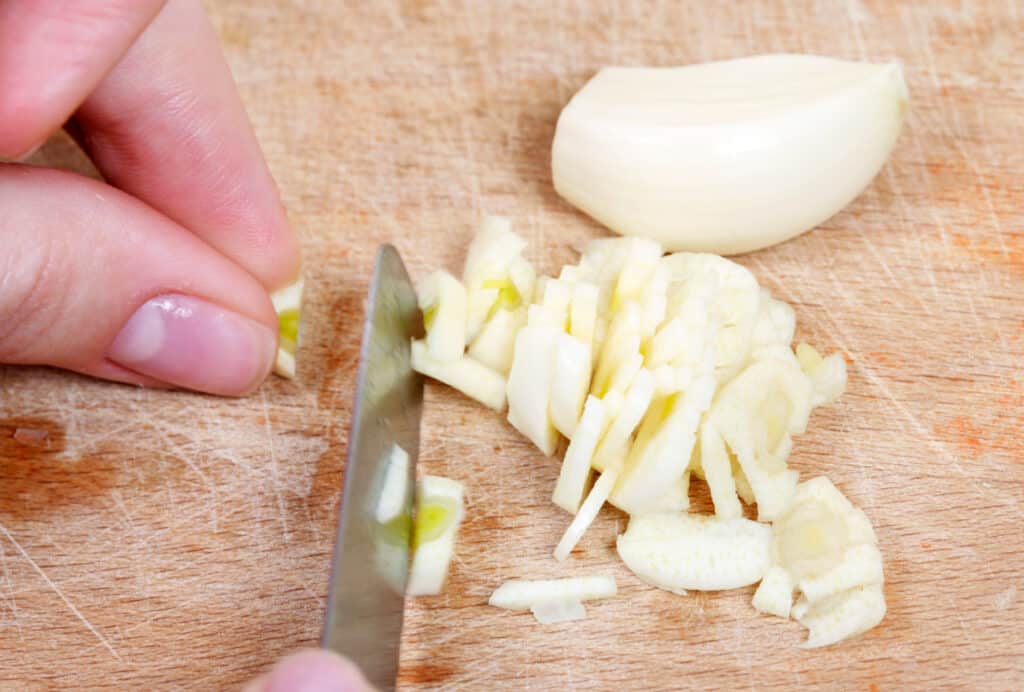
Freezing Garlic Chopped
- After peeling away the skin, chop each clove as desired.
- Use your hands to form it into a block, or you can place it in an ice tray to form blocks that way.
- After frozen, place the blocks in a plastic freezer bag or wrap them in plastic wrap.
- When you need garlic for a recipe, break off a piece or use a whole block, depending on the amount you need.
Drying
When drying garlic cloves, be sure they’re fresh and not bruised or soft.
- Peel the cloves and cut each one of them in half.
- Dry them out on a cookie sheet in the oven or a food dehydrator at about 140°F for about two hours.
- After 2 hours, reduce the temperature to 130°F and leave them in until fully dry.
- Once your garlic is done, you can keep it whole, or grind it to make garlic powder.
Dried or dehydrated garlic will last 2-3 years.
Cotton Mesh Onion Storage Bags – 100% Cotton, Reusable, and Washable Mesh Bags for Storing Potatoes, Onions, Garlic, and Other Root Vegetables – Foldable, Lightweight, and Airy Bags (2 Bags) YASHE Food Dehydrator for Jerky, 9 Stainless Steel Trays Food Dehydrator Machine, 800W Fruit Dryer 165 ℉ Temperature & 48H Timer for Meat, Dog Treats, Herb, Veggies, Yogurt, BPA FreeCOSORI Food Dehydrator Machine for Jerky, 5 BPA-Free 11.6


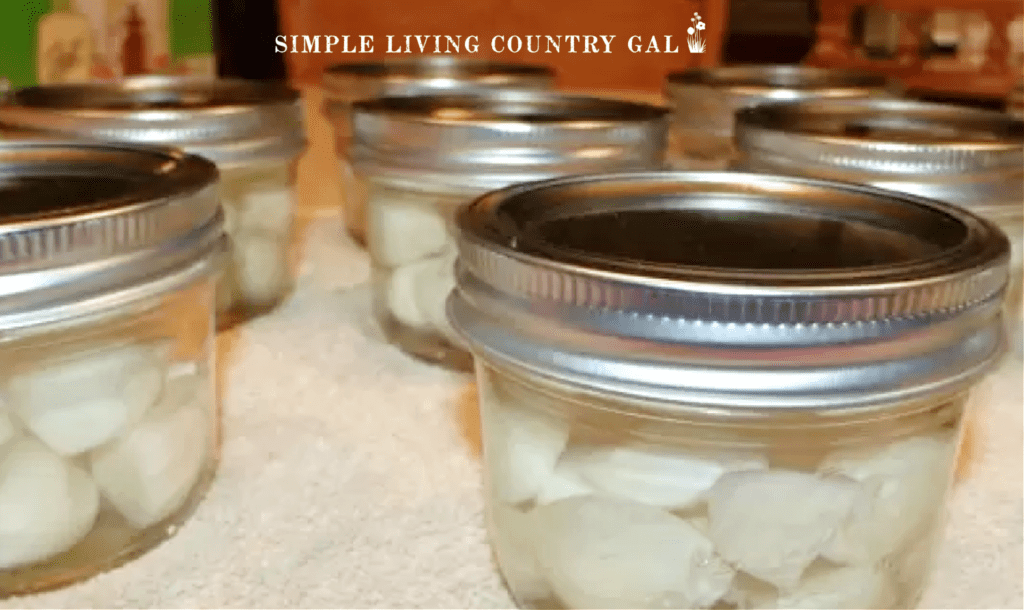
in Wine or Vinegar
Yes, you can store your garlic in wine or vinegar, which will give them a little extra flavor when you’re ready to use them.
- Place the cloves in a jar with either white vinegar or a dry white wine.
- Once full, clean off the rim of the jar and place the lid on tightly.
- Place it in the refrigerator until ready to use.
They will keep for 8-12 months in the refrigerator with this storage method. Do keep an eye on the jars though, and look for any unusual growth on the surface of the container.
This can be mold or yeast that forms due to the garlic being kept at an unacceptable temperature. Make sure you’re keeping your refrigerator plenty cold.
More Garlic Storage Tips
Once you harvest the garlic from your garden, prepare it for storage as quickly as possible. This will help to ensure freshness for months to come. If you have a large harvest, try a few different storage methods to see which works best for you.
Since some of these options will allow you to keep your garlic fresh for longer than others, you’ll be able to have fresh garlic available for months to come with a combination of storage methods.
Use your freshly stored garlic in a variety of recipes or even to make garlic oil and garlic salt for yourself or to give as gifts. There are so many options for using garlic in your kitchen you’ll never run out of new ideas.
Freshly grown garlic has so much more flavor than what you’ll find in the store, and you’ll be able to preserve it immediately upon harvesting so that it will last longer. Which storage method will be your favorite?