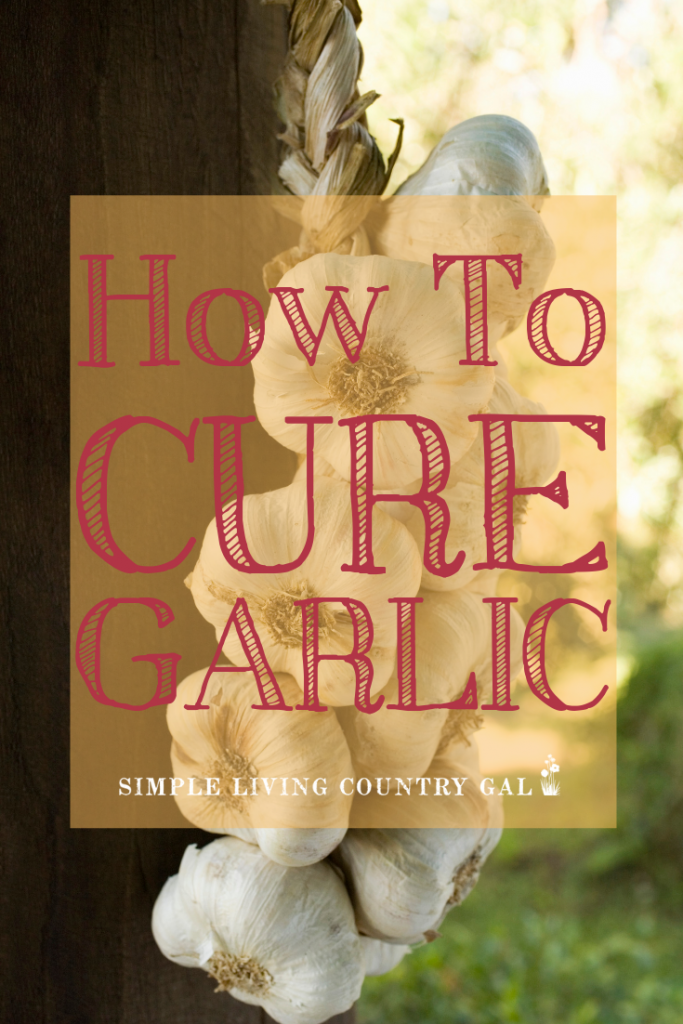
How To Cure Your Garlic
Before you start harvesting your summer garden, there is one more step to do with your garlic and that is drying it out. Learn the steps on How to cure your garlic so it is ready to use or prep for storage in your kitchen pantry.
Keep this Gardening 101 tip in your growing journal so you can refer to it each year at garlic harvest time.
Garlic is a backyard garden plant that takes almost a year to fully grow. It gets planted in the fall and is left to rest all winter. Then in the spring lovely green shoots emerge from the ground and continue to grow until it is ready to harvest late in summer.
Before you dig your heads of garlic up out of the ground, there is one more important step to be prepared for and that is curing.
What does it mean to cure garlic?
Curing garlic means allowing it to dry so the moisture can evaporate from the leaves, roots, and the bulb. As it does the papers, also known as the skin of the garlic, shrinks up tightening it around the cloves protecting them.
Be sure to grab the FREE Garlic Storage Checklist below!
Curing is something that needs to be done correctly before you store your garlic for later use.
How to Cure Garlic Step by Step
Curing garlic is easy, but it takes some time. Let’s break it all down into steps.
Step #1. Harvest
If you haven’t done so yet, you will need to harvest your garlic from your backyard garden. Before you do, however, there are a few things you need to know.
- Your garlic has been in the ground for 3, almost 4 seasons, and that means the ground is compact and tight around the roots and head.
- Because of this, garlic cannot be picked up and must instead be dug out of the ground.
- You will want to use a shovel for harvesting garlic.
- Place your shovel out far enough from where you believe the garlic to be. I would overcompensate here to be sure you are out far enough, about 8-10 inches from the base of the plant.
- The head will be deep in the ground, so you also need to go straight down for at least 8 inches.
- Once your shovel is at the right depth, lift it up and the garlic should come with it.
Once the garlic is out of the ground, you will want to let it lie in place so the dirt that is clinging to the heads has time to dry. This will allow you to clean the heads off more easily without damaging or removing the skins.
Depending on the weather, this can take a few hours to a full day.
Square Foot Garden Planner+Guide 2024 Garden PlannerHerb Garden Planner+Guide


Step #2. Cleaning off your Garlic
Once the dirt seems dry, use your hands to remove the clumps from the heads and roots, but don’t go crazy here. You are just removing the bulk of the dirt, leaving the rest intact until it has cured.
It is important to keep the leaves and roots intact for better drying of the heads.
Step #3. continue drying
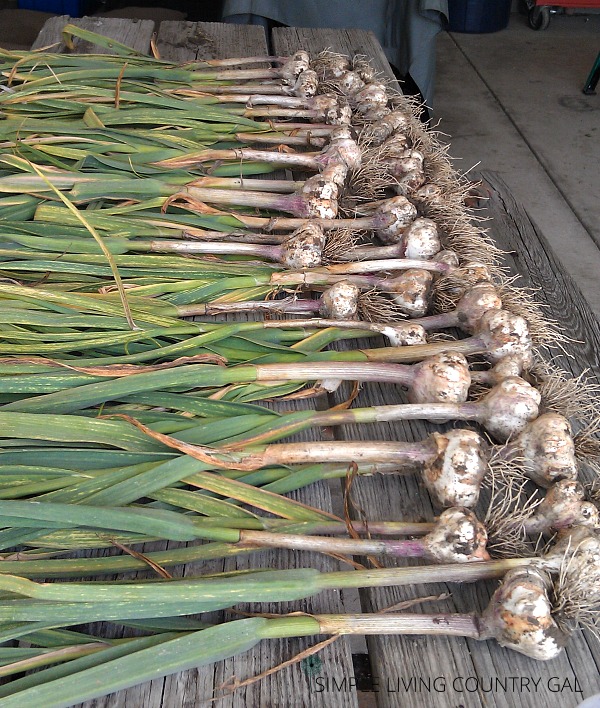
Move the garlic to a single layer on a table. This will help to finish drying any leftover dirt on the kids.
Keep it outside for better airflow to help speed up drying but out of the sun’s direct heat. This will ensure better air circulation where it is warm, 80 degrees is good.
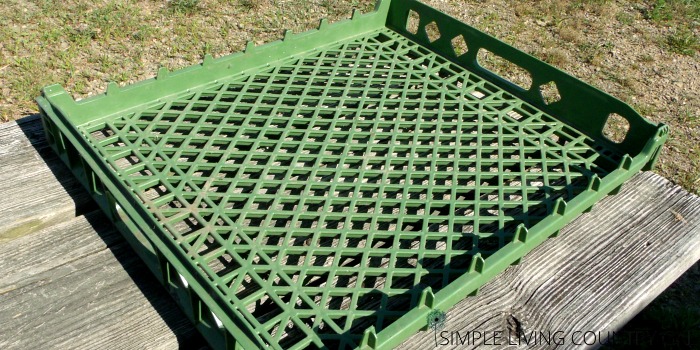
I use a plastic tray for mine, but an old window screen works great, too. You can also use an old cooling rack from your baking tools.
The goal here is to have as much airflow as possible to dry out the dirt on the heads and roots.
The main reason I prefer to use a tray is to make bringing the garlic in at night easier. Where we live, we get heavy dews at night, so I routinely bring in any produce that we have drying to keep it from getting damp.
Step #4. clean the heads and roots
After a few days of drying, you can remove more of the soil. Remember to remove the soil but leave the skins intact. Using your hands, gently break the dirt away from the roots and the outside of the head.
If you do not want to smell like garlic for the rest of the day, you can wear gloves to protect your hands.
Step #5. How to Cure Garlic
Once the dirt is removed, your garlic is ready to be cured.
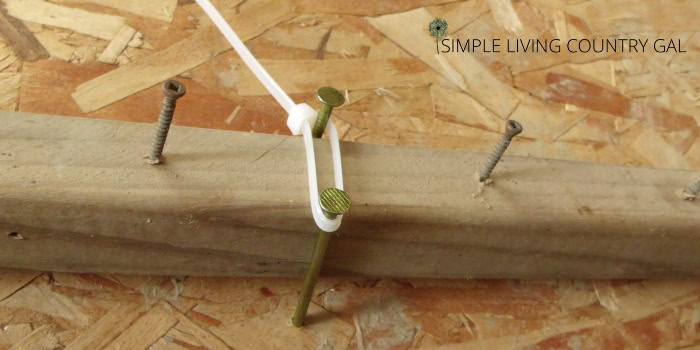
- Gather your garlic in bunches of 2-4 plants.
- You can braid the leaves together or use twine and simply tie them.
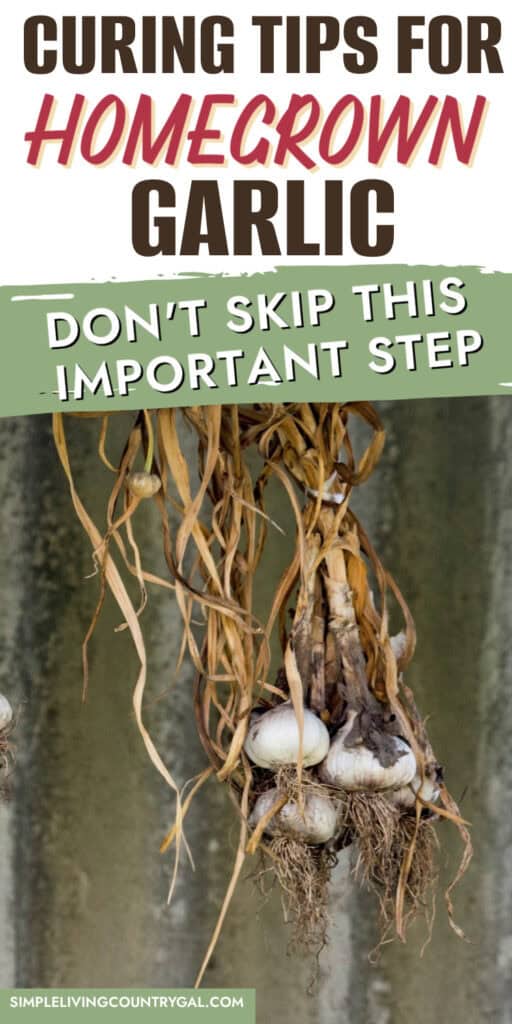
- Once you combine all of your garlic in small bunches, you will want to hang things up for the final drying stage.
Find a place to hang your garlic up and out of the way where it will be safe from damage. Remember for the garlic to dry you need good air circulation so try not to gather too many bunches together in a tight space.
Since I have so much garlic every year, Hubs made this garlic hanger to use in the barn. Just a board with a bunch of screws in it, low cost, and works perfectly.
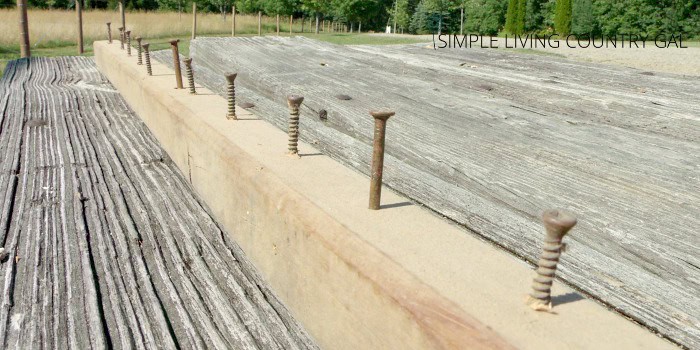
Once done we could hang it up in the barn and out of the way of critters or other possibilities of damage to the garlic heads.
I prefer to hang my garlic in the barn, but a garage will work or a shed if it’s dry and not damp. If you only have a few bulbs you can also hang inside your home but be prepared for a morning greeting of garlic smells with your coffee.
If you don’t have enough air circulation you can use fans to help. Your goal is to dry the skins while keeping the moisture of the bulbs.
About two weeks should be good, but longer may be needed. To know if your garlic is dry check the bulbs to see if they are dry and watch the leaves for browning.
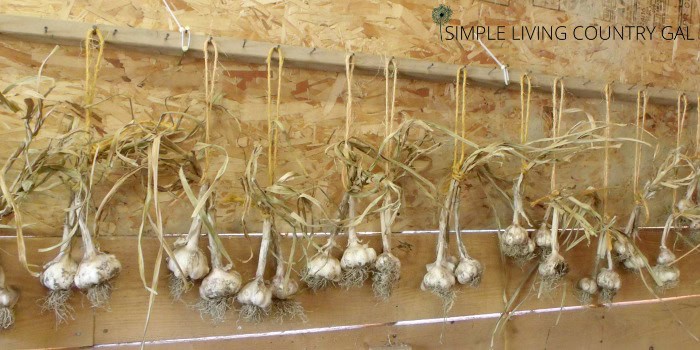
After a few weeks, your garlic will be ready to use! Oh, and on the plus side, your barn will smell like an Italian Bistro!
Step #6. Prepare Garlic to be Preserved
Once your garlic is dry, remove the last of the dirt and outer skin. Use scissors to remove the stems and the roots. I like to store my garlic heads in mesh bags.
If you find you have more garlic than you can use, you can try preserving peeled garlic cloves in vinegar water. My method is super easy to do. If you have never canned garlic you can read how to do it here: How To Preserve Your Garlic.
Once canned garlic will last in your refrigerator for up to a year.
If you are new to gardening, garlic is the perfect way to get your feet wet. The pungent aroma is a natural defense against pests and microorganisms. Once you plant your garlic cloves and mulch your plants, you can let the garlic do its thing.
Keep this guide on how to cure your garlic in your gardening binder so you can refer to it each year at harvest time.
More Gardening Guides: