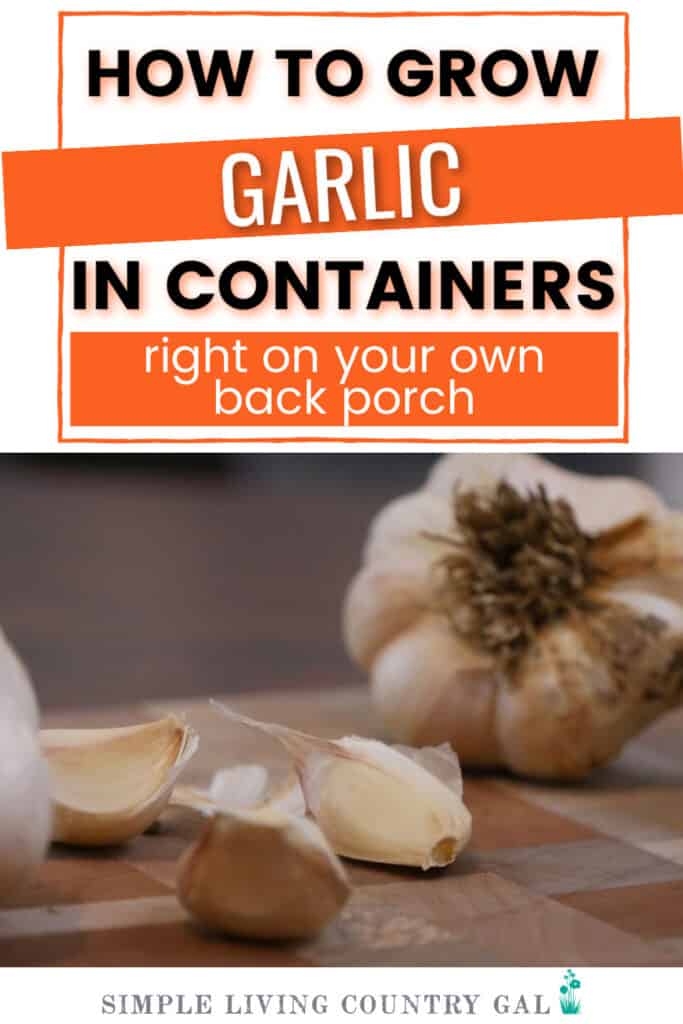
How to Grow Garlic in Containers for Beginners
Growing garlic in containers is an option that will have you growing this kitchen staple in a more compact space. We’ll walk you through how to plant, the best containers to use, what you can do to get the best growth, harvesting tips, and more.
Discover the best tips for container gardening to successfully grow your own fresh garlic, no matter where you live.

When I was growing up, garlic was not something we had in our kitchen. Our family ate more traditional german dishes and that meant garlic was used sparingly if at all.
When I got older, I not only loved garlic, but my kitchen was rarely without a few fresh heads sitting near the stove.
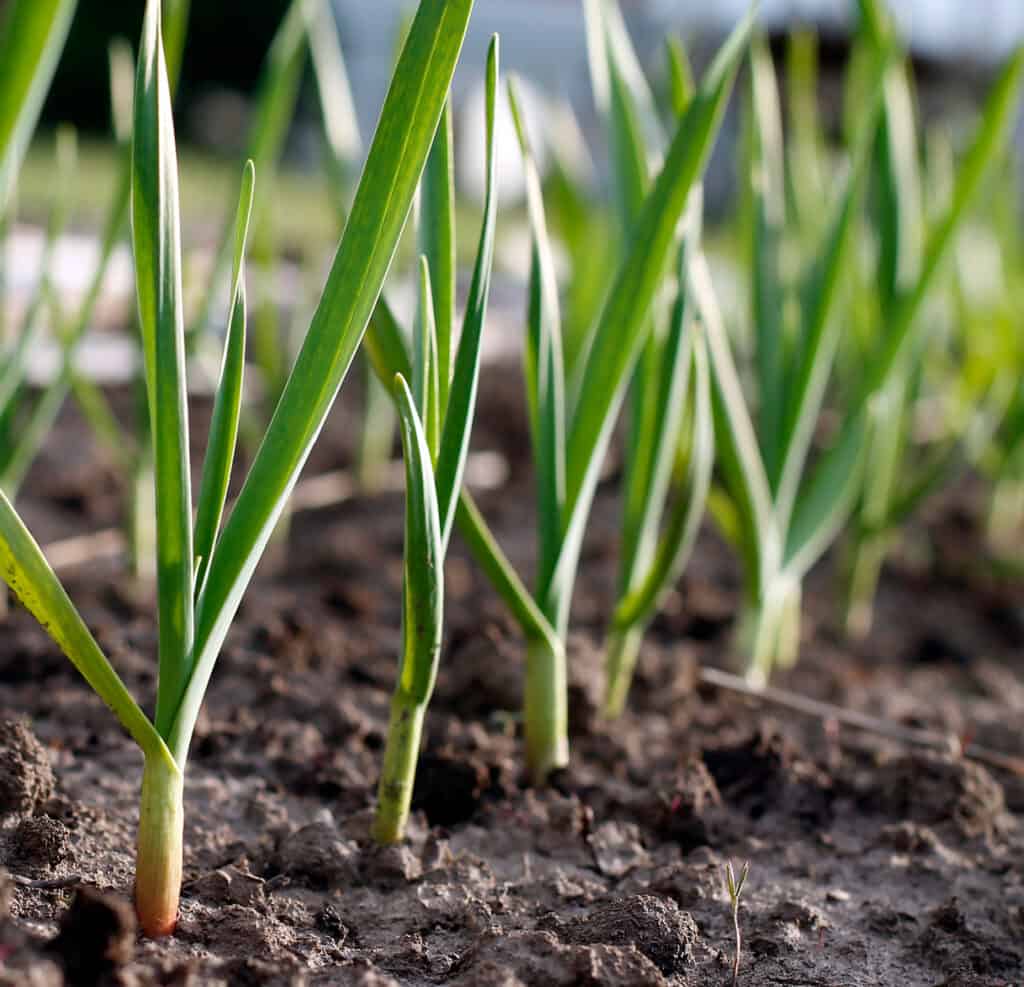
Growing garlic takes longer than most vegetables; it’s typically planted in the fall, rests through winter, sprouts in spring, and is ready to harvest by late summer.
It’s simple to grow this way, though not everyone has the option to do so.
Challenges of Growing in Containers
Although growing garlic in containers can be a bit trickier, it’s definitely doable and just as rewarding. Here are some common challenges you may encounter when growing garlic in containers.
#1. Limited Space
Unlike planting in a traditional garden bed where the roots have room to spread out, container gardening limits the space for plant growth. This can affect the size and quality of your garlic bulbs.
#2. Consistent Watering
Containers tend to dry out more quickly than a traditional garden planted in the ground, so it’s important to regularly check and water your garlic to ensure it doesn’t become too dry or too wet.
#3. Longer Care
Like planting in the ground, you’ll need to sow garlic in the fall for a late summer harvest, meaning you’ll be tending to your plants for an extended time. In a traditional garden, plants can hibernate through winter, but a container setup requires ongoing attention.
Garlic Varieties
Growing your own lets you experiment with unique and interesting varieties not commonly found in the grocery store.
When it comes to garlic, there are two main varieties of garlic to be aware of: hardneck and softneck.
Hardneck Garlic: Prefers colder climates and is more winter-hardy. It requires a period of cold weather to develop properly.
Softneck Garlic: Thrives in milder climates and doesn’t need a cold period, making it more versatile in different growing conditions.
Garlic’s Unique Growing Requirements
One of the most unique aspects of growing garlic is that you plant your cloves in the fall and allow them to rest over winter, giving you a late summer harvest. Because of this, growing in containers can be a bit tricky.
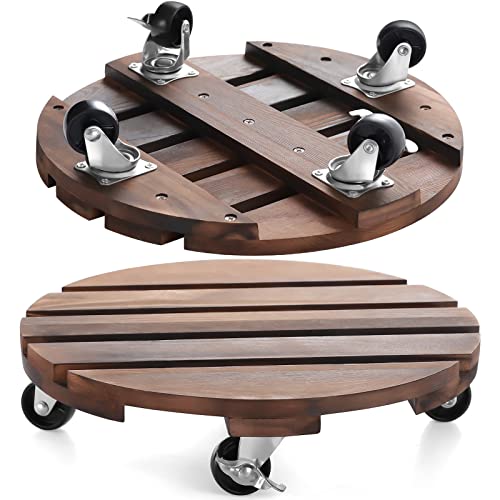
Garlic grows beneath the soil, so it’s important to provide enough space for proper bulb development. Choose a container that is at least 12 inches deep; this will help maintain consistent moisture, giving you healthy growth.
Be sure there is drainage in the container to prevent waterlogging. Look for a porous container such as a grow bag or a flower pot that already has drainage. If you choose to DIY a container out of a bucket or barrel, you will need to add drainage holes before planting.
When to Plant Garlic
Plant garlic in containers during the fall, just as you would in the ground, after the first frost. The soil should be cool but not frozen, with the ideal planting window falling between September and November, depending on your local climate.
If you are unsure, you can check a zone hardiness map for your area.
Hardneck garlic varieties need 6 to 8 weeks of temperatures below 45° for them to sprout and mature the following season nicely.
If you live in an area with warmer temperatures, you can either grow softneck garlic varieties or you can “fake” them out by placing the cloves in the refrigerator for several weeks before planting.
If you choose this method, place the cloves in a plastic bag and poke vent holes in it. Check the cloves regularly for moisture or mold. When they start to sprout, plant them.
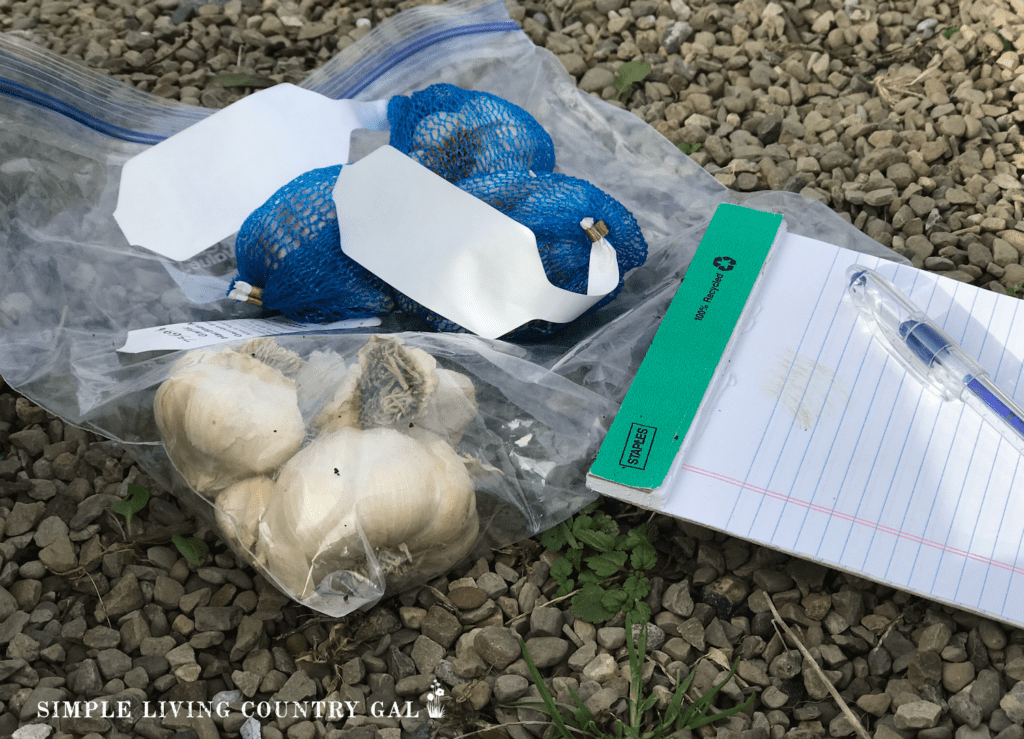
Where to Get Planting Garlic
It is best to purchase garlic specifically for planting to ensure the cloves grow. Do not use cloves found at the grocery store as those have most likely been treated to prevent sprouting, meaning they are less likely to sprout when planted.
- Farmer’s market
- Nursery
- Local or online supplier
- Save the best bulbs from your last harvest
The best selection will be online, allowing you to try a few flavors. When harvesting, try each variety you grew and save a head from your favorite to plant in the fall.
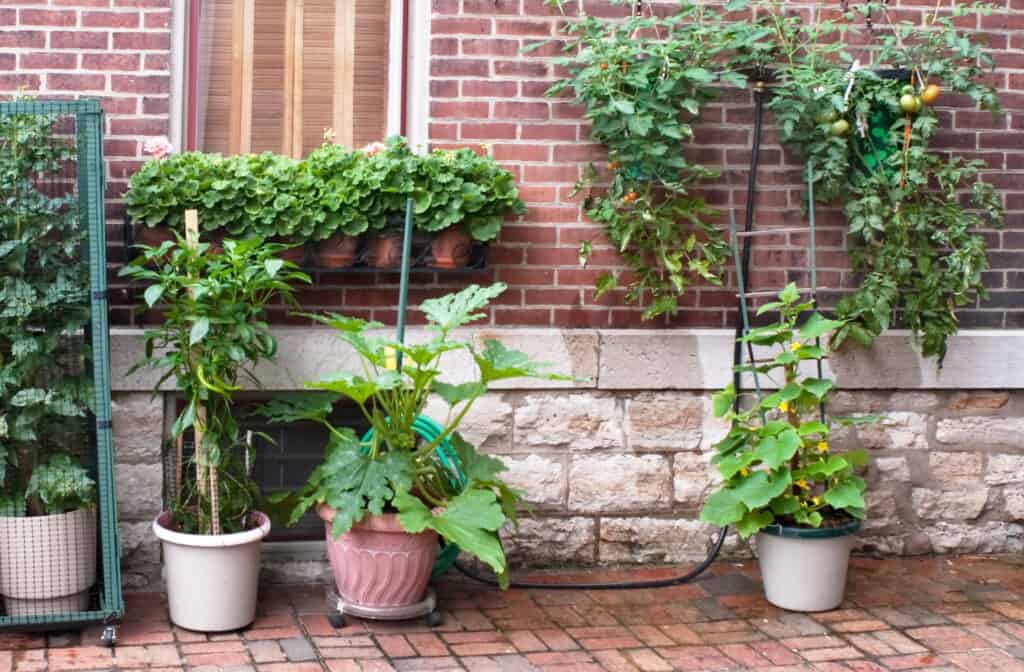
Benefits of container gardening
Just because I said growing in containers is tricky does not mean it’s impossible. I still believe the extra care needed will make it worth it and especially helpful if you do not have a full garden to plan in.
#1. Saves Space – Growing garlic in containers is perfect for those with limited outdoor space, allowing you to grow the food you love in the room you have.
#2. Fewer Pests – Containers help reduce the risk of common pests and diseases.
#3. Easy to Move – Containers can be easily moved for better growth, such as more sunlight or protection from high winds.
#4. Easier Care – Containers are less prone to weeds, reducing the amount of maintenance needed compared to traditional garden planting. This is perfect for anyone that is short on time or suffers from physical issues such as a sore back or bad knees.
Supplies needed for container growing
There are a few supplies you need to grow your garlic in containers.
- A large planting container with good drainage – choose a size that is at least 12 inches deep.
- Some high-quality potting mix – this will help with water drainage.
- A handheld garden trowel – for planting the cloves and digging out the garlic when ready to harvest.
- A watering can
- Some firm, healthy cloves, softneck garlic, and/or hardneck garlic
- A container of slow-release fertilizer
How to Grow Garlic in Containers
Growing garlic in containers is not only easy but fun as well, making this a great family project.
Timing
The best time for planting garlic is in the fall, after the first frost. You want the ground to be cool but not yet frozen.
Garlic grows best when it is allowed to establish its roots and then rest (or hibernate) over the winter in the cool soil. If you live in a warmer climate, you can plant your garlic in the spring, but I find the over-wintering really does produce a superior product in the end.
Location
In the fall the location of your garlic does not matter as much as it will in the spring. However, you will want to find an area that allows you to monitor your plants more easily.
Using soil for planting can make your containers too heavy to move. To make them easier to handle, place them on rolling platforms or opt for a lightweight potting mix instead of heavier soil.
2pack 12 Skelang 4-Pack Plant Caddy 11.8 Inches, Plant Pallet with Brake Wheels, Plant Stand Roller for Indoor and Outdoor Heavy Duty Planter, Load Capacity 125 Lbs (Coffee)Artline 20


Soil
Loose soil is best for growing garlic and should contain a slow-release fertilizer. If your potting soil doesn’t contain slow-release fertilizer, you can mix some into your soil before planting. The soil also needs to be well-draining so the cloves don’t rot. A good soil option is high-quality potting soil mixed with compost at a ratio of 75:25.
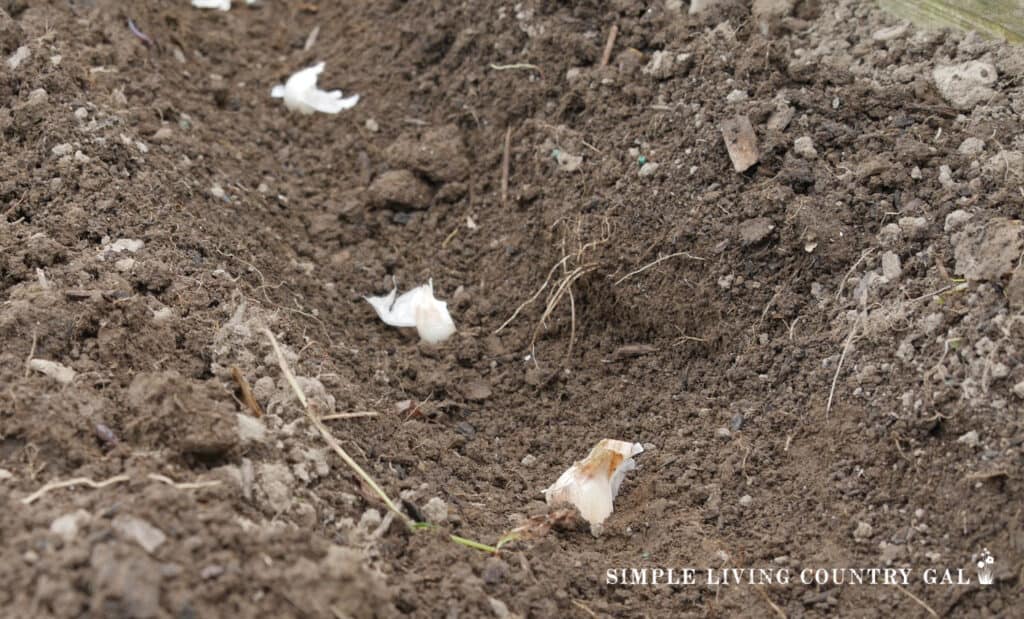
Planting Garlic
Fill your container with potting mix to about 3 inches from the top. Check to see if your potting mix contains a slow-release fertilizer. If it doesn’t, you’ll need to mix one in to ensure your soil is ready and optimal.
- Gently separate the cloves from a head of garlic.
- Place the clove in the soil, with the pointy end facing up about 1 inch deep.
- Plant 1-3 cloves for each container, depending on the size. So, for example, you can plant three cloves in a 5-gallon container.
- Cover the clove with soil. If you live in a warm climate area, you’ll need about an inch of soil on top. If your climate is colder, plan on about 2 inches of soil on top.
- Gently pat the soil down the soil to make the top firm, and place your container in a sunny area.
- Give your cloves a good watering; you want the soil to be moist but not soggy.
- I like to add a layer of mulch, such as straw or dried leaves. This just adds a good layer of protection, especially if you live in a very cold area.
- Once the garlic starts to sprout in the spring, fertilize it every few weeks and Water regularly, keeping the soil moist but never soggy.

Spring Garlic Care
In the spring, once you will begin to see shoots emerging from the soil, this is a sign that hibernation is over and the care for your container garlic changes.
Mulch
At this time you can remove any extra mulch from the ground to allow your shoots to get ,more sunlight.
Sunlight
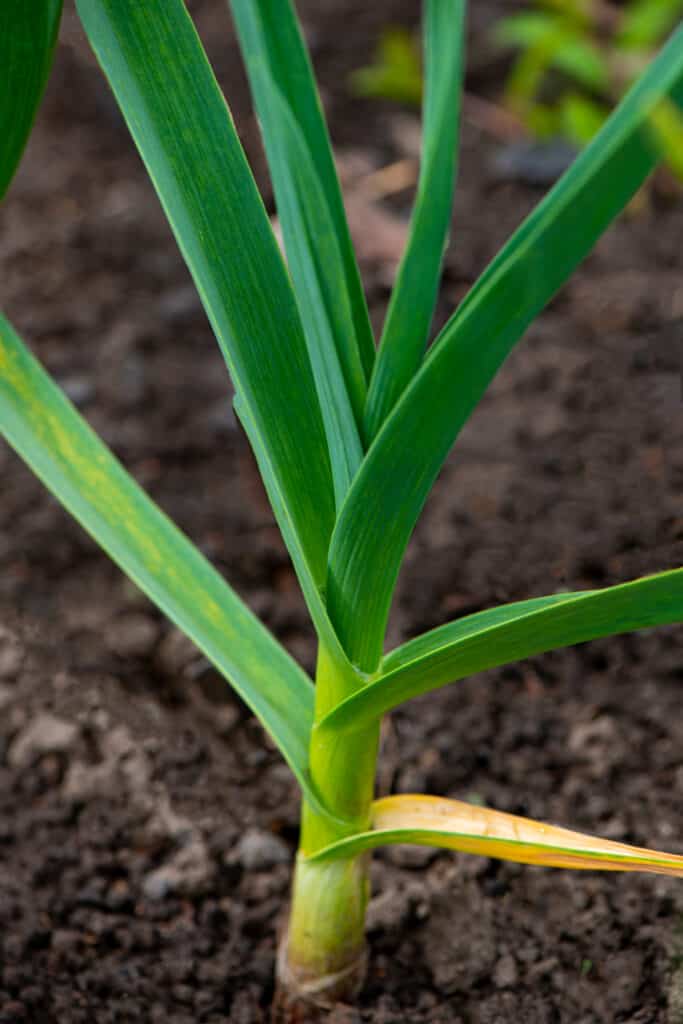
Once sprouted, garlic thrives in full sun, at least 6 to 8 hours a day. Since your garlic is in containers, you can more them around to get the best sun.
You do not need to worry about the sun during hibernation, but rather once the plants break through the ground come spring.
Water
Garlic needs regular watering, about ½ to 1 inch per week, more when the weather is warm and a little less in cold weather when it’s first sprouting. Keep the soil moist but never soggy.
I like to poke my finger into the soil and test the moisture that way. You are aiming for damp but never ever sopping wet. Cloves can rot if kept in overly wet soil, so remember consistency is the key to healthy cloves.
Fertilizing
Garlic is a bulb plant and will need a good amount of phosphorus. Mix 2 to 3 tablespoons of granular organic fertilizer into the soil.
Choose one that’s formulated specifically for bulb plants. Use your trowel to mix it in and ensure it’s evenly distributed.
SLCG PRO TIP: Remember, not all fertilizers will work for all gardeners. You need to know where your soil is now so you can best prepare it for the plants you hope to grow in that space.
This is true for garden plots in a backyard and containers on a patio or window sill. You can use a pH tester or take a sample of your soil to your local extension office for a more thorough test.
If you prefer to grow full-sized bulbs from a spring planting, you’ll need to provide cooler temperatures for the cloves.
Start by placing cloves in a plastic storage bag and putting them in your refrigerator for 4 to 8 weeks. Poke a few holes in the bag for ventilation.
Check on it regularly to ensure you don’t have moisture build-up or mold. When you see sprouting or roots forming, it’s time to plant.
Plant as early as possible. If there is a late winter thaw or a very early spring, it’s time to plant.
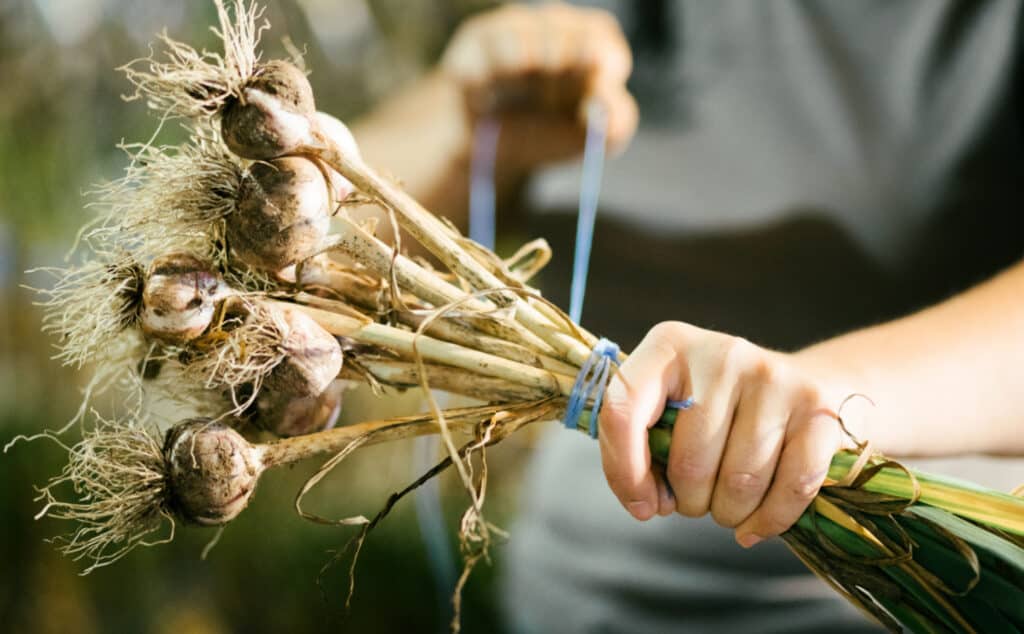
How to Harvest Garlic
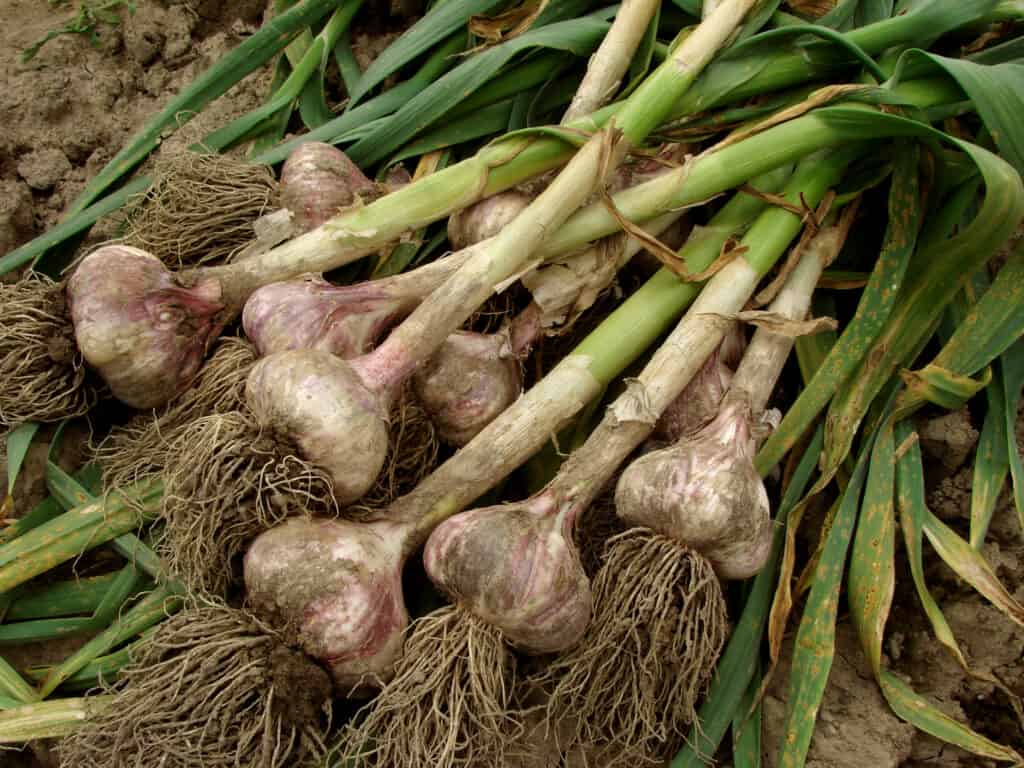
Garlic leaves will start to turn yellow in early summer. Once they’re about half yellow, dump the container and dig out your garlic bulb.
Since the soil has had the winter to compact down, you may find the ground a bit difficult to work through. Use a trowel, being careful not to cut or slice the bulb as you dig.
How to Store Garlic
A broken garlic head will generally last about 10 days. Store the garlic at room temperature in mesh bags in a dry, dark place. The ideal temperature for storing garlic is about 60°-65°.
A whole garlic head should be stored the same way but will last for a few months. You can also dehydrate your garlic for dried garlic that will last up to a year at room temperature in an airtight container.
Read our guide on How to Store Garlic for more tips.
What Diseases and Pests to Watch For
While container gardening helps minimize pests and diseases, there are still a few issues to keep an eye on.
White Rot
This is a fungal disease that can attack and cause the leaves to turn yellow, die back, and wilt. The roots can also rot, causing the plants to be uprooted. You can prevent these issues by using a potting soil mix instead of ground soil, keeping the soil moist but not soggy, and removing any diseased plants so they don’t infect others.
Thrips
Thrips are a common insect pest to garlic and onions. They get into the leaves, suck the sap, and cause damage that slows the bulb’s growth.
Thrips are mostly a problem in large garlic fields when they come from neighboring weeds. They don’t cause many issues with container growing but keep an eye out for damage to the leaves. If you find them, remove the infected leaves and throw them away; don’t add them to your compost.
Nematodes
These worm-like creatures can sneak into the stems and bulbs, damaging the plants. It will live inside of and reproduce in the plant itself, eating at the stem, leaves, and bulb. It can survive for several years in the soil.
The easiest way to avoid them altogether is to plant with fresh potting soil to ensure they’re not already in the soil.
Dreaming of growing fresh garlic from your garden? Learn How to Grow and Harvest Garlic in 10 Easy Steps.
Growing Tips for Garlic in Containers
Garlic Tip #1.
After planting, water the soil, then place 1 to 2 inches of mulch or straw on top of the pot. This will help to insulate the bulbs through the winter.
Garlic Tip #2.
If you live in a warmer climate, you can leave the containers in a sunny spot all winter. But if you live in a colder climate, you’ll want to shelter the pot when winter comes.
Move it next to your house to provide more insulation, and place leaves or straw around the pot, not on top. You can also wrap the pots in bubble wrap to provide more insulation.
Garlic Tip #3.
When spring arrives, you can move the containers back to a sunny spot and continue watering as normal.
Garlic Tip #4.
Add another 2 to 3 tablespoons of granular organic bulb fertilizer to the soil in the spring by placing it on the soil’s surface.
Garlic Tip #5.
Plants will start to sprout and grow scapes (stalks). To encourage a bigger bulb, break off the scape to divert the nutrients to the bulb. Then, let the plants grow until the foliage is at least 50% yellow.
Garlic Growing FAQ
#1. How Many garlic cloves to Plant
How many plants you decide to plant will depend on how much you use garlic when you are cooking. On average, you should plan for 15 plants per person in your household. Remember that one clove will grow into one plant, giving you a full head of 5-15 cloves to use.
Usually, a pot or two starting out is a good supply of garlic to not only cook with but enough seed garlic to use the following planting year.
#2. How Long Does Garlic Take to Grow?
When growing garlic from a garlic clove, you can expect it to take 8 to 9 months to fully mature and be ready to harvest.
Gardening 101 is finding a way to grow what you love in a way that works for you can enjoy your own fresh garlic all year long.
Garlic is one of the easiest crops for beginner gardeners to grow, especially in containers. There isn’t much to do other than watch the soil’s moisture.
Choose your containers, get fresh potting soil and fertilizer, and buy fresh garlic from your local farmer’s market or feed mill. Plant and allow things to hibernate during the winter cold. Come spring, you will see fresh, vibrant green shoots break through the ground, letting you know fresh and amazing garlic is on its way.
Why settle for store-bought when you can grow your own? Learn How to Grow a Salsa Garden and enjoy homemade salsa anytime.
More How to Grow Resources:
- How to Grow Huge Organic Onions
- How to Grow Spinach for Beginners
- How to Grow Chili Peppers for Beginners