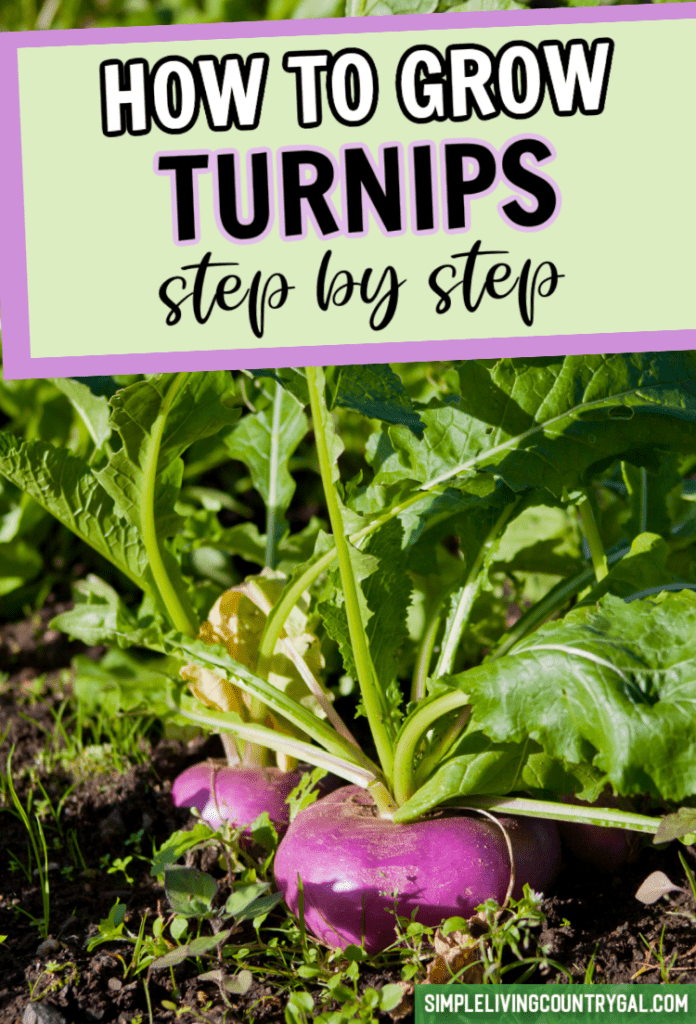
How to Grow Turnips for Beginners
If you love turnips but are unsure how to grow them, this guide on How to Grow Turnips for Beginners is the help you need. Learn how to plant, spacing, pest control, harvest, and more with this step-by-step guide.
Another helpful guide in our gardening 101 vegetable series that will help you grow your best garden yet!
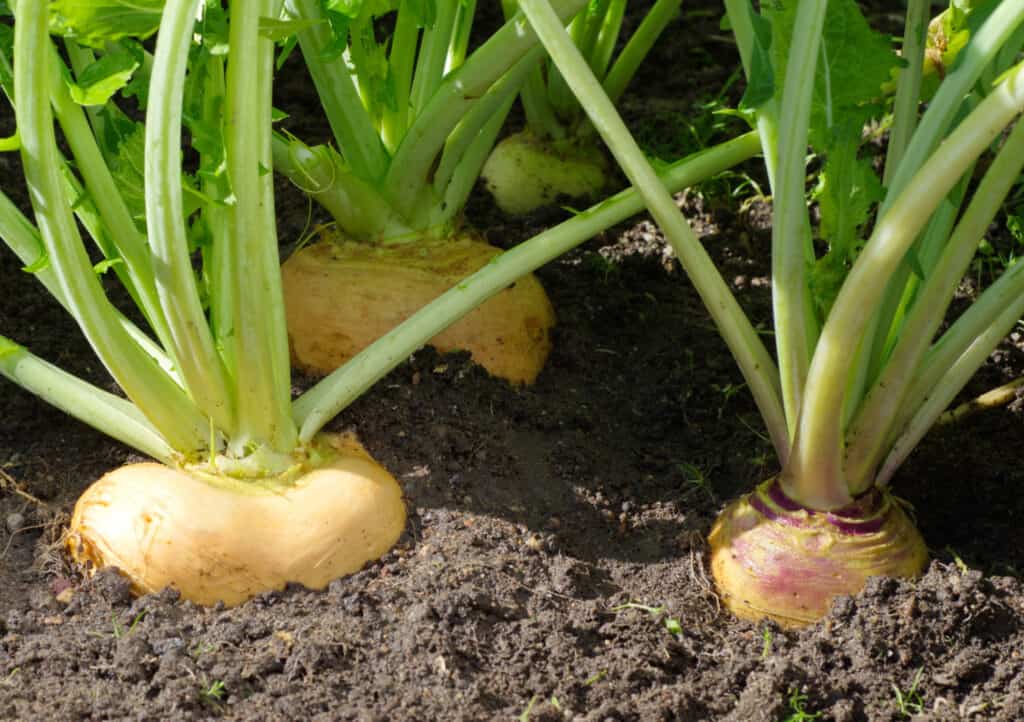
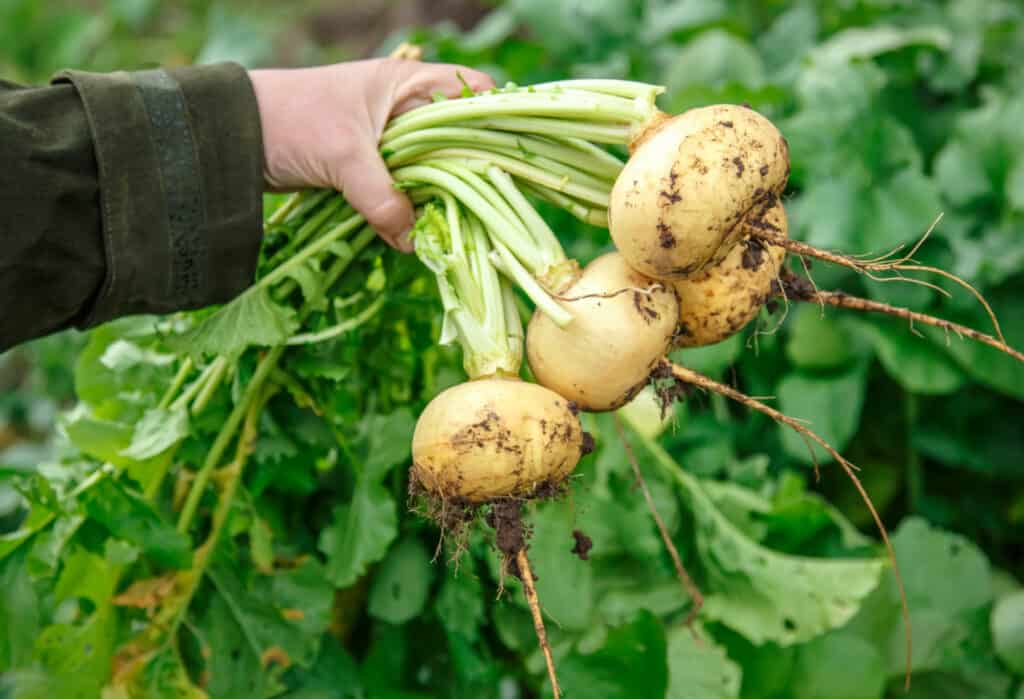
Turnips can be the perfect addition to your spring and fall garden. They like the slightly cooler temperatures and don’t do well in the high heat of the summer. Once planted, they’ll mature quickly, and you can enjoy both the root and the greens, so there’s very little to discard from this vegetable.
You’ll need to grow them directly in the ground as they don’t transplant well, but if you seed the garden in the late summer for a fall crop, you’ll find your turnips a little more tender and sweeter than a spring crop, and pests will be less of a problem.
Once planted, they’ll germinate within a few days, and you’ll be able to harvest their greens within a month; roots will be ready to harvest in about two months.
Turnips can be enjoyed baked, boiled, roasted, mashed, or even raw. You can prepare them similar to carrots and potatoes. Mashed turnips or turnip au gratin make nice side dishes.
There are several varieties of turnips to choose from; be sure to select a variety that will grow well in your local growing conditions.
Turnip Varieties
· Alamo – grown mostly for its greens, you’ll be able to enjoy the leaves for several harvests. It’s resistant to some pests and diseases and can be harvested in about a month.
· Amelie – a sweet, crisp hybrid variety that is bolt-resistant. It can be planted for either a spring or fall harvest and matures in 50 to 80 days.
· Gold Ball – yellow skin with soft yellow flesh. Harvest at about 3 inches in diameter for maximum sweetness.
· Golden Globe – this variety also has amber skin with crisp and sweet flesh. The greens are very tasty as well.
· Hakurei – a hybrid variety with white roots; matures in 35 to 40 days. Both roots and greens can be enjoyed raw.
· Just Right – this hybrid all white turnip does best when planted in the fall as it’s prone to bolting; perfect for fall or winter harvesting. It’s ready to harvest in 50 days.
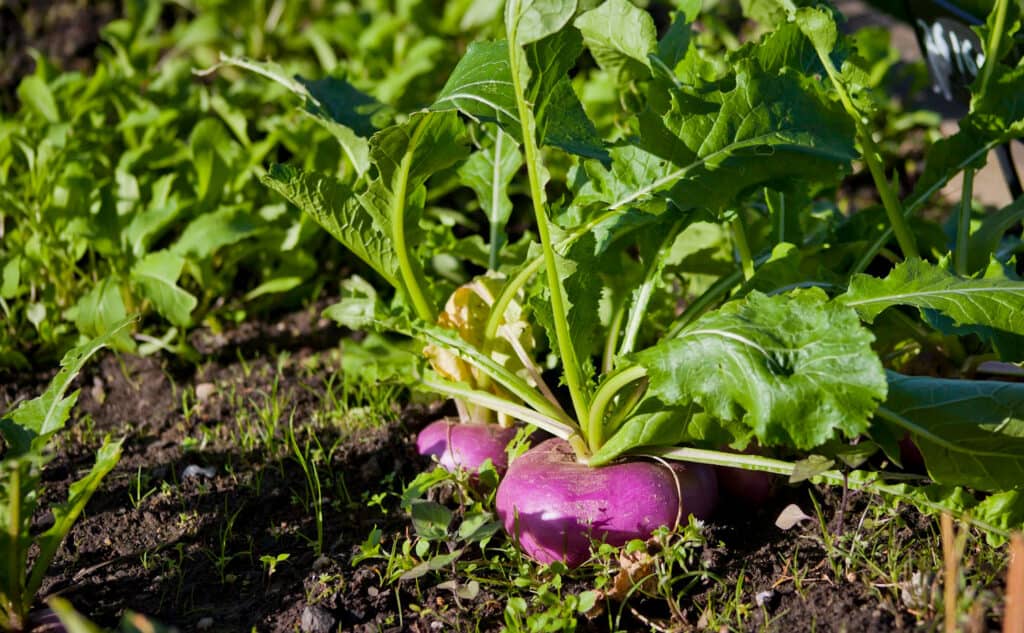
· Purple Top White Globe – an American turnip that is popular in the South. The taproots grow white below the surface and purple above; they grow to about 3 to 4 inches in diameter. They’re ready to be harvested in 50 days and leaves are good for cooking.
· Royal Crown – another hybrid turnip with sweet, mild roots. They taste best when harvested at 4 inches or less and can be grown in the spring or fall for both roots and greens. They mature in 50 days.
· Scarlet Queen – a red turnip that is best raw, served in salads. Harvest when the roots are 2 to 3 inches in diameter, at 40 to 45 days.
· White Lady – a hybrid that is perfect for a short growing season; it matures in about 35 days with white roots that are crisp and sweet.
Seed, Bulb, or Plant?
Turnips are planted as seeds and are best sown directly into the ground. They don’t do well with transplanting.
What You Need to Grow Turnips
Turnips grow best in full sun with temperatures between 45° and 75° F. You’ll need well-draining, nutrient-rich soil; you’ll need to mix in 2 to 4 inches of compost or aged manure. You’ll also need to mix a low organic fertilizer (a 5-5-5-) into the soil to about 12 inches deep. Try to avoid using a nitrogen-rich fertilizer, or you’ll end up with more greens and smaller roots.
When to Plant Turnips
If you plan to harvest in the late spring, sow seeds about 2 to 3 weeks before the last frost of spring. For an autumn harvest, sow seeds in the late summer after you’ve harvested onions, squash, beans, and corn.
If you’d like a late autumn harvest, sow seeds in early fall. Most varieties are ready to harvest in 35 to 50 days.
Temperature
Turnips like somewhat cooler temperatures and don’t do well in the hot and humid days of summer. Plant when the soil and air temperatures are about 40° to 45° F and harvest before the temperatures get warmer. Turnips don’t like temps over 75° F.
Sun
Turnips will grow best in full, direct sun of at least 6 hours a day, but up to 8 hours is best.
Soil
Soil should have a pH between 6 and 7.5 to thrive, slightly acidic to slightly basic. Before planting, loosen the soil about 12 to 15 inches deep and mix in a low organic fertilizer (a 5-5-5) and 2 to 4 inches of compost or aged manure. Be careful that your nitrogen levels aren’t too high. If your soil is heavy and clay-like, you may need to mix in more compost to provide well-draining soil.
Water
Turnip seeds will germinate best in deeply watered soil. The roots need consistent moisture, about 1 inch per week, in order to produce full-size roots. If your soil is sandy or fast-draining, you may need up to 2 inches of water per week. Regular watering will help to prevent the roots from becoming tough and bitter.
Fertilizing
Be sure to mix in organic fertilizer (a 5-5-5) and manure or compost to your soil before planting to provide plenty of nutrients.
Support
Turnips grow underground so they don’t require a support system but they will require plenty of space between them in order to spread out.
How Much to Plant
About 5 to 10 plants per person should be plenty.
How Long Do Turnips Take to Grow?
Depending on the variety, you can expect to harvest your turnips in 35 to 50 days after planting the seeds.
How to Plant Turnips
Once the soil has been prepared, you’re ready to plant. Be sure to prepare your soil down to 12 to 15 inches deep, then recover then area to plant seeds about 1/4 to 1/2 inch deep. This will allow the root plenty of room to grow in healthy soil.
Sow seeds directly into the ground about 1/4 to 1/2 inch deep and about 1 inch apart in rows that are 12 to 18 inches apart. You can also scatter the seeds and thin the plants out later.
Cover the seeds with up to a 1/2 inch of soil, no more, and water them well. Be sure to water consistently with at least an inch of water each week to help them mature into healthy plants.
Once the seedlings grow to 4 inches in height, start to thin them out to 4 to 6 inches apart. If the plants are too crowded, the roots will be malformed or small or they may not grow at all.
Try to keep the planting beds free of weeds while being careful not to disturb the roots.
More How to Grow Resources:
Spacing
Turnip seeds should be spaced about 1 inch apart in rows that are 12 to 18 inches apart. Once the seedlings are about 4 inches high, you will need to thin them to 4 to 6 inches apart so they’re not crowded.
Depth
Seeds should be planted no more than a 1/2 inch deep, but the soil should be prepared up to 12 to 15 inches deep so that the root has plenty of healthy soil as it grows.
Growing Tips for Turnips
· Use row covers to protect spring plantings from pests.
· Mulch heavily around the plants to help the soil retain moisture and suppress weeds.
· Plants that bolt in the first year may be due to stress such as extreme hot or cold temperatures, lack of nutrients, or not enough water. This can cause little to no growth in the plants, a root that grows above ground, or a plant that only grows greens.
· Be sure to harvest before temperatures get into the 80s to avoid bolting.
· In the fall, harvest after 1 or 2 light frosts for better flavor, but before the ground freezes.
How to Harvest Turnips
Harvest the greens when the turnips are small. The leaves taste better when they’re young and tender. Start cutting leaves when they are about 6 inches long and cut them to about 2 inches above the base; it’s possible they’ll grow back and harvest just a few at a time.
The roots can be harvested anytime, but small, young turnips are more tender. The top of the turnip root pops out of the soil, so you’ll be able to easily determine how big it is. Most varieties will be ready to harvest when they reach 2 to 4 inches in diameter. If you leave it in the ground longer, it will grow bigger, but it will lose most of the flavor; it’s better to harvest early.
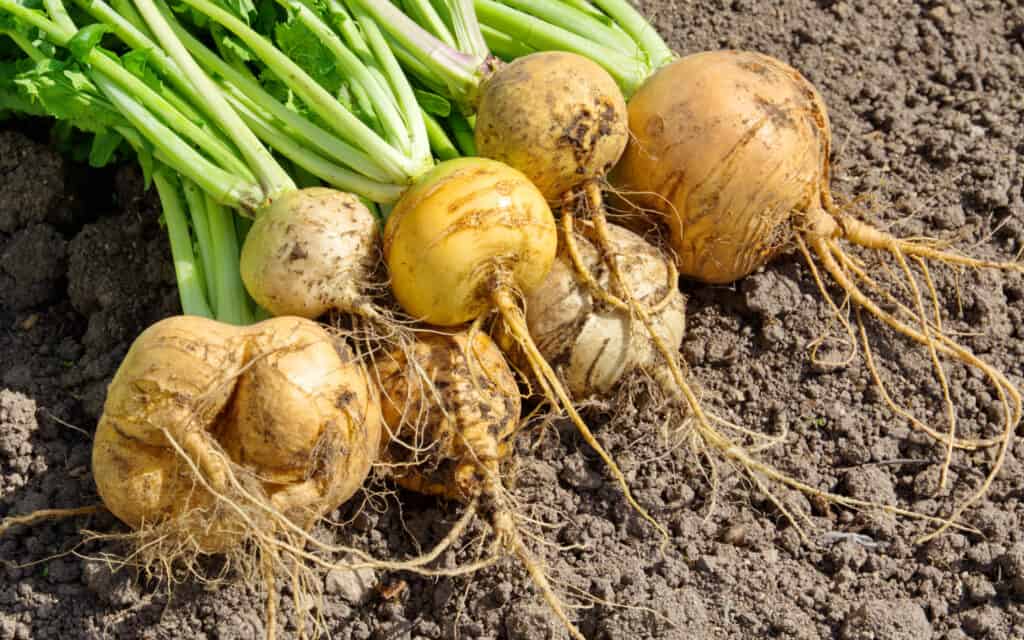
To harvest, grab the greens where they meet the stem to the root and pull up while twisting. For an easier harvest, water the garden bed a day before, then use a trowel to loosen the soil around just before harvesting.
If you’re planting for a fall harvest, wait to harvest until after one or two light frosts but before a hard freeze. The turnips will have a sweeter taste.
If you’re harvesting later in the season, cover the plants with mulch to protect them from a hard freeze.
For a spring harvest, don’t wait too long. The summer heat can cause bolting, so it’s better to harvest early and get them out of the ground for the best size and taste.
How to Store Turnips
Turnips can be stored for up to 3 to 4 months in a cool dark place like a root cellar. They can also be stored in the refrigerator for up to 2 weeks. Cut off all but a 1/2 inch of foliage at the top and a thin part of the root at the bottom.
If you’re storing them in the refrigerator, place the turnips in a perforated plastic bag. You don’t want them to dry out, but you also don’t want them to become moldy from too much moisture.
Turnips can also be frozen. Simply peel, wash, and cut them into 1/2 inch cubes, then blanch them for 3 minutes and cool immediately in an ice bath, and drain. Pack them into containers to freeze.
Diseases and Pests to Watch Out For
Like other fruits and vegetables in your garden, turnips are susceptible to some pests and diseases. A few pests to watch out for include:
· Caterpillars – they love to enjoy the leafy greens. Some common ones to look for include cabbage loopers, beet army worms, and diamondback moths. Simply hand-pick them off.
· Aphids – small, soft bodied, oval shaped pests that suck sap from the leaves. They leave behind waste that attracts mold to the plant. Spray plants with a solution of soapy water or neem oil every couple of weeks.
· Cutworms – nocturnal caterpillars that live in the soil and feed on the stems and leaves. They can destroy an entire row of plants in a single night. Placing a paper or cardboard ring around the stems can help protect them. You can also sprinkle wood ash around the base of the plants. Sunflowers also attract cutworms. If you plant them around the garden, they’ll lure the worms away.
· Cabbage Maggots – they’ll tunnel through to the roots and cause the plants to wilt. Place wood ash around the base of the plant to deter them and plant when the weather is dry.
· Whiteflies – they live on the underside of leaves and look like a moth. Their waste can also attract mold. Spray plants with soapy water to deter them.
· Clubroot – this fungus can cause the leaves and stems to become yellow. It can live in the soil for up to 7 years after an initial infection, so rotate crops to keep it from becoming a problem.
· Blackleg – this causes dark spots on the root flesh and can destroy the root system. It can also be a problem after harvesting when storing. Use crop rotation to keep it away and remove any roots from the surrounding soil if you find it.
Turnips can be a great addition to any beginner garden and since they mature so quickly, you can plant and harvest several times a year. They’re fairly easy to grow and you can enjoy both the leaves and roots in a variety of ways.
Now that you have this helpful guide for how to grow turnips for beginners, you can add this unique vegetable to your backyard garden.
More How to Grow Resources:

How to Grow Turnips for Beginners

How to grow colorful turnips in your own backyard that are perfect baked, boiled, roasted, mashed, or even raw. Get planting tips and care so you are growing big and flavorful turnips this year. How to grow turnips step by step from planting to harvest.
Materials
- Turnip Seeds
- Water
- Fertilizer
- Manure or Compost
- Mulch (fall harvest only)
Tools
- Garden
- Rake
- Hoe
- Shovel
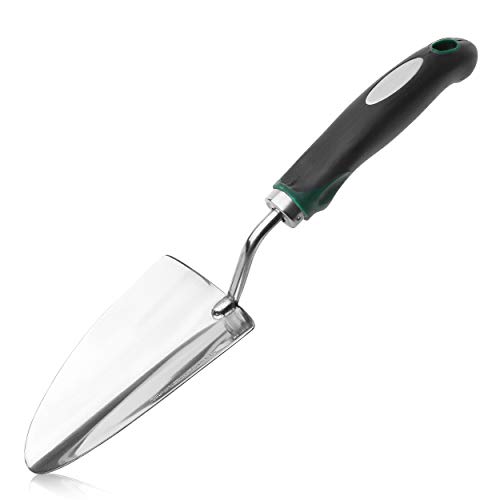
- Trowel
Instructions
- Prepare your soil by loosening it about 12-15 inches deep.
- Mix in 2-4 inches of compost or aged manure.
- Plant the turnip seeds 1/4-1/2 inch deep and about 1 inch apart, in rows that are 12-18 inches apart.
- Cover the seeds with up to 1/2 inch of soil, no more.
- Water 1-2 inches of water per week, depending on your soil.
- Once seedlings grow to about 4 inches tall, start to thin them apart so they are roughly 4-6 inches apart.
- Start cutting the leafs for harvest when they are about 6 inches tall, and cut them about 2 inches from the base to leave a chance for them to grow back.
- Harvest the roots by grabbing the greens where they meet the stem and pull up while twisting.
- Store your turnips for up to 3-4 months in a cool dark place, such as a root cellar.
Notes
- Turnips will grow best in full, direct sun of at least 6 hours a day, but up to 8 hours is best.
- The roots can be harvested at any time, but small, young turnips are more tender and flavorful.
- Plant when the soil and air temperatures are about 40° to 45° F and harvest before the temperatures get warmer. Turnips don’t like temps over 75° F.
- Turnip seeds will germinate best in deeply watered soil.
- Soil should have a pH between 6 and 7.5 to thrive.
- For an easier harvest, water the garden bed a day before, then use a trowel to loosen the soil around just before harvesting.
- If you’re planting for a fall harvest, wait to harvest until after one or two light frosts but before a hard freeze. The turnips will have a sweeter taste.
- If you are harvesting later in the season, cover the plants with mulch to protect them from a hard freeze.
- Harvested turnips can also be stored in the refrigerator for up to 2 weeks.
- Turnips can also be frozen. Simply peel, wash, and cut them into 1/2 inch cubes, then blanch them for 3 minutes and cool immediately in an ice bath, and drain. Pack them into containers to freeze.
- If your soil is heavy and clay-like, you may need to mix in more compost to provide well-draining soil.
Recommended Products
As an Amazon Associate and member of other affiliate programs, I earn from qualifying purchases.
-
 Black Kow Nitrogen Phosphate Composted Cow Manure Fertilizer for Soil, Flowers, Potted Plants, Raised Beds, and Compost Tea, 4 Pounds
 -
Mr. Pen- Heavy Duty Trowel, Garden Trowel, Stainless Steel, Small Shovel, Rust Resistant, Garden Shovel, Hand Shovel, Garden Spade, Gardening Shovel, Trowel Garden Tool, Hand Trowel, Potting Shovel
-
Cool Area Plant Covers Freeze Protection 10x30 ft 1.0oz Resuable Frost Cloth Blanket Floating Row Cover Garden Fabric for Winter Outdoor Vegetables Plants Against Pest Insects
-
Burpee Purple Top White Globe Turnip Seeds 5000 seeds
-
SoilMoist NitroGreen 100% Organic Fertilizer 14-oz High Nitrogen 13-0-0 for Plant Vegetable Growth