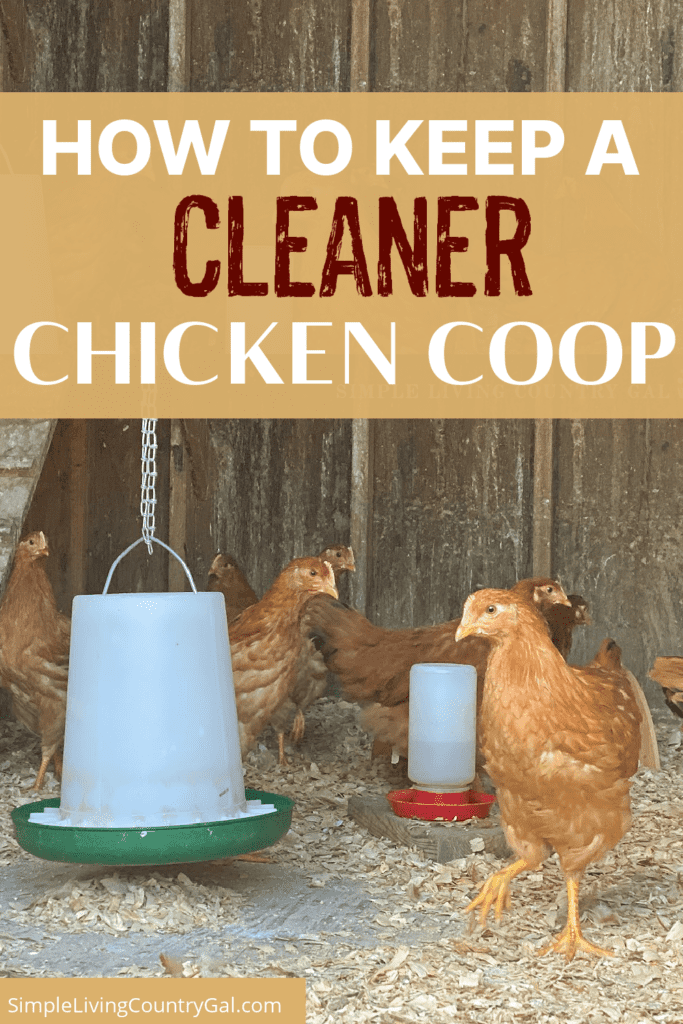
How to Keep a Clean Chicken Coop
Let’s face it: chickens are messy, and if you are looking for tips on how to Keep a Clean Chicken Coop, you are in the right place. Get a quick list of actionable things you can do to keep your coop cleaner year-round.
Raising chickens that are healthy egg layers all depends on where they live. Use these tips to ensure they are in a clean coop that is free of pests.
Chickens play an important part on our homestead. Not only do they give us a daily dose of fresh eggs, but they also help to keep bugs and pests from taking over our garden. Their manure is being used to turn our clay soil into a healthy growing medium.
And now that I have a self-sufficient chicken coop, taking care of them is not as involved as it once was.
But chickens have their downside, and it was those things I did not learn about until we had a flock of our own.
- Baby chicks create a lot of dust that can take over the room you have a brooder in.
- If you have grass in a chicken run, a flock can turn it into a dust bowl in less than a week.
- If it rains, even for only 10 minutes, a chicken run can become a muddy and mucky mess.
Why do you need to keep your chicken coop clean?
A clean chicken coop does more than give a nice appearance, it plays an important role in your flock’s health.
Sweet PDZ – Coop Refresher – Zeolite Odor Eliminator – Essential Chicken Coop Accessory – 10 lbs X-TECOKIT Larger Pooper Scooper – Durable & Sturdy Rake, Spade, Tray Set with Long Handle Great for Large Small and Multi Dogs – Poop Scoop No Bend Down Easy to Use for Yard Grass Gravel DirtBates- Paint Scraper, 10 in 1 Painters Tool, Paint Scrapers for Wood, Painters Tool, Painters Knife, Paint Scraper for Painting, Putty Knife, Metal Scraper, Spackle Tool, Putty Scraper, Knife Scraper


A clean coop can prevent the outbreak of pests and prevent the spread of disease in a flock. It also keeps the dust down, which can cause breathing issues that can quickly turn into something more serious. Dust is the enemy of many animals, especially chickens.
A dirty chicken coop can lead to Salmonella, which can be passed from the chickens
to you and your family through touching dirty eggs.
The good news is that keeping a clean coop is easy to do and takes just a few minutes a week. Just a bit of upkeep, and you will have a cleaner coop year-round. And a cleaner coop will give you a flock of chickens that thrive through every season.
Be sure to grab the FREE Chicken Coop Recipe + Cleaning Guide Below!
How to Keep a Clean Chicken Coop
You’ll know it’s time to clean your coop when you start seeing a few signs: dust, dirt, cobwebs, dirty bedding, and a build-up of feces. Instead of waiting to see when the coop needs a good cleaning, I find it is much easier to have a spot-cleaning routine that I do weekly.
As a midlife homesteader, smaller tasks are easier for me to do rather than being faced with a day-long project.
If you like the idea of creating a routine cleaning schedule, you can use the list below to customize one that works well with the time you have available for upkeep.
Daily Tasks
These are quick and easy things you can do each day or every other day to keep your coop from getting dirty and dusty.
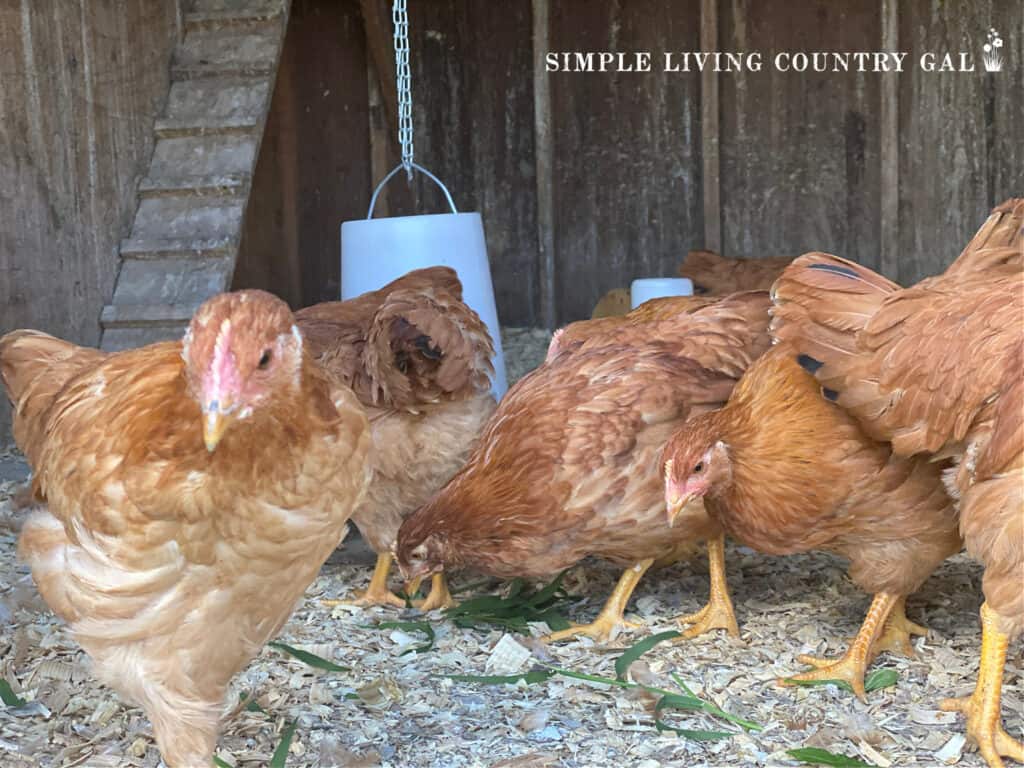
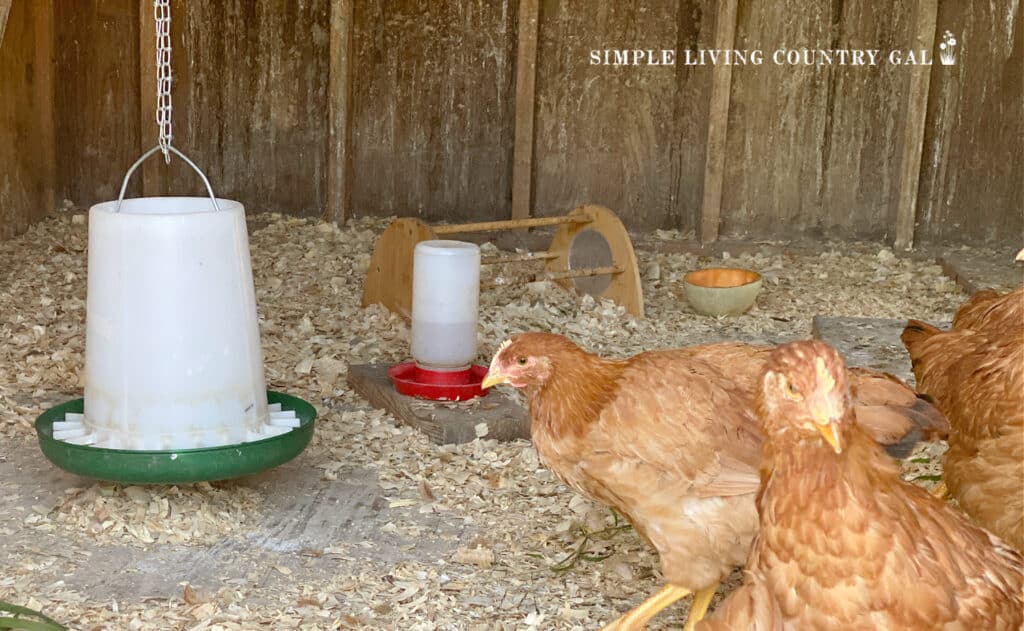
1. Give fresh water and rinse out the container. If you have an automatic waterer or a container that holds 5 gallons or more, you can put this task on your monthly list.
2. Give fresh grain and clean up any spills. This will help to keep small rodents out of the coop.
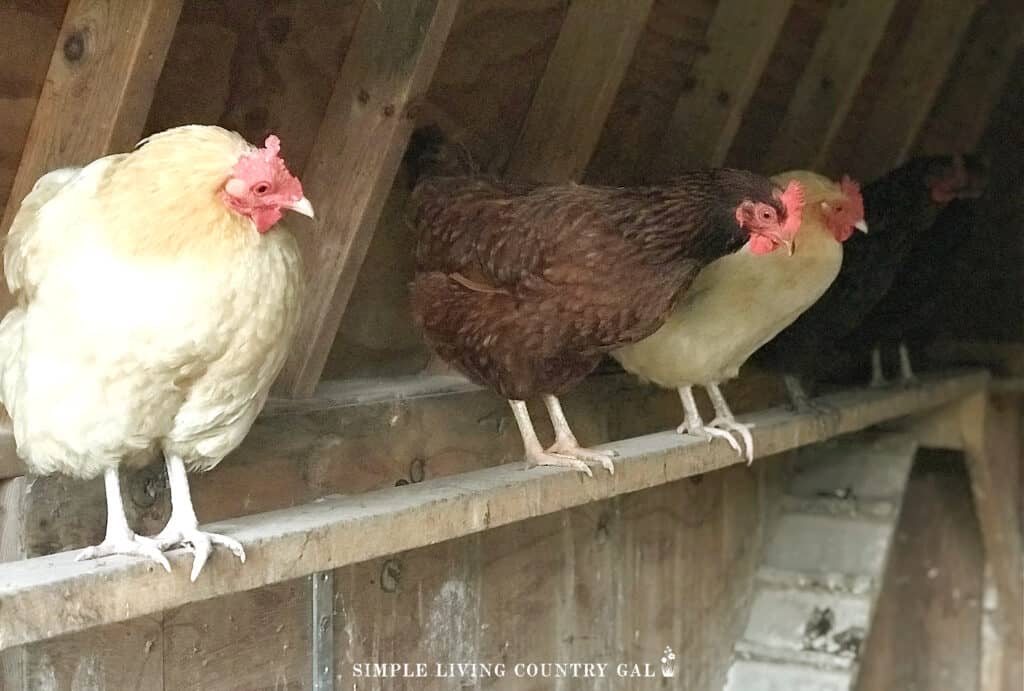
3. Scrape off the chicken roost, removing manure or other debris.
4. If you have scrape boards below the roost, be sure to take them out and clean them off in your compost area.
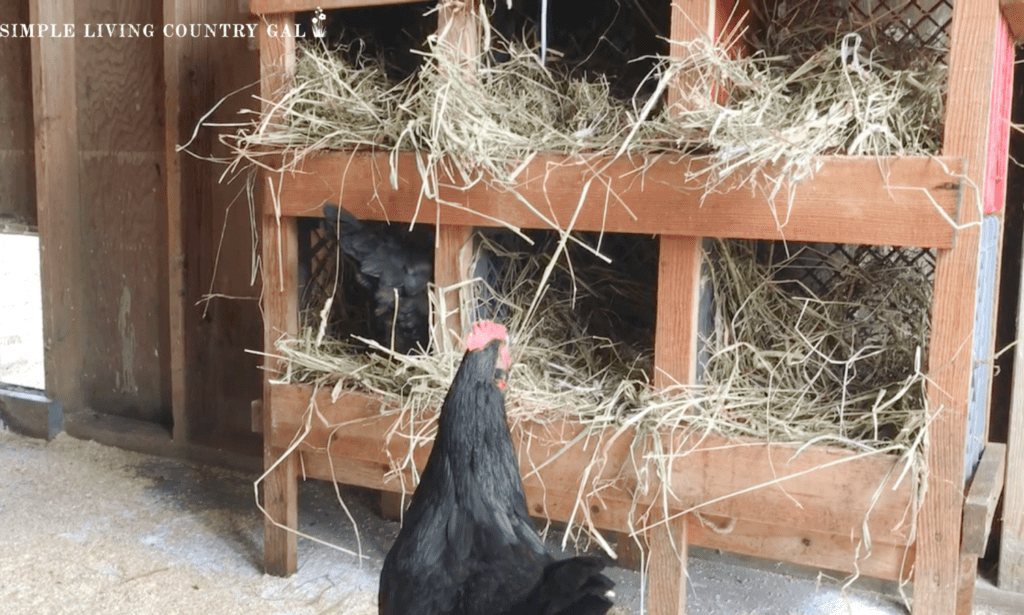
5. Check nesting boxes for wet or dirty bedding and replace with clean.
Weekly Tasks
These extra weekly tasks take just minutes to do and will keep things much neater inside of your coop.
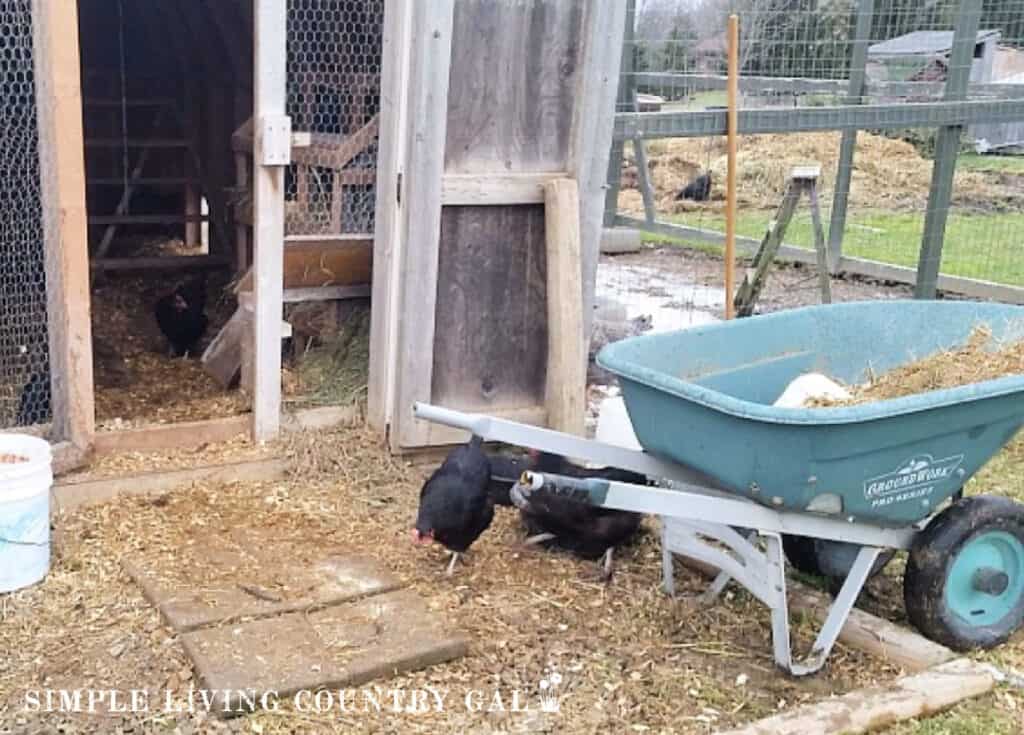
1. Spot-clean any soiled bedding as needed. I like to keep a shovel and bucket in the corner of our coop to make this job easier.
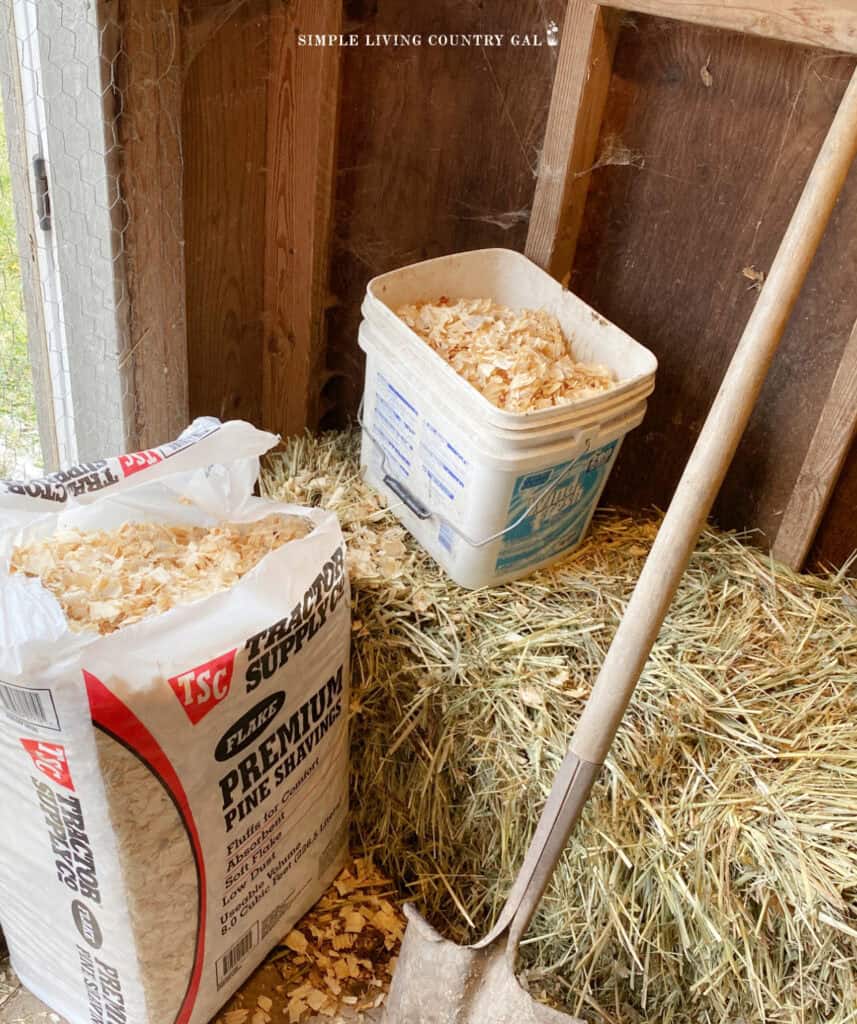
2. Add new bedding to heavily soiled areas. If you have the space, you can keep a bag in the coop, again to make this chore easier to do.
3. Using a broom, remove any dust or cobwebs from the air vent to ensure the air can move freely throughout the coop.

Monthly Tasks
These deeper tasks will help to ensure fresh air can get into the coop which is good no matter how cold the weather is outside.
1. Using a broom, brush the walls, ceiling, and corners, removing the dust and cobwebs.
3. Scrape away caked-up dirt from the doors or entryway to ensure things can close securely at night.
4. Replace the straw inside the nesting boxes whether it needs it or not. This will keep the dust from building up inside.
5. If you use bedding, add a fresh layer to neutralize odors. If you use sand, remove any soiled or wet areas with a long-handled kitty scooper.
Biannual Tasks
When it’s time to give your coop a thorough cleaning, follow these steps to make sure it’s fully clean and disinfected.
We like to do a full clean out each fall and spring calling in family to help with the heavy lifting.
1. Remove the chickens from the coop and move them to a temporary enclosure or away from the coop. This will ensure they do not wander or get in your way while you are cleaning.
2. Clear out everything that’s removable. Things like feeders, perches, nesting boxes, waterers, etc. This may be the most time-consuming part of the task, but it will ensure you are able to give a thorough cleaning.
You’ll also want to remove all the bedding and be prepared to replace it with fresh bedding.
3. Start cleaning by scraping down all the surfaces to remove any feces that can get caked on. I like to use a paint scraper for this part. Next, use a broom work to remove any cobwebs, dust, and dirt, from the walls and ceiling.
Be sure to wear a mask and gloves; not only will this be helpful to keep you from breathing in dust and reducing allergy issues, but it will also protect you from any disease that may be on the surfaces you’re cleaning.
4. Remove any remaining residue by hosing down the coop’s interior. If you find there is still debris left over, you may want to scrape the surfaces again and give it another hosing down.
Pouring boiling water over the floor and walls will also get rid of any mites that may be in the coop.
Be sure to grab the FREE Chicken Coop Recipe + Cleaning Guide Below!
5. Disinfect and make sure you’ve removed all bacteria; this includes disinfecting the nesting boxes as well as the coop itself.
Avoid using any chemicals that may be harmful to your chickens. Instead, you can DIY a natural coop cleaner with equal parts vinegar and water. Use it to mop the floor and wipe down the walls and the nesting boxes. You can also use this solution to clean feeders and drinkers, then place them in the sun to dry.
6. Allow to dry naturally. After cleaning, everything will need to air dry. This will also reduce the vinegar smell, and the sun will help with the disinfecting process.
7. Set up your coop. Once everything has been thoroughly cleaned and is dry, you can start moving everything back in. Use fresh bedding on the floor and put the cleaned feeders back in place. The chickens can now be moved back in.
8. As a final step, be sure to give your hands a good scrub, or better yet, take a shower to remove any grime and bacteria you may have picked up.
If you’re keeping your bedding deep, you should only perform this heavy cleaning once every four months or so. In between deep cleanings, you can simply clean out the feeders, add more bedding, and sweep out cobwebs.
Tips on keeping a cleaner coop
There are three tips that coop owners use to help maintain the cleanliness of their coops. You may want to try one of these to keep your coop clean a little easier.
Method 1 – The Tarp
Lay a tarp down on the coop floor before you add in any bedding. When it’s time to clean, you can easily fold the tarp up to make removing and dumping the old bedding an easier task.
Be sure to disinfect the tarp with a mixture of vinegar and water before replacing it.
Method 2 – Vinegar and Water Cleaning
As mentioned, equal parts of vinegar and water makes the best solution for cleaning and disinfecting your coop while protecting your chickens from chemicals.
Using it to clean also keeps your chickens healthier and has been known to increase egg production.
Method 3 – Deep Bedding
Deep bedding not only helps to keep you from having to clean the coop more often, but it also keeps your chickens warm in colder weather. Lay a thick base and allow the litter to build up compost on the floor; this will keep the coop warmer.
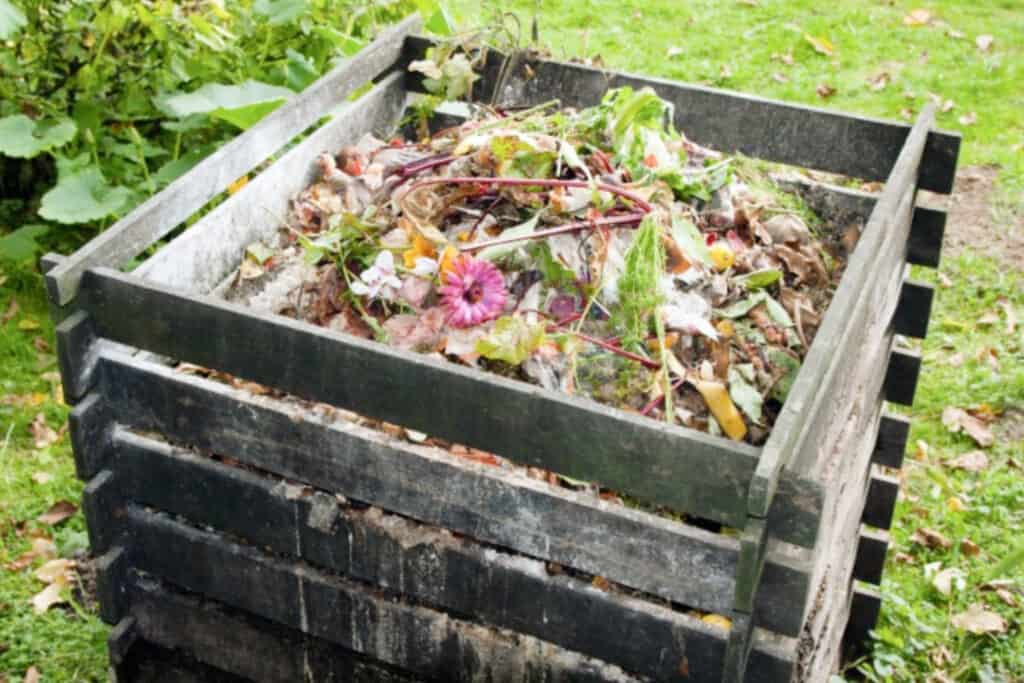
Whatever method you use, put your bedding into your portable compost bin or a dedicated compost area that you have set up on your property.
Soiled bedding is a great brown matter for composting down into amazing soil that you can later use in your garden.
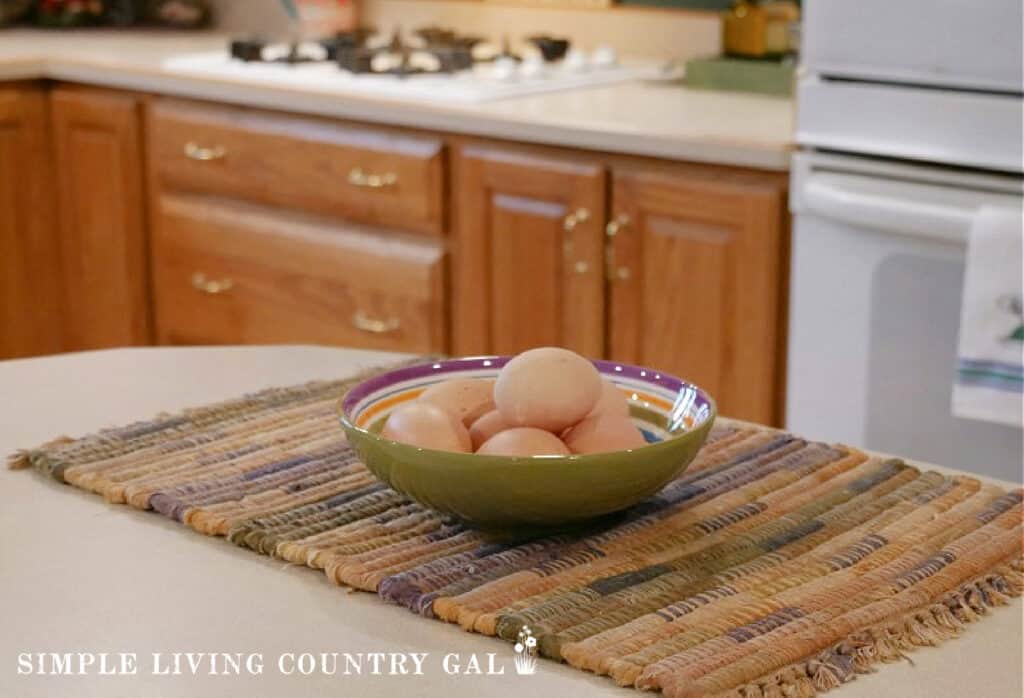
Should you wash your eggs?
With all the concern over keeping your coop clean and reducing illness and disease, many people wonder if you should wash your eggs.
Eggs have a natural antibacterial coating (called a “bloom”) that happens when it is laid. Washing your eggs early will remove the bloom and encourage the growth of bacteria.
The answer depends on a few factors. All eggs should be cleaned, but not all eggs need to be washed. You should only wash your eggs if they have fecal matter on them.
Read how to wash eggs from the coop for more tips.
Keep a clean chicken coop using these tips to encourage more egg production and keep your chickens happy and healthy. Cleaner coops also lead to eggs with less bacteria, reducing your family’s risk of Salmonella.
As an added bonus, cleaning your coop regularly will help you keep track of the health of your chickens; you’ll be able to see changes in the coop and in the droppings, allowing you to know sooner when there is an unhealthy chicken.
A simple cleaning of your chicken coop every week will make the deep cleaning much easier and keep your chickens and their eggs healthier.
If we are washing the eggs with poop on them, do those eggs need to be refrigerated? It’s our understanding that the unwashed eggs can be left on the counter. How do you store fresh eggs? And any tips for keeping the eggs clean in the coop? Our eggs are getting collected once, twice at best, a week. Our hens ignore the nest box and lay eggs in one big pile.
We collect eggs every day so they are not sitting in the warm coop. To keep them clean I have wood shavings on the ground and that helps to keep things less muddy. Once I wash the eggs they go into the fridge with a the “Washed On” date so I know when they were done. If I do not wash them, I just let them set out on the counter. We do not give or sell any eggs that have not be thoroughly washed and inspected for cracks.
I hope this helps!
Tracy Lynn
We are just in the midst of building a chicken coop.
This is all new to us.
I really like the tips and ideas from you .
Thank you very much !