How to Make a DIY Chicken Dust Bath Area
Creating a DIY chicken dust bath area is one of the easiest ways to care for your flock when you’re raising chickens. This simple project isn’t just about keeping them entertained—it’s actually key to keeping them content and healthy.
And remember, healthy chickens that are content mean plenty of farm-fresh eggs right outside your back door.
When I first started raising chickens, I had no idea what I was doing. None. Zero. Every single day was a new lesson, with my chickens as the best (and sassiest) teachers.
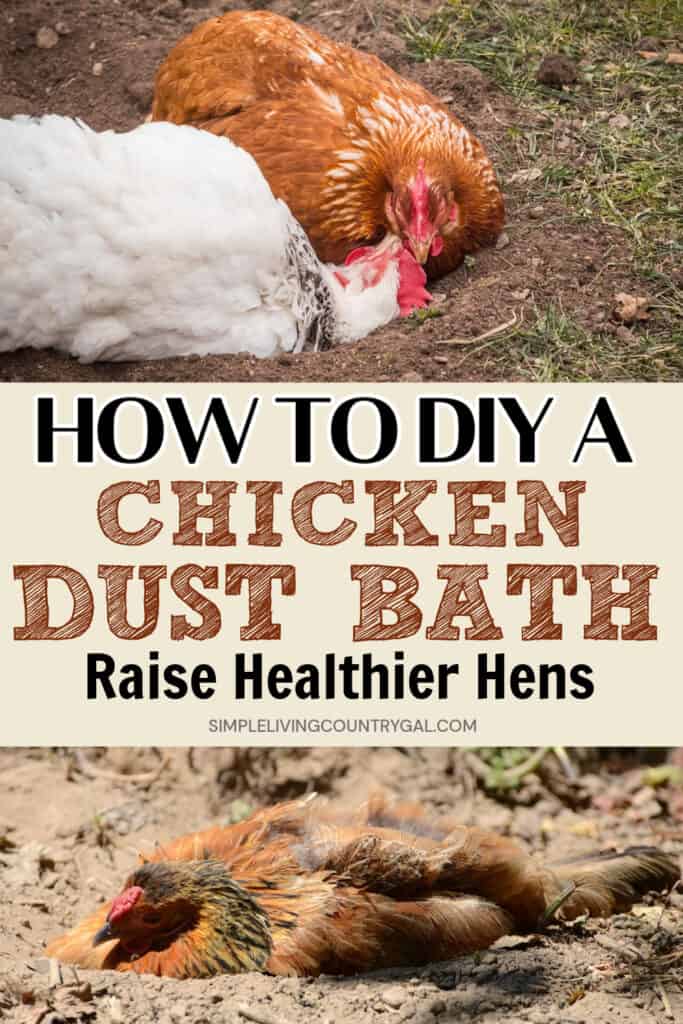
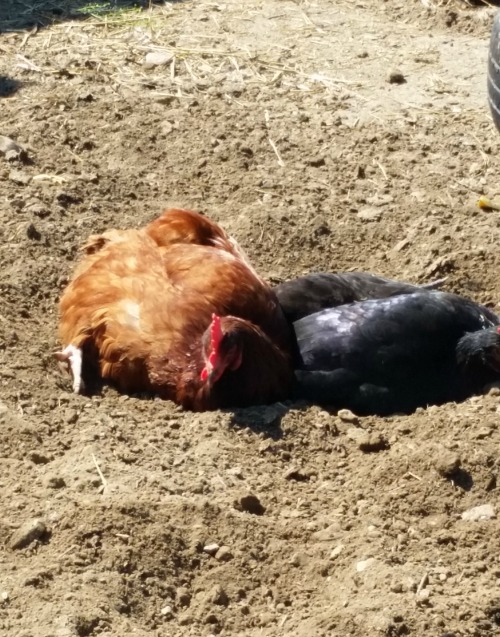
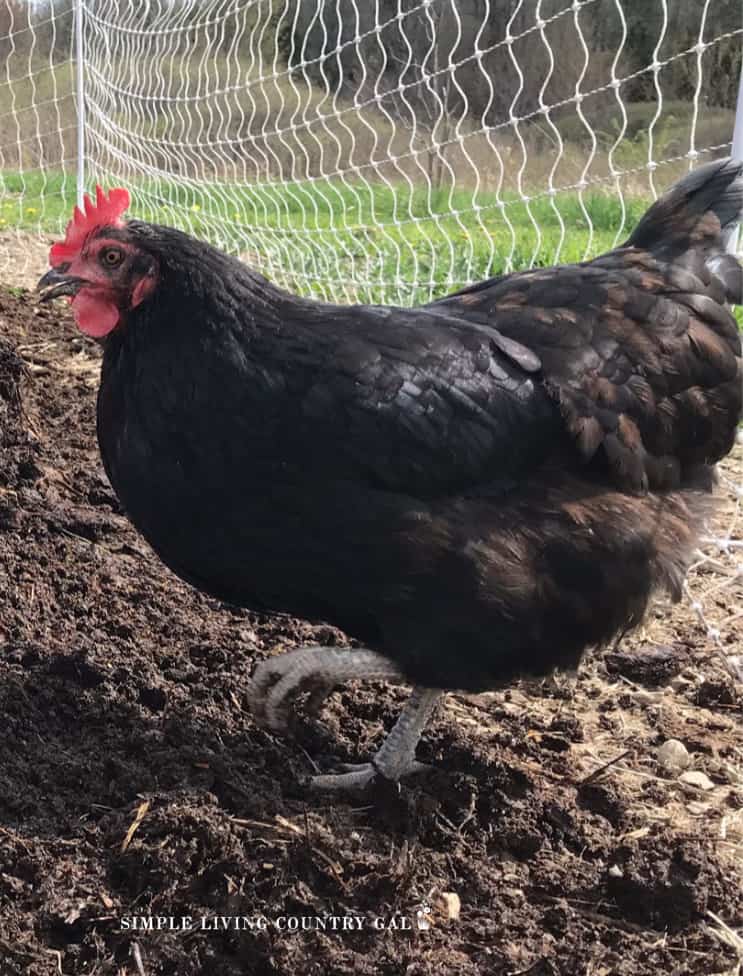
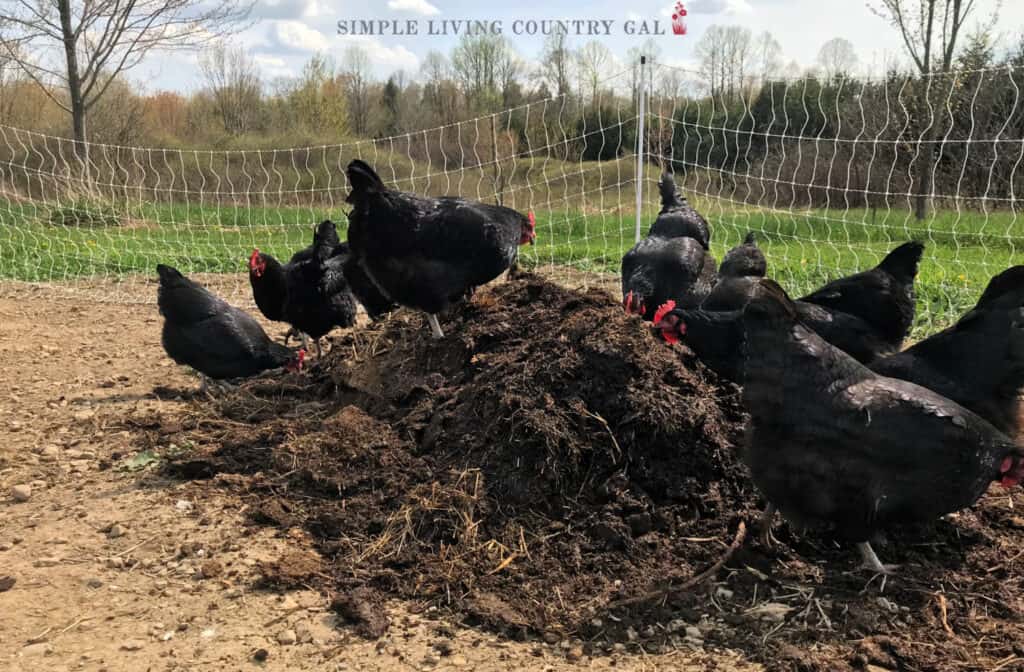
One day, I headed outside to check on the flock and noticed one of my hens lying on the ground, tossing dirt all over herself with her feathers. I froze, not sure what was going on, and just stood there watching her.
There she was on her side, flicking loose soil all around, kicking up this little dust cloud. After a bit, she just stayed there, totally still, soaking up the sun and napping in her cozy dirt nest. Out of nowhere, she jumped up, gave a good shake to fling dirt everywhere, and strutted off like nothing had happened. She seemed so… content.
Later, I found out what I’d witnessed was a chicken dust bath. Yes, a bath made of dirt! Funny, right? That moment really made me appreciate how unique and quirky chickens are, and it’s one of the many reasons I love having them in my backyard.
After doing some digging (pun intended), I realized how important dust baths are—not just for keeping my chickens happy but also for keeping them healthy. Adding a proper dust bath area to their run was a total game-changer. It created a calm space in the coop, helped keep them from getting bored, and even cut down on henpecking issues. Turns out, a little dirt makes a world of difference.
Dust Baths Reduce Tension
Dust baths aren’t just some quirky chicken habit; they’re a built-in stress reliever for your flock. When chickens bathe in loose dirt, they’re not just cleaning themselves and warding off pests. They’re also engaging in a calming activity that helps everyone stay relaxed. A content chicken is less likely to get bored, and more importantly, less likely to start picking on her coopmates.
Tension in a coop often shows up as hen-pecking. If you’re not familiar with the term, it’s when one or more chickens start “bullying” a weaker bird by chasing her, squawking, and sometimes even attacking. For new chicken keepers, it’s a scary thing to witness. Unfortunately, if hen-pecking isn’t addressed, it can lead to injury or, in extreme cases, even death.
Container options
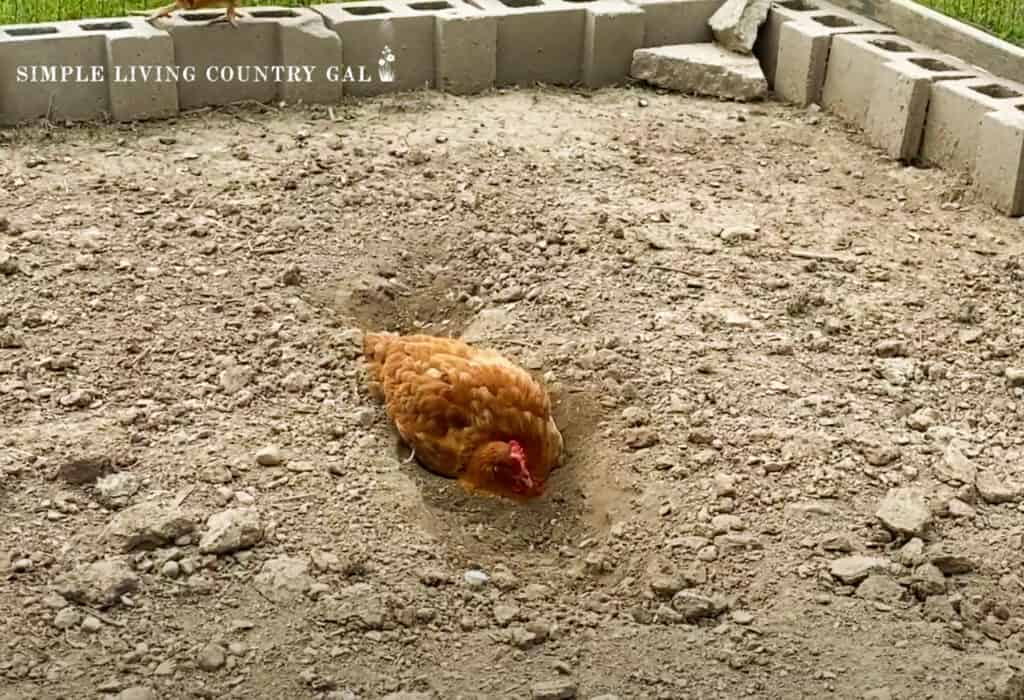
If you’ve got a big chicken run, you can just dig up a patch of loose soil, and your flock will be perfectly happy with it. But if space is tight, setting up a container for their dust baths is a much better option.
- Large Plastic Storage Bin – Remove the lid, cut out low sides for easy access, and fill it with your dust bath mix. It’s lightweight and easy to clean.
- Kids’ Sandpit – An old plastic sandbox works great! Its size and sturdiness make it ideal for a group dust bath session.
- Rubber Feed Tubs – These shallow, heavy-duty tubs are perfect for smaller flocks and are durable enough for outdoor use.
- Repurposed Wooden Crates – Line a wooden crate with plastic or cover it to prevent leaks if you want a rustic look for your chicken run.
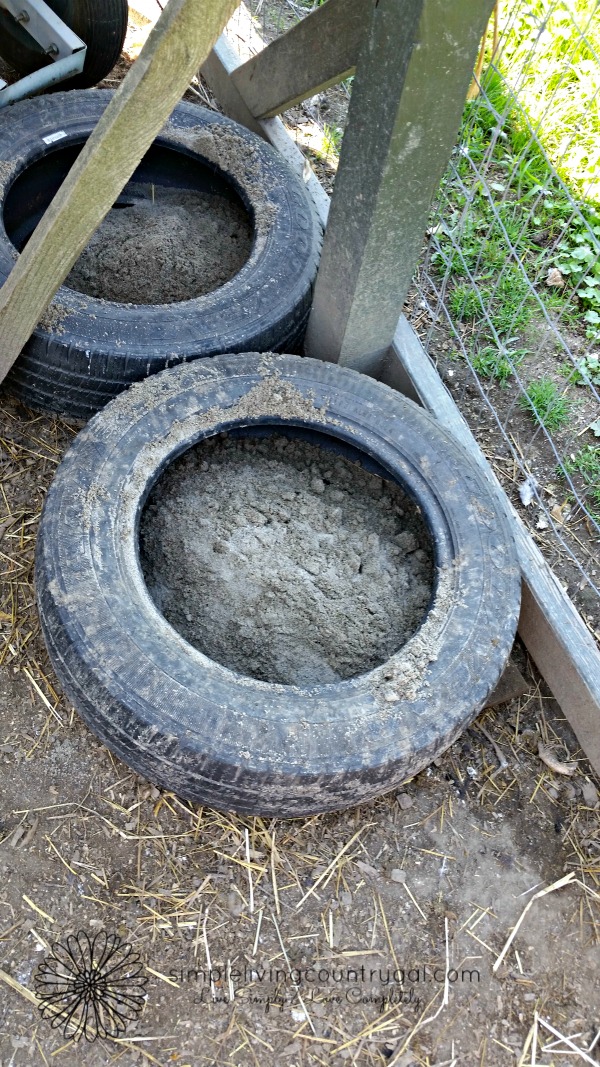
- Tires – If you’ve got an old tire lying around, fill it with soil, sand, and other dust bath materials for a fun, round setup.
- Kiddie Pool – Perfect for larger flocks, kiddie pools are spacious and easy for chickens to hop in and out of.
- Garden Planter or Trough – Look for wide, low planters or livestock troughs that have enough room for rolling and dusting.
- Concrete Mixing Tray – These are sturdy, inexpensive, and large enough for multiple chickens to bathe together.
- Shallow Wooden Box – Build a simple box with non-treated wood and fill it with your dust bath mix. Customize the size to fit your flock’s needs.
- Old Drawer or Dresser Bottom – Repurpose old furniture drawers as dust baths. Just remove the knobs and fill them with the dust mix recipe. See below!
Wash Basins – Rectangular Plastic Hospital Bedside Soaking Tub – Small 7 Qt Graduated Bucket – Portable Washbasin for Washing, Cleaning, Foot Bath, Dishes, Face Cleansing Bowl -13.25 x 10 x 4.5 Inches Colingmill 1 Set Large Chicken Dust Bath Tub 36.4” Dia x 5.5” H Bottomless Design Round Adjustable Chicken Coop Cleaner Container Dust Bath for Essential Coop AccessoryKirecoo Stainless Steel Cat Litter Box – Metal High Sided Cat Pan, Large Stainless Steel Box, Indoor Litter Tray, Non Stick, No Smell, Easy to Clean, Pet Toilet Supplies for Kitten, Kitty, Rabbit


Pick a container that suits your flock’s size and your coop’s layout. No matter what you choose, your chickens will truly benefit from having a dedicated space for bathing.
How to DIY A Chicken Tire Dust Bath Area
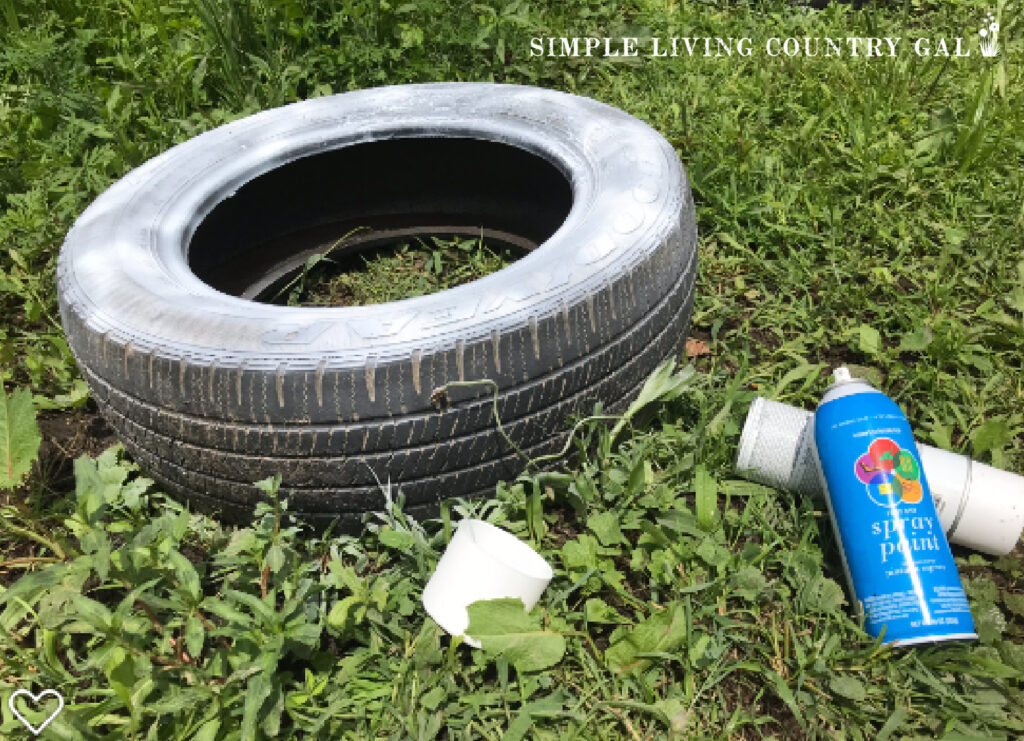
At our place, we love using old tires for dust baths. They’re heavy-duty enough to handle any weather, and the size is perfect for chickens to hop in and do their thing.
Step #1. Clean Your Tires
Start by gathering some old tires. For our flock of 20, four tires worked just fine. Give the tires a good scrub with soapy water and a stiff brush to get rid of any dirt or debris that might harm your chickens. Be thorough and make sure the inside and outside rims are completely clean and safe.

Step #2. Let Them Dry
Once you’ve washed and rinsed the tires, leave them outside to dry in the sunshine. The sunlight will not only dry them quickly but also acts as a natural sterilizer, which is a bonus!
Step #3. Paint the Tires (Optional)
Black tires can get super hot in the sun, you might want to paint them white. This keeps them cooler, and honestly, it’s a fun way to add a bit of charm to your chicken run. Plus, it makes the area look less drab!
Step #4. Fill It Up
Now that your dust bath container is ready, it’s time to fill it with the good stuff. The ingredients you choose play an important role in your chickens’ dust baths, so here’s what works best:
- Loose Soil – Great for scratching and rolling around in.
- Sand – Use fine sand to avoid clumping.
- Wood Ash – Absorbs toxins and is great for pest control.
- Fine Wood Shavings – Adds texture, but make sure they’re soft and safe.
- Diatomaceous Earth (Food Grade) – Helps fight off pests and parasites.
- Herbs – Adds a lovely smell and helps your hens unwind.
DiatomaceousEarth 5 LBS FOOD GRADE Diatomaceous Earth – 100% Organic All Natural Diamateous Powder – Diametaceous for humans is Safe Around ChildrenManna Pro Fresh Flakes | Chicken Coop Bedding | Pine Shavings for Chicken Bedding | 4 Cubic FeetRoosty’s Naturals Chicken Nesting Herbs – Chili Mix | 1LB Premium Nesting Herbs for Chicken Coop | Made in The USA | Mixes with Chicken Dust Bath and Chicken Coop Bedding as a Coop Refresher


You don’t need every single ingredient on this list—plain soil alone works perfectly well. Pick what’s easiest for you and your setup. Get our Homemade Chicken Dust Bath recipe here.
Step #5. Leave the Rest to Your Chickens
Once your tire dust baths are set up and ready to go, give your flock some time to explore. Chickens are naturally curious and tend to investigate anything new in their coop or run. If your birds seem to ignore the dust bath at first, try sprinkling a few treats into the mix to encourage them to hop in and check it out.
Dust Bath Recap:
- Pick the Right Spot: Make sure the dust bath is in a spot your hens can easily get to. If you have a big flock, setting up more than one dust bath is a smart idea. Choose a sunny area in the spring, but during the summer, you’ll want to avoid direct, scorching sunlight. This is where a portable dust bath comes in handy since you can move it around depending on the season and weather.
- What do You Need: You’ll need a sturdy container along with loose dirt as the base, sand to keep the mix from clumping, wood ash to help control pests (just avoid ash with chemicals or lighter fluid), and food-grade diatomaceous earth (DE) to deter lice and mites.
- Keep It Protected: If you can’t find a spot that’s naturally sheltered from wind or rain, you might need to cover your dust bath to keep it dry. I like to use a square board or an old trash can lid for this, and they both work great for our chickens!
- Prepare the Base: Mix equal parts sand and dirt with your hands until everything is blended nicely.
- Add the Extras: Sprinkle in about a cup of food-grade diatomaceous earth (DE) and a few cups of wood ash. The exact amounts depend on how big your dust bath is, so adjust as needed.
- Keep It Covered: It’s a good idea to have something to cover it at night or during rainy weather. From experience, I’ve learned that if the mix inside gets wet, it can take ages to dry out, which can be a hassle.
Chicken Dust Bath FAQ
Why do chickens take dust baths?
Dust bathing is totally natural for chickens—even baby chicks try it out in their brooders! It’s how they clean themselves and get rid of pesky parasites like lice or mites. By tossing dirt and sand into their feathers, they remove excess oils, dead skin, and other debris. Not to mention, a good dust bath helps keep them relaxed, happy, and feeling refreshed.
What if my chickens ignore it?
Don’t worry if your chickens don’t flock to your dust bath right away. They can be a bit skeptical of new things in their environment. Give them some time to investigate and get comfortable. One trick is to sprinkle a few grains or mealworms in the dust bath to pique their curiosity. Once they give it a try, they’ll quickly catch on, and soon you’ll find them rolling and fluffing around every chance they get.
What is a quicker option for a dust bath?
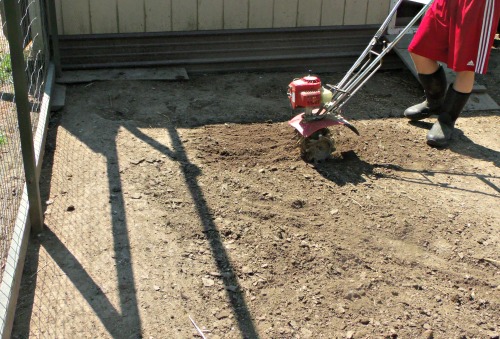
If you’re short on time or prefer something super simple, just till up a section of soil in your chicken run. Use a shovel or a rototiller to break up the dirt into a fine, loose texture. Chickens love scratching around and will quickly turn it into their own dust bath area. You can also rotate this spot as needed to freshen up the soil or prevent overuse. It’s an easy, low-cost option that still keeps your hens happy.
Creating a DIY chicken dust bath area is one of the easiest and most rewarding things you can do for your flock. Not only does it help keep your hens clean, pest-free, and comfortable, but it also gives them a fun and relaxing spot they’ll absolutely love.
Whether you go all out with custom materials or keep it simple by loosening the soil in their run, your chickens will thank you for the effort. Plus, watching them fluff and roll around is an entertainment you won’t want to miss. Give it a try, and you’ll see how such a small addition can make a big difference for your happy, healthy flock.
You say “Add about 1 cup DE and a few cups of wood ash” What is DE?
Hi there, Lisa!
DE is Diatomaceous Earth which is made from the fossilized remains of tiny, aquatic organisms called diatoms. It helps control parasites on chickens when they dust it into their feathers. Make sure to always use food-grade that can be found at any feed meal or Amazon.com as well.
Hope this helps!
Tracy Lynn
Thank you for all the great info. I am new to raising chickens, and I am so thankful for folks like you willing to share your knowledge. My question is, when you add wood ash to your baths, would it be harmful to use the ashes from our fireplace if we have used fire starters? We don’t use the starter logs, just the smaller blocks.
thank you
Hi, Susie,
I wish that question was easy to answer but it all depends. When using wood ash for your chickens a good rule of thumb is only to use ash from hardwoods. With that being said it really depends on the ingredients of your starter blocks. As long as the ingredients are all hardwood you will be just fine.
I hope this helps. And good luck with your new chickens!
Tracy Lynn
Very nice article, can’t wait to try it. Will start on it today.