Baby Chick Supply List
If you are getting ready to bring home your very first batch of baby chicks, this baby chick supply list will help you get ready before you bring your adorable little hatchlings home. Be ready first so you can get your new chicks off to the best start. Know what food to have, how to introduce water, and create a safe and warm brooder (aka home).
Raising chickens that are healthy and happy from day one is easier when you have a plan and a list to follow.
Raising chickens in your backyard has many benefits. From farm-fresh eggs to fewer pests invading your garden, even a small flock can make a big difference to your home and homestead.
I cannot tell you the delicious satisfaction I get when cooking food that I have grown or raised.
The love that goes into this food makes all the work and care behind the scenes worth it.
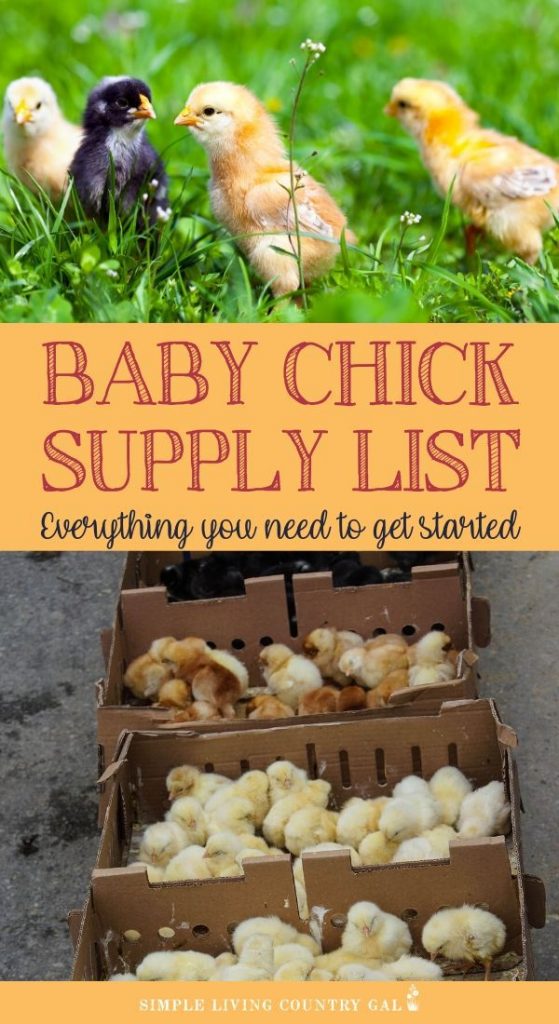
Spring Means Baby Chicks
One of the most exciting times of the year for us is when we order our new supply of baby chicks. For us, this usually happens in the very early spring and is something we all look forward to. Their little chirps and fluffiness are a reminder of the fresh eggs to come.
Where can you purchase chicks?
Even though we can get chicks at our local feed store, I like to order mine through the mail.
It might seem strange to order live chicks online and have them delivered through the mail, but that is exactly what we do.
I have been ordering my chicks through the mail for 9+ years and have not had any significant problems; even in the dead of winter, my little babies arrive safe, sound, and cozy warm.
Disclaimer: In accordance with FDA guidelines, the information and products offered on this website are not intended to diagnose, treat, cure, or prevent any disease. I am not a medical professional. Before administering any medications to your animals, please contact a veterinarian first.
If you are ready to dive into the fun and enjoyable world of backyard chickens, then you’ve come to the right place. And even though adding livestock to your homestead might seem overwhelming, my goal is to lay it all out for you in a simple, easy-to-follow way.
So you can read, do, and begin your journey to farm fresh eggs for your home today.
It is important to have your supplies ready BEFORE your chicks arrive; trust me on this. (I’ve done the legwork.) Take your time to set things up in a safe way being sure you are meeting all the requirements baby chicks and ducklings need.
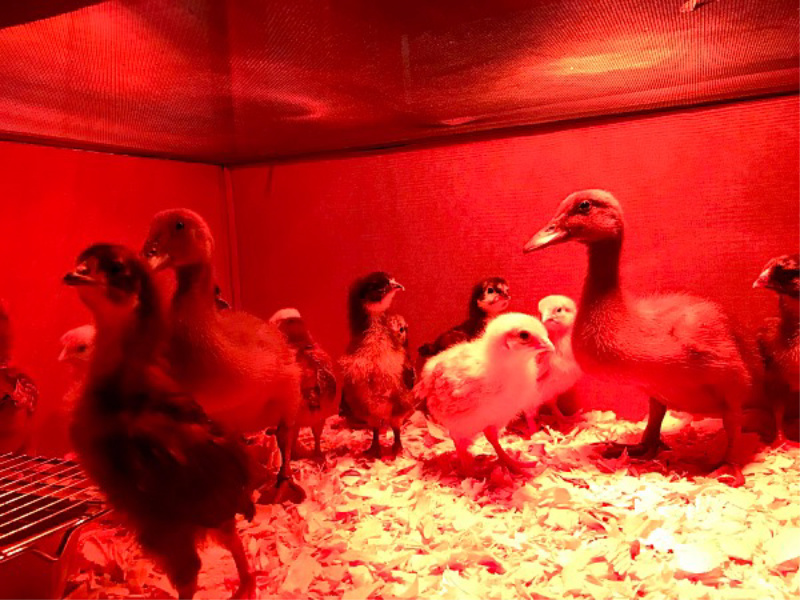
SLCG PRO TIP: Did you know you can raise ducklings and chicks together? Their care is quite similar, and ducks are such a great addition to have on a homestead. They have larger eggs that do wonders in baking.
Do your research, make a supply list of all the things you will need, get it bought, AND set in place before your new chicks come home. This will give your baby chicks an amazingly good start along with less stress for both them and you.
Baby Chick Supply List
Work your way down this list until you have everything in place and ready for your new baby chicks.
#1. Chick Housing
This one is pretty easy and doesn’t require any money.
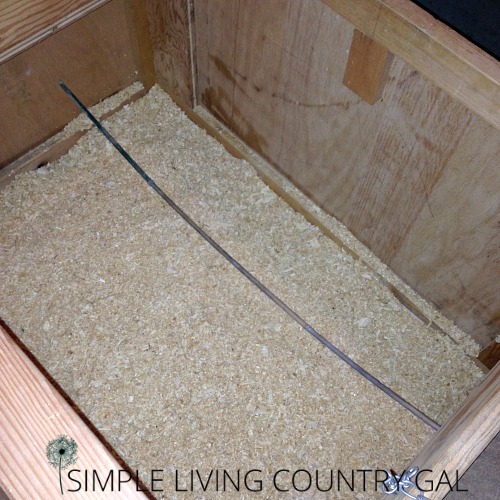
I recommend using a heavy-duty cardboard box. You want a box with high sides to keep your little chicks from hopping out. (Baby chicks can hop surprisingly high) You also want the sides low enough so you can easily reach in to feed, water, and touch your little birds.
SLCG PRO TIP: Be sure to handle your chicks and ducklings often from day one. The more you handle them the more they will be comfortable with you. This is incredibly important for any health care you may need to give later on.
To find a good box, visit a local appliance store or ask on Facebook. You might be surprised how many of your friends have a box sitting at home that will work perfectly to house your little chicks.
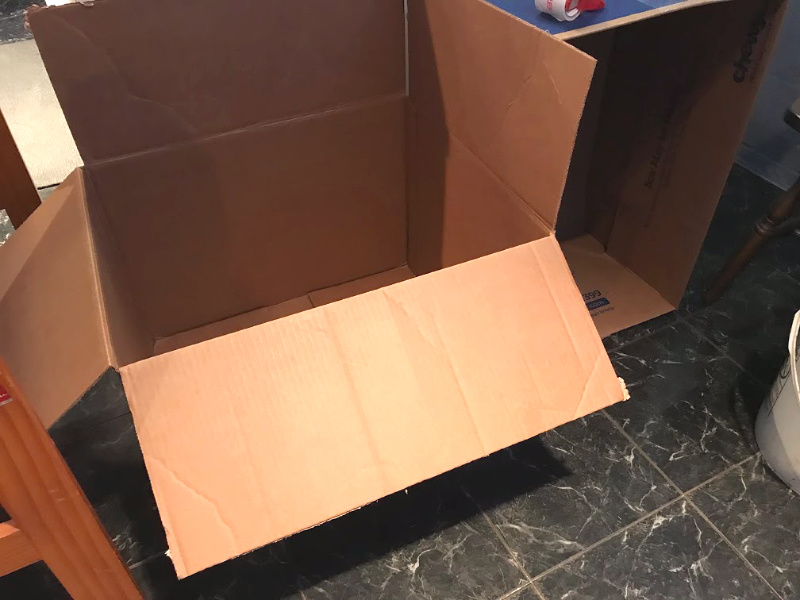
Chicks require ½ square foot of space to start out, so you may need more than one box depending on how many birds you plan on getting. I also like to put a “lid” on my chick pen. The purpose of the lid is to be sure my chicks and ducklings stay put. The most important requirement for young chicks is heat and if a chick gets out on accident, they will become chilled quite quickly.
A great option for a lid I have found is an old window screen. You can also use a section of chicken wire. The goal here is to keep the chicks in but also to keep danger out.
A family pet or curious little hands can accidentally harm or stress out your chicks. Keep them secluded while they are growing to give them the best possible start.
Just make sure whatever you use will allow for airflow and ventilation.
SLCG PRO TIP: Baby chicks create an INSANE amount of dust. So keep them in a place where this will not drive you crazy. A basement is a good idea, or a garage if the temps are warmer and you do not have pets that can harm them. I have kept mine in the mudroom, but the daily dusting drove me crazy. So now I keep them in the basement where the dust is not as big of an issue.
If you decide to use a plastic tote to keep your chicks in, please use caution. Keeping your chicks on a slippery surface can cause Curly Toe. A common yet avoidable condition in baby chicks. Curly Toe can happen when a chick is forced to grip the slippery ground so much it causes their toes to curl in. For this reason, I suggest adding a thick layer of bedding, especially if you are using a plastic tote that does have a slippery surface. This will give your chicks a better grip on their feet.
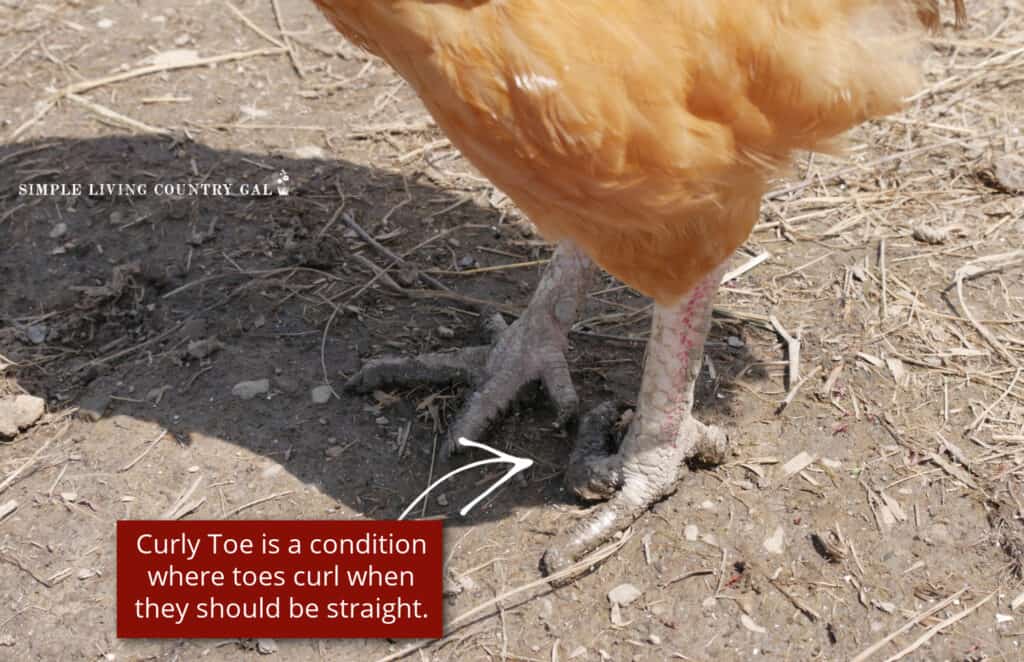
Curly toe. What is it, and how to prevent it?
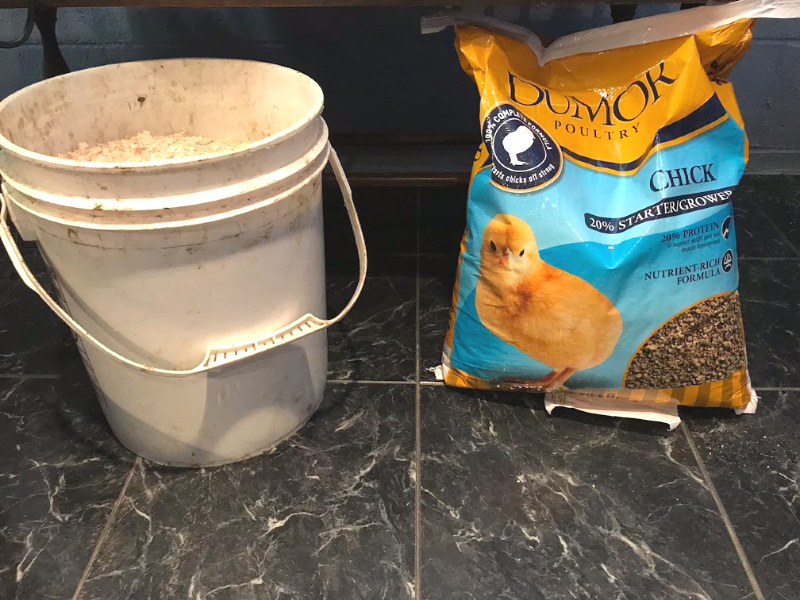
#2. Chick Bedding
I have found that poultry bedding or wood shavings work the best to keep things clean. Depending on how many chicks you have will determine how much bedding to put down.
About an inch seems to work well starting out.
Baby chicks pooh a lot, so you will need to tidy things up once or twice a day. To clean, remove any soiled areas and replace them with fresh shavings as needed. I used a plastic glove to protect my hand and “pick up” the soiled bedding. Once done, I can add a fresh layer of wood shavings.
SLCG PRO TIP: There is nothing quite as skittish as a baby chick or duckling. And seeing anything out of the ordinary, such as a large hand coming into their safe little home, can send them jumping, chirping, and running. Be sure always to move slowly to keep this behavior down and, in turn, keep your baby chicks and ducklings safe.
#3. Heat
Chicks need heat, especially when they are brand new, since they do not have the warmth of their mothers to do this for them.
It is recommended that the temperature of your chick’s brooder stay between 90-95 degrees for at least the first week. You can then begin decreasing the temp by 5 degrees weekly. This will acclimate them better to the outside temperature where you live.
To keep things toasty, I recommend purchasing a heat lamp and a bulb that is specific to the lamp. This is the same heat lamp that I use, and the clamp is a safety feature you will want to have along with the metal guard.
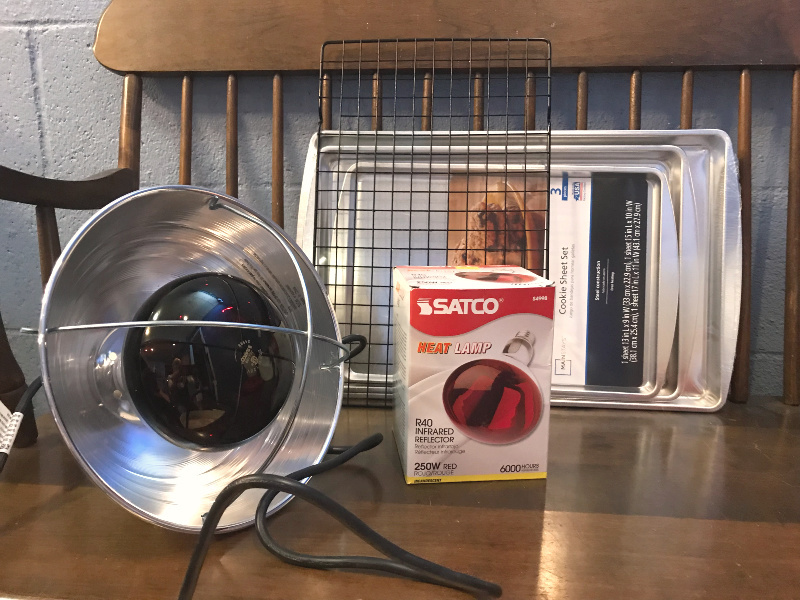
You can find heat lamps and heat bulbs (they are sold separately) at Amazon, Tractor Supply, or any feed mill.
Disclaimer: Heat lamps are a fire hazard. I cannot stress this enough. Be sure you purchase one with a front guard like the one shown in the picture above, along with a clamp that will hold the lamp securely in place. Use every precaution to ensure your lamp will not come in contact with the paper, wood chip bedding, or the chicks themselves. Heat lamps and bulbs are VERY HOT and will damage quickly. Ensure the clamp is secured so that it cannot be jiggled loose. I like to use zip ties and mount our map on a separate platform and not the house itself. I do this with a small ladder clamping the lamp to one of the steps and using a chain as an extra securing measure locking everything in with zip ties.
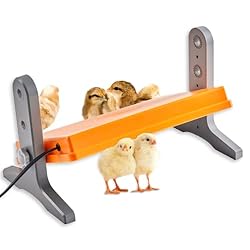
There are other options for keeping chicks warm, such as a free-standing heat board. I have not tried one of these, so I am not sure how well they work. I did want to include this option if you are looking for another way to keep your baby chicks warm.
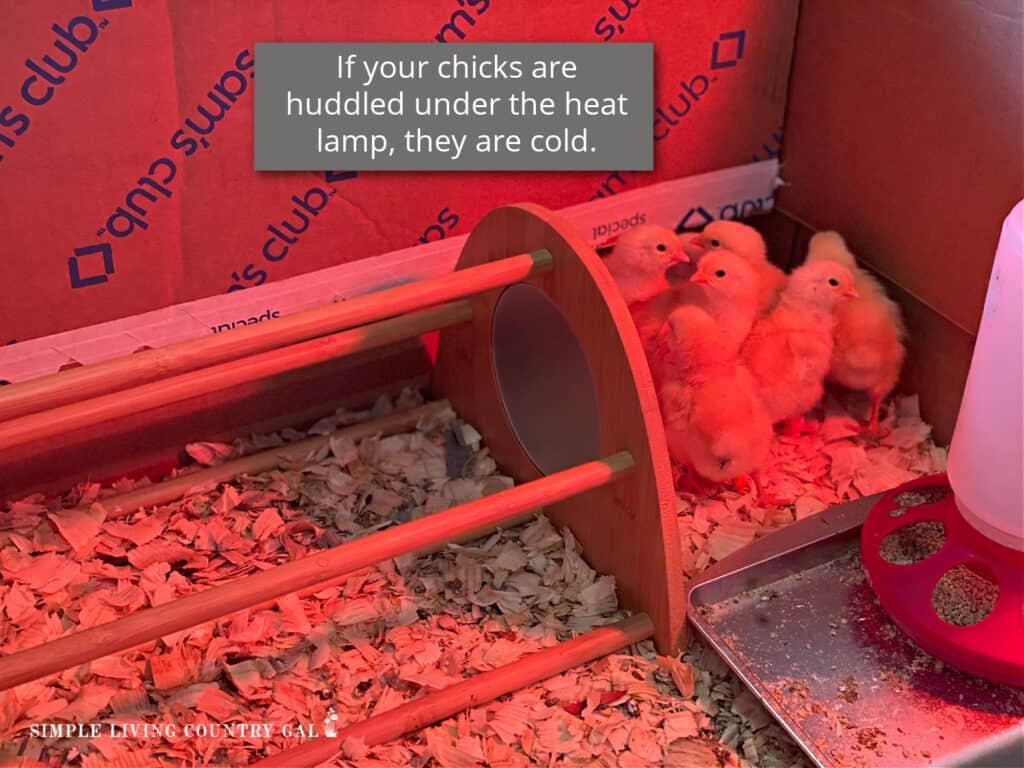
I also have a small thermometer that I can use to check the temp; it is important to keep a consistent temp on your peeps. A good rule of thumb is if your chicks are huddling directly below the heat lamp, then the odds are they’re cold, and you will need to adjust the height of the lamp.
If you see your chicks are as far away from the lamp as they can get, it is probably too low, making that area too warm for their comfort, and you will want to raise it.
What you want to see are chicks and ducklings that are scattered all around and spread out, sleeping in different areas. This means you have the best height for your heat lamp, and the temperature is just right.

#4. Water
Next on our baby chick supply list is water.
As with any animal, it is important to always give them fresh water. Baby chicks are active little things and can make a mess pretty quickly. Besides housing, fresh water is the number one way to ensure your chicks are healthy.
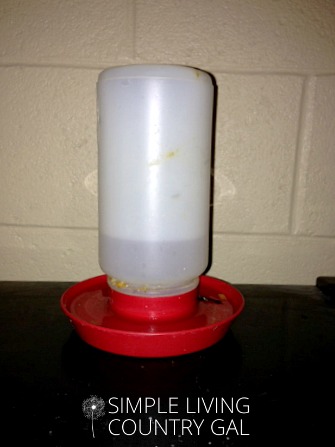
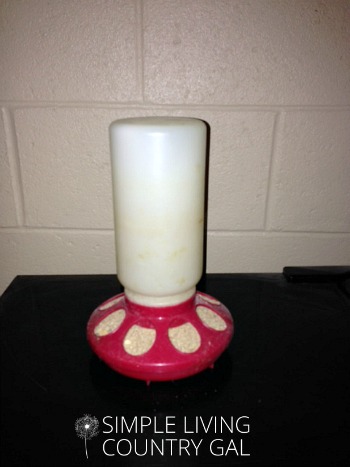
Because of this, you may find yourself changing your chick’s water several times throughout the day. I suggest having a small waterer to make that job a bit easier.
I usually change the water completely out in the morning and then again at night. You don’t want water for your chicks but clean water that is unsoiled. To keep things cleaner longer, you can put the waterer on a small block of wood that will lift it up off the ground slightly. This sometimes helps to keep the bedding out of the waterer longer.

This waterer is really inexpensive, less than $3, but the shipping time is a bit long, so please keep that in mind if you choose to purchase it.
SLCG PRO TIP: Try this simple trick to get your brand-new chicks to drink water. As you are putting them into their new home, take each chick and gently dip their beaks into the water, and set them down.
This is usually enough to tell them there is water nearby and put them in “search” mode. If you find a chick cannot locate the water, the other chicks will usually lead by example, but you can always dip their beaks again.
#5. Food
I feed my chicks a starter feed that contains everything a new chick needs nutritionally. I suggest keeping your chicks on this feed for the first 8-10 weeks.
You will also need a feeder to dispense feed continuously throughout the day. This is known as a self-feeder, and you can find one at Amazon for pretty cheap as well like this one.
Like with the water, you will need to check the feed often to remove any bedding or poo that ends up inside.
Just pick the debris off and jiggle the feeder to get more food to flow down to the bottom. Fill the feeder as needed.
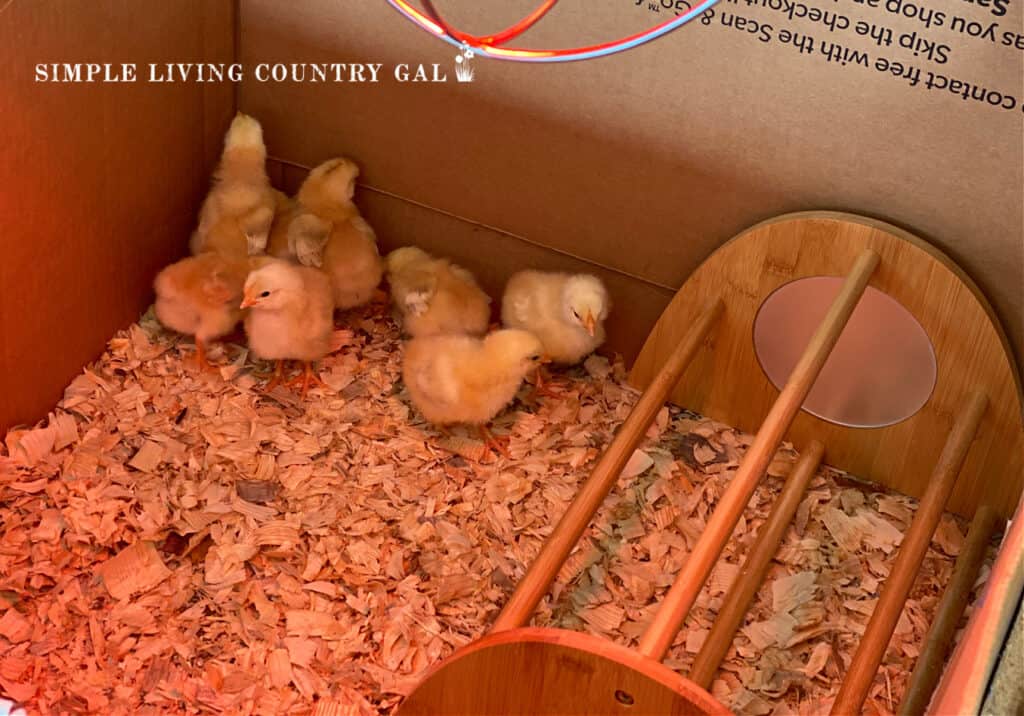
#6. Roost
Another item on our chick supply list is a roost.
For some reason, baby chicks tend to get bored in that box all day, and providing a small roost for them to jump up and down from gives them an activity to do.
It’s funny watching them hop up, hop down, only to hop back up again.
If you have a cardboard box, you can make a roost by poking a small hole at each end of a corner. Feed a small stick from outside through each hole. If you are using a wooden box, you can wedge a small stick into the corner to hold it in place. The roost does not need to be far off of the ground, just a few inches is usually enough.
If you have quite a few chicks, you can purchase a roost like this one. It will work great with your small birds and teach them how to perch.
CHICKEN ROOSTS 101 – EVERYTHING YOU NEED TO KNOW
One final tip for your baby chicks that is extremely important is more of a maintenance tip than a housing tip.
Sometimes when chicks poo, it can get stuck to their delicate feathers. If left untreated, it can clump up blocking the opening of their vent found on their back end where their poo comes out.
This is called “Pasty Butt,” If left untreated, it can kill your chick.
To fix this, you will want to inspect the vent of each baby chick daily. If you see some, you can use a damp cotton ball or Q-tip to soften it so you can remove it more easily. A simple step yet crucial one to take with your chicks.
Baby chicks are such a fun and easy way to get your start in homesteading.
Low startup costs, small housing, and easy maintenance are just a few of the perks, not to mention all the fun you will have watching your little peeps grow! Use this baby chick supply list to get everything ready for your backyard chickens.
READ: DIY BROODER BOX FOR YOUR DUCKLINGS
How big around of a roost do you use for them? Like, about a finger thick? I don’t want too small or big to start off with and I have never had chicks before! I appreciate this post SO much! I have my list and I am getting supplies ready!!
Hi Lisa,
I am so excited you are getting chicks! How fun for you.
Chickens are not like wild birds, they do not require a small roost board or rod to wrap their feet around. They actually like it better when they are flat-footed. So a board that is at least 2 inches wide to about 4 inches wide will work just fine.
Good Luck!
Tracy Lynn
I enjoy your website tremendously and love learning about caring for animals.
I am a pet sitter. I take care of domestic and farm animals.
I am totally engaged when reading about your experiences caring for animals.
I have a 10 gallon galvanized tub, 4 baby chicks a week old and a red heat lamp. Fist mistake was my babies got overheated. Panting and trying to escape. So we raised the lamp up and they seem comfortable but after awhile they started laying flat with their wings spread. I honestly don’t know what to do. We have them in the laundry room which is the warmest room in the house. How far up should the heat lamp be?
Do you have a thermometer to check the temperature? This time of year the heat is not so important as it is in the middle of winter. I would try to hold a temp of upper 80’s for the first few days then take it down bit by bit until the temp inside matches the temp outside. Your goal is to keep them warm when very young and then help them to acclimate after that.
Good Luck!
Tracy Lynn
Where do you order your chicks from online??
I order from Murray McMurray Hatchery