Barn Cleaning Winter Prep Step-by-Step
Finding tips on how to keep the cold winter weather from invading your livestock housing is something homesteaders are always on the look for.
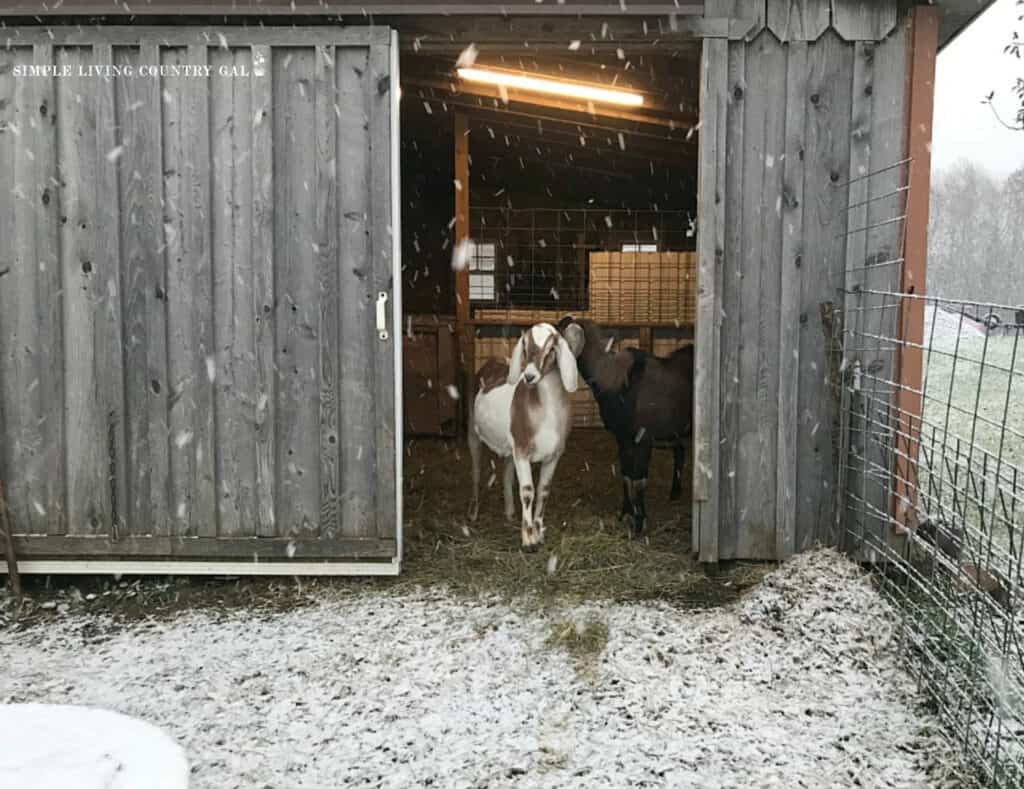
Today, I will share with you what I do for our barn cleaning winter prep so our animals stay warm and dry no matter what the weather is like.
How to raise dairy goats by prepping your barn area for the cold months to come. By updating a few areas in your barn, you, too, can create a space for your goats and other animals this winter.
If you raise animals on your homestead, barn cleaning and prepping are probably at the top of your fall checklist.
Our job is to be sure we have a warm, dry place for our animals to retreat to when the weather gets bad. This is true no matter where you live because rain can be as harmful as snow.
Setting up a schedule dependent on the seasons is an excellent way to make sure the important things get the attention they need right on time.
Check Out Our Homesteading Monthly Guides:
What Needs Attention
Barns, pens, and shelters should have a thorough clean-out every spring and fall.
This will keep pests such as lice and mites to a minimum, not to mention help deter unwanted worm outbreaks and even illness.
Remember, a clean and dust-free shelter is one of the keys to healthy animals.
Break it Down
As with any large chore such as barn clean-out, it is much easier to break things down into smaller steps.
This will help you cover all aspects of cleaning, allowing you to do a more thorough job in a shorter time.
SLCG Pro Tip: Cleaning out shelters is a big job, so if you can enlist help. My boys give me a barn clean-out at least once a year as a Birthday gift.
I love this gift because it is my chance to get some much-needed heavy labor and a large project done in just one day.
Barn Cleaning Winter Prep Step By Step
I find it is best to do both things at once. This means as you are cleaning out your barn, you are also preparing it for the upcoming winter.
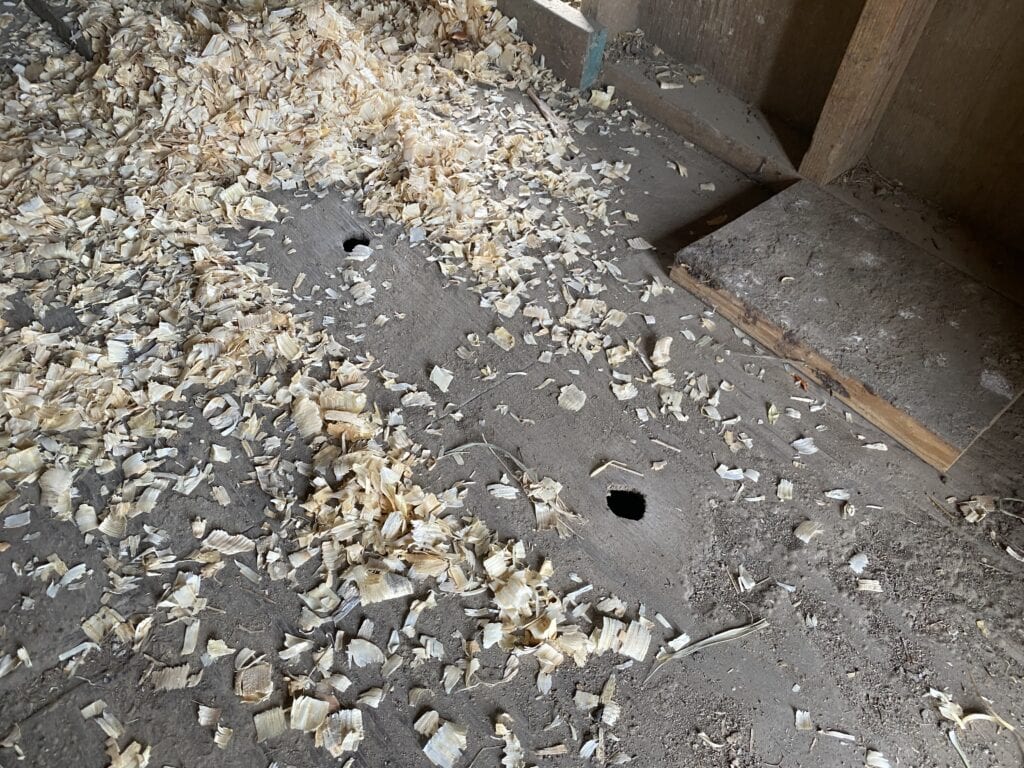
Before you get to cleaning, it is best to start with an assessment of where things are at now. Do a walk-through inside and out, looking closely to see if any cracks or holes need to be plugged up.
You can either make a list of repairs or fix issues as you spot them. Keep it simple, to close up a hole, you can simply nail a scrap piece of wood to cover it. This works surprisingly well and will even hold up for years.
How do I secure my barn for winter?
The most important thing to look for when closing up a barn for winter is entry points that an outside predator can use.
All animals seek shelter in the cold and wet months; the last thing you want is a raccoon or mouse in your barn.
Cover up any obvious holes by nailing down thin boards, reducing the chance of something unwanted getting in and invading your goat’s feed.
Step #1 Gather your supplies
This is the list of supplies and tools we like to have ready when we are barn cleaning for winter.
- A good rake
- Lots of heavy-duty gloves
- A face mask for dust
- Several straight-edge shovels
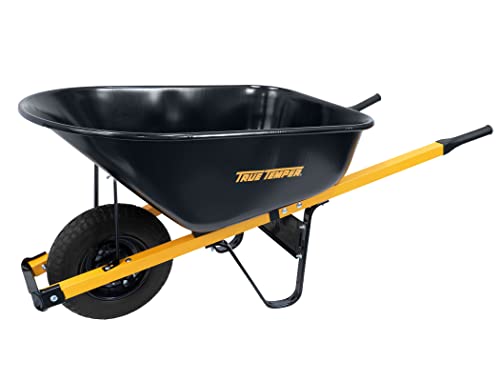
- A wheelbarrow or a tractor
- Lime or food-grade diatomaceous earth
You will also want to have fresh bedding to put down when you are done. We use sawdust in our barn, but straw or wood chips will also work well.
Don’t forget to also have face masks or bandanas for anyone who is helping. Trust me, the smell will be a bit, well, intense.
Garden Rake, 5 FT Metal Rake for Lawns – Level Head Rake with Stainless Steel Handle for Loosening Soil Emsco Group 1752-1 Professional’s Choice Square Point Sturdy 54” Fiberglass Handle-Heavy Duty 14 Gauge Steel Head Garden Shovel, Yellow/BlackVNIMTI Pitch Fork for Gardening, 10 Tines Wide Pitch Fork with Fiberglass Handle, Heavy Duty Pitch Fork for Bedding, 45 InchesTrue Temper R6STFFEC 6 Cu. Ft Steel Tray Wheelbarrow with Never Flat Tire & Steel Handles, BlackDiatomaceous Earth DiatomaceousEarth 10 LBS Food Grade 100% Organic All Natural Diamateous Powder – Diametaceous for Humans is Safe Around Children


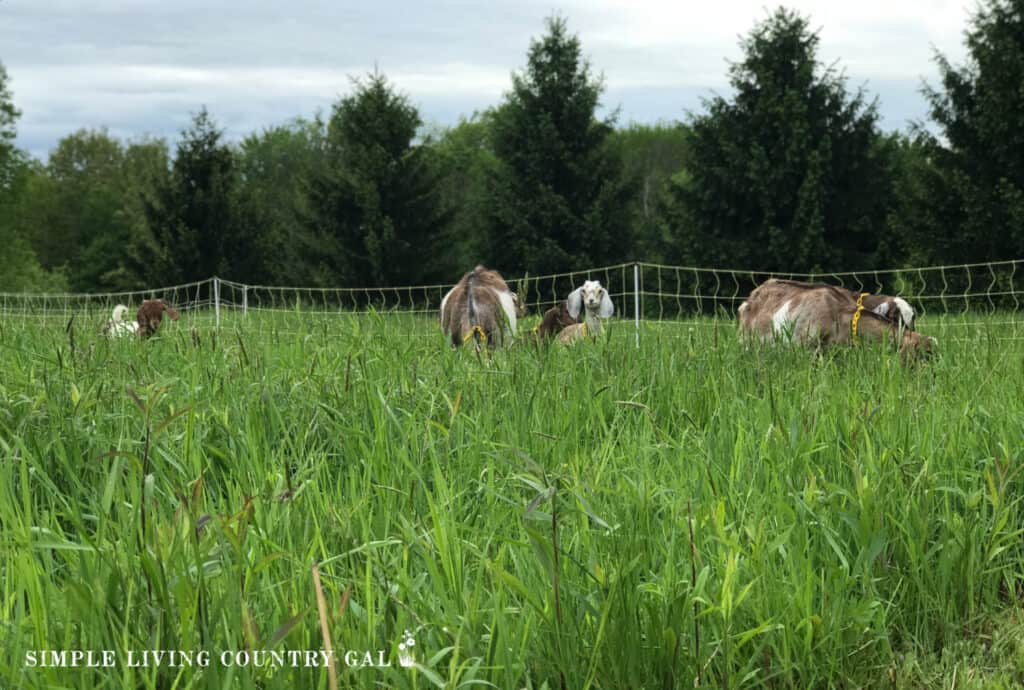
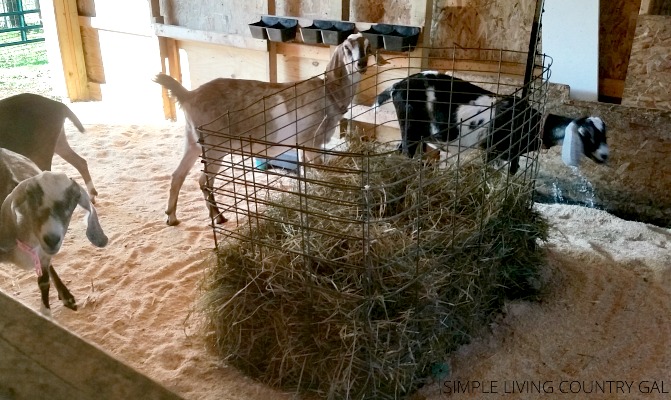
Step #2 Move the animals
I know some of you may think, “Why move the animals? I can clean around them just fine.” But I have found that this job is difficult enough to do without a nosey herd of goats trying to help you out.
If you want to do a good and thorough job so you do not have problems come winter, you will want to be sure you do it right the first time. Find a spot for your animals to graze or hang out until you are done.
Don’t forget to have water out for your animals while cleaning especially if the weather is warm. (I forgot to do this one year, and they let me know!)
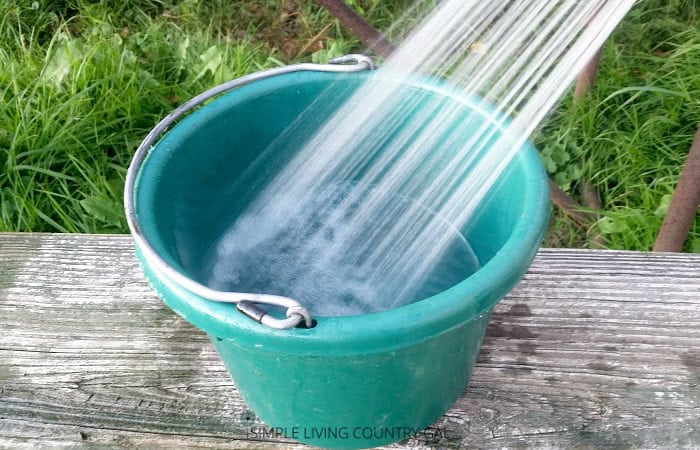
Step #3 Remove all feeding dishes, mineral bowls, and water bowls
Remove all feed and water bowls and take them out to thoroughly wash and clean. You can use soap and water or a mixture of water and bleach.
Scrub with a good brush and wear gloves to protect your hands.
Wash the inside, outside, and even the handle if there is one. Once done, allow each container to dry in the sun to sterilize further.
SLCG Pro Tip: Did you know that sunshine is a natural sterilizer? I learned this tip from a farmer’s wife years ago and have been using the sun when I clean things ever since.
This tip will work for blankets, misc containers, flower pots, you name it.
Step #4 Knock down any cobwebs or old bee hives
Using a broom clean off ledges, walls, rafters, and shelves removing any dust and cobwebs.
If you have bird droppings, strong hand brush to clean any areas. Another tip is to use a paint scraper or a putty knife. You can also do a quick once-over looking for any mice nests or empty bee hives.
Your goat is to have a shelter that is perfect for your animals and not any others.
Mice, bees, birds, and other rodents can carry pests and diseases you do not want near your livestock, their water, or their feed.
Step # 5. Clean out hay bins
Next, empty out all of the hay bins, removing as much old hay as you can. Get the old hay at the bottom of the feeder so you can start fresh after things are done.
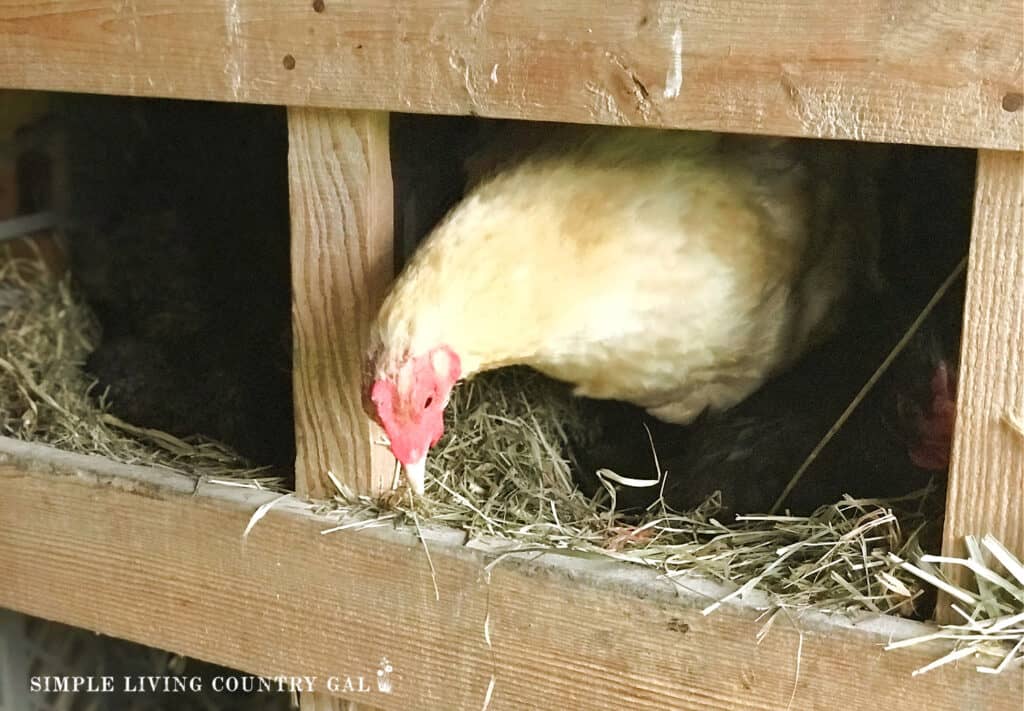
You can put any old hay into your compost bin, or you can use it in nesting boxes for your chickens. Just be sure it is clean and free from manure.
Step #6. Call in the troops
Whether you have a dirt floor, wood, or concrete, this part is going to be hard on your back.
If you are older like me, help is required, so don’t be afraid to ask. You can ask your kids to help or even hire a few neighbor kids for an afternoon.
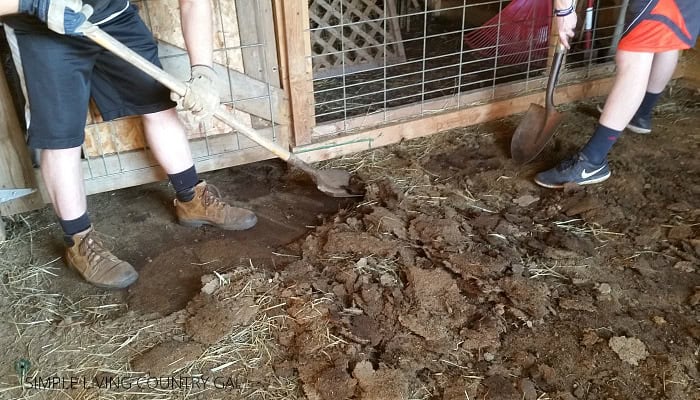
Step #7. Shovel all the old bedding out
Using a straight-edged shovel, work the floor, scraping down in order to get any old bedding loosened and out.
If your barn or shelter has a dirt floor, you will need to go down to the main surface to ensure you get all the debris up and gone.
Urine and constant walking can compact that ground down pretty tight, so your first few shovels will be hard.
You may have to use a pick ax to get this process started. Once you determine where your bottom layer is, it will be easier going from there.
I like start in the middle and chisel things down until I hit the original ground. I can then make a large circle so my help knows how deep they need to go. If you clean out annually, this will be a good 5-8 inches depending on how many animals are in an area.
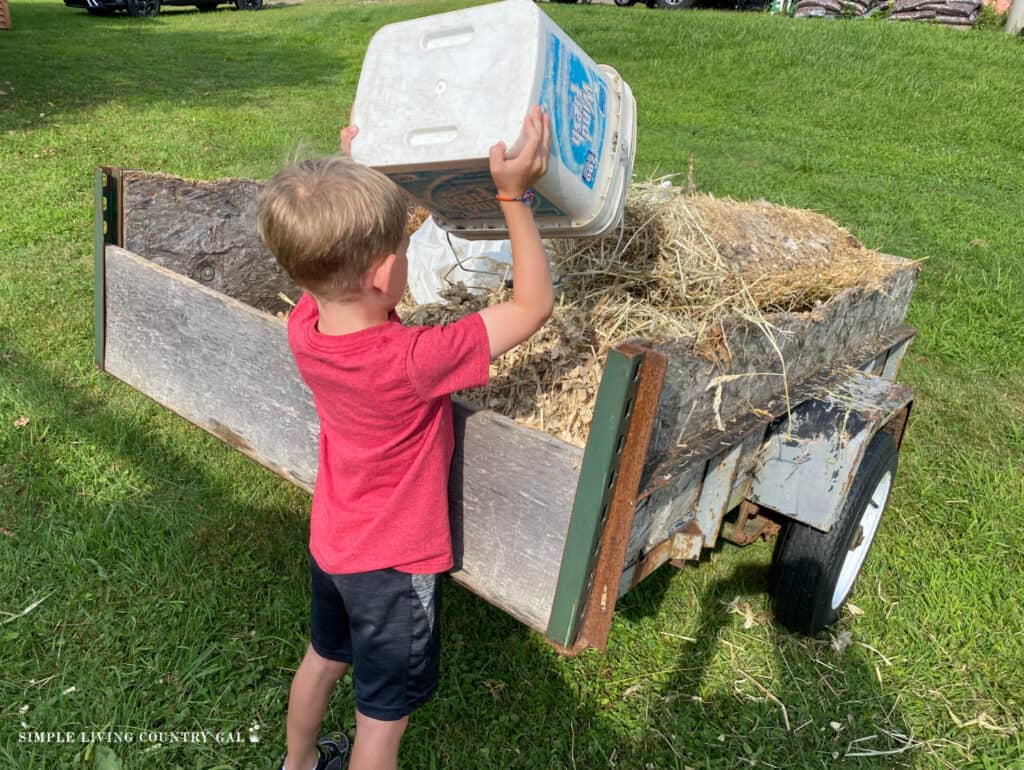
Step #8. Compost what you remove
This is one of the perks of cleaning out your shelters. That solid compacted bedding is AWESOME for any gardener.
Load up your wheelbarrow and take it to your garden to dump, or you can put it into your compost pile to use in the spring.

I like adding compost to my garden directly each fall and allowing it to sit all winter. This is a great way to improve your soil so it is ready for planting come spring.
More Compost Tips:
Step #9. Deodorize
Once you have all the bedding and debris out of your barn, you may notice that the smell will still be pretty strong.
If this is the case, you can sprinkle on a light layer of lime or food-grade diatomaceous earth. This will not only remove the strong ammonia smell it will also deter any pests that may be in there.
Remember to wear a face mask and gloves when using either lime or DE. No matter which one you choose to use, you will not want to let your animals back in until the dust has settled.
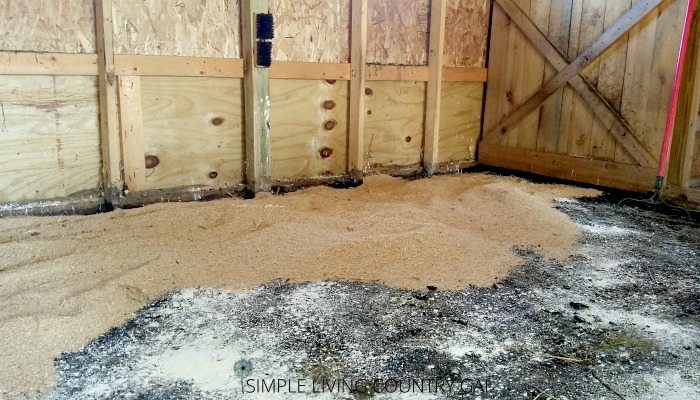
Step #10. add Fresh bedding
I know what you may be thinking, why would I add more bedding once I just spent a full day getting it out?
Remember, your animals are going to lie down, and you may not want them to do that in soil that may be damp.
Adding a thin layer of sawdust will not only deodorize but will also put a protective layer between the ground and your animals.

Step #11. Return feed bowls
Your feed and water bowls should all be dry by now, so you can gather those up and return them to their location. While doing this, take a minute and look at your setup.
Ask yourself if it is still working for you and your animals. If not, now is the time to move things or rearrange where you have your water, feed, and hay bins.
Feeding your animals should not be stressful for you or your livestock. Try to locate feeders and bowls in a way that keeps everyone safe at feeding time, including you.
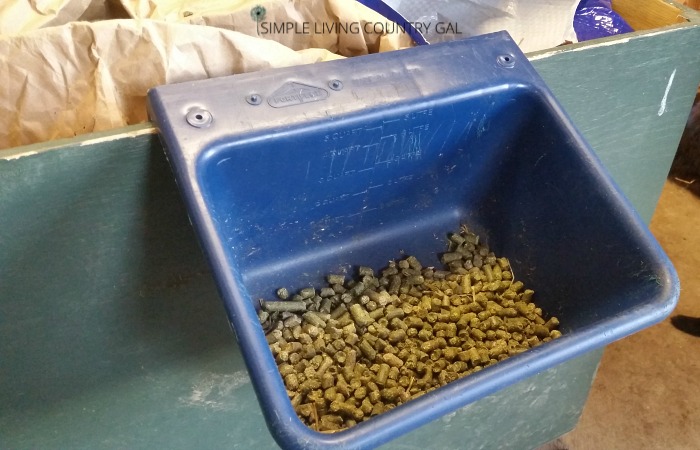
Step #12. Add free choice minerals
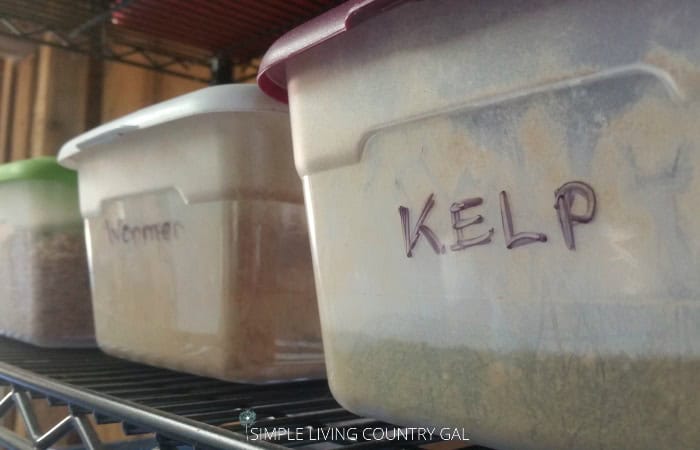
To encourage a healthier herd, I like to give fresh minerals, baking soda, salt, and kelp to our goats.
Once the barn is clean, I will refill our mineral containers with a fresh supply.
Since our animals love minerals, especially kelp, they look at this as a treat and rush to the bowls once we allow them to come back in.
Using kelp has been a game-changer for our barn. Learn more about Why I Use and Love Kelp on our Homestead.
Step #13. Add fresh hay
If you removed your hay feeders earlier, return them now and put in some fresh hay.
Again, take a look at your setup, and if the location you have now is not working, meaning everyone in your herd can easily get access to hay whenever they need to, consider trying a new location.
Step #14. Let them back in
I just love this part. My gang is quite comical when they first come in. They will walk all over the barn checking everything out.
Noses will poke into feed bowls, water dishes, and even the hay bin. They will even jump around enjoying the clean area and the fresh scent.
When it comes to the care of animals prevention is key. Nothing deters illness more than a clean shelter.
One that is free of dust, old smelly bedding, and urine and feces in the soil. Yes, this is a difficult chore, but a necessary one if you want to ensure a healthy and happy herd.
Know that you have a checklist for barn cleaning winter prep you can get this chore done and off your to-do list.