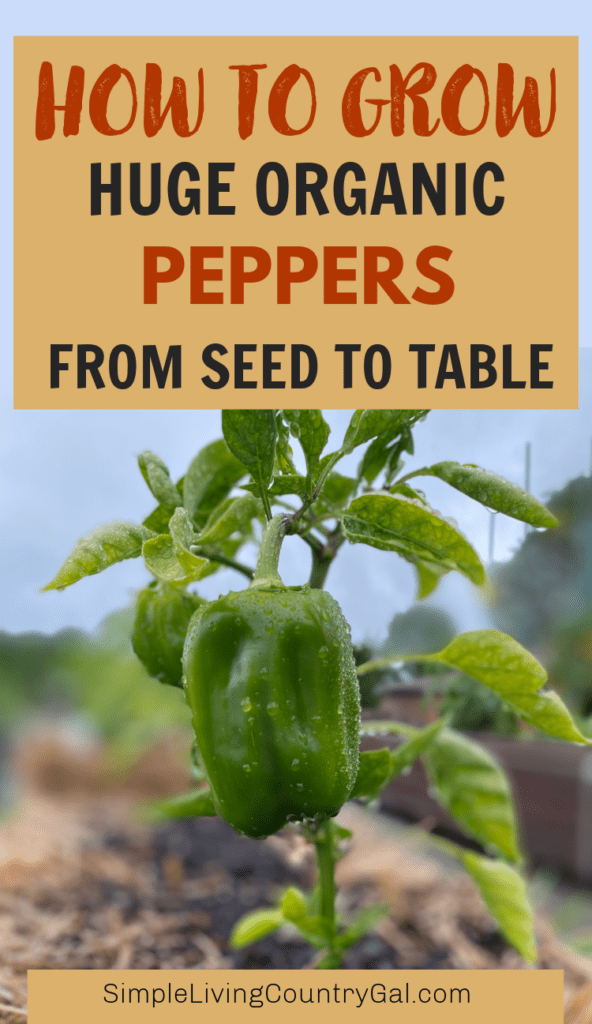
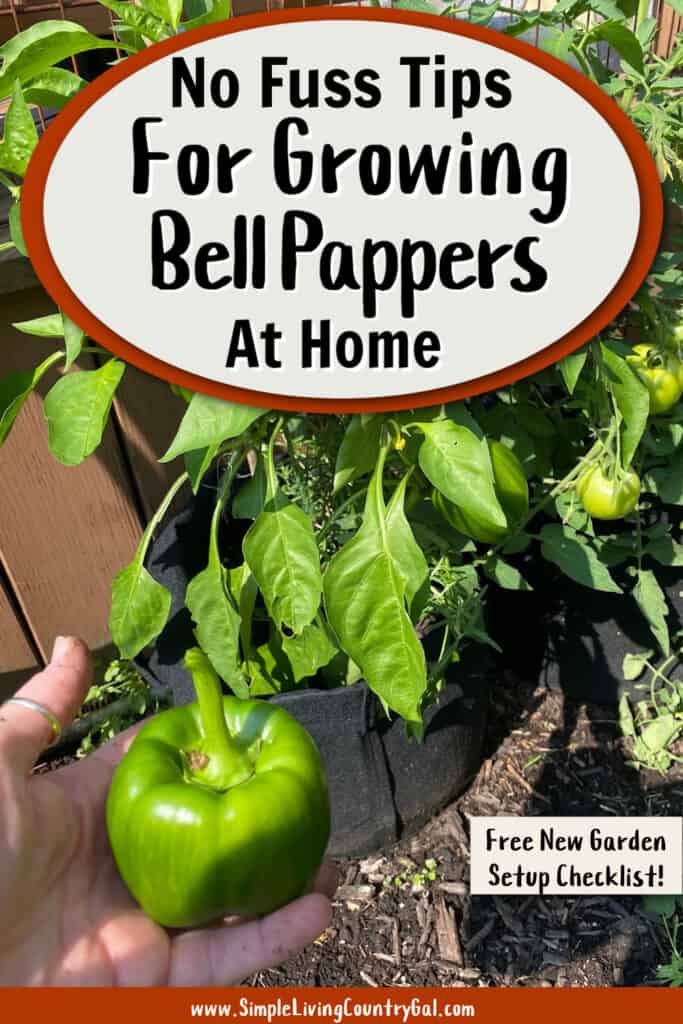
How to Grow Bell Peppers for Beginners
Wondering how to grow bell peppers for beginners? Don’t worry, I’ve got you covered. With a little know-how, you can fill your garden with tasty, homegrown bell peppers to enjoy all year round. If you’re as big a fan of peppers as I am, get ready to fill your kitchen and freezer with some colorful produce this growing season.
Gardening 101 helps so that you can expand year after year until all the food you need is right outside your back door.
When I married my husband, I quickly found out he loves peppers. To be honest, they weren’t a vegetable I was all that familiar with growing up, but I quickly learned that keeping a few fresh peppers in the fridge gave him a healthy snack he couldn’t resist.
When I started gardening, bell peppers were one of the first things I decided to grow. What started out as just a couple of plants has now turned into a few dozen. With so many varieties out there, it’s easy to fill your garden with a colorful, flavorful assortment that’s as fun to grow as it is to eat.
Things to Know about Bell Peppers
With their variety of shapes, colors, and sizes, bell peppers are a wonderful addition to any warm-weather garden. They resist the most common garden pests and diseases and are fairly easy to grow, making them perfect for any beginner gardener.
Bell peppers have a long growing season, about 60 to 90 days, so starting them indoors is usually a good option, especially for gardeners in the north. Northern gardeners can plant earlier in the season, especially if they warm the soil by covering it with black plastic in the late winter to early spring.
Peppers are a good source of vitamin C; they’re also delicious, both raw in salads, cut up and accompanied by savory dips, cooked in stir-fry’s, or stuffed with beef and cheese. With so many fun dinner options growing peppers in your backyard garden is a great idea.
Bell peppers come in many colors, all with varying tastes, and you’ll want to grow a few varieties to bring color and nutrition to your garden and your table.
Here’s a fun fact: Bell peppers are technically fruits, not vegetables. They belong to the berry family because they develop from the flower of the plant and contain seeds. Plus, they come in a rainbow of colors, each with its own unique flavor and sweetness level.

Be sure to grab the FREE How to Start a Garden From Scratch guide below!
Types of Bell Peppers
Bell peppers are colorful, versatile, and full of flavor. Whether you’re grilling, roasting, or snacking, each type brings something unique to the table.
- Green Bell Peppers – A classic choice, green peppers are a little less sweet but super versatile. They’re perfect for stuffing, adding crunch to a salad, or throwing on the grill in kabobs. They also pair beautifully with tomato-based dishes.
- Red Bell Peppers – These are the sweetest of the bunch and are amazing for grilling, roasting, tossing into sauces or salads, or just snacking on with your favorite dip. They’re packed with beta-carotene and Vitamins A and C, especially when fully ripened.
- Yellow Bell Peppers – Yellow peppers are firm, crisp, and bursting with juice. They’re perfect for grilling, roasting, or even blending into a smoothie. Want a fun drink idea? Throw them in a juice with apple, lime, and ginger for something healthy and refreshing.
- Orange Bell Peppers – Orange peppers bring a pop of color and flavor! They’re great in salsas, stuffed for a hearty meal, or added to a veggie tray. Loaded with antioxidants, fiber, and Vitamin C, they also work wonderfully in an egg scramble or a cheesy quesadilla.
Orange Sun Sweet Bell Pepper Seeds for Planting, 100+ Heirloom Seeds Per Packet, (Isla’s Garden Seeds), Non GMO Seeds, Botanical Name: Capsicum annuum, Great Home Garden Gift Survival Garden Seeds Bell Pepper Collection Seed Vault – Non-GMO Heirloom Seeds Variety Pack with Yellow, Orange, California Wonder, Purple Beauty, Sweet Chocolate Bell PeppersGardeners Basics, California Wonder Bell Seeds for Planting Garden Heirloom Non-GMO Seed Packet with Growing and Harvesting Peppers Instructions for Starting Indoors for Outdoor Vegetable Garden


How Much to Plant
A good rule of thumb is to grow about 3 to 5 plants for each person in your household. Bell pepper plants are heavy producers, so this amount usually provides enough to enjoy fresh all summer long, with extras to freeze, pickle, or add to recipes later.
Seeds or Seedlings
Growing peppers from seeds or seedlings largely depends on your preferences and experience.
Growing from Seeds – Growing from seeds is budget-friendly, offering the widest range of varieties to experiment with. It also lets you oversee the entire process from day one, making it a great learning experience for gardeners. On the downside, seeds take more time and effort, as seeds need to be started indoors 6-8 weeks before transplanting. Germination requires a warm, consistent environment, which can be tricky for beginners without the right setup.
Growing from Seedlings – Seedlings save time and effort since the initial growth phase is already done. They’re ideal for gardeners who want a quick and straightforward start, with harvests coming sooner. On the downside, they’re pricier than seeds and often limit you to fewer varieties. Additionally, the plants may have been grown under conditions you can’t control, which could affect quality.
What You Need to Grow Bell Peppers
Bell peppers need full sun and well-draining soil to thrive. Soil should be somewhere between sandy and loamy so that it drains quickly and stays warm. If you’re working with heavy clay soil, you’ll want to mix in plenty of compost or other organic matter.
Here is a quick look at what you need to grow:
- When to Plant: Start seeds indoors 6 to 8 weeks before moving them outside. Wait 4 to 6 weeks after the last frost to transplant seedlings. Nighttime temperatures should consistently stay above 50°F for the best results.
- Sun: Plant bell peppers where they’ll get 6 to 8 hours of daily sunlight. Watch how the sun hits your garden to pick the best spot.
- Soil: Bell peppers thrive in sandy, loamy soil that drains well and warms quickly. For heavy clay soil, mix in compost or organic matter to improve drainage and nutrients.
- Location: Bell peppers thrive in warm climates with long, sunny days. In cooler areas, use containers to move plants to sunny spots. Keep enough space between plants for airflow to prevent disease.
How to Grow Bell Peppers for Beginners
Seeds will start germinating in about 14 to 21 days, and peppers will be ready to harvest in about 60 to 90 days, depending on the variety and your growing conditions.
Plan to start your pepper plants indoors in pots about 6 to 8 weeks before your last spring frost. Transplant them outdoors about 2 to 3 weeks after the last frost and make sure the soil has reached at least 50° but preferably 65°. This will ensure the peppers have warm enough temperatures, even overnight, for the plants to thrive.
#1. Temperature
Peppers love the warmth. For seeds to sprout, the soil should be at least 75°F. Once they’re growing, they’ll do best in temperatures between 75°F and 90°F. If you’re planting seedlings outdoors, wait until those nighttime temps stay above 50°F to keep them from getting shocked.
#2. Sun
Bell peppers love the sun. They need at least 6 to 8 hours of direct sunlight every day to grow strong and healthy. Sunlight helps them produce energy, which in turn fuels their growth and helps them develop those vibrant, tasty fruits.
When choosing a spot, spend a little time watching how the sunlight moves across your garden. Look for an area that stays bright and sunny for most of the day, and avoid spots that get too much shade. The more light your peppers get, the better they’ll grow.
#3. Soil
Bell peppers thrive in sandy, loamy soil that drains well and warms up quickly, creating the ideal environment for these plants. To make sure your soil is as fertile as possible, check the pH levels before planting. Bell peppers prefer a slightly acidic to neutral pH, ideally between 6.0 and 6.8.
You can grab a simple soil test kit from your local garden center to check. If the pH is off, you can adjust it by adding lime to raise it or sulfur to lower it.

#4 Watering
When it comes to watering, bell peppers are all about balance. You’ll want to give them about 1 to 2 inches of water each week. They prefer a deep, thorough watering rather than light, frequent sprinkles. After a good soak, let the soil almost dry out before watering again. This helps their roots grow deep and strong.
That said, be careful not to let the plants dry out too much. If they start wilting, it could lead to fewer fruits and lower quality. On the flip side, inconsistent watering can cause problems like blossom-end rot. Sticking to a steady schedule will give you healthy plants and a plentiful harvest.
#5. Fertilizing
Bell peppers are heavy feeders and need regular nutrition to thrive. Start by mixing a balanced fertilizer or compost into the soil before planting. Once the plants are established, feed them every 2 to 3 weeks with a low-nitrogen fertilizer (like a 5-10-10 mix) to encourage more flowers and fruit instead of leafy growth.
Be sure not to overdo it, as too much fertilizer can harm the plants. A little care with feeding will help your peppers grow strong and productive.
#6. Support
Giving your bell peppers some extra support can make a big difference as they grow. Without it, the plants can bend or even break under the weight of their fruit. To keep your plants upright and healthy, you can use stakes, cages, or even a combination of both.
You can use cages or stakes, and either will work fine. Whichever method you choose, it’s important to check your plants regularly. As your bell peppers grow taller and produce more fruit, you may need to adjust the ties on the stakes or ensure that the branches are resting properly within the cage to prevent any strain.
Keep an eye out for any signs of the plant leaning or the straps digging into the stem, and make adjustments as needed.
How to Plant Bell Peppers
Growing bell peppers is easier than you might think, whether you’re starting from seeds or seedlings. Here’s how to set your plants up for success:
Planting Seeds
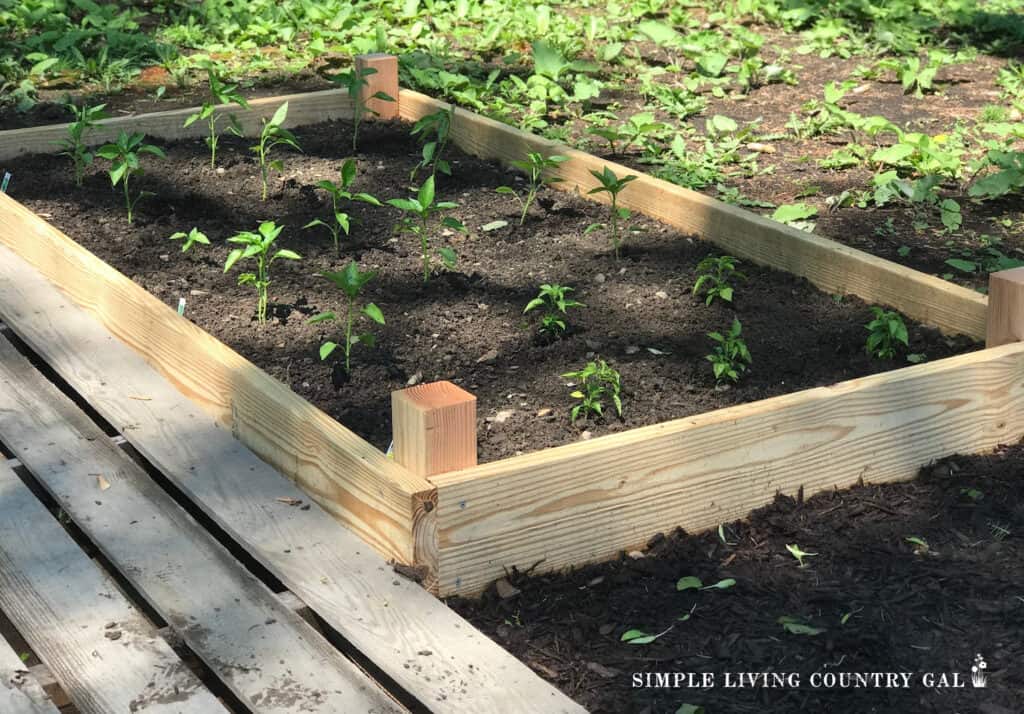
If you’re planting seeds directly in the garden, make sure to give your peppers plenty of space. Plant each seed 18 to 24 inches apart, leaving rows about 24 to 36 inches apart for good airflow and easy access.
This spacing helps your plants grow strong and makes it easier to care for them. Plant the seeds about 1/4 inch deep in well-prepared soil. A little extra attention to spacing and depth will go a long way toward a healthy, productive harvest.
Planting Seedlings
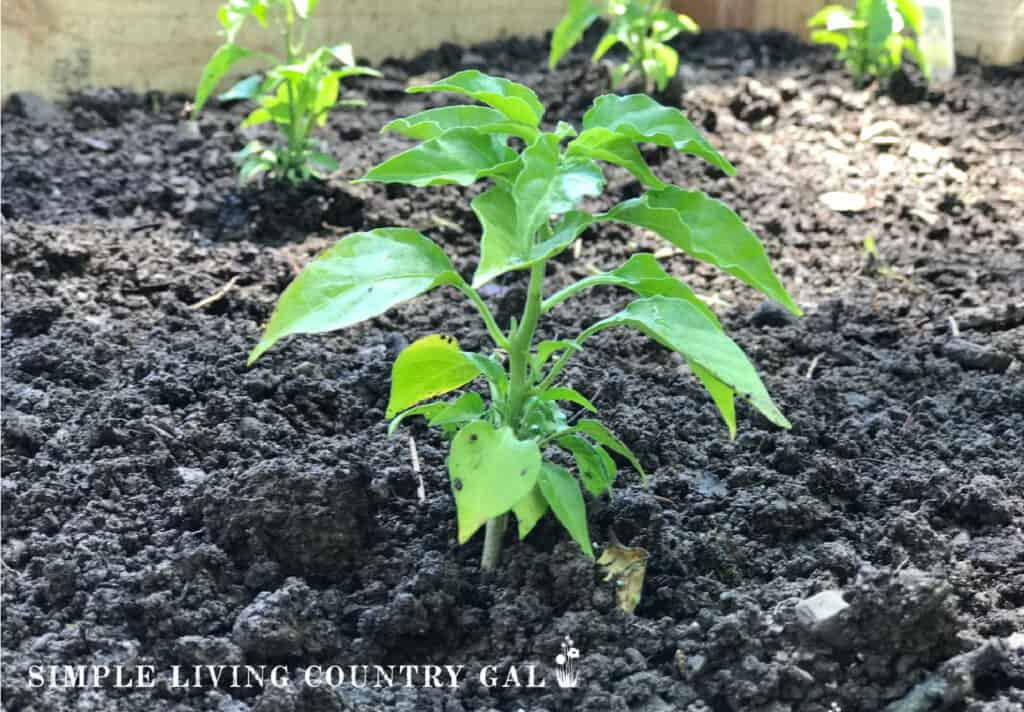
For seedlings, wait until the weather warms up before moving them outside. Bell peppers love warmth, so don’t transplant until the soil is at least 65°F. If you’re eager to start, you can cover the soil with black plastic or dark mulch about a week beforehand to help it warm up faster. Before planting, mix compost or aged manure into the soil about 8 to 10 inches deep and rake it smooth.
Choose an evening or a cloudy day to transplant—that way your peppers won’t dry out or wilt under the sun. Dig your holes 3 to 4 inches deep and space them 12 to 18 inches apart, with rows 2 to 3 feet apart. Fill each hole with water and, for an extra boost, toss in a teaspoon of low-nitrogen, high-phosphorus fertilizer and a couple of matchsticks for sulfur. Too much nitrogen can lead to a lot of leaves and fewer peppers, so stick with a balanced approach.
When you’re ready to transplant, gently remove the seedlings from their pots, keeping the roots and soil intact as much as possible. Plant them about 1 inch deeper than they were in their pots. Fill the holes with soil, packing it lightly around the base of the plant, and leave a small dip around the base to help catch water.
After planting, water them well to settle the soil and give the roots a good head start. For an extra boost, you can use a liquid fertilizer like compost tea or a starter fertilizer.

Things to Watch for When Growing Bell Peppers
Like other fruits and vegetables in your garden, bell peppers are susceptible to some pests and diseases. A few to watch out for include:
- Flower drop – this can be caused by high heat or low humidity. If the air is too dry, douse the soil with water and mist the plants.
- Spider mites and aphids – these are two of the most common pests. They especially thrive in hot, dry weather, so mist the plants at the first sign of attack to deter them.
- Bacterial leaf spot – this causes black leaf spots and holes. Destroy any infected parts of the plant, do not compost them, and regularly remove any plant debris. Avoid overhead watering of the plants.
- Blossom-end rot – caused by a lack of calcium uptake causing dark, water-soaked spots on the blossom end of the fruit. Remove any affected fruit and maintain a pH of 6.5 in the soil.
- Colorado potato beetles – larvae and adults chew holes in the foliage and lay yellow-orange eggs in clusters on the underside of the leaves. Remove any eggs, larvae, or adults by hand, weed around the plants, and use straw mulch.
- Flea beetles – leave tiny holes in the leaves. Use row covers to block them, mulch heavily, and add native plants to attract beneficial insect predators.
- Leaf miners – leave blisters on the leaves caused by tunneling larvae. Remove any infected leaves, weed around the plants, use row covers, and till the soil early in the season.
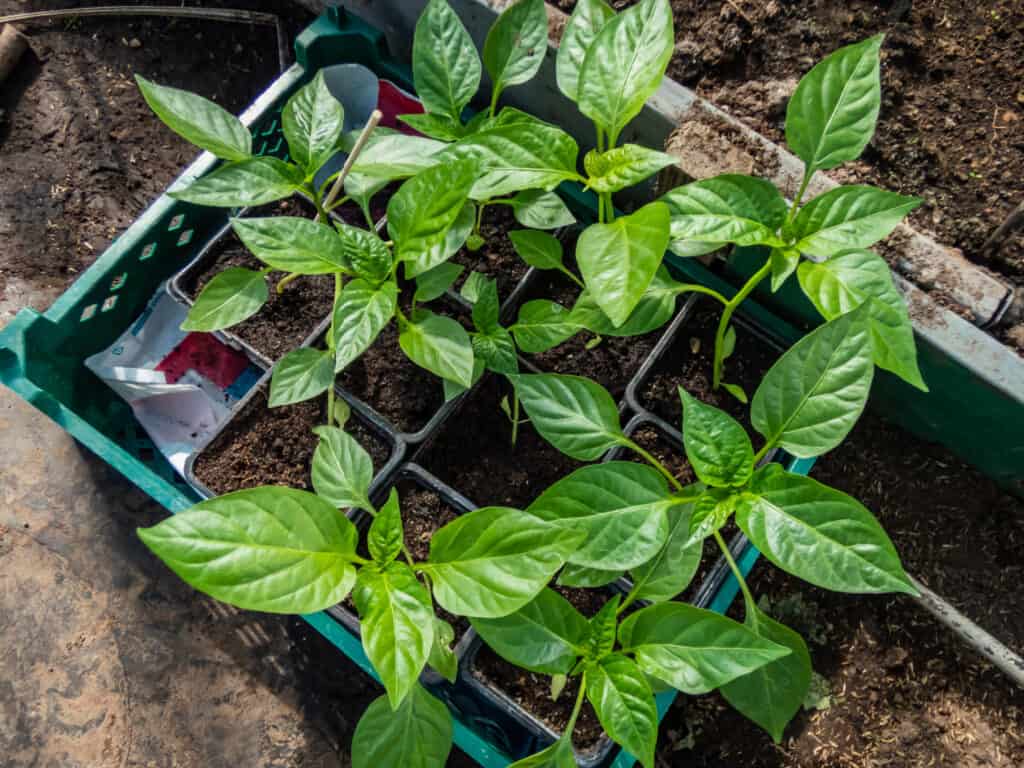
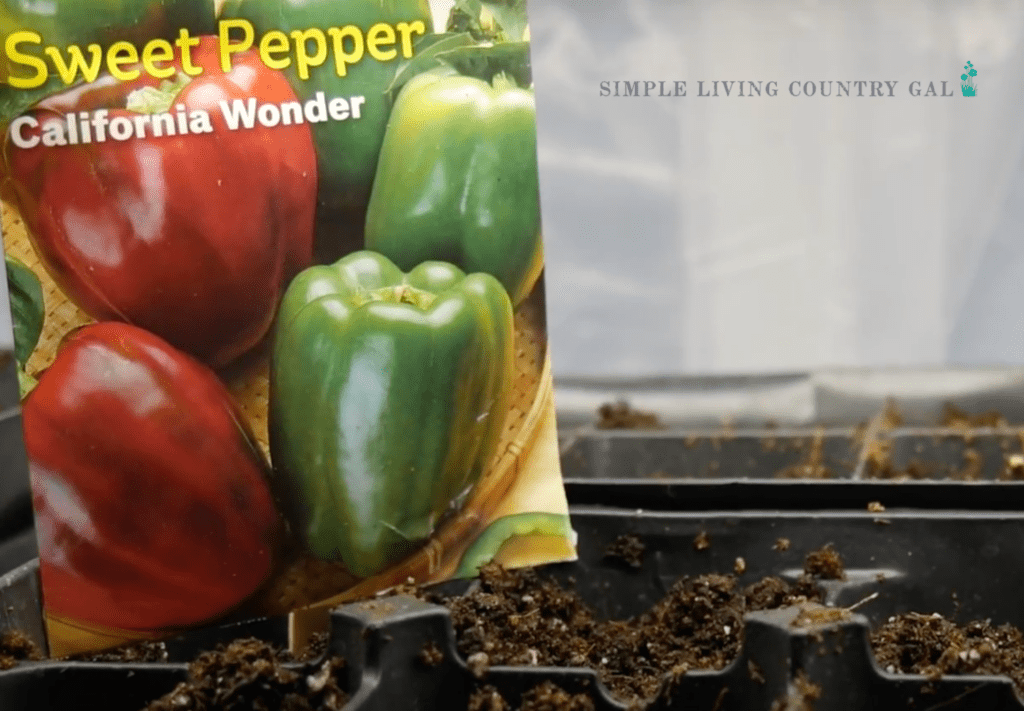
Starting Bell Pepper Plants Indoors
Plant seeds 1/4” deep with three seeds to a pot. This will help to ensure at least one healthy plant per pot, and any others can be thinned later. For faster germination, keep the seed pots in an area where the soil can maintain a constant 70°. You may need a heated propagator or mat, and some grow lights.
With proper growing conditions, seedlings should start appearing in about two weeks. Some varieties may take as long as five weeks, so check your seed package and don’t give up on them too soon.
Once they start to grow, thin out the weakest seedling from each pot and let the other two grow together into one plant. This will create more leaves which will protect the peppers as they grow.
If seedlings become too tall or leggy before transplanting, replant them in a larger pot with soil up to their lowest leaves. This will help to support the plant. If the plants have about 5 to 8 leaves per plant and you can see the roots through the drainage hole of the pot, it’s to replant them to a larger pot.
Before transplanting outdoors, harden the seedlings off for about 10 day by placing them outside during the day so they can adjust to cooler temperatures gradually.
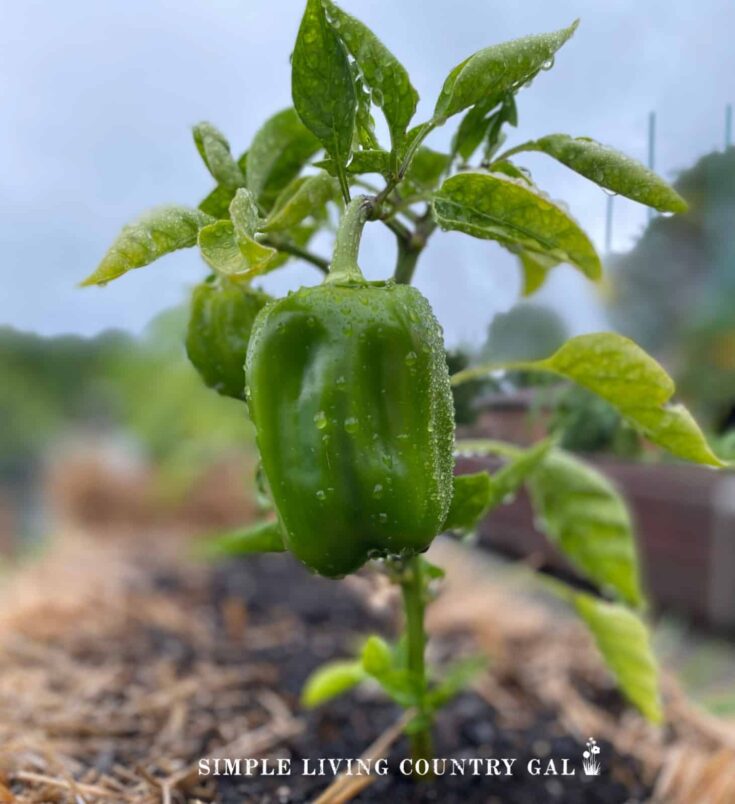
How to Harvest Bell Peppers
Once the plants start producing fruits, pick them as soon as they reach their full size and color. Regular harvesting will encourage the plants to produce more flowers and fruits. However, leaving the pepper on the plant a little longer helps them to become sweeter and increases their Vitamin C content.
Use your best judgment and pick when they appear to be fully grown. Use a sharp knife or scissors to cut the pepper off the plant.
How to Store Bell Peppers
For short-term use, keep whole, unwashed peppers in a plastic bag in the fridge’s crisper drawer. They’ll stay fresh for up to 10 days.
If you want to freeze them, wash, dry, and chop them first. Flash freeze the pieces on a baking sheet before transferring them to airtight bags. They’ll last up to a year and are great for quick meals.
For extra creativity, try pickling peppers for a tangy snack or drying them for shelf-stable storage. You can also roast and freeze them for a convenient, flavorful option. Simple steps ensure your peppers are ready whenever you need them.
Can you Grow Bell Peppers in Containers?
Growing bell peppers in containers is a great option, especially if space is limited. Start with a container such as a grow bag that’s at least 12–14 inches deep and wide to give the roots plenty of room to grow.
Jorvila 5 Pack 5 Gallon Thickened Grow Bags, Aeration Nonwoven Fabric Plant Pots with Durable Handles, Heavy Duty 300G Planter Pot for Tomato, Potato and VegetableRVZHI 6 Pack 10 Gallon Grow Bags – 350G Heavy Duty Thickened Colorful Potato Grow Bags with Handles, Felt Nonwoven Garden Fabric Bags Gardening Pots for Vegetable Fruit Flowers Herbs Tomato GrowingAC Infinity Heavy Duty Fabric Pots, 25 Gallon Aeration Reusable Grow Bags 5-Pack with 500G Thick Nonwoven Fabric and Multi-Purpose Rings, for Low Stress Plant Training Fruits, Vegetables, and Flowers


Place the container in a spot that gets at least 6–8 hours of direct sunlight daily since peppers love the sun. Water consistently to keep the soil evenly moist but not waterlogged – aim to water when the top inch of soil feels dry. Adding a layer of mulch on top can help retain moisture on hot days.
For extra support, you can stake or cage your plants as they grow to keep them upright and avoid broken branches. And don’t forget to fertilize every few weeks with a balanced fertilizer to encourage healthy growth and fruit production.

Growing Tips for Bell Peppers
Try these tips to grow a vibrant lush harvest of bell peppers this season.
- When selecting a planting area, avoid areas where other members of the nightshade family have been planted (tomatoes, eggplants, potatoes). Planting in these areas makes the peppers more susceptible to disease.
- If temperatures are too hot, you may need to water daily and mist the plants.
- Shade cloths and row covers can help the plants avoid heat stress.
- Mulch around the base of the plants to help them retain moisture and deter weeds.
- Weed carefully so you don’t disturb the roots.
Bell peppers can be a great addition to any garden, offering many ways to use them in your kitchen. By adding a few colorful varieties to your backyard garden, you will bring a delicious addition to your summer menu.
Other How to Grow Resources:
- How to Grow Sweet Potatoes for Beginners
- How to Grow Asparagus for Beginners
- How to Grow Chili Peppers for Beginners
How To Grow Bell Peppers
If you love fresh, delicious vegetables in the summer, this post is for you. How to grow big healthy bell peppers in your own backyard that are perfect for your summer salsa! Learn the steps you need for how to grow bell peppers for beginners step-by-step, from planting to harvest.
Materials
- Bell Pepper Seeds
- Water
- Wooden Matchsticks
- Low-nitrogen, High-phosphorus Fertilizer.
- Compost or Manure
Tools
- Garden or Garden Containers
- Stakes or Tomato Cages
- Rake
- Shovel
Instructions
- Start sowing the seeds indoors about 6-8 weeks before transplanting. Plant seeds 1/4" deep with 3 seeds to a pot.
- Once they start to grow, thin out the weakest seedling from each pot and let the other two grow together into one plant. This will create more leaves which will protect the peppers as they grow.
- Before transplanting outdoors, harden the seedlings off for about 10 day by placing them outside during the day so they can adjust to cooler temperatures gradually.
- Mix some aged manure and/or compost into the soil about 8 to 10 inches deep. Rake the soil to break up any large clumps. Don’t transplant into the ground until the soil temperature has reached at least 65°.
- Dig transplant holes about 3 to 4 inches deep and about 12 to 18 inches apart in a row. Rows should be spaced 2 to 3 feet apart.
- Before planting, fill the holes with water and let it soak in, then place 2 or 3 wooden matchsticks (for sulfur) and one teaspoon of a low-nitrogen, high-phosphorus fertilizer.
- Place the transplant in the ground about 1 inch deeper than they were in their original pot. Fill the hole with soil and pack it loosely around the plant, leaving a slightly sunken area around the plant base to hold water.
- After planting, give a good watering to encourage the roots to take hold in the new soil.
- Stake the plants now to avoid damaging the roots later. You can also you cages. This will help to prevent the plant from bending under the weight of the fruit as it grows.
- Once the plants start producing fruits, pick them as soon as they reach their full size and color.
- Peppers will do fine in the refrigerator for up to 10 days after harvesting when kept in plastic bags. They can also be frozen for future use; chopping them beforehand will make it easier to add them to your favorite recipes.
Notes
- Regular harvesting will encourage the plants to produce more flowers and fruits. However, leaving the pepper on the plant a little longer helps them to become sweeter and increases their Vitamin C content.
- When selecting a planting area, avoid areas where other members of the nightshade family have been planted (tomatoes, eggplants, potatoes). Planting in these areas makes the peppers more susceptible to disease.
- Transplant in the evening or on a cloudy day to keep the plants from drying too much and wilting.
Recommended Products
As an Amazon Associate and member of other affiliate programs, I earn from qualifying purchases.
-
 Jobe's Organics 09627 Organic Fertilizer, 4 lb
 -
SupKing Garden Plant Stakes,Sturdy Green Wood Bamboo Sticks 17" for Beans,Tomatoes,Vegetable and Potted Plants,Wooden Sign Posting Garden Sticks(30Pcs)
-
Seed Needs, Rainbow Bell Pepper Seeds for Planting (Capsicum annuum) Heirloom, Non-GMO & Untreated (1 Pack)