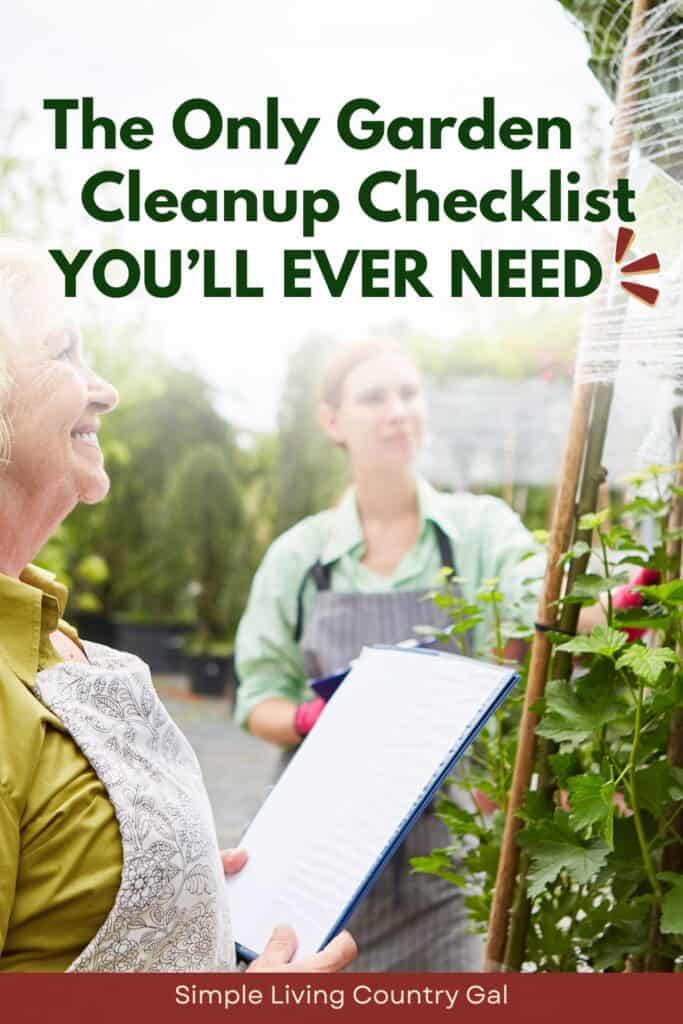
Garden Clean Up Checklist
Get the garden clean up checklist so you can get your growing area ready for planting this spring. From prepping the soil to removing winter debris, your area will be ready for seeds and seedlings in no time.
Do this pre-work for how to start a backyard garden so you can enjoy a summer of amazing and delicious vegetables and fruits.
As the weather warms up and the sun starts to appear, it’s time to get your garden ready for planting. Don’t wait until summer to prep your area and improve your setup; get busy now so your soil has time to amend before your seeds go into the ground.
Healthy and vibrant soil is the backbone of any successful garden; get tips on how to improve things and more in our Gardening 101 index of resources.
Spring is Busy Season for Gardeners
Spring is a hectic season for gardeners, but it’s also the perfect time to clear away winter’s mess, tidy up the debris, and get your soil ready to grow the veggies your family loves.
Just like us, the soil takes a break during winter, going into hibernation mode, and as things start to thaw, it is our chance to get in and restore its planting potential.
Winter doesn’t spare any part of your homestead, and gardens often bear the brunt of it. This guide will help you refresh your space and soil, setting you up for a thriving growing season.
Be sure to grab the free Garden Clean up Checklist below and add it to your gardening binder.
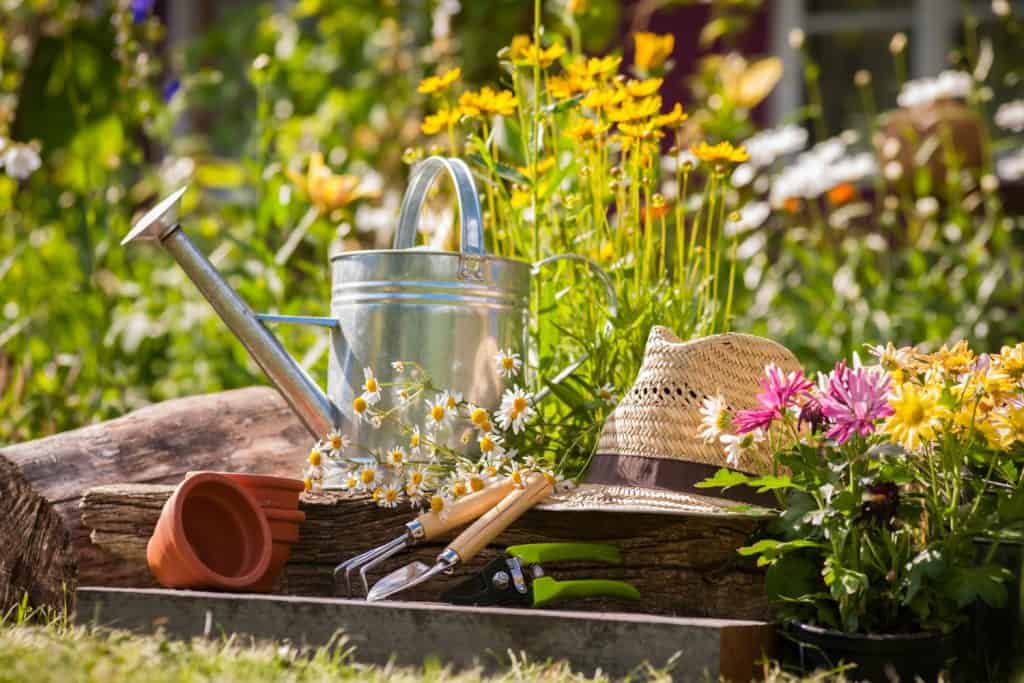
Spring Garden clean up checklist
The best approach to spring cleaning a garden is to see where you are now. Inspect your area, list tasks that must be done and any updates or improvements you hope to get to.
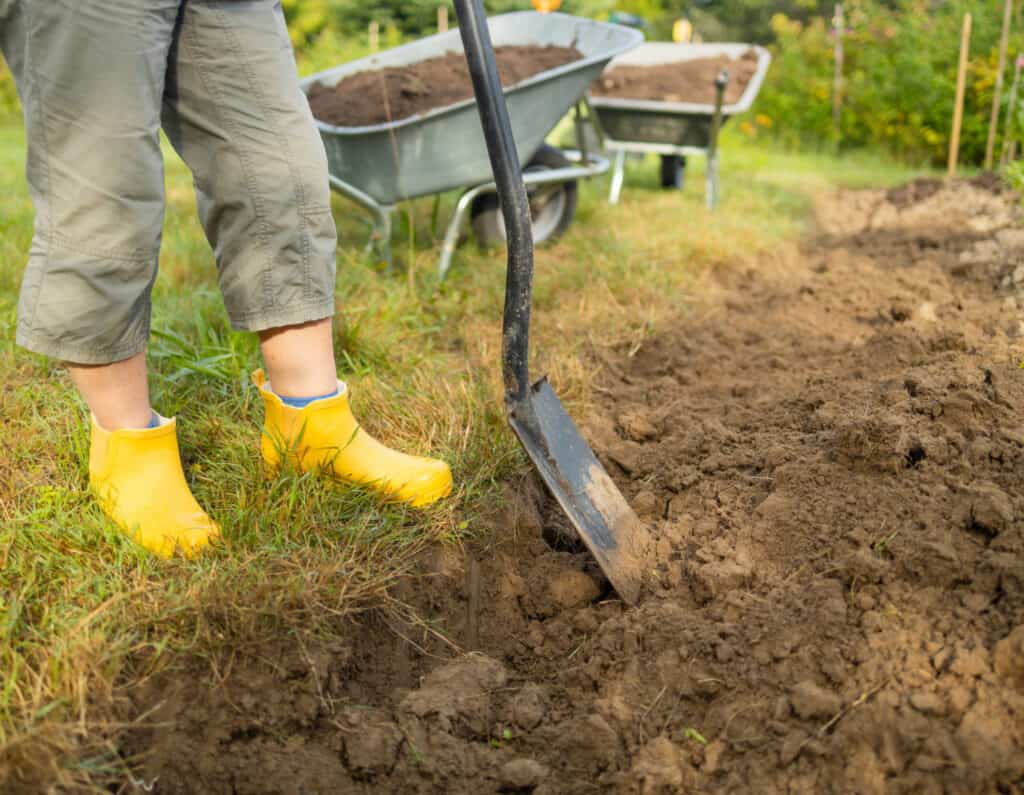
Step #1. Clearing Winter Debris
Before we can put our attention onto the soil you will first want to uncover it from the winter. Remove any debris you see scattered about.
- Branches and twigs
- Leaves
- Misc trash
- Old mulch from last year
- Leftover dead plants
- Any weeds that grew
Remember when removing any weeds you want to pull from the base to ensure you are getting all the roots. This will prevent that weed from regrowing. You can use a weeder tool, claw-weeding gloves, or a long handled weeder, which is great if you have a bad back or knees.
Weed Puller Tool, 2024 New Durable Garden Weed Pulling Tool, Portable Garden Weeder Tool for Vegetable Gardening Backyard Farm Planting & Weeding (Rubber Handle) (Rubber Handle, primary colour) Stirrup Hoe and Cultivator Garden Tool Heavy Duty, Scuffle Loop Hula Action Hoe Weeding Gardening Hand Tools for Women Kids Men, Metal Weeder Scraper Garden Hoe Rake Weed Puller Long Handle 32-62 inchGrampa’s Weeder – The Original Stand Up Weed Puller Tool with Long Handle – Made with Real Bamboo & 4-Claw Steel Head Design – Easily Remove Weeds Without Bending, Pulling, or Kneeling.


Step #2. Dealing with Winter Plants
If you grow vegetables over the winter, such as garlic, or have perennial plans, such as asparagus, take the time to give them attention so they can start to grow as the weather warms up.
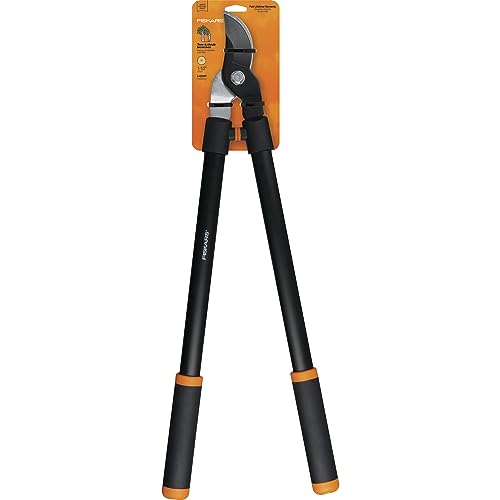
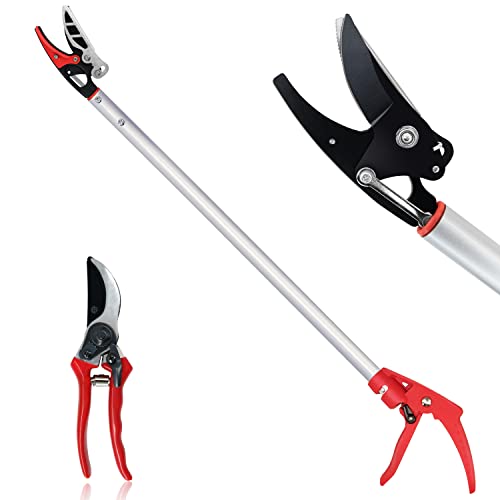
1. prune Dead Branches
Inspect trees, shrubs, and perennial plants for any signs of winter damage. Prune away dead or damaged branches to encourage healthy new growth. Proper pruning also ensures that plants receive adequate sunlight and air circulation, which can deter diseases.
When is the best time to prune fruit trees?
The best time to prune fruit trees is during late winter or early spring, while the trees are still dormant but before new growth begins. This timing allows you to shape the tree, remove dead or damaged branches, and promote healthy growth come spring.
If you live in a colder climate, wait until the harshest winter weather has passed to avoid damage to freshly pruned branches. For warmer climates, pruning can happen earlier in the dormant period.
Keep in mind that specific fruit trees, like cherries or apricots, may benefit from light summer pruning to manage size or airflow, but heavy pruning is best during dormancy. Always use clean, sharp tools for the healthiest results.
Fiskars 28Byhagern 32-Inch Cut and Hold Pruners, Long-Reach Tree Pruner with Rotating Cutter Head, Long Pruning Shears for Garden, Fruit Picking, Branches TrimmingUpgrage Garden Grafting Tools, 2 in 1 Garden Pruning Tools Including Grafting Knife, Pruning Shears, Replacement Blades Grafting Tapes and Labels for Plant Branch Fruit Tree Cutting Pruner Tool Kits

2. Dividing and Transplanting Perennials
Diving up and transplanting any plants that have outgrown their space or are struggling can help bring a plant back to life. This is also a great way to expand your garden.
What vegetables are considered Perennials?
Perennial means any plant that continues to grow year over year. Although most veggies are annuals, there are more perennials that most folks realize.
- Asparagus
- Broccoli
- Some spinach varieties
- Some artichokes
- Rhubarb
- Many herbs
- Watercress
- Wasabi
Step #3. Tidy up borders
It’s not a necessary step, but it is one that will help your garden look neater and easier to section off. Boarders tend to fade as time goes on, and sharpening them up in the spring will make them more obvious when planting.
The best tool for this job is a flat bladed spade. Use your foot to insert the blade into the soil, being sure to keep it straight, giving you the best line for your border.
SLCG Pro Tip: If you are planning to expand your garden now is a great time to do so. As you are doing your boards you can add in more size to each area.
A foot each way will give you more than enough space to add in more of a favorite crop or room to try something new entirely.
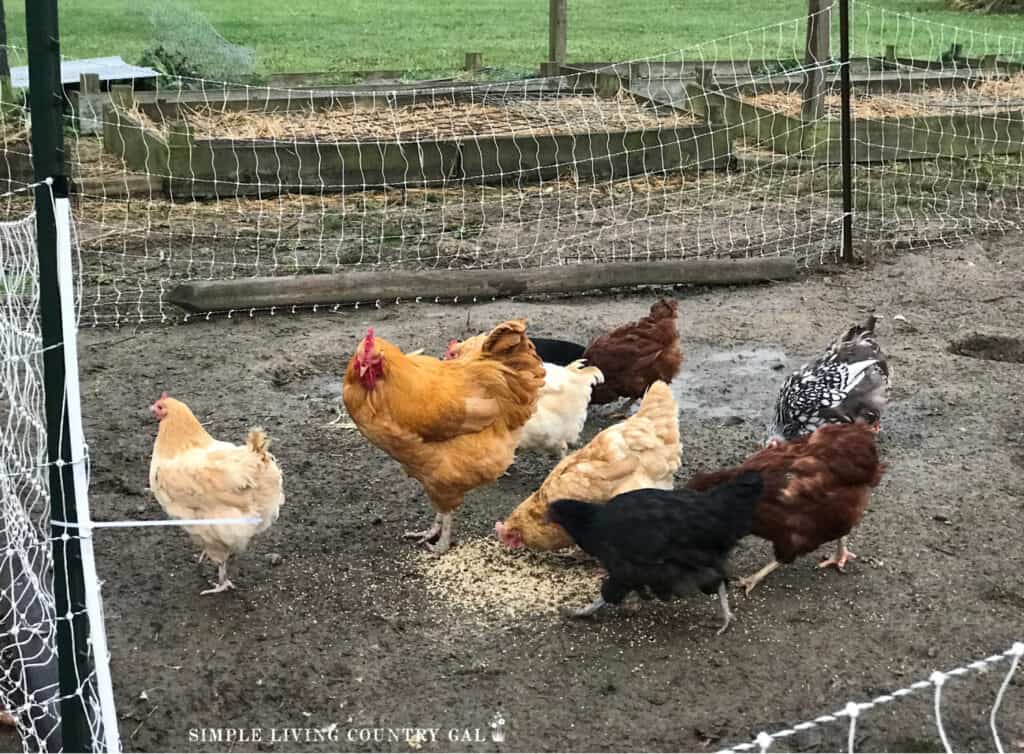
Step #4. Pest Control
If you had issues with pests during your last growing season, now is a good time to amend what you can in the soil. A few ideas you may want to try out for natural pest control are:
- Beneficial bugs – You can purchase beneficial bugs online and use them for specific pests they go after. Beneficial Nematodes will kill most pests found in your garden’s soil.
- Chickens – If you have chickens, let them into your garden. They love to scratch up bugs, slugs, grubs, and other pests as well as any larvae or eggs. Use a temporary fence to keep them in an area until they have things cleaned up to your liking.
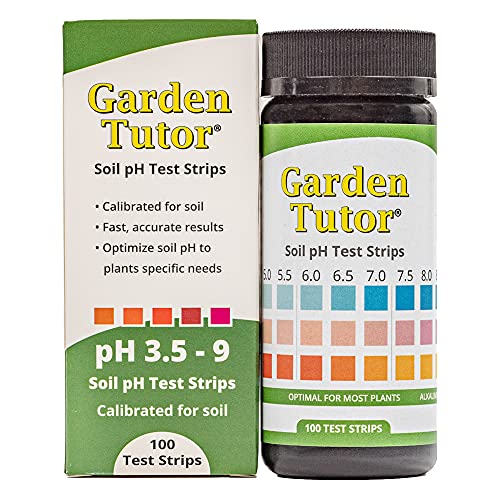
Step #5. Test the Soil pH
Before the growing season kicks into high gear, test your soil to understand where it is at now. pH levels and nutrient content can significantly impact plant growth.
Knowing your levels will help you to understand what needs to be added to adjust the levels.
You can use a soil test kit or get a more extensive reading by having your local extension office do a test. Once you have the results, you can adjust the pH by adding specific additives depending on the readings you received.
Soil Moisture Meter,4-in-1 Soil Ph Meter, Soil Tester for Moisture, Light,Nutrients, pH,Soil Ph Test Kit, Great for Garden, Lawn, Farm, Indoor & Outdoor Use (No Battery Required)Luster Leaf 1612 Rapitest pH Soil TesterGarden Tutor Soil pH Test Kit (3.5-9 Range) | 100 Soil pH Tester Strips – Test Soil Acidity and Alkalinity of Garden Lawn Grass Flower Vegetable Compost Indoor and Outdoor Plants


What does pH mean in a vegetable garden?
pH is a measurement that lets you know if your soil is acidic or alkaline. Knowing what your soil is will inform you what plants will grow best.
If your numbers are out of whack you can add in materials to help level things out.
This is known as amending the soil. Most adjustments take 4-6 months, so many gardeners choose to adjust in the fall, ensuring their soil will read better come spring.
A normal pH range is 7.0, with acidic soil readings below that number, and anything above that number is considered alkaline. For a vegetable garden, you will want to have a slightly acidic pH ranging between 6 to 6.9.
Adding sulfur or compost is a great way to lower the pH of your soil, whereas adding lime or crushed egg shells will help to raise the pH.
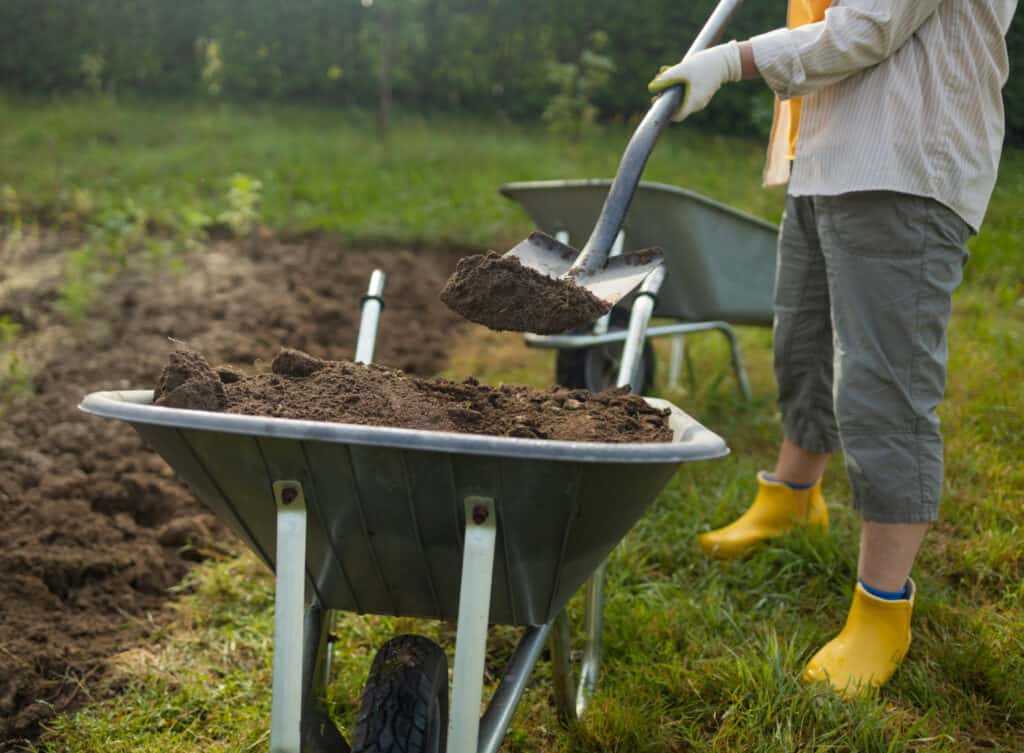
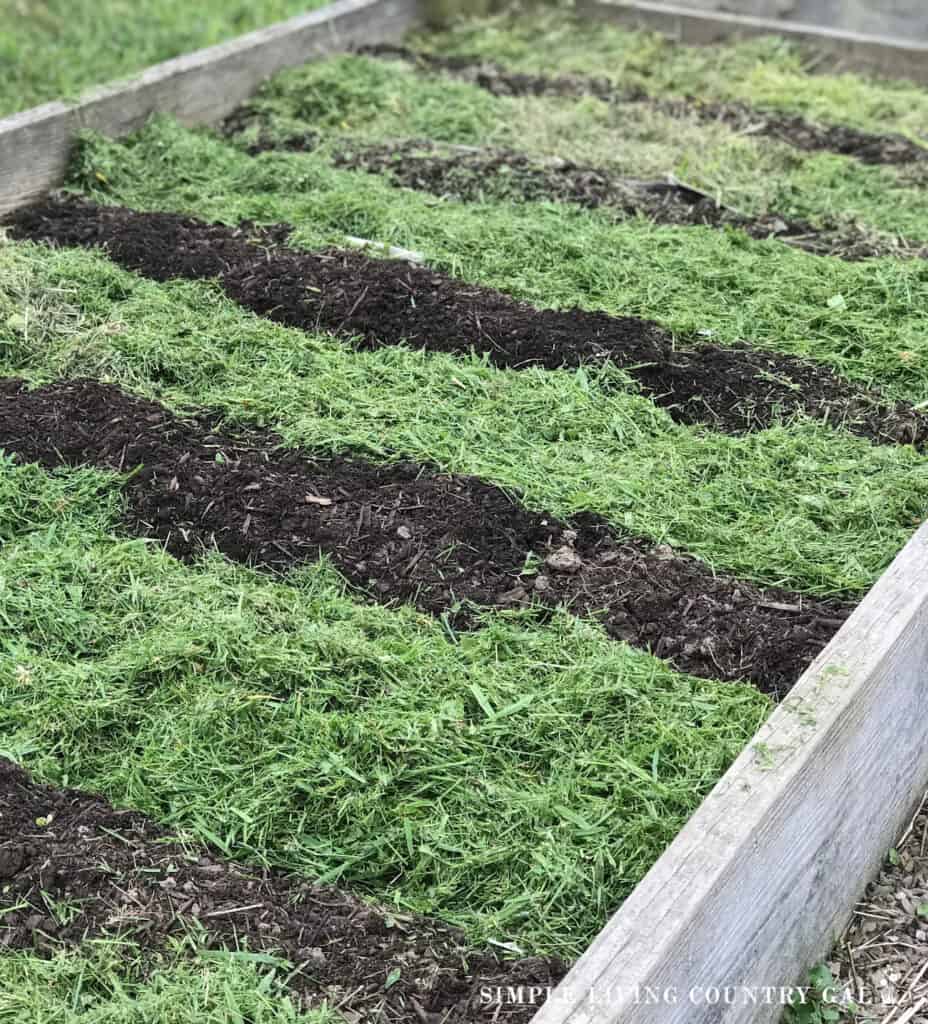
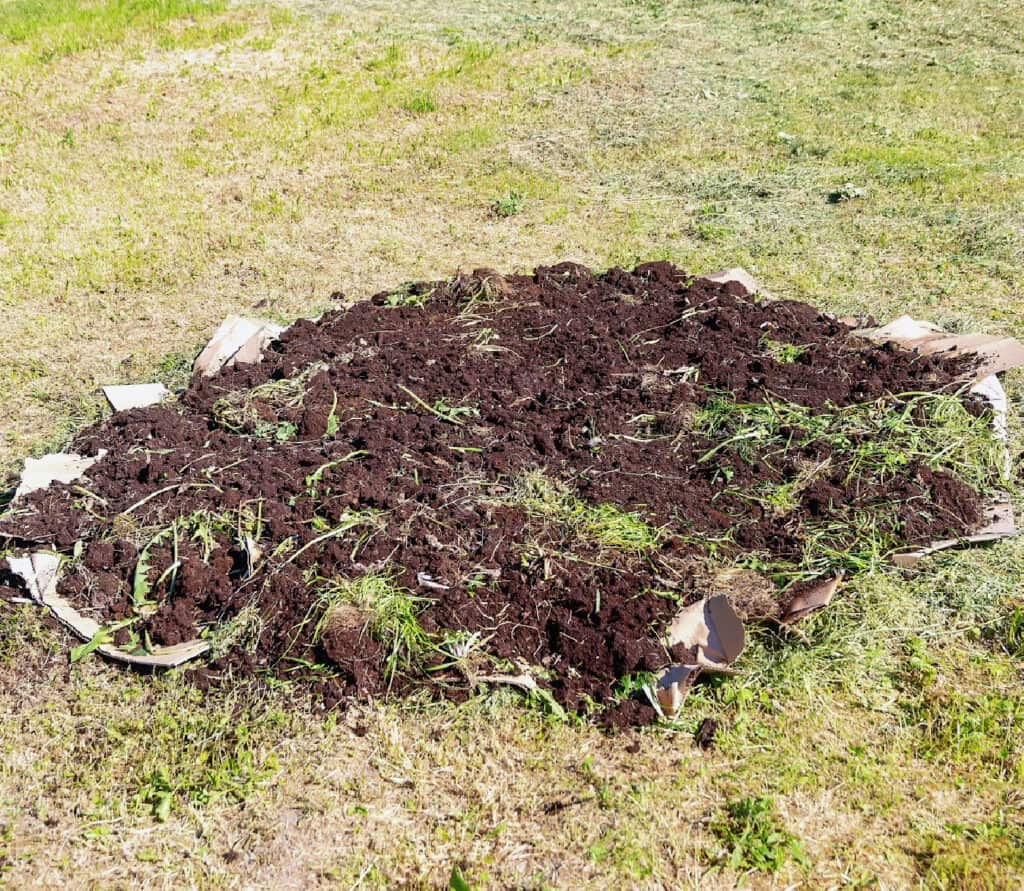
Step #6. Compost your garden
Organic compost is a great way to add in nutrients that may be missing from your garden’s soil. If you do not have a compost area you can purchase mushroom soil from your local landscape company.
How to add compost to a garden
- Fill a wheelbarrow or garden wagon with compost.
- Using a shovel put small piles around your garden area.
- With a shovel or rake, work the soil into the ground.
- Be generous using what you have getting all areas of your garden.
Compost enriches the earth with beneficial microorganisms and nutrients, creating a healthy growing environment. For heavy clay soils, organic matter lightens the texture and improves drainage. For sandy soils, it helps retain moisture and enriches the earth with minerals.
Tired of digging through heavy, stubborn clay soil? Improve Clay With Compost and watch your plants thrive like never before.
Once you have worked in any additives to your garden, let things rest for a few days to a few weeks. This will do a few things to your soil. First, it will allow the additives to begin working, and second, it will give your soil time to dry out a bit, making it easier to work with.
Step #7. Assessing Winter Damage
Take a close look at your garden structures inspecting them for any weather damage. Things like trellises, cold frames, and raised beds can all hide heavy wear and tear.
Take a closer look and make a list of any repairs that need to be made and attend to them before planting season is in full swing.
Step #8. Expanding Your Garden
If you’re considering enlarging your plot, adding in a new crop, or incorporating other gardening techniques, spring is a great time to get started.
1. Planning and Marking New Areas
Before you get started, be sure you really plan things out to ensure your idea will work. Do a temporary layout of your idea, being aware of things like sunlight and whether the space you have available is adequate for your plan. Mark the edges with string or stakes to visualize the size and shape of your new plots.
2. Preparing Soil for New Plantings
Once you’ve marked out the new space, prepare the soil in the same manner as you did for existing areas. New ground will likely be less fertile, making the addition of compost and organic matter even more important.
3. Choosing Suitable plants
Select crops that are well-suited for your new garden area. Consider the space needed for each plant and incorporate companion planting to help your new plots thrive.
Step #9. Prepare for planting
Next you will want to loosing up the soil, removing any large clumps of ground. You can use a rotatiller to make this job easier. Tilling the ground will give better aearation promoting growth for your summer garden.
SLCG Pro Tip: If you do not own a rototiller, you can rent one for the day without having to invest in this large piece of equipment. We used to rent a large tiller for the weekend and work to till up all the areas we needed to in that time. This saved us quite a bit on money.
Step #10. Create a mulching plan
Using organic tools to help your garden thrive is an important part of spring clean up. Make a plan for mulching your garden that you can use to help keep weeds to a minimum.
I like to use cut grass and will begin saving it as soon as we start mowing our lawn.
As more plants go into the ground, I have a nice supply of mulch to put around each. The mulch helps to keep the weeds from growing, giving plants a chance to grow strong roots early on.
Step #11. Set Up a Water System
Having an easy way to water your garden will not only benefit your plants but you as well. Watering consistently is a key part of growing healthier plants, but not everyone has the time to water every day without fail.
Instead, you can set up a water system to help turn this job into an easier routine. Here are a few ideas.
- Use a rain barrel. This is a great way to get your water supply to your garden, allowing you to water any time you are out without having to setup a sprinkler or drag out a hose. You can DIY a barrel using a tote or other large container or you can purchase a rain barrel online.
- Irrigation system. If you have the budget, you can invest in a garden irrigation system. This setup will water your plants at the base near to the ground which is the best way to water.
- Soaker hose. A soaker hose is a hose that has small holes where water can leak through. You can get this in any size and wind it around your garden, ensuring your plants get the water it needs.
- Sprinkler system. Finally, you can use a sprinkler attached to a hose that is set on a timer to water at the same time each day for a set time.
MIXC Drip Irrigation System, 50 FT Quick Connector Garden Watering System, Automatic Sprinkler Kit for Lawn Raised Bed Outdoor Plants Greenhouse with 1/4” Tubing, Drip Emitters, Misting NozzlesFCMP Outdoor Slim Line 45-Gallon Wood Grain Rain Barrel – Outdoor Home Rain Water Catcher Barrel with Flat Back, GreyHlinker 2024 Flat Soaker Hose 100 ft (50ft 2Packs) with Stake for Garden, Linkable Drip Hose Diy Automates Garden Irrigation System Saving 88% Water, Dual-layer Leak-free Design Water Hose with Holes


SLCG Pro Tip: The best time to water your plants is when the temperature is cool, which is either early morning or at night. Also, water at the base of the plant to reduce the chance of soil splashing up onto the leaves. This will reduce the chance of diseases affecting your plants.
Step #12. Set up a Compost Area
If you do not have a compost area near your garden, spring is a great time to set one up. Compost plays an important role in a backyard garden as it helps to give nutrients to not only your plants but the soil as well.
1. Start a Pile
When we first started a compost area, we simply made a pile, and that worked great for many years. Later, we set up our compost pile using old pallets, which kept it much neater.
You can get wood pallets for free from many stores or you can find them for cheap online. If you have a pile of bricks or cement blocks, that will work well, also.
2. Composting Kitchen Scraps and Yard Waste
Setting up a compost bin in your gardening area is a great way to dispose of yard and kitchen waste. Over time, this waste breaks down into a nutrient-rich material that can feed your garden.
Ensure that your compost pile balances green (nitrogen-rich) and brown (carbon-rich) materials to achieve the most efficient decomposition.
Step #13. Planning for Planting
The final step before you get your hands dirty is to plan out what you’ll be growing. This is an important step that many people skim over.
By having a plan for what will go where, you can ensure you have enough room, the best companions, and the biggest harvest this growing season.
1. Make a List of Plants to Grow
Start by making a list of your family’s favorites, along with the amount to plant for the number of people you have to feed.
Be sure to also include a few of your favorite picks as well. Finally, add in a few staples that you know you use often such as salad ingredients, herbs, or produce that freezes or stores well long term.
2. Map out your garden layout
Creating a garden map is an excellent way to visualize the layout of your plants. This will help you determine what can be planted together, making the most of the area you have to work with. You can use a grid-lined piece of paper penciling in each crop so you can make changes if needed.
When mapping things out, be sure to take into account the size of the plant. For example, you will want to be sure that any corn you plant will not block out the sun needed by your smaller plants.
3. Use Companion Planting
I have mentioned a few times about companion planting and for good reason. It is a great way to use other plants for better growth. Companion planting is the practice of placing certain plants near others to encourage mutual benefits.
Some plants prevent pests, others act as natural pesticides. Partnering plants together is a great way to use nature to help you grow a better garden without the need for pesticides.
A garden clean up checklist is a great way to ensure your backyard vegetable garden is ready for planting. By removing any debris, weeds, and old plants, you can start your spring garden prep and create a space that is a fresh and clean slate.
Add in what is missing and set up watering routines that are easy to stick with, and you will have your best garden yet.
More Gardening Tips:
