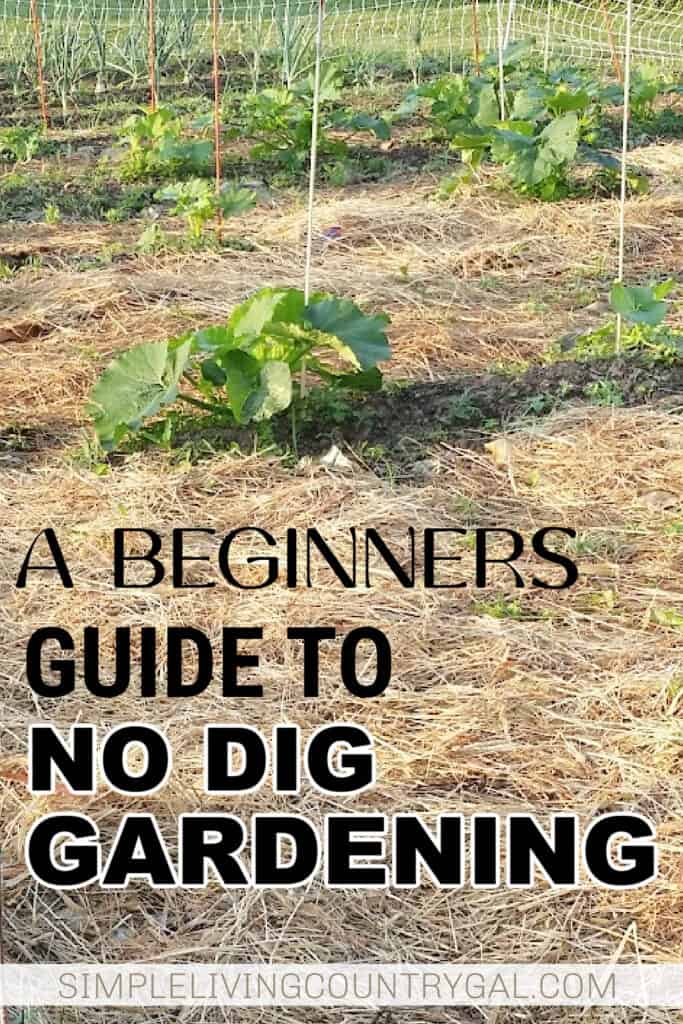
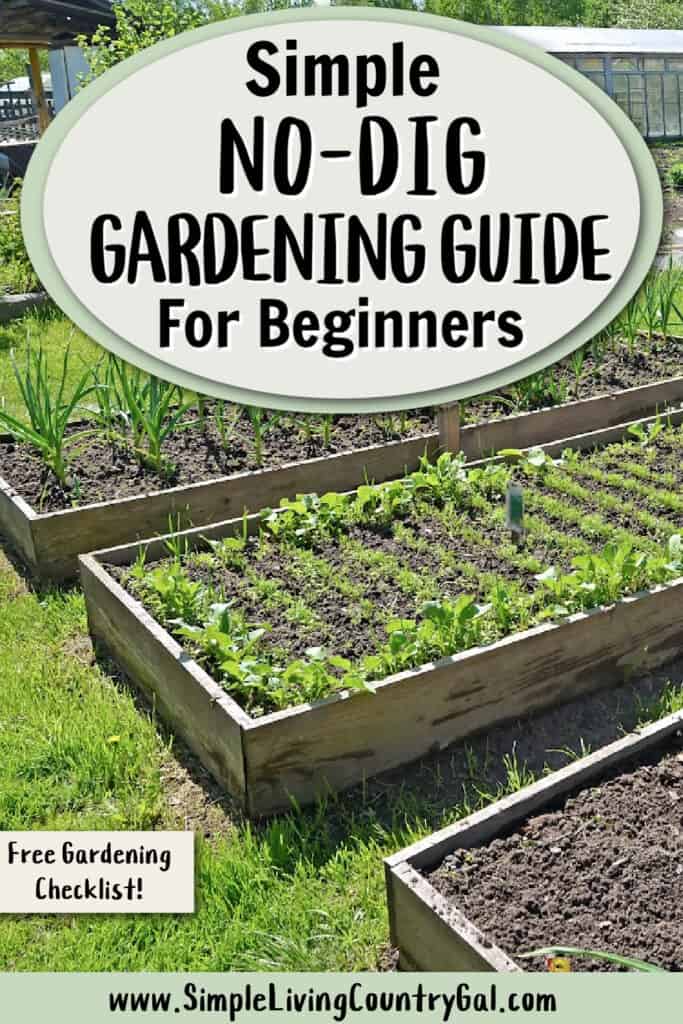
no-dig gardening
If you’re searching for a simpler way to kickstart a backyard garden, set up a new flower bed, or expand your existing setup, this article on no-dig gardening is exactly what you need. This helpful guide on a unique gardening approach will get you back into the growing game.
Gardening 101 is all about techniques that you can incorporate into your growing routine. Tips for effortless homesteading that revolves around gardening and growing your own food.
Why No-Dig Gardening is The Perfect Gardening Shortcut
Gardening is one of those things that anyone can enjoy, no matter your age. Growing your own food is such a key part of intentional living, and it brings so many great benefits to your home, your family, and even the way you eat.
But let’s be honest, traditional gardening can be a lot of work. Starting a new growing area often means tearing up sod, digging into tough, compacted soil, pulling weeds as they creep in, and constantly adding compost to keep your plants thriving. It’s not exactly a walk in the park.
If you’re like me and find yourself in midlife, all that hard labor might not come quite as easily as it used to. But here’s the good news: there’s a shortcut, and it’s becoming a favorite among gardeners. It’s called no-dig gardening.
This method takes away the heaviest tasks like tilling, digging, and sod removal, while giving you a strong, healthy base to grow the best garden you’ve ever had. Personally, I love finding smarter, simpler ways to garden, and no-dig gardening really ticks all the boxes.

What is no-dig gardening?
No-dig gardening, sometimes called lasagna gardening, is a way to grow plants without breaking your back, digging, or tilling the soil.
Instead of doing all the backbreaking work, you add layers of compost and organic matter on top of the ground, letting it sit to do its magic. This allows things to decompose, creating a nutrient-rich environment for plants to grow.
This method is based on the concept of permaculture – working with nature instead of against it. It also allows you to use up waste products (aka recyclable trash) around your home by giving things like paper and yard waste a purpose in your own backyard.
Benefits of no-dig gardening
Of course, the fact that this method makes prepping easier is a huge win in my book, but it’s not the only reason so many people love it.
#1. Saves time
No-dig gardening requires less prep work. If you are in a rush, you can actually plant on top of the layers without having to wait the full time for the compost to happen. Just a layer of soil is all you need to plant seeds in your no-dig area.
#2. Easier physically
If you have back or knee issues, this style of gardening is a good fit for you because it eliminates the removal of any sod or having to lug a rototiller which can be a heavy piece of equipment.
#4. Can be done alone
This is a big benefit for me, as finding help as an empty nester can be hard. No-dig gardening allows me to do it on my own without having to wait for someone to help.
#5. Improves soil health
By layering organic matter on top of the ground, you are essentially creating a compost pile that will naturally break down over time. This improves the structure and fertility of the soil, although slowly, allowing plants to grow stronger and healthier.
Our soil is heavy clay, which isn’t exactly the easiest to grow in. With no-dig gardening, I can kickstart a new growing area and improve the soil at the same time—it’s a win-win.
#6. Reduces weed growth
The layers also help prevent dormant weed seeds from coming to the surface where they can germinate and grow. This means less time spent weeding and more time working on other areas.
#7. Saves on watering
The layers as a natural mulch, helping to retain moisture in the soil. This means you won’t have to “heavy” water your garden as often, giving your roots the best environment in which to thrive.
If I’ve managed to win you over by now, great! Let’s get you a step-by-step guide so you can start your own no-dig garden right in your backyard.
How to start a no-dig garden
Starting a no-dig garden is easier than you might think! It’s a lot like setting up a composting area where you can grow your plants. The secret to its success lies in the gardening layers. Here’s how to get started step by step:
Step #1. Choose a location
Find an area that gets good sunlight, ideally 6-8 hours a day. Think about how close it is to a water source too—that’ll make watering much easier.
Keep in mind the local wildlife. If you’ve got rabbits, deer, or other critters nearby, pick a spot they can’t easily access, or consider adding a barrier.

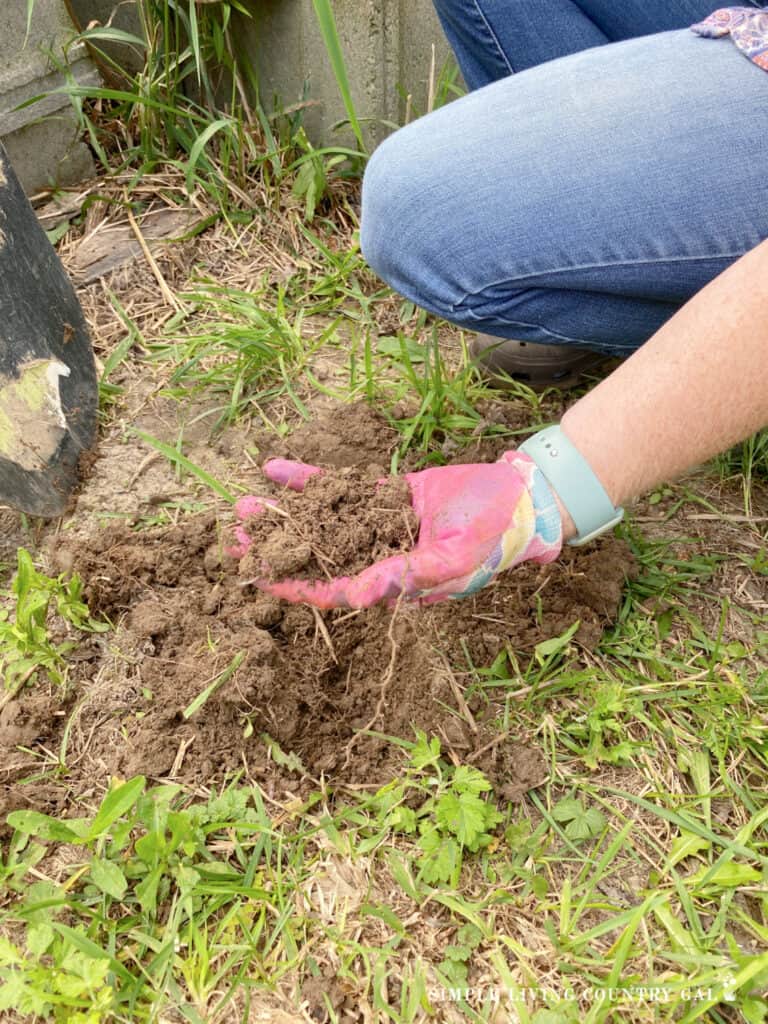
Step #2. Prepare the ground
With this method, getting your area ready for layering is simple. All you need to do is remove any large debris, such as branches or rocks.
Let the sod stay as is; the layers will take care of breaking that hard layer down as your garden above grows.
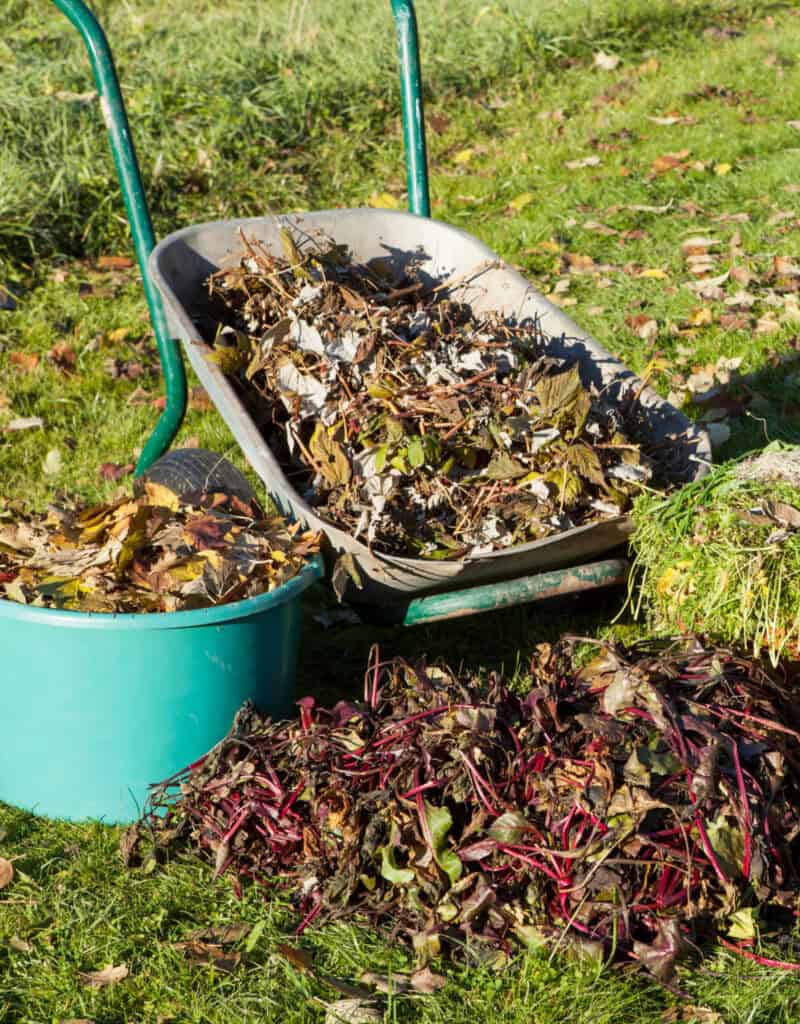
Step #3. Gather materials
You’ll need materials to build your layers. While you can gather everything upfront, it’s often easier to do it layer by layer to make sure you’ve got enough. Here’s a list of what works well:
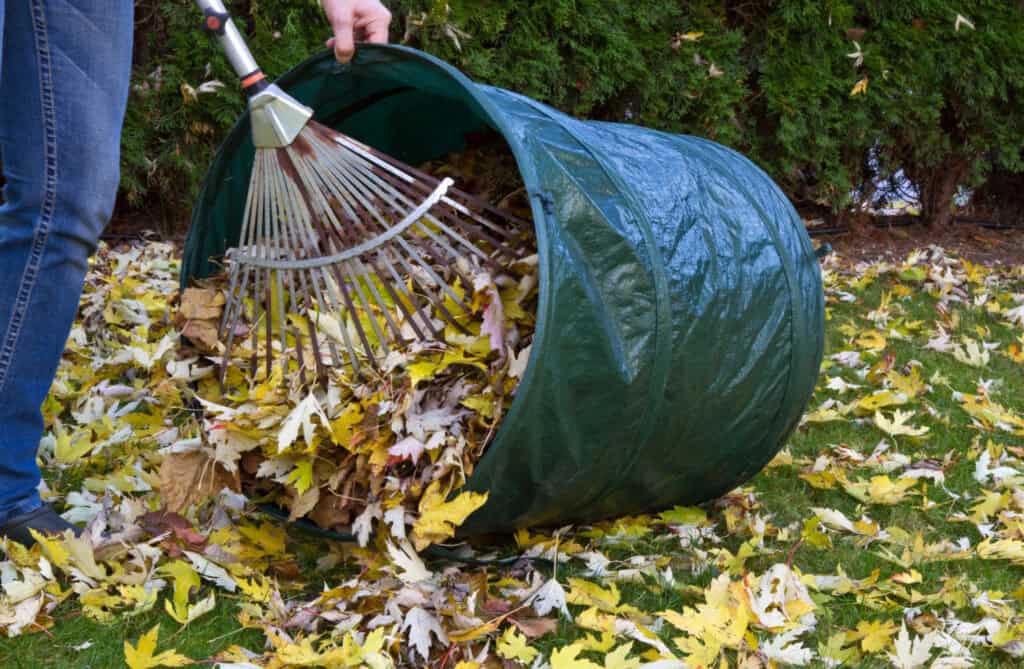
- Leaves
- Straw
- Grass clippings
- Compost
- Manure
- Shredded paper or newspaper
- Cardboard
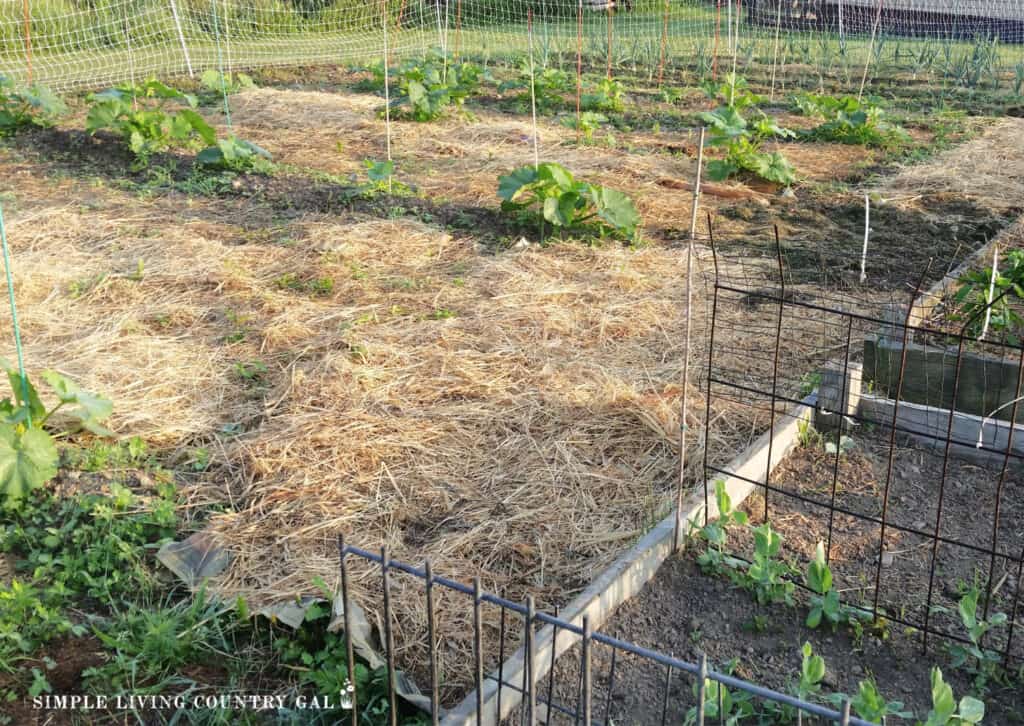
Step #4. Layer the materials
Begin with a thick layer of cardboard or newspapers. This acts as your base layer to block out weeds. On top of that, add a layer of nitrogen-rich green materials, like grass clippings, followed by carbon-rich materials, like leaves.
Keep repeating these layers until you’ve built them up to about 12 inches deep. If it’s a windy day, water each layer lightly as you go to keep everything in place.
Step #5. Add compost
Once your layers are complete, top it off with a layer of finished compost. This will provide essential nutrients for your plants to grow.
Step #6. Let it sit
This method works best when you set it up in fall and give it a few months to break down. By spring, you’ll have a garden bed ready to plant in.
If you want to start in spring, no problem. Just add 4-6 inches of soil on top of the layers, and you can plant right away. As your seeds grow, the layers beneath will break down and feed the roots.
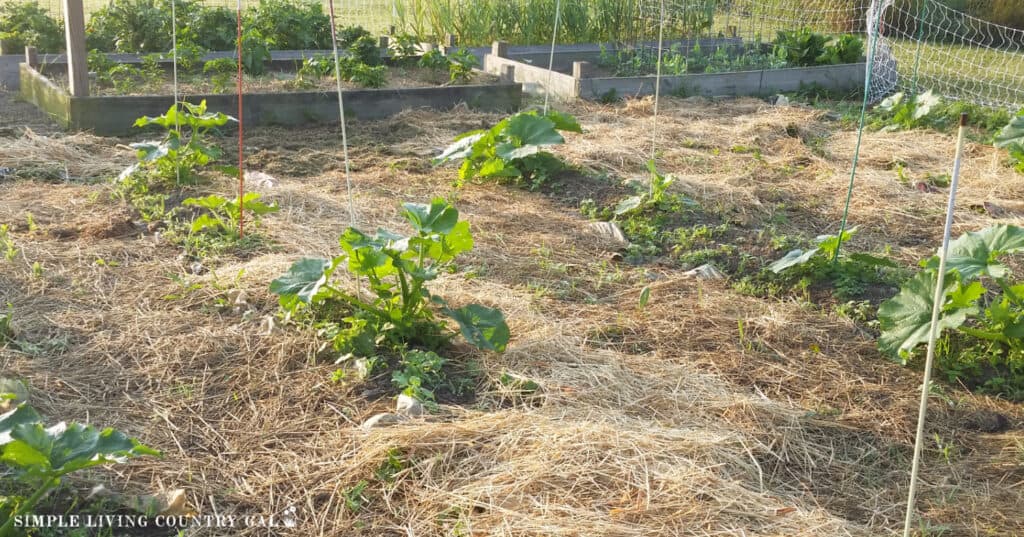
Step #7. Plant and mulch
Once it’s planting time, sow your seeds or add your seedlings as you normally would. Follow the directions on the seed packets for the best depth and spacing. Then, cover the soil with mulch to retain moisture and keep weeds to a minimum.
Step #8. Maintain
As the layers below break down, they’ll keep feeding your plants. You can always add more compost or mulch throughout the season to keep things thriving. I like tossing on grass clippings and compost as I go, which makes a big difference for plant health.
Step #9. Harvest and enjoy
When it’s time to harvest, just follow the timing and tips on your seed packets. No-dig gardening makes this part of the process no different from traditional gardening—but with less work early on, you’ll likely enjoy it even more.
By following these steps, you can enjoy fresh, organic produce without dealing with backbreaking labor. With no-dig gardening, you’ll be growing smarter, not harder.
Here’s a handy tip for your garden—make sure to rotate your crops each season. It’s an easy way to keep your soil healthy and full of nutrients.
Downsides of No-Dig Gardening
No-dig gardening isn’t perfect, and it might not be the best fit for every situation. Here are a couple of challenges to be aware of:
Gathering Enough Materials
You’ll need a good amount of compostable materials to build no-dig beds, and that might be a challenge if your resources are limited. Starting small is a great way to manage this—I recommend setting up just one bed to begin with and adding more as you collect extra materials.
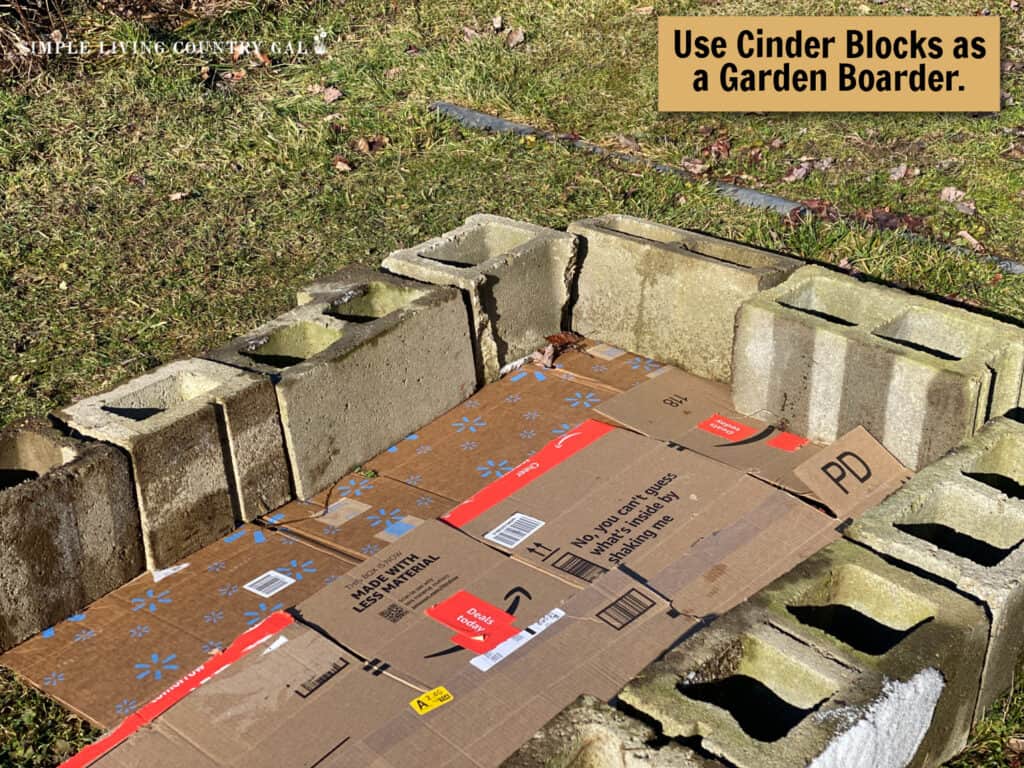
Setting Up the Borders
While no-dig gardening is less physically demanding overall, creating the garden borders can involve some heavy lifting, especially if you’re using materials like cinder blocks, large logs, or wood posts. Don’t hesitate to ask for help if needed—that extra set of hands can make things much easier.
By keeping these potential challenges in mind, you can plan ahead and make your no-dig gardening experience as smooth as possible.
No-Dig Gardening Tips
Now that you’ve got the basics down, here are some handy tips to help you get the most out of your no-dig garden:
Start Small
If you’re just getting started, it’s a good idea to begin with a small section. This way, you can get familiar with the process and see if it works well for your space and needs.
Use Quality Materials
For the healthiest plants, invest in high-quality compost and organic materials. You’ll be giving your garden the nutrients it needs to thrive from the start.
Stick to Local Materials
Avoid the temptation to grab leaves or grass clippings from your neighbor’s yard. I made this mistake once and ended up bringing diseases into my garden. The safest bet? Use only what comes from your own property.
Layer the Right Way
To get the most out of your no-dig garden, it’s important to layer materials in the correct order. Here’s a simple guide you can follow:
- Newspaper – Acts as a barrier to block weeds and grass
- Plant Waste – Supplies nitrogen
- Twigs and Small Branches – Adds carbon
- Cut Grass – Another great source of nitrogen
- Dried Leaves or Wood Chips – Provides more carbon
- Compost – The nutrient-rich topper
Water as You Go
Moisture is key to helping your layers break down and compost properly. Check your bed regularly to make sure it’s not too dry or too wet.
Keep an Eye Out for Pests
While no-dig gardening can reduce pests and diseases, it’s still smart to stay vigilant. If you spot any diseased plants, remove them immediately. Take additional precautions, like using companion plants, to help keep pests at bay.
By following these tips, you’ll save time, protect your soil, and enjoy a healthy, thriving no-dig garden.
No-dig gardening is a great and easy way to simplify your gardening routine. It takes the heavy lifting out of the equation, gives you a shortcut for prepping, and is perfect for fixing up less-than-perfect soil in your yard.
More No-Dig Gardening Resources:
- The Pros and Cons of Lasagna Gardening
- Lasagna Gardening for Beginners
- What is Straw Bale Gardening?