Setting Up A DIY Brooder Box For Ducklings
Before you bring home your first ducklings, you will want to be sure you have their housing all ready for their arrival. Today we are going to talk about how to set up a DIY brooder box for ducklings so you can dive into the fun and quirky world of raising ducks.
Raising chickens and ducks that are healthy and happy all begins with housing.

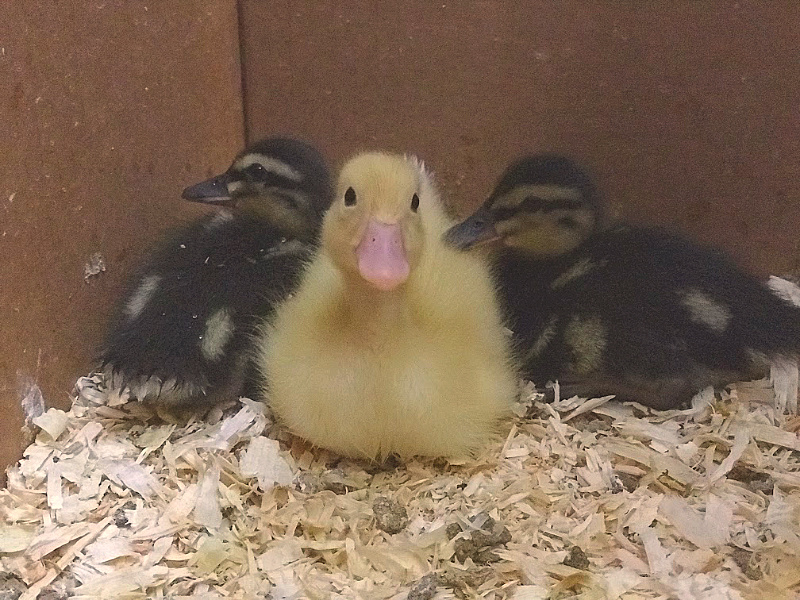
I love all babies, but there is nothing quite as adorable as baby ducklings. There is just something about their little quack and too big for them feet that tugs at my heart begging to take a few of them home.
And in the spring, ducks and chicks are in the feed stores tempting me on each and every visit. Before you head out of the store with your own box full of cuteness, you will want to set up a home for them first.
Disclaimer: In accordance with FDA guidelines, the information and products offered on this website are not intended to diagnose, treat, cure, or prevent any disease. I am not a medical professional. Before administering any medications to your animals, please contact a veterinarian first.
I have been raising baby chicks for just short of a decade and I seem to have things down to a good system. Baby ducks, on the other hand, are a completely different story and the setup I have for my chicks is not a good system for ducklings.
The biggest reason why is that ducklings are messy. They just can’t help it. With their big feel and bigger bill, they make a mess without even trying.
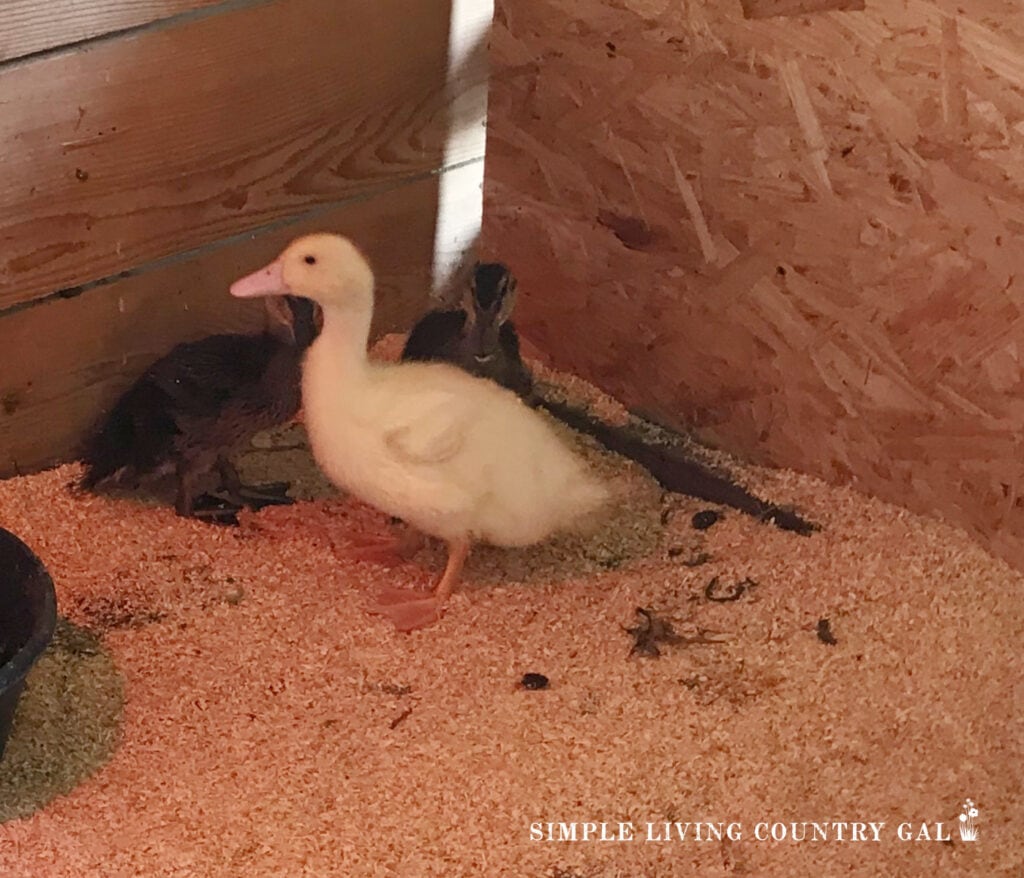
Another thing about ducklings is they are a bit clumsy, especially in the beginning. And it’s because of these reasons that having a brooder meant to keep the mess contained will help tremendously. The DIY brooder I have for you today will keep the mess inside and cut down on the time you need to clean each day.
This setup will also help keep the stink down and provide a safe environment for your ducks who have not quite grown into their feet just yet.
Why are ducklings so messy?
The biggest reason ducklings make a mess is that when ducks drink, they clap their beaks together, splashing water all over the place. If the dish of water is big enough, they will try to climb inside for a swim. Needless to say, in just a few minutes, they can get everyone and everything pretty wet.
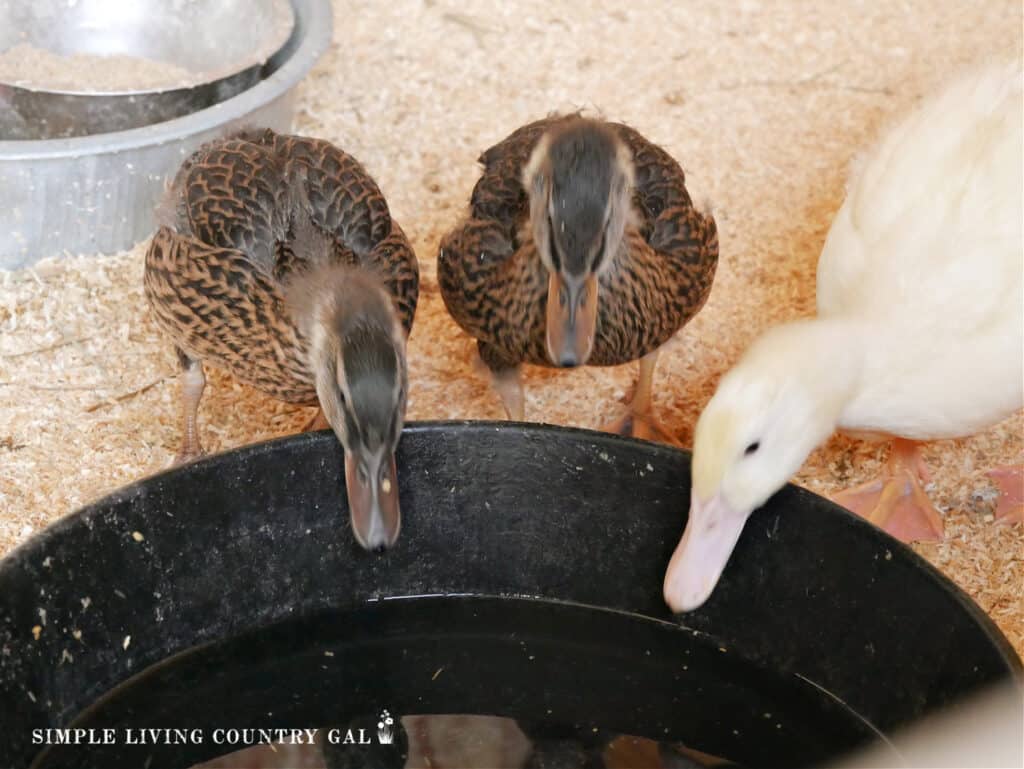
So, if you are using a cardboard box as your brooder box, you will need to take precautions to help keep the box from getting wet and falling apart.
How long do ducklings need to be in a brooder?
Ducklings typically need to stay in a brooder for about 2 to 6 weeks. During this period, the brooder acts as a safe, warm environment that allows them to socialize and grow. After the initial 2-6 weeks, if they’ve developed enough feathers and the weather is warm enough, the ducklings can begin spending time outside under close supervision. I suggest you return them at night during colder temperatures until they are fully feathered and able to regulate their own body heat. This is usually around 7-9 weeks.
How to Setup a DIY Brooder Box for Ducklings
These tips will help you to set up a brooder that stays relatively dry using free materials you may already have around your home.
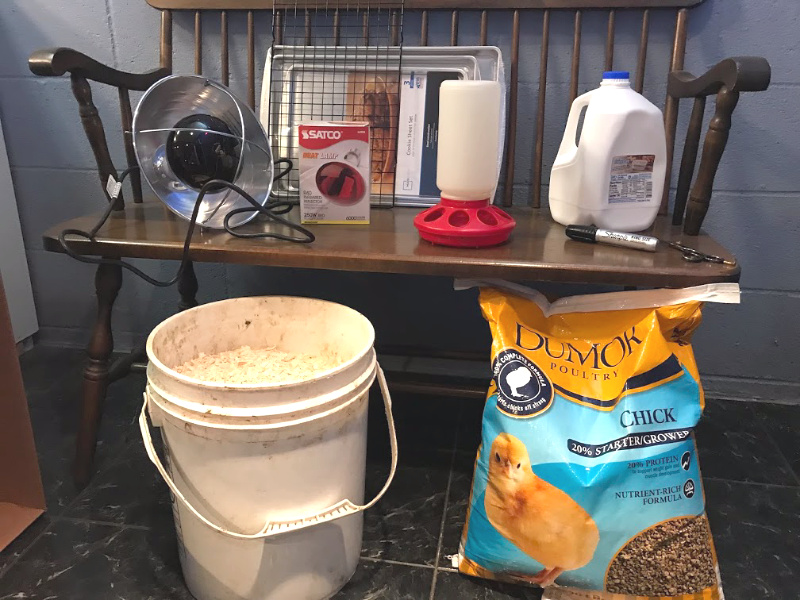
Step #1 Gather your supplies.
There are a few things you will need before you start setting things up. Most items you might have on hand, but the rest you will want to purchase so you have your setup ready before you bring your ducklings home.
- Cookie sheet
- Cookie cooling rack
- Bedding
- Heat lamp
- Feed
- Clean and empty milk jug
- Marker and sissors
Duckling Brooder Supply List:
Cardboard box
Duckling or Chick feed – Be sure it is a “Starter” feed and that you can feed to ducklings.
Bedding – Wood shavings work best.
Empty milk or plastic jug
Cooling rack – If the holes are large you will need two.
Feeder – You can also use a bowl but I find these feeders much neater.
Thermometer – To regulate the temperature of the brooder box.
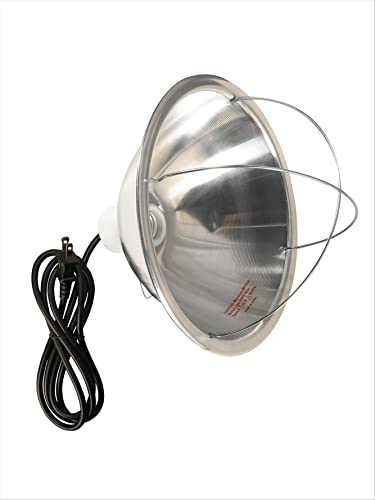
Heat lamp – Be sure you have one with a guard and a clamp.
Step #2 Choose a location.
Ducklings are fragile and need to be kept in a location safe from pets and young hands. Choose an out-of-the-way space that is low-traffic so there is little risk of passers-by bumping the box.
SLCG Pro Tip: Since we have a dog, we need to ensure our baby ducks and chicks are securely housed. That means we prefer to keep our brooder box in our basement inside of an enclosed room that our pets do not have access to.
If you live in the north, don’t worry too much about the cold. Heat lamps are part of any setup with ducks or chicks, and they will keep your DIY brooder box warm even if the outside temp is cold.
Disclaimer: Please note that heat lamps are a fire hazard and, if not secured or installed properly, can be a fire hazard. Because of this, it is incredibly important to use discretion when adding one to your brooder box. Take every precaution possible to ensure you have the lamp secure, so it will not come in contact with the box or the bedding.
740 Little Giant Screw-On Poultry Waterer Base Bundled with Little Giant Screw-On Poultry Jar Heavy Duty Translucent Plastic Container | 1L Chick Waterer Set | Perfect for Chicks, Quail, and Ducks


Step #3 Set up your box.
Make sure your box is large enough to hold your ducklings. A good rule of thumb is 1-1.5 square feet per duckling. (Chicks require less). If the box you have is smaller, know you will need to increase the size as your ducklings grow. And be prepared because they grow fast.
Next, add a layer of wood shavings to the bottom of the box. This will help to keep things clean for the ducklings and make it easier for you to keep things neat as well.
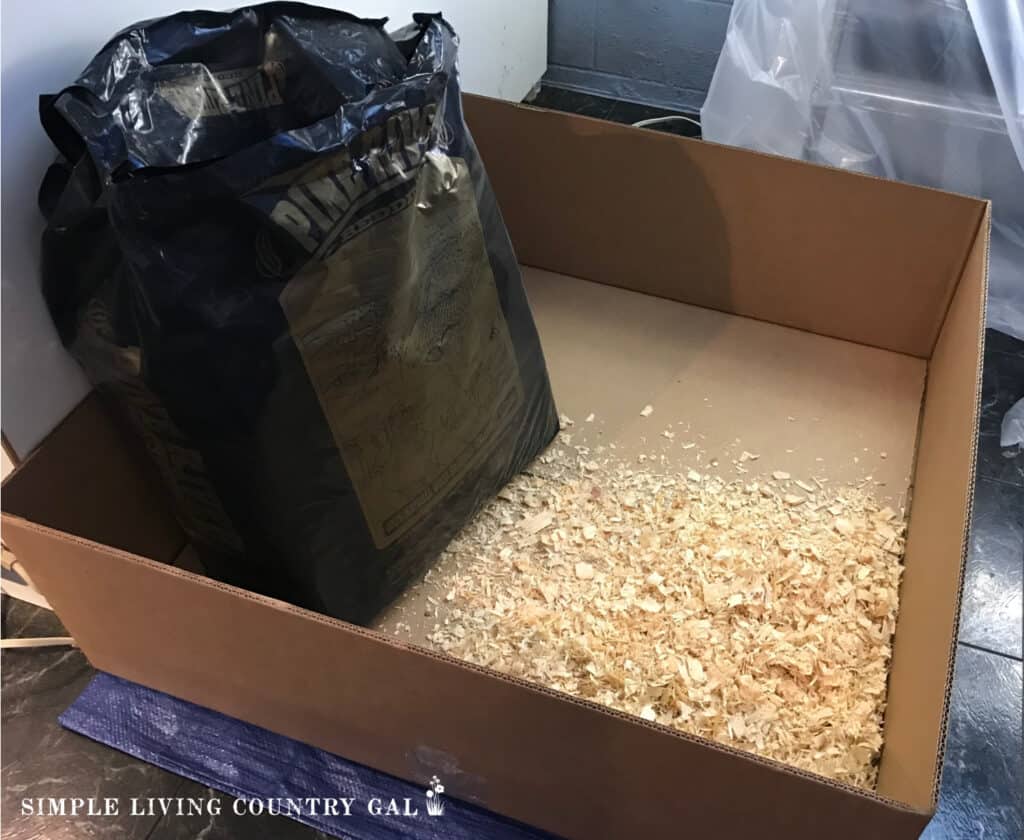
SLCG PRO TIP: HEADS UP! Using wood shavings is dusty, more than you might imagine. Maybe not as much with ducklings but with chicks, the dust can be horrible. So keep that in mind when choosing a location for your brooder box. You will have dust on the walls and any bare surface nearby.
Step #4 Add the feed and water.
I mentioned before that ducks are messy, and this is a step you will want to follow to help keep your brooder box neat and dry.
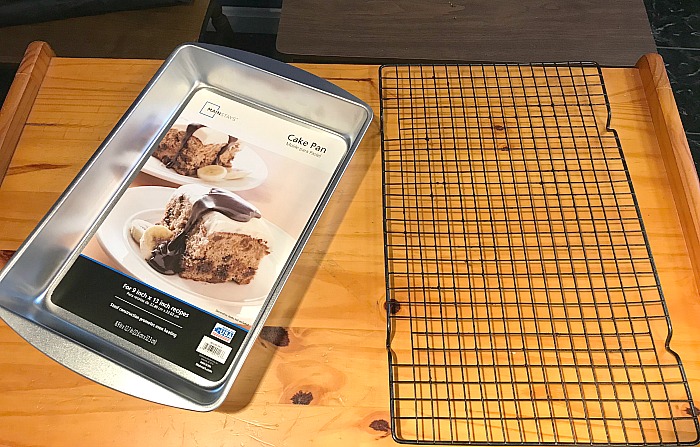
I like to use a baking sheet or shallow pan topped with a cooling rack. Be sure things fit together securely so there is no chance of slipping. Once done, you can put your food and water on top.
The pan catches the spilled water and the cooling rack allows your ducks and chicks to stand on top without falling through. You can find baking sheets and cooling racks at the dollar store.
SLCG PRO TIP: Make sure you choose a cooling rack with small openings so your duckling’s small webbed feet do not fall through, risking injury. The rack I have does have large holes, so to fix this, I purchased a second one and staggered it, keeping the walking area much easier for the little ducks.
Step #5 Create a foolproof water system.
Ducks are messy; I believe I might have mentioned this before. 🙂 They are even messier when they drink.
I think they love water so much and can’t help but splash whenever they drink. To help keep spills to a minimum, I create an enclosed container for the water. This way, when they shake their heads and flap their bills, the water stays somewhat contained.
DIY Duck Waterer
- Cut a hole in a cleaned-out milk jug or another plastic container.
- Keep it straight at the bottom and rounded at the top.
- Remove any sharp edges.
- Ensure it’s low enough so the ducks can reach the water yet high enough that the water does not spill out easily.
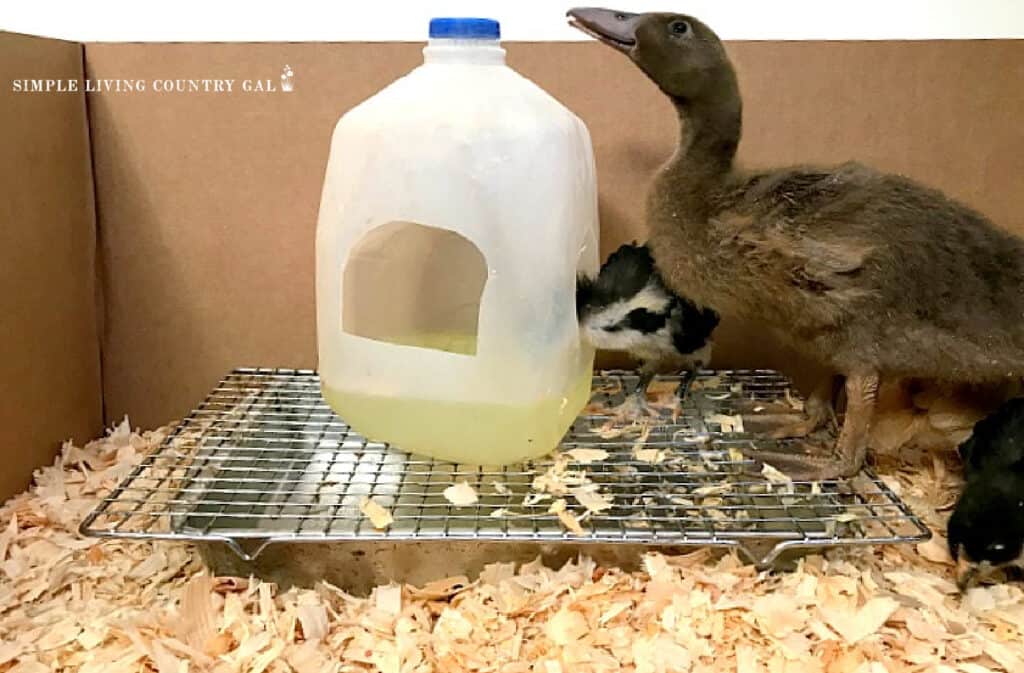
SLCG PRO TIP: As your ducklings grow, you will need to raise up the hole in your DIY waterer as well.
You will also want to put a few cleaned rocks inside the jug again to keep the ducks from splashing too much. This also keeps the water container from being spilled or knocked over.
Step #6 Add the food.
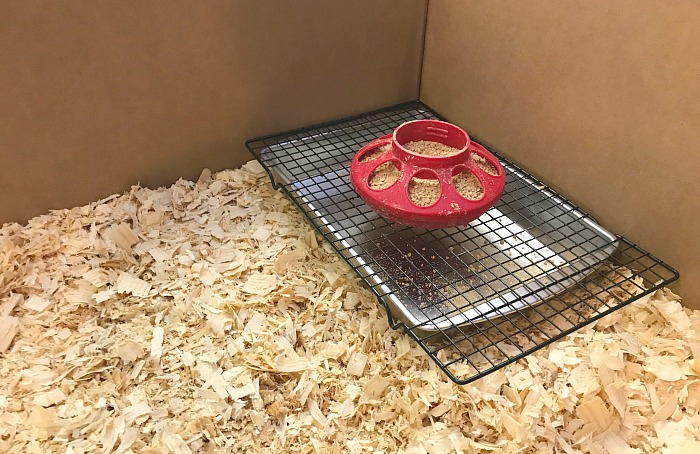
I am sure there are homemade ways to feed your ducks, but I love the plastic chick feeders the best. They are neat, easy to clean, and very durable. At just a few dollars, they will last for years and work for both ducklings and chicks.
Fill up your container and place it on the tray next to the water if there is enough room. If not, you will want to find a small wood block to put the feeder on. This holds the food up a bit to keep any soiled bedding out.
Step #7 Heat things up.
Disclaimer: Heat lamps are a fire hazard so make sure you purchase one with a guard like the one shown. Also, use every precaution to ensure your lamp will not come in contact with paper or the ducklings themselves. These lamps are HOT and will do damage quite quickly. Make sure the clamp is secured in a way that it cannot be jiggled loose.
This step is important and one where you will want to take your time. The goal is to create a warm home for your young ducklings while they learn to adjust to your temperatures. A good rule of thumb is 90 degrees to start for very young ducklings, and you can decrease it every few days as they learn to adapt.
The best way to do this is with a heat lamp, but I cannot stress this enough.
Heat lamps are dangerous and, if not set up correctly, can start a fire quickly. Make sure to use all precautions when setting yours up, and ensure you have things secured before walking away. I purchase lamps with both a faceguard and a sturdy clamp.
BONGBADA 2 Pack Heat Lamp Bulb R95 125 Watt Red Infrared Glass Lamp Bulb for Food Service, Brooder Bulb, Chicks, Pet, Bathroom, Light Therapy, Reptiles and Amphibian


Both features allow me to secure the lamp so there is no risk of it being knocked down or falling inside the brooder. I also like to go one step further and put a wire rack over the brooder box to “stop” the lamp if it should fall.
Why do you need a lamp?
Ducklings and chicks must be warm since they are not with their mother. The lamp will give sufficient heat even on the coldest days.
SLCG PRO TIP: Use a thermometer to register the heat in your brooder. Try to get close to 90 F the first week, then adjust it by 5 degrees each week until the temperature matches the outside temp. This will help your ducklings adjust slowly to the normal temp.
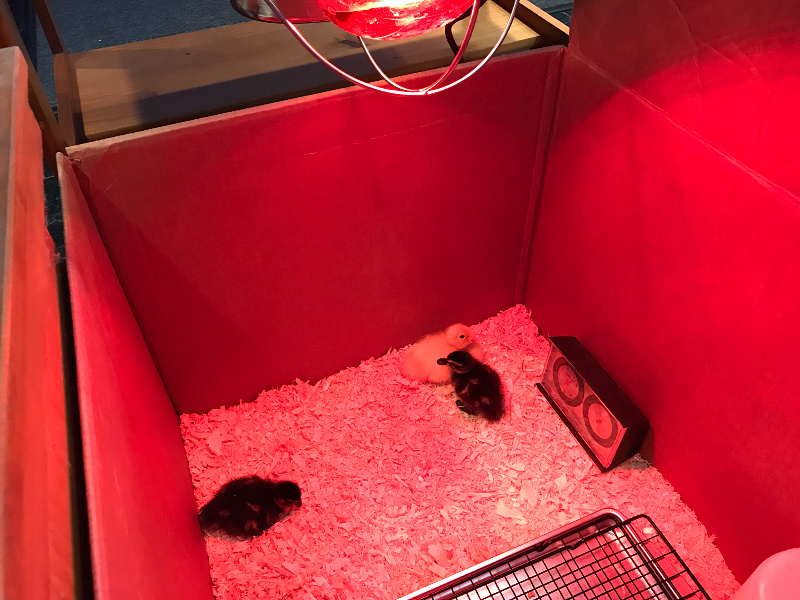
If you see your ducklings huddled directly under the heat lamp, then you know the brooder box may be too cold, and you will want to adjust things accordingly. If you see your ducklings far away from the heat lamp, then the brooder box may be too warm, and again you will want to adjust the lamp. If your ducklings are scattered like in the picture above, you know you have the perfect temperature for your duck’s home.
Step #8 Add your ducklings to your DIY brooder!
Now for the fun part. Once your brooder box is ready, you can add your ducks one at a time to their new home. You will want to keep an eye on them to be sure they are adjusting well to their surroundings.
A few additional things to watch out for are:
- Make sure the brooder is safe. Ducklings will quickly find the holes in your system. If you see an area that needs fixing, you can do it right away before any of your ducklings get hurt.
- Food and Water. Watch to see that all your baby ducks can easily find and use the feeder and waterer. If they are not, then try dipping their bill into the water to let them know where it is if one duckling is finding the food and water, that is usually enough for the rest to find it as well.
- Health. You can watch each duckling for any health issues. This is a good habit to get into during food and water changes. Watch how they walk, eat, drink, and interact. If you see anyone with a problem, you can deal with it before it gets out of hand.
If you find you have a duckling that is acting off or walking differently, you can read HERE for tips. Know what to look for and what you can do to help before things go too far.
Ducklings are a joy to have on any homestead.
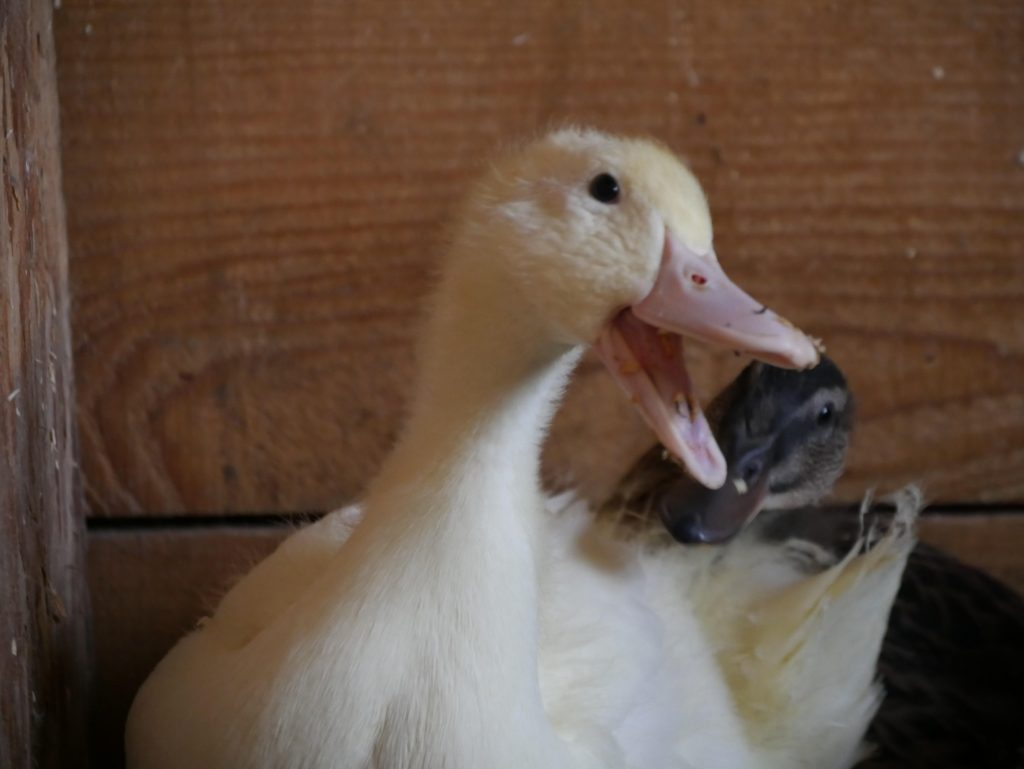
Their quirky antics and personalities give a spark of fun you will enjoy every day. They are low maintenance, lay HUGE eggs, and help protect the coop with their warning calls. I encourage you to add a few to your home this season.
Have you tried this DIY brooder box for ducklings? If so, leave a comment below on how it worked for you. I would love to hear!




Very informative. Thank you. Do the ducks like to eat strawberries too?
Yes, ducks love strawberries but my ducks love blueberries a bit more. 🙂
I love this idea, but I do have a question. I thought even young ducklings needed water they could “play” in. Not enough they could swim but just enough to wade, dip their head/bills in. Is this jug method enough for that? Or at least enough to satisfy all the ducklings needs?
Hello, Heidi!
I use a chick waterer if I only have chicks in my brooder. They do not play in it but they do drink it. A roost is a better addition to a chick brooder as that is something they do enjoy playing on.
Tracy Luynn
They need water deep enough to be able to dip their entire bill in order to clear their nares. Ducklings that do not have an actual duck mama to supervise swims, need a human supervisor for swims.
Yes, that is correct, and a great point to add to the above article. We are very cautious to only provide water that is deep enough for their bills but not deep enough for them to get hurt.
Believe it or not but my ducks loves cranberries, pumpkin and their absolute favorite is watermelon.
I love to watch ducks eat watermelon, quite possibly the funniest thing ever!
Thank you so much for these tips. I just read through them thoroughly and can’t wait to add some babies to our fam. This will be a first so I’m hoping all goes well. Going to get supplies listed this afternoon.
yay, Allison…good luck!
Thank you for all of your help. Great ideas. I am just setting up an area for my baby ducks that are arriving later this week.
I purchased a large 40-gallon rubber water tank for my duckling brooder and it was the best decision ever. I use the water and food set up that you have and place a small puppy pad underneath for easy cleanup in case of messy bills and spills. Pine pellets on the side with the heat lamp and we are golden! I empty the water pan and replace the puppy pad daily and the pine pellets once a week. No smell and happy ducklings!
Oh I just love this! Great idea!
I also saw someone use a big rubbermaid containers instead of a box. How many weeks did it last you until the ducklings grew out of it? Or, were you able to keep them in it until they were ready for the outside?
Oh, Ducklings grow up quickly! I was able to keep them in that box for just a few short weeks until I needed to move them outside. The higher the sides, the longer you can keep them in the temporary box. Remember before moving them outside, be sure the temperatures are safe for them to adapt to.
Good Luck!
Tracy Lynn
My ducks will only eat horse feed. Its crazy but they love it. My female duck Sunflower has just laid her first two eggs and they are doing great. 26 days left until they are supposed to hatch!
Oh how fun, baby ducklings are just the cutest!
My duckling is eating too fast and not drinking enough water to where the chick feed is getting stuck and she is throwing up. I am trying to feed her a little at time to make sure she doesn’t get like that again bc when her neck gets swollen it scares me and I rub it downwards like I read but it seems like she is starving and I feel like she is eating a good amount but now I have to portion it so the food can digest properly and I am scared that I am doing it all wrong. Could I please get some insight. I am really worried about Ollie and I don’t want to do anything to harm her.
Hello, Nicole!
I am sorry that Ollie is having problems eating. What type of feed are you giving her? Is it pellets? If not you may want to feed her separately and give her a different form of feed to help.
Tracy Lynn
Thank you for these tips. I’m expecting my 4 Khaki Campbells any day now and you helped me with my brooder set-up immensely!
Great, Cheryl. I am glad you found it helpful…good luck!
Tracy Lynn
Ducks definitely make a bigger mess than chicks… great tips for keeping their brooder box tidy! I saw you on the Homestead Hop!
Oh yes, they sure do!
Thank you, this is very helpful. I am getting 4 Indian Runner Ducks tomorrow.
How fun!
It’s been a very hot summer here in NC, pretty consistently in the 80s, with nights beìng no lower than low 70s (past couple days nights have been around 75). I have a closed in porch that stays hotter than it is outside with no air conditioning or open windows. I plan on getting a thermometer to accurately know the temperature, do I still need to put my heating lamp up? I have the clamping lamp style with the red bulb but I’m worried it would be too much
No, you do not need a heat lamp if the temperature is 90 degrees. The one year we got chicks in the summer and only used a lamp the first few days. Start temps at 90degrees and decrease it by 5 degrees after a week each day until it matches the temps outdoors.