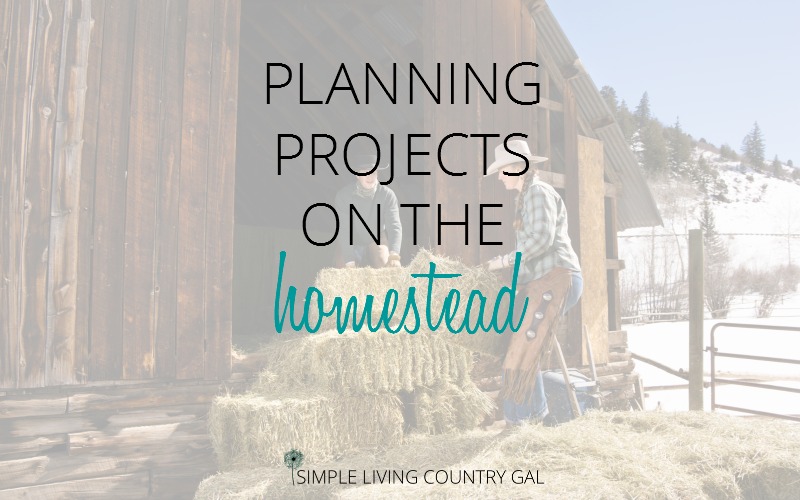
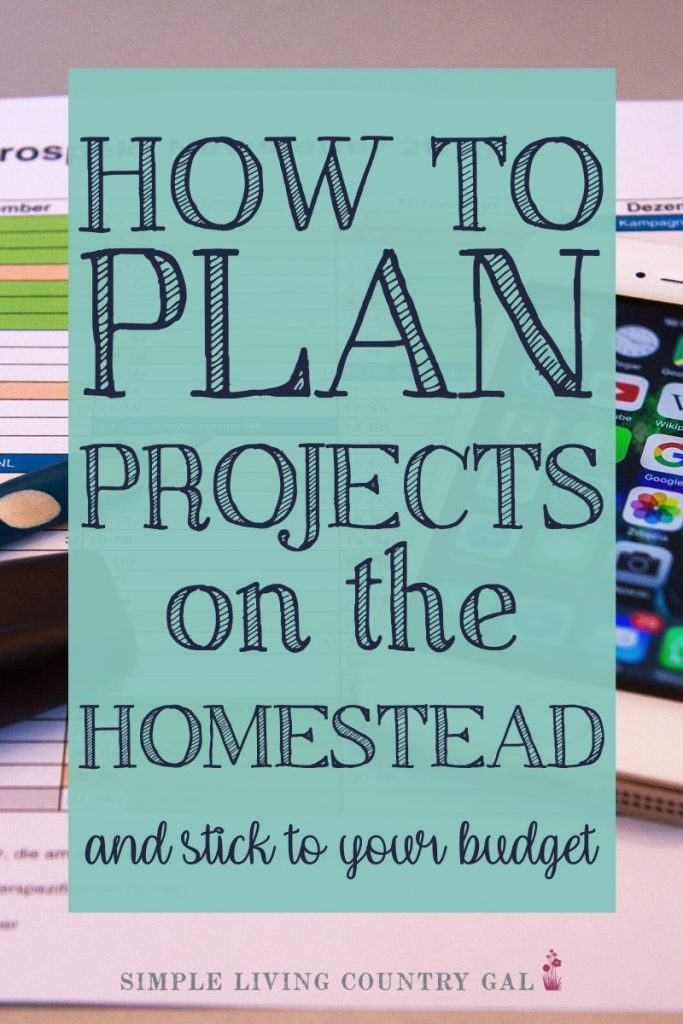
Planning Projects On The Homestead
Get tips that will help you succeed with planning projects on the homestead. How to stay on budget, set a timeline that works, and finally get everything done on your wish list this year.
Some of the best homesteading tips I learned over the years have to do with planning and I know they will help you grow your homestead going forward.

If there is one thing I have learned about having a homestead is you need a plan at all times.
I used to fly by the seat of my pants, but I soon learned while that may be okay for running a household, it did not work so much with a homestead.
Let’s face it, being self sufficient requires work. Things like growing and preserving your own food come with a list of chores and updates that need to be done.
With so much to do, having a routine for planning projects can help you to relax, knowing everything is getting done on time and within budget.
Seasonal Homesteading Projects
Homesteaders thrive on routines and each season brings with it a list of tasks that need our attention.
- Spring – Gardens, livestock birthings, winter cleanup
- Summer – Gardens, livestock care, produce harvesting
- Fall – Canning, livestock breeding, outbuilding prep for winter
- Winter – Indoor projects, cold animal care, planning
Having a schedule throughout the year will help you to put your attention where it is needed most allowing you to be more efficient with your time.
Homesteaders Need More Than a To-Do List
Homesteaders need more than a simple to-do list, they also need a budget and a timeline. Knowing the cost well in advance will allow you to save up the funds to pay for tools and help if needed.
Another helpful tip is to have a schedule of what projects will happen in which month. This will help you to budget your time so you have enough to see a project to completion.
I am sure, that just like me, money and time are two things you do not have a lot of.
By having a schedule of all the projects for the next 6-12 months, you will be able to financially prepare for those big, costly jobs without relying on credit or dipping into your savings account.
Finding the Time
Time can be a bit more tricky to find, but if you know in advance a big project is coming up, you can adjust your daily schedule to make room for any project.
Another plus is if you need outside help for a large project you will have time to call and ask your neighbors and family to lend a hand.
If you have read any of my productivity articles then you know how I like to break things down into steps.
If not take a minute to jump over and read: Get More done Everyday Productivity Hacks. This article will give you some basic yet powerful ways to get more done in less time.
The overall goal is this. Take an overwhelming project and break it down into steps so you can eliminate the stress that these projects tend to bring.
Breaking things down and having a schedule are the keys to productivity on the homestead.

How to Make a Project Schedule
To create an efficient and effective project plan, you will need to do these three steps.
- Make an initial list of 10-12 projects to work on in the upcoming year.
- Scatter those projects out over the next 12 months. This will give you a full month to work on each project listed out.
- Revisit this schedule quarterly, every 3 months, to make any necessary time or money adjustments.
Starting out this way every time, gives a great starting point for homesteading finances.
Here’s why: knowing right away that a certain amount is needed for each month’s list of projects gives all the information necessary to create a financial game plan you can follow throughout the year.
Not sure you are ready for a full homestead yet? Get 15 unique ways to homestead anywhere so you can add a bit of self-sufficiency to your life and try this amazing lifestyle out for yourself!
How to Plan Projects on the Homestead
I have broken things down into 12 easy steps that will help you to create a plan for the upcoming year.
I made each step easy so you can go through them quickly getting you on the fast track to project planning.
By the end, you will have an actionable list that you can use as a tool throughout the entire year.
Step #1. Set aside the time as a couple
Trust me on this, scheduling out planning time is important.
You want to make sure you are both there and completely present mentally and physically. No distractions. No temptations of work looming over your heads.
Pick a day that is less busy than others so you are not frustrated by tasks that are not getting done at the time.
Hubby and I plan on at least 1/2 a day with a nice meal after as our reward. This ensures we are both there 100% without any outside distractions pulling our thoughts away.
I know, coming up with an afternoon just to plan out projects together seems like a lot of time wasted, but it will be worth it in the end.
Spending time now will save you hours later, as well as money. Look at is an investment in the future of your homestead.
Another tip is to clear the house out. If you have little ones, make sure you have something for them to do. By keeping them occupied, you can put all of your attention into planning.

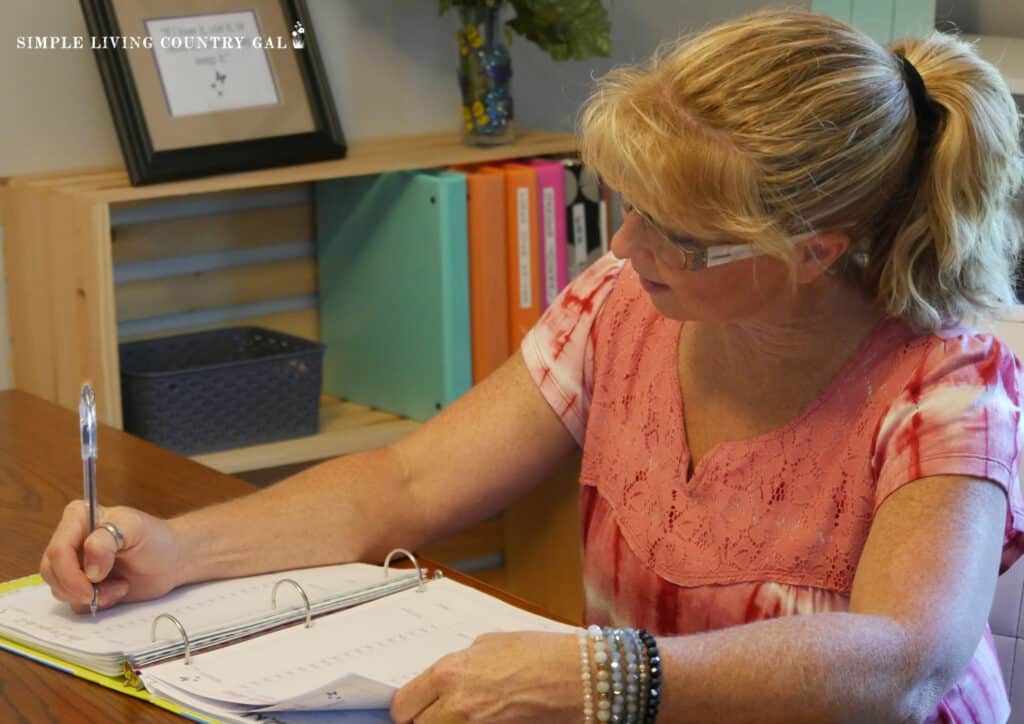
Step #2. Gather your supplies
You will need a couple of tablets, pens, pencils, highlighters, your calendar, your budget, and plenty of coffee (or beer if that’s your thing).
Get your Planning Supply list here:
Pentel® EnerGel™ RTX Retractable Liquid Gel Pens, Medium Point, 0.7 mm, Assorted Colors, Pack Of 12 Pens TOPS Docket Gold Writing Pads, 8-1/2SHARPIE 25162PP Accent Tank-Style Highlighter, Fluorescent Yellow, 2-PackAT-A-GLANCE 2024 Wall & Desk Calendar, 8-1/2Mr. Pen- Lined Sticky Notes 3×3, 6 Pads, 45 Sheet/Pads, Pastel Colors, Sticky Notes with Lines, Sticky Note Pads, Sticky Pads, Sticky Notes Lined, Colorful Sticky Notes, Mr Pen Sticky NotesCasio HR-10RC, Mini-Desktop Printing Calculator (New Version of The HR-8TM)


Get everything you need ready to go before you begin so your attention is not pulled away.
I have learned that even a quick trip to the kitchen to get a pen can end up in a 15-minute sidetrack that will derail your entire planning project.
Another tip is to find a place where you can spread out.
A good example is the kitchen table or maybe a desk in your home office. This can be helpful especially if you are a visual person like I am.

Step #3. Do a brain dump
We love brain dumping because getting everything out of our heads and onto paper is incredibly therapeutic.
When doing a brain dump, it is important to remember that the sky is the limit and no project is too small or too crazy big at this stage.
What is a brain dump?
A brain dump is when you write down all the things taking up space in your head. Take all those ideas for your homestead and dump it out onto a piece of paper where you both can read each idea.
The key here is to write it all down. All of it, even if you have a project that is more of a dream than an actual goal.
Brain dumping is meant to get all your ideas, improvements, repairs, expansions, everything down onto paper where you can both see it.
Call this your Homesteading Bucket List, and I want you to go crazy!
Each of you should take a tablet and pen and write. Don’t worry about repeats or any ideas you fear may be out of reach.
Right now, all you want to do is give each project a voice on paper. This will help you better decide which ones will go on this year’s schedule and which will not.
Don’t worry about the time needed for a project, the money, or even manpower at this point. You will weed things out later on.
Step #4. Pick and choose
Once you have made your lists, take turns reading your projects out loud. Cross off any duplicates as you find, and move over any projects you both immediately agree on to your project list.
This step, may take longer than the others and that’s okay. Having a realistic plan is going to help you both be more successful in the upcoming months.
If you find yourselves getting stuck, use these questions to help make more realistic decisions.
- Which projects are just not doable at this time?
- Which projects are dreams that you can work for in the future?
- Which projects are essential and need to be completed right away?
- Which projects are big and may need extra help called in to complete?
- Which projects are quick and can be done without much effort?
As you go through your list, you can begin to eliminate anything you will not be able to get to this year.
Either because of the time you have available or the money you have to spend. Remember, work to create a list that is realistic.
This means you may need to make some hard choices before you move on. Work together to narrow down a list that you are both happy with.
Step #5. Pick a month
Once you have a list you both (hopefully) agree on, it’s time to schedule things out. This one tip was a game changer for us because it allowed us to focus on one month at a time and work to complete projects in that time span.
How it Works:
Take the list you made in step #4 and assign a month to each project.
This is the step that will help to turn this game plan into a helpful tool that will keep you on track getting more done than you ever thought possible.
We like to plan a project for each month. This is a great starting point if this is your first time doing long-term planning. This also means you will realistically be able to do 10-12 projects in a year.

If you have more than 12 projects on your “must do” list, you will need to decide on the most important ones and book those first.
Another point to remember is some projects on your list will have specific months where they must be completed while others may be a bit more flexible.
A few examples are:
- Spring – Add in a strawberry patch.
- Summer – Building a drainage system for a dryer pasture.
- Fall – Winterize the chicken coop.
- Winter – Start a hydroponic indoor garden.
To be sure you have projects where they make the most sense, you will want to book your seasonal projects first. Other projects that are not time sensitive or seasonal can be added in after.
Once every project is assigned to a month, stop and take a look at your schedule.
Check to see that you have things spanned out evenly and you don’t have too much scheduled for a particular month. Remember, your goal is to reduce unnecessary stress, not create it.
By keeping your months consistent with your planning projects throughout the year, you will avoid homesteading burnout.
Step #6. plan each month
If you are anything like me, you need that visual aspect of your schedule in order to ensure projects get completed as planned.
Use our FREE Homestead Project Planner page, (grab your copy below) to help you organize your projects.
How it Works:
- Print out a page for each month you are planning for.
- Write the month at the top of the page along with the year.
- List out each project you hope to complete in that month.
- Be sure to note any supplies needed. (You will do the cost part later.)
- Use the notes area for additional thoughts or things to remember.
Once you have this done, take a look at your main list and transfer each project to the monthly sheet that you have assigned it to.
When finished, spread out all the planner pages and look at each month’s project list as a whole. You should be able to easily see if a month is over-scheduled, is just right, or has very little on it.
When you can see the heavy and light months all spread out in front of you, it allows you to more easily move things around a bit helping you to balance the year out more evenly.
Are you beginning to see the beauty of this system yet?? Pretty amazing isn’t it? Well, wait…it’s going to get even better!
Step #7. Check your calendar
Next, you will want to cross-check things with your calendar.
The purpose of this step is to consider what months are routinely busy or tend to be stressful on your homestead so you can ensure your new project list is a tool and not a frustration.
Pay attention to busy months that you routinely have throughout the year and adjust your projects accordingly.
For most homesteaders, planting season is usually in the spring months. This means that a large project may do better after that time or before, if the weather permits.
You will also want to be aware of unique, or one-time events, that you already have planned.
If you have kids leaving for college in August, for example, you may want to takcle that new barn addition while they are still here and can lend a hand.

Step #8. What’s this going to cost us?
When you have your months completed and you finalized each list, it’s time to move on to the money.
This is the part that I am most excited to share with you because it will turn this list into a full plan that you can follow along with.
How it Works:
Go through each month and look at one project at a time. Write down an estimated cost of what you will need money-wise to complete it.
Be sure to take consider any materials you have on hand that you can use to save on money. We are homesteaders, after all, and that means spending money on supplies is only used as a last resort.
Scrap wood works great to build a chicken roost or old tires will work perfectly for a climbing gym for your goats. Do a visual inventory of what you have and see if you can use anything for an upcoming project you have scheduled.
More DIY Resources:
Step #9. Tally up your totals
Once you have assigned a cost to each homestead planning project, do a tally and write the total amount needed next to the project.
This amount is your goal money to have saved up before the start of that month.
Depending on how you budget your home finances, you may want a monthly number, a quarterly number, or an annual number.
Whichever you choose, write that number down and set it in stone. From this point on, no changes (financially at least) can be made so make sure you are both in agreement before finalizing and moving on.
What does “no changes” mean? It means that no additional projects can be added to the list as it will not only upset your annual schedule, but your budget as well.
When you are committed as a couple, you will find any decisions in the future are much easier to make when you are both on the same page starting out.
Step #10. Adjust your household budget
Next you need to ensure you can handle this new project budget.
How it works:
- Take those monthly cost numbers from step #8 and transfer them to your household budget.
- If you do not have a homestead savings account, then you will need to make adjustments in your budget, so you can put money aside for your upcoming projects.
- Find places you can cut or reduce your expenses so you are better able to save the money you need. The whole point of this system is to keep projects from becoming debt makers.
Saving doesn’t have to be hard. Learn more Ninja Tips for Saving Money and grab those extra dollars.
Money Options
- Spend $50 less each month on groceries.
- Do an odd job or two to make the extra money needed for a larger project.
- Sell a few of your homesteading products at the local farmers’ market or auction house.
- Declutter a few items in your home and sell them online.
- Trade services with a fellow homesteader for extra help on a large project.
It is amazing how you can come up with a little money when you are open to thinking outside of the box.

Step #11. Post it so you don’t forget it
This may sound like a small tip but actually, it’s huge. I have a large bulletin board in our home office, and I put every month from our project planner on it.
As we complete a project, I cross it off with a highlighter.
It is very therapeutic, crossing those projects off. I highly recommend it. 🙂
SLCG PRO Tip: Leave the months up where you can always see them, even after they are completed and checked off. Seeing all you accomplish as the year progresses is a huge motivator to keep going.
Step #12. Take it one step further
Finally, at the beginning of each new month, take the monthly list of projects you have scheduled and assign them a set time to work on them in the month ahead.
How it Works:
- Start with the most important projects for that month and work your way to the least.
- Plan on time to get materials bought and/or gathered.
- If you are getting help, ensure they are aware of the date you have reserved to work on things.
By preparing each month this way you will know exactly what is happening when and there will be no panic or surprises throwing you off track.
What if projects don’t get done?
Sometimes things happen that put a kink in your schedule, especially on a busy homestead.
If you find there are any projects that did not get completed then you can either move them to another month or, if possible, save them for the following year.
By having a system for planning projects on the homestead you will be surprised at all you can accomplish.
Hubby and I have been doing this system for many years now and we are so amazed by the results that we now do the same for our in-home projects as well.
No more running around without a plan; having no idea what to do next. Things are no longer falling apart or being forgotten.
Animal care is up to date, buildings are staying in good condition, gardens are not being taken over by pests or weeds. We are back in control and the stress is just about gone.
Give this simple approach to planning projects on the homestead a try. You will be amazed at how well things work when you have a plan that is efficient and productive.
More Homesteading Resources: