Lasagna Gardening for Beginners
This guide will introduce you to lasagna gardening for beginners so you can set the foundation for a summer garden that will grow beautiful organic vegetables.
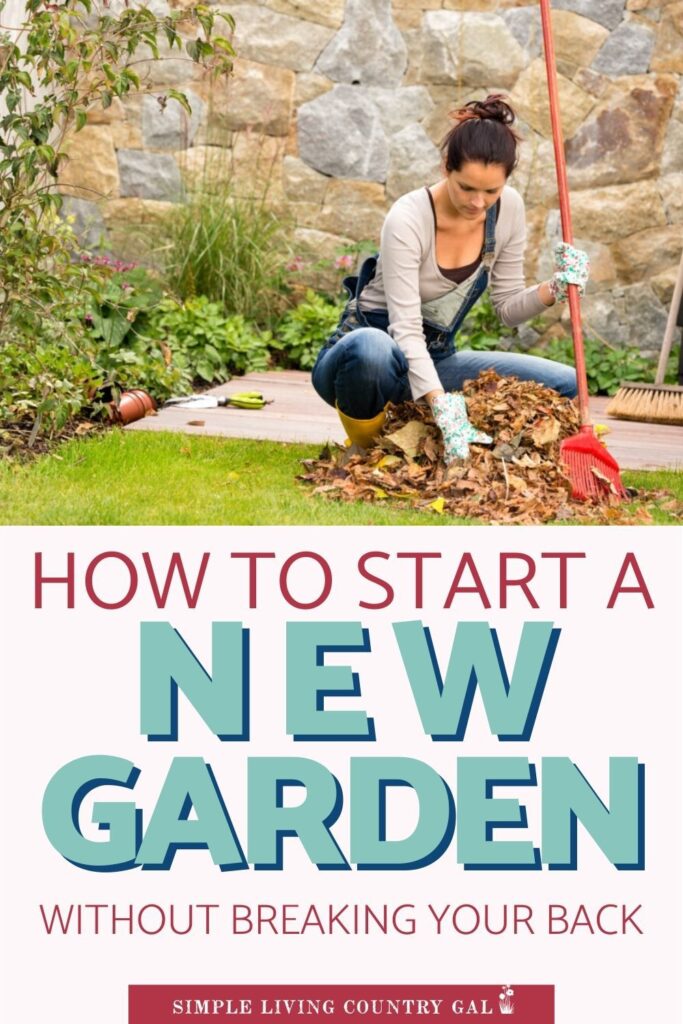
How to start a backyard garden in midlife using these easy tips for setting up your beds in fall so they are ready for spring planting.
Growing vegetables is a common summer project that many families take part in year after year.
I started my first garden decades ago and back then I was able to do the hard work it took to setup a new growing area. Now, however, things have changed and I find that my physical strength is not what it once was.
Yes, I still have my garden, but I have since learned easier ways to do things, different techniques that are gentle on my knees and back, and lasagna gardening is one of them.
Before we dive into how this type of gardening works, let’s first discuss just what it means to lasagna garden, and here’s a hint, it has nothing to do with what you grow but instead soil prep.
What is lasagna gardening?
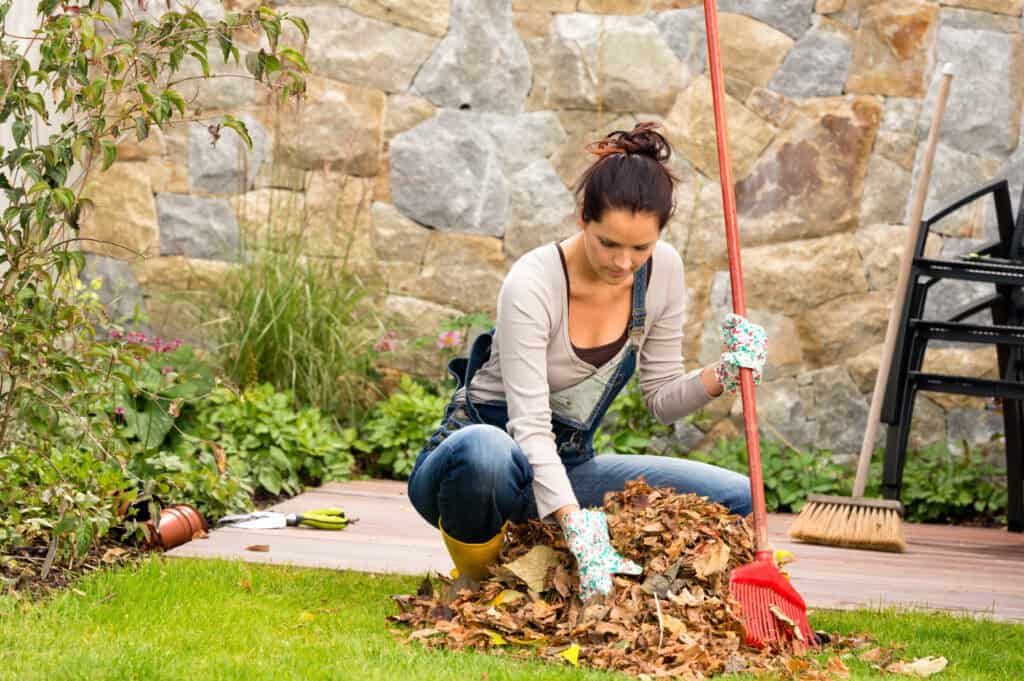
Lasagna gardening got its name from the layers. It is the process of layering different organic materials on top of the ground in the fall, allowing you to create a composted soil base for growing in the spring. The layers are started directly on the ground with no prep work needed.
This genius method eliminates having to remove hard sod and till up the ground. It is also a great way to turn your less-than-optimal soil into healthier soil.
How does lasagna gardening work?
Just like your favorite homemade lasagna, the secret lies in its layers. What you layer and the order you layer them in will determine the outcome.
By setting up the layers in the fall, they can “cook down” during the winter months giving you a nutrient-rich soil to plant in come spring.
What are the benefits of lasagna gardening?
The biggest benefit is that you will be using natural ingredients to improve the condition of your soil without having to use chemicals.
Lasagna gardening is beneficial to the environment because you’ll use yard waste, kitchen scraps, items from your recycling bin, and other natural compost to fertilize your garden.
Best of all, lasagna gardening is a no-dig, no-till method that will help you improve your garden with less physical labor. The result is rich, fluffy soil that’s perfect for planting and doesn’t require a lot of work.
Lasagna Gardening for Beginners
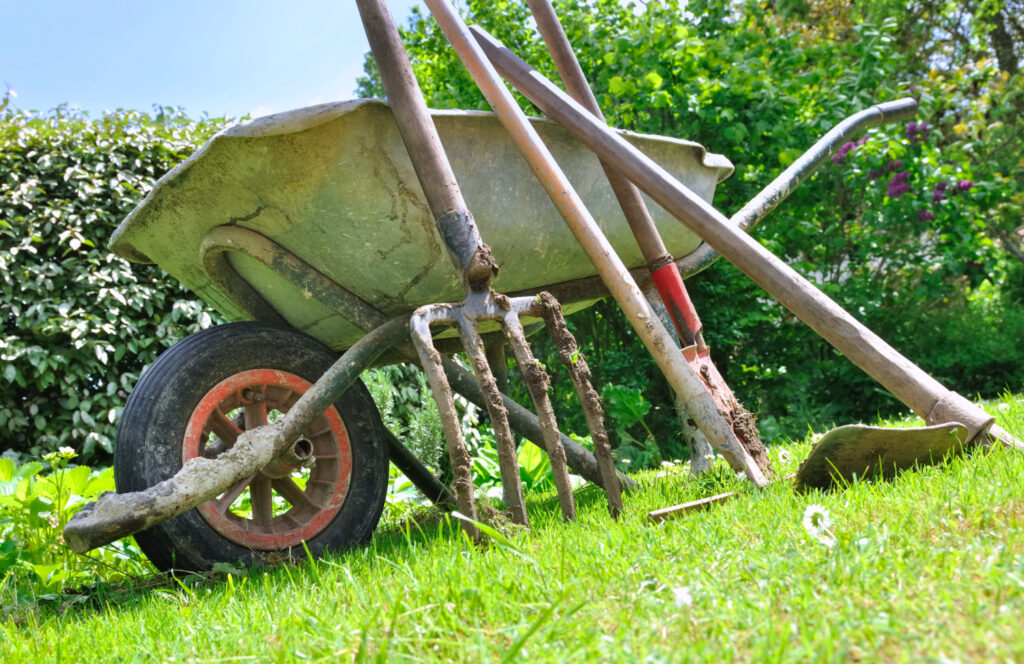
First, you will need to gather your tools, a few supplies, and what you will use as your layers.
Lasagna Gardening Tools:
Lasagna Gardening Supplies:
- Timbers or stones for creating a garden frame or a purchased, ready-made large gardening container
- Rope or twine
- Mulch
Lasagna Gardening Layer Material:
- Dried leaves
- Grass clippings
- Healthy garden trimmings
- Pine needles
- Peat moss
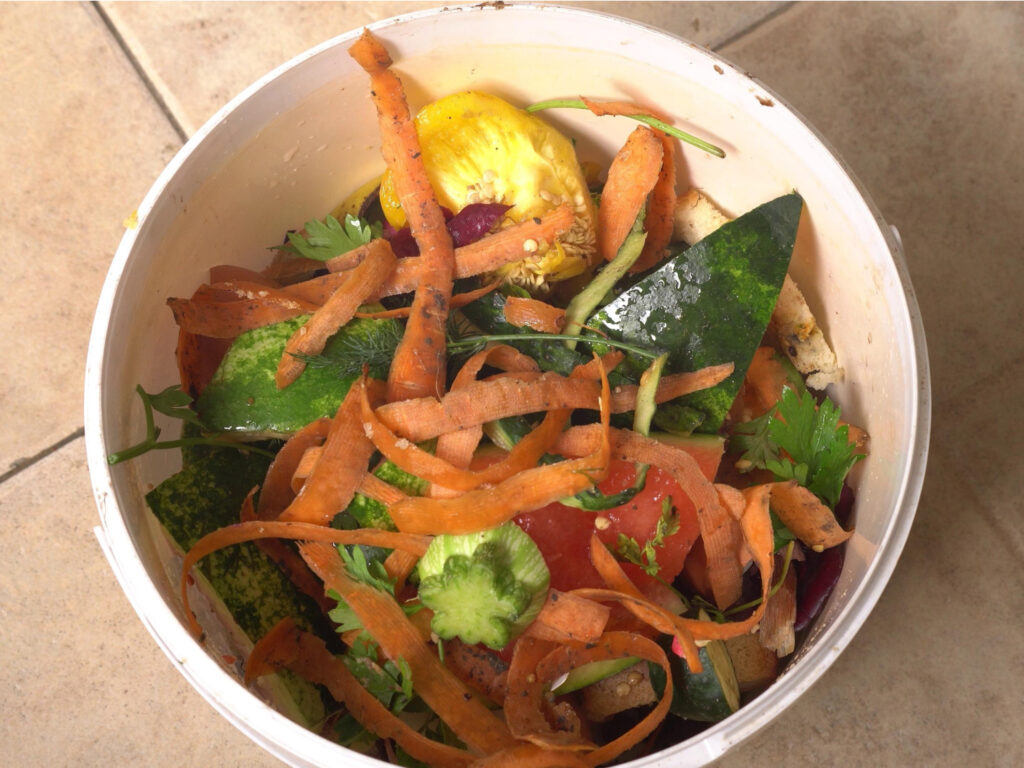
- Kitchen scraps such as fruit and vegetable scraps, coffee grounds and/or tea leaves,
- Shredded newspaper
- Pieces of cardboard.
Step #1. Choose a Location
If you already have a garden, you can skip down to step #2.
#1. Start by choosing a location in your yard that will get plenty of sunshine; once you start your garden you will most likely not want to move it so it’s important to select the right spot. Before you start creating your frame, watch your yard at various times of the day and track the number of hours certain spots get sunlight or shade.

#2. Also, look for an area where the ground is the most level. This is important for even moisture and more effective watering your plants and roots.
#3. Avoid roots and rocky areas. Your plants will need plenty of space to grow, so choose a location with few obstacles.
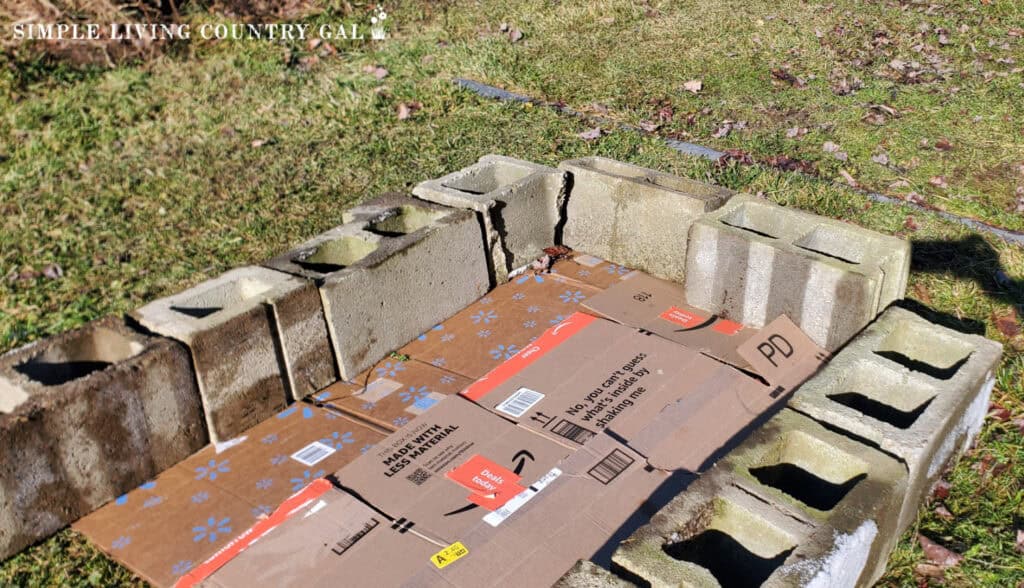
Step #2. Build the boarder
Next, you will want to decide on the dimensions for your garden and measure it out. Form an outline using rope or twine, and then create a raised bed on top of it.
This doesn’t have to be too complicated. You can stack stones, excess concrete block, or bricks on top of each other. You can also use boards or build a simple frame with excess lumber. Any hardscape that will hold the materials in place as they decompose will work.
Once you have your framework set in place, remember you will not need to turn over any grass, yard, or till up any ground. The benefit of lasagna gardening is you create your garden on top of the ground by setting up your boarder and putting the layers inside.
HIRALIY 50ft Drip Irrigation Kit Plant Watering System 8x5mm Blank Distribution Tubing DIY Automatic Irrigation Equipment Set for Garden Greenhouse Flower Bed Patio Lawn Plant Watering Devices 6 Pack Terracotta Vacation Plant Waterer Wine Bottle Watering Stakes Slow Release Plant Watering Spikes Perfect Self Watering Devices for Indoor Outdoor PlantsGREEN MOUNT Watering Wand, 16 Inches Sprayer Wand with 8 Watering Patterns for Lawn and Garden Use.Rhino CLEARMATE Collapsible Rain Barrel | 53-Gal Extra-Stable Rainwater Collection System | Portable Rain Barrels to Collect Rainwater from Gutter| Heavy-Duty Rain CatcherPocket Hose Copper Bullet Expandable Garden Hose w/10 Pattern Thumb Spray Nozzle AS-SEEN-ON-TV 25 FT 650psi 3/4 in Patented Lead-Free Ultra-Lightweight Solid Copper Anodized Aluminum Fittings No-KinkLawn Sprinkler for Yard, Garden Water Sprinklers for Lawn, Yard Sprinklers 360 Degree Rotation Auto Irrigation System for Large Area, Adjustable Lawn and Garden Sprinklers for Kids


What can you use as a boarder?
I have used many different materials for our garden beds and the good news is you can use any material that will last.
- Logs
- Wood boards – Be sure not to use treated wood.
- Fence
- Timbers
- Stones
- Bricks or cinderblocks
Next up is placing the layers and there is a specific order that you’ll need to follow.
Step #3. What to Use and Why You Need it
Layering your garden bed properly is the key to a successful lasagna garden. The layers will compost together, adding nutrients that your plants will need to thrive.
Different Layers for your Lasagna Garden
Cardboard or Newspaper – this will act as ground cover and keep weeds from creeping into your garden. Don’t worry, it will completely decompose and add to your soil.
Water-absorbing materials – this includes dried grass clippings and straw, and/or bark.
SLCG PRO TIP: Do not use hay in your garden. Hay is different than straw because it contains seeds of both grass and weeds. This means if you use hay, you will be adding in miscellaneous seeds that will then grow with your precious vegetable plants.
Always be sure to use straw since straw only contains the stems and stalks with no seeds included.
Read: The Difference Between Hay and Straw
Organic materials – this includes more grass clippings, dry leaves, pine needles, branches, mulch, kitchen scraps, and compost.
READ: HOW TO COMPOST IN YOUR BACKYARD
Step #4. Begin Layering
Start with cardboard or newspaper using it to completely cover the surface of the ground in your plotted area. Once in place, you will want to give it a good watering before adding any additional layers.

The water will keep the material stay in place with the added benefit of promoting the decomposition of the materials. It also provides a dark and moist environment that is very earthworm friendly and those worms will in turn work to help loosen the soil.
Once you have your paper in place (the 1st layer) and it’s well watered, start layering your other materials, alternating between water-absorbing materials and organic materials.
Your organic materials should be roughly twice as deep as your water-absorbing materials. Continue alternating your layers and the steps until you have a bed that’s about two feet deep. This may be a little deeper than you’d like, but be aware that it will settle down as it composts.
Step #5. Let it Cook
Now that you’ve created your lasagna garden, it’s time to let it “cook.” It will need some time to settle and compost before you can plant, and, in most cases, there’s nothing more you need to do.
The materials should stay slightly moist to encourage the decomposition, but not overly wet or they’ll rot. A little morning dew and an occasional rain with dry periods in between will be just fine. But, if you’re experiencing a drought or you’re in the dog days of summer, you may want to give a little water as needed to keep it from drying out.
The time it takes for your garden to compost is entirely dependent on the conditions.
Square Foot Garden Planner+Guide 2024 Garden PlannerHerb Garden Planner+Guide


Step #6. Planting Your Lasagna Garden
Your new garden will be ready to plant come spring, and you can plant your seeds and seedlings as you would in a traditional setup.
If you find the materials are not composted down yet, you can add a layer of soil for planting. This will give your layers more time to finish breaking down.
Step #6. Maintenance tips
Maintain your garden by adding mulch-like materials to the top of the bed. Straw, grass clippings, chopped leaves, and bark mulch are all good options. Caring for your lasagna garden is much the same as any other garden: simply weed and water as necessary.
The biggest benefit of lasagna gardening is the nutrient-rich compost soil that will give you an incredible harvest of a variety of delicious veggies.
Advantages of a Lasagna Garden
While maintaining your new garden is much the same as maintaining any other garden, lasagna gardens are a bit less labor-intensive.
Better water retention – the compost materials hold water better than regular garden soil. Better water retention means your plants get all the water they need and you don’t have to pull out the hose quite as often.
Less need for added fertilizer – your compost pile provides all the nutrients your garden needs so you don’t need to worry about adding fertilizers. And, it’s all organic.
Looser soil – the compost method creates a looser soil that’s easier to work with and easier to dig for planting. No more digging into the rocky soil.
Fewer weeds – the bottom layer of newspaper or cardboard keeps most weeds from poking through your garden.
When to Build Your Lasagna Garden
You can really build your lasagna garden at any time, but fall is really optimal. Organic materials such as grass clippings, leaves, and mulch are more readily available and your garden can sit and compost all winter long making it “just right” to plant in the spring.
Plus, the rain and snow of fall and winter will keep your garden moist, encouraging compost without much extra help from you.
If you choose to wait until spring or summer to build your garden, add more soil-like materials such as topsoil or peat so that you can plant right away. Layer the soil-like materials in between your other layers and finish the bed with 3-4 inches of compost or topsoil, allowing you to plant immediately.
The layers below the added soil will break down as your roots grow.
Maintain Your Garden Over Time
To keep your garden soil healthy from season to season, replenish it each year by adding more layers. Again, fall is a great time to do this because there is plenty of organic material available right in your yard. You can keep lighter materials, like leaves, down by piling heavier materials, like mulch and top soil, on top of them.
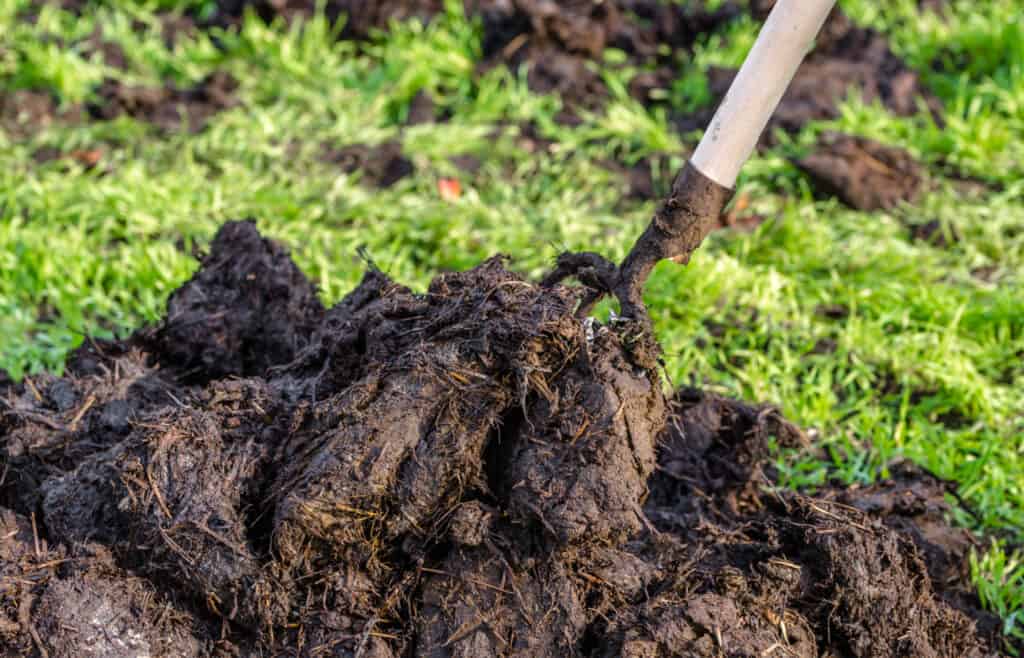
Avoid adding any materials that have weeds in them, this will only encourage weed growth in your garden. And never add animal waste to your garden as it will spread pathogens.
Pros and Cons of Lasagna Gardening
As a beginner, there are some things to be aware of when it comes to lasagna gardening. There are definitely some pros, but there are also cons.
Pros to Lasagna Gardening
1. It’s cost-effective.
The purpose of lasagna gardening is to create a garden bed out of layers of materials you most like already have available. Cardboard, newspaper, grass clippings, leaves, and kitchen scraps are all things you can find around your house and your yard. No need to purchase special materials.
2. It’s eco-friendly.
Since everything you use is recycled, it means less garbage. You’re simply recycling what would otherwise be garbage to create a nutrient-rich garden for your plants. What could be more eco-friendly?
3. It improves existing soil.
The nutrient-rich soil you create for your garden also enriches the soil in the ground underneath. You don’t have to worry about planting in an area where the soil is poor; you’ll be improving its qualities with your lasagna garden.
The end result will allow the soil to hold more water, reduce evaporation, and keep your plant’s root system cool.
4. It’s low maintenance.
Once you layer your garden, it does all the work itself to create nutrient-rich soil. You only need to let it “cook down” before you plant.
It’s no-dig, no-till gardening at its best. And the bottom layer of paper or cardboard will help to reduce weed growth so you won’t need to weed your garden as much.
5. Plant when you’re ready.
Lasagna gardening allows you to plant your garden when you’re ready, there’s no need to wait. You can either build your garden before you’re ready and let it “cook down” for a few months before planting, or add a layer of compost to the top and plant immediately. It’s a garden that’s ready to go when you are.
Cons of Lasagna Gardening
1. It can be time-consuming.
Gathering all of your materials, finding your garden spot, building a frame, and laying your layers all takes time. And, of course, if you do not add a top layer of compost, it will take time for your garden to “cook down” before it’s ready to plant.
2. Material source needs to be considered.
One year, I used dried leaves from a friend’s home and covered my entire garden with layers. Unfortunately, the leaves contained pests, and those pests quickly invaded my garden. That was a hard lesson to learn that year.
Be sure the materials you use are healthy and from a source you know and trust.
4. May invite slugs and snails
The warm, moist layers will be loved by worms, slugs, and snails. While worms will benefit your garden, slugs and snails can be harmful to it. You’ll need to be vigilant in keeping these pests out.
Organic Gardening Tips
These tips will help you maintain a healthy garden.
· Check regularly for moisture to ensure your garden is getting plenty of water without being overwatered. Cut back on watering a bit if you’re area is getting lots of rain.
· Keep an eye out for weeds and pull them right away before they have a chance to grow and sprout more weeds.
· Watch your garden for slugs, snails, beetles, and other pests that can be harmful to your plants.
· Layer your garden well for proper decomposition and nutrition. You can always replenish your garden with additional layers after harvesting your plants to prepare it for the next season.
Lasagna gardening for beginners doesn’t have to be hard or complicated; in fact, it’s probably one of the easiest ways to create your first garden. If you’re new to gardening, it requires the least amount of work with the highest return for a healthy garden.