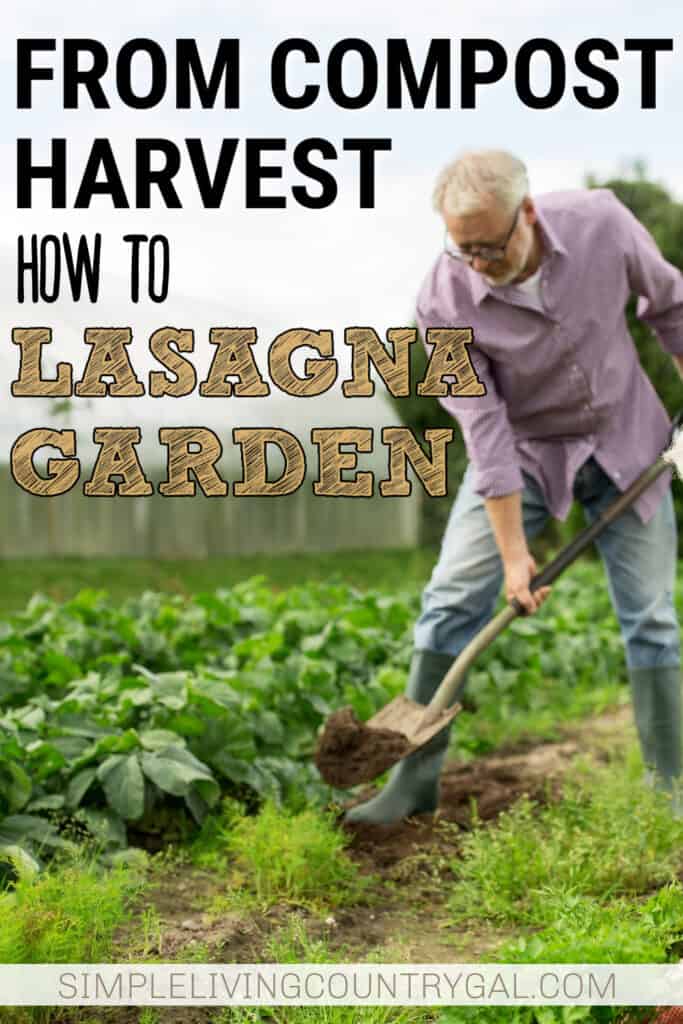
pros and cons of lasagna gardening
Learn the pros and cons of lasagna gardening so you can see if this approach is needed in your backyard setup. If you’re not sure if this gardening style is for you, this list will help with your decision-making.
These are a collection of gardening 101 tips that can help you start a new backyard garden and grow the vegetables you love more easily.
The older I get, the more my body lets me know I just can’t do the same things I once did. That includes anything that involves a shovel or a wheelbarrow. I love to grow our food, and each year, I get excited to get outdoors and start planting.
But putting seeds into the ground is never all that needs to be done. There are other things, hard things that I want to get to. Things like adding in more strawberry patches or moving our tired tomato bed to a new area with better soil.
A few years ago, I learned about a shortcut called lasagna gardening. No, you are not growing the ingredients to make lasagna.
What is lasagna gardening?
Lasagna gardening is a shortcut in a sense where you layer different materials on top of each other in a way that skips the backbreaking work of setting up a new garden bed.
The layers are like a compost bin where the things you put on top work magically to break down and decompose providing nutrients that you soon to be planting plants will thrive in.
The term “lasagna” refers to the layers that are piled on top of each other in a garden, just like the pasta, sauce, and cheese layered in the baked dish.
Lasagna gardening can be an efficient and convenient way to start a vegetable garden without a lot of the back-breaking soil preparation that is usually needed. Since there is no digging or tilling up of any sod or soil, you can skip a big step and get right to planting. And the best news is that it works better than you may think.
Can you plant immediately in a lasagna garden?
Yes and no. While lasagna gardening reduces the amount of work needed to prepare the soil, it still requires some time for the layers to decompose and become ready for planting. Depending on the materials in the layers and weather conditions, it can take anywhere from 3-12 months before you can begin planting.
This means that planning is necessary when using this method, as you may need to start the layering process months in advance before planting season begins. So, for example, you can start your lasagna garden in the fall for spring planting.
If you are impatient like I am, there is a trick you can use to allow you to plant right away. Add a good think layer of soil to the top of your lasagna garden that will give your seeds room to sprout and grow. Since most seeds take time to germinate, it will give the layers time to begin composting down into a better material for roots to grow in.
I have done this a few times, and it works quite well. I have not tried this with seedlings, however, so I don’t know how well it will work.
Pros of lasagna gardening
As with most shortcuts, there are pros and cons. let’s look at a few so you can better decide if this approach is a good option for you and your setup.
- No tilling required – This method does not require any digging or turning of soil, making it easier on the back.
- Efficient use of space – Lasagna gardening can be done in any size garden since it doesn’t require traditional rows or raised beds. You can just start to layer your materials in any area without the need for borders.
- Less weeding – The thick layers of materials help prevent most weeds from growing, reducing the need for frequent weeding.
- Minimal maintenance – Once set up, lasagna gardens require little maintenance as the layers continue to decompose and provide nutrients for plants. Remember to do a soil test each spring to be sure your beds are doing well.
- Eco-friendly – This method uses recycled materials such as newspapers, brown bags, boxes, and food scraps, making it a great way to use up what would otherwise be trash.
- Cost-effective – The other layers you can usually find in nature such as cut grass, dried leaves, small twigs, or leftover bales of straw.
Cons of lasagna gardening
While lasagna gardening does have its benefits, there are a few downsides to consider before starting.
- Initial setup time – The biggest downside to lasagna gardening is the time it takes to compost down, at least a few months. This means you will want to plan out your beds so you can do the setup early enough to let things progress naturally. I find that layering in the fall and allowing it to rest over winter is the best approach if you want to have things ready for planting in the spring.
- Collecting materials – If you decide to take this approach on the spur of the moment, you may not have the materials needed to layer appropriately. If you find yourself in this situation, you can reach out to your family or neighbors to see if they have anything you can use.
What materials can be used for lasagna gardening?
Lasagna gardening is all about using organic materials to create a nutrient-rich soil. Some commonly used materials include:
- Leaves
- Grass clippings
- Kitchen scraps, produce only
- Newspaper
- Small twigs
- Sawdust
- Soiled bedding from the barn or coop
- Cardboard
- Straw
- Manure
The key is to alternate between “brown” materials (such as dried leaves, soiled bedding, and straw) and “green” materials (such as kitchen scraps and fresh grass clippings) in layers. This provides the right balance of carbon and nitrogen for decomposition to occur.
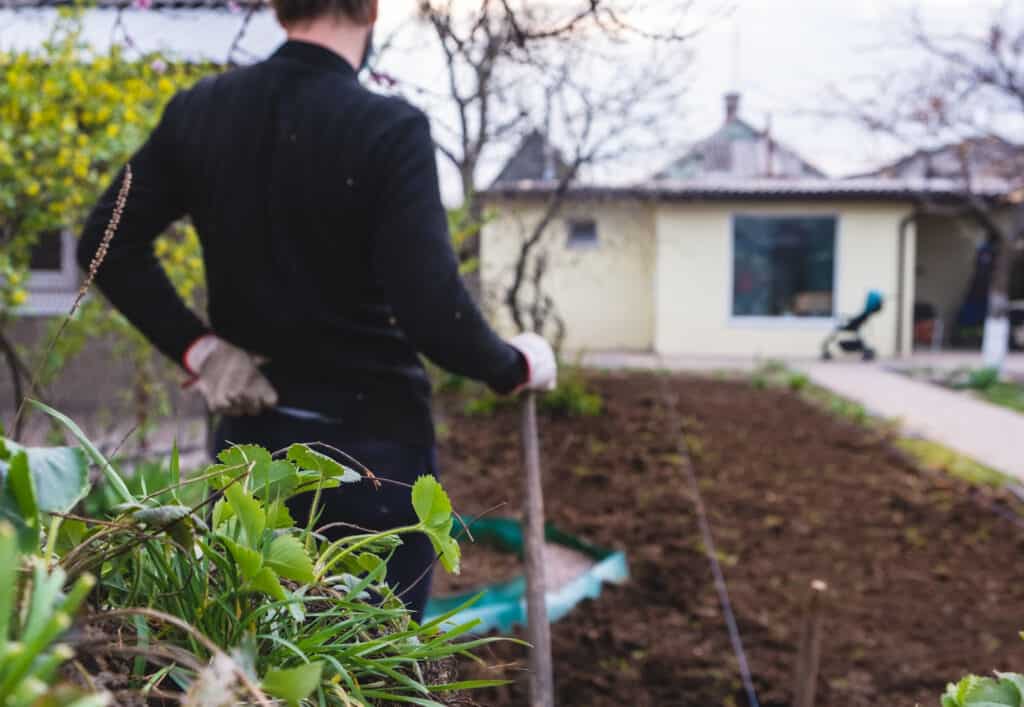
How to create a lasagna garden
Creating a lasagna garden is easy to do and can be done in any size space.
- Choose the location – As with any garden, you will want to select an area that receives at least 6-8 hours of sunlight daily and also has good drainage in the soil.
- Mark things off – You may want to use a material for a border to keep things neater.
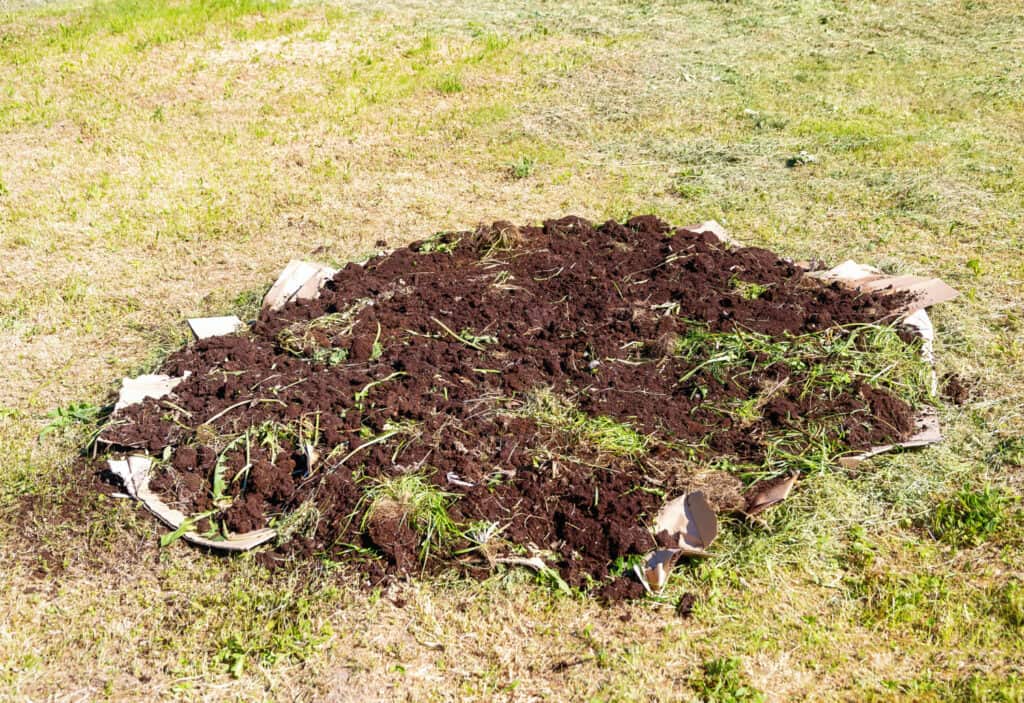
- Gather materials – Look to have enough to do 3-7 different layers. Refer to the list above when gathering up your materials.
- Prepare the soil—The only soil prep you will need to do is remove any existing plants or invasive weeds.
- Layer materials – Begin by laying down a layer of newspaper or cardboard to smother any existing vegetation. Then, alternate layers of brown (carbon-rich) and green (nitrogen-rich) materials, making sure to water each layer as you go. This will help to hold things in place without blowing away.
- Avoid thin layers – The trick is to have thicker layers that are a few inches thick.
- Let it rest – If you have time, after you add the last layer let the bed sit and work it’s magic. You can begin planting seeds or seedlings in a few months.
- Add soil and plants – Add a few inches of compost or soil on the top layer and begin planting.
While lasagna gardening may have some drawbacks, it is a great option for those looking for an easier way to grow the food they love. By following these steps, and reading the pros and cons of lasagna gardening, you can create a thriving new growing area in your backyard today.