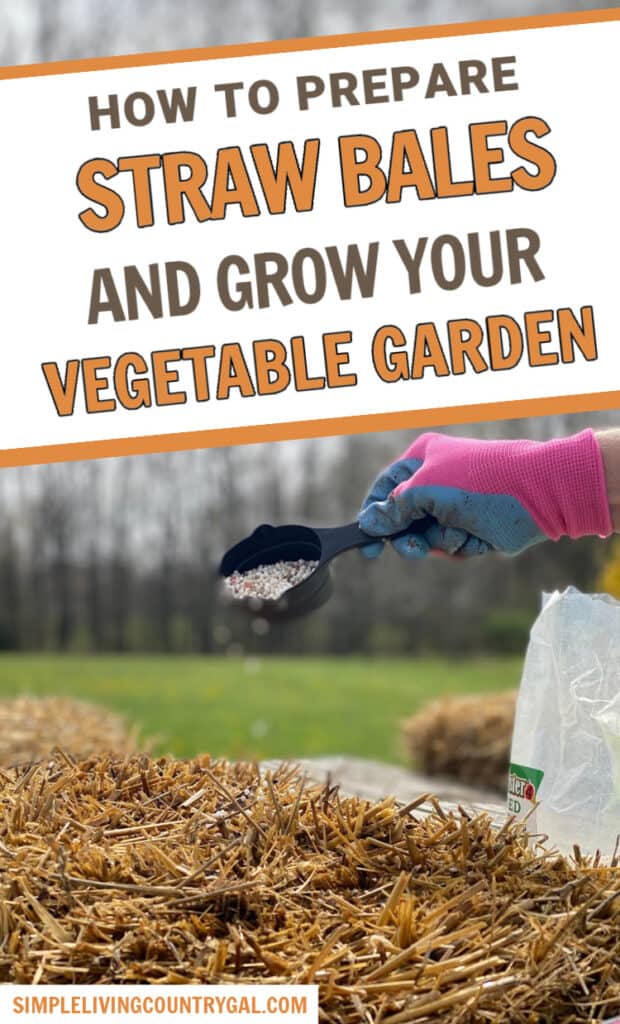
how to prepare straw bales for planting
Straw bale gardening is an easy and efficient way to start a garden in your backyard. Using straw bales as the foundation for your plants, you can grow the food you want with an easy setup and minimal upkeep.
Before you start, however, you must know how to properly prepare the bales so they are ready for planting. In this article, we will provide an easy-to-follow guide on how to prepare straw bales for gardening—so you can start growing delicious fruits and vegetables in no time. Another gardening 101 resource to add to your library!
What is Straw Bale Gardening?
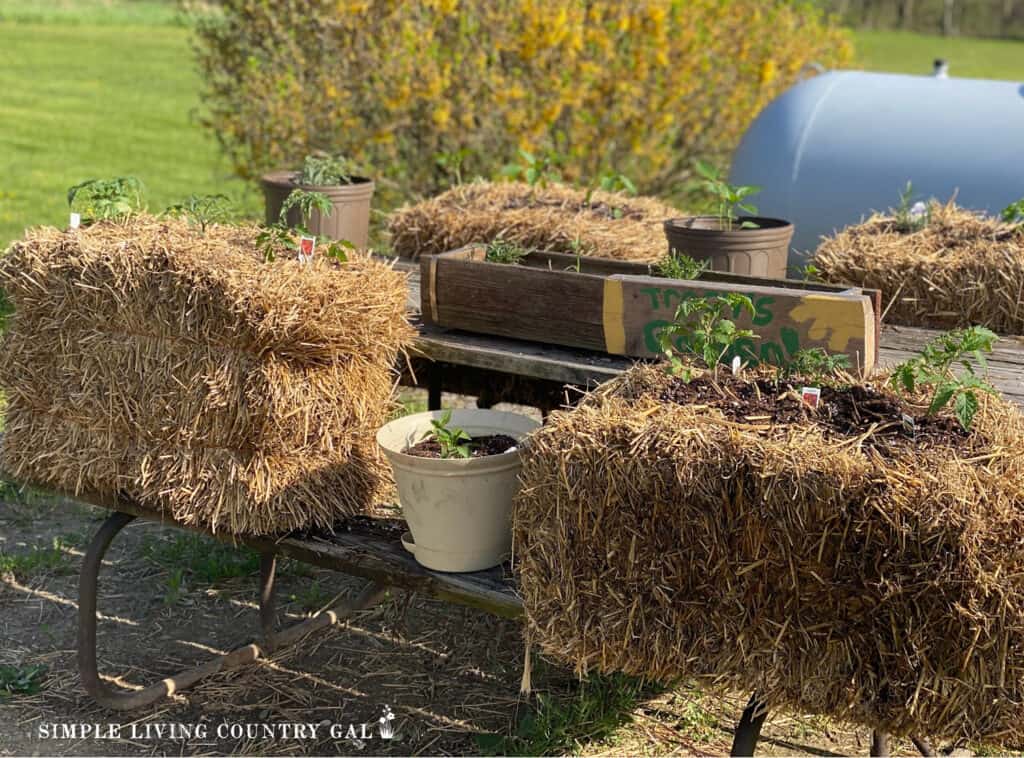
Straw Bale Gardening is a method of growing vegetables and fruits in rectangular-shaped straw bales instead of soil. The bale acts as the “container,” and once prepped, it is the perfect atmosphere for growing fruit, vegetables, flowers, and even herbs.
If you are limited in space or have physical limitations, straw bale gardening might be the perfect solution.
The Benefits of Straw Bale Gardening
• One of the biggest advantages of using this technique is that it requires fewer resources than traditional gardening, as the straw bales provide an ideal environment for plants to grow in. There is no ground to be tilled, no rocks to be removed, and little to no cleanup after the growing season is over.
• It allows for better temperature control, drainage, and nutrient levels giving a higher rate of success.
• Growing in bales drastically reduces weeds removing this often annoying chore off your summer to-do list.
• It is easier to set up than traditional backyard gardens or raised beds. Bales are easy to place as they can be tucked into tight areas allowing you to grow more.
• Gardening in bales allows you to garden even with physical limitations. You can put bales on tables reducing the strain on your knees and back.
Preparing the Straw Bales – Prework
Before we start to condition the bales, there are a few things to take care of first.
1. Find a Source: When looking for bales, try to find local sources from farmers in your area. This will help you to ensure you are getting a good quality bale.
2. Select Your Bales: Be sure to choose straw bales only, as these bales are made of stalks of the plant and do not include any seeds or other debris. Avoid hay bales because they will include seeds allowing other growth to happen along with your plants.
READ: What is the Difference Between Hay and Straw?
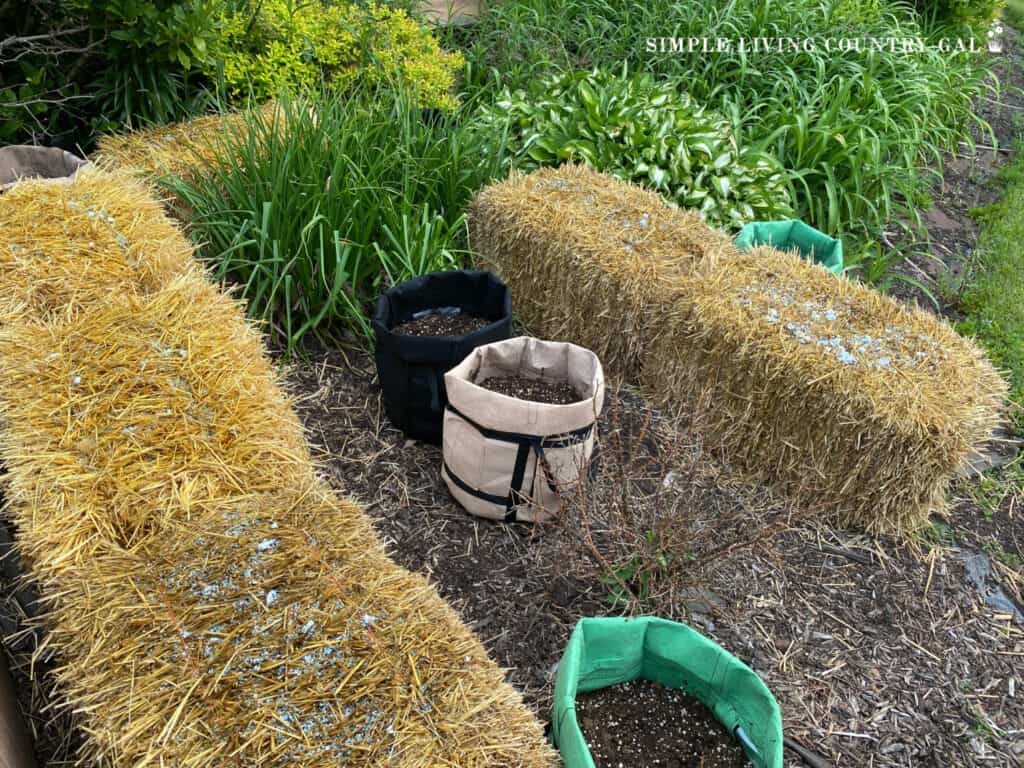
3. Place Your Bales: Arrange the bales into whatever shape you’d like, such as a square, a straight line, a U shape, or a rectangle. If you are short on space, you can place bales where you have room.
4. Secure Your Bales: Be sure the twine is secure, as it will hold the bale together throughout the growing season. If you find it is not, you can add on more twine to help hold things together.
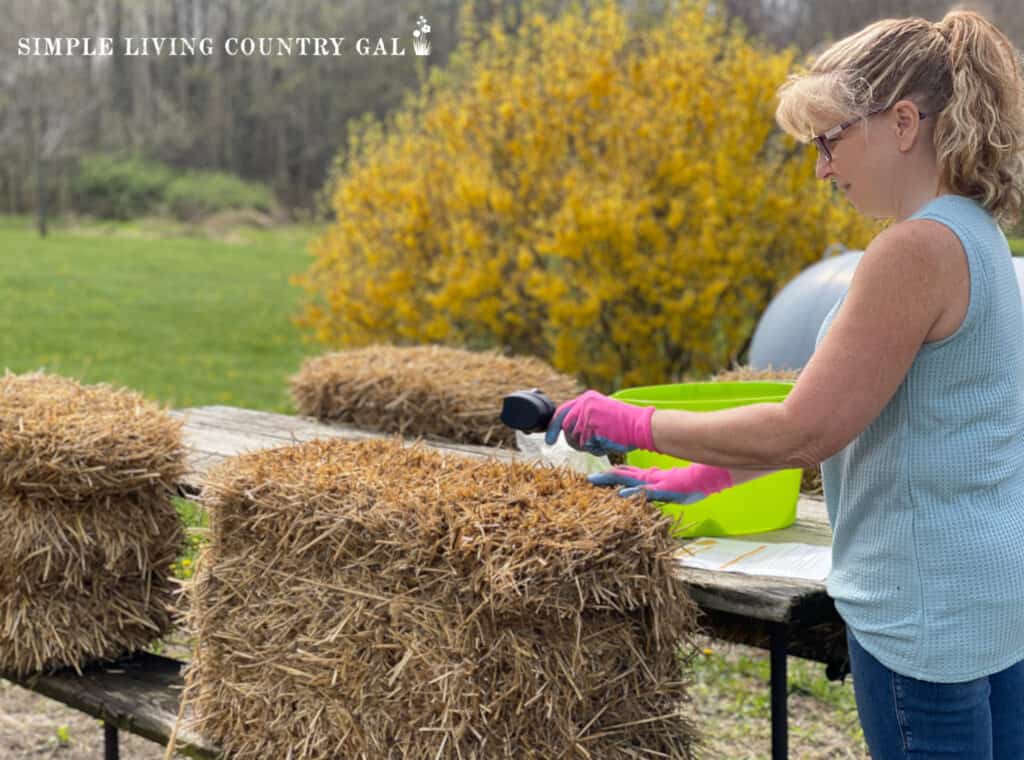
Conditioning the Straw Bales
Conditioning is the process of composting down the interior of the bale, giving an area that is perfect for growing good solid roots. Roots are the foundation of a strong, heavy, producing plant; the more you can set up an environment where roost can thrive, the better your summer harvest.
The entire conditioning process takes from 14-21 days, so be sure to have enough time for the conditioning to complete before the planting time in your area.
If you are not sure of your planting time, you can find your zone on this hardiness map.
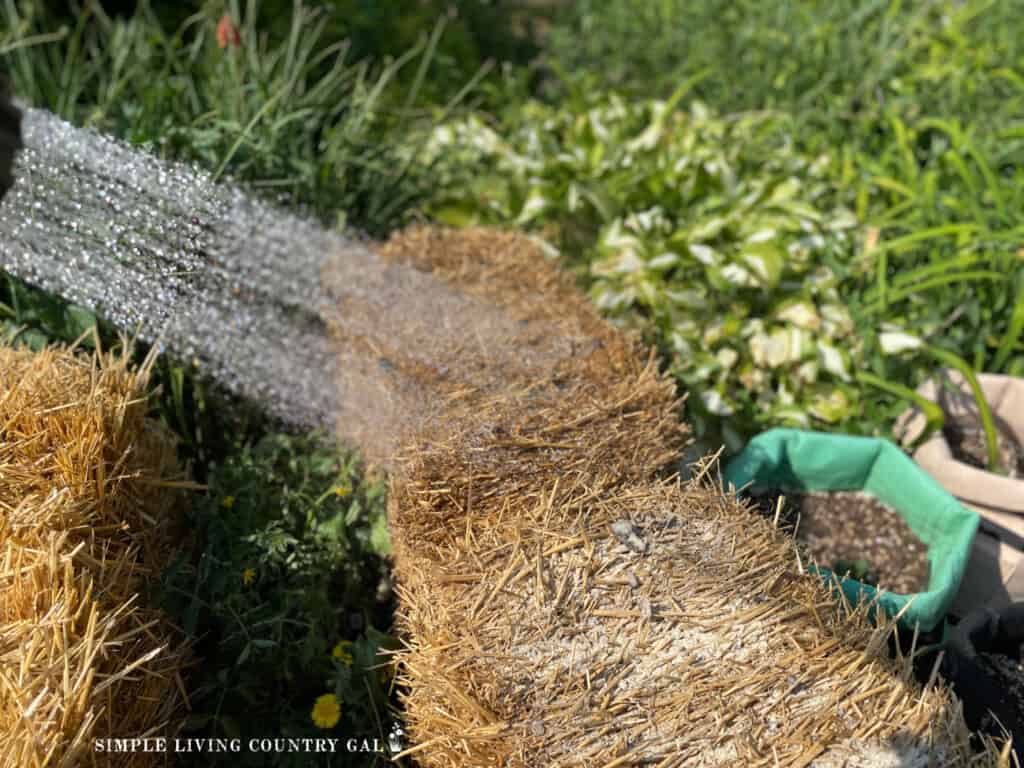
The process is simple as it consists of daily watering along with a schedule of feeding the bale using a high-nitrogen fertilizer.

Supplies needed:
- Organic Fertilizer with an NPK of 29-0-4. You can also use lawn fertilizer being sure there is no weed protectant or pesticides. The key to composting is having large amounts of Nitrogen in your fertilizer. Look for as close to 29 as you can get, if you can’t find it, lower is fine but you may need to use more or use more time to get your bales ready.
- Bone/Fish Meal
- Wood ash – mix with the Bone/Fish Meal to jump up the Potassium level.
- Compost thermometer – not necessary,, but a great way to check the internal temperatures of the bales.
STRAW BALE GARDEN CONDITIONING SCHEDULE
Follow this schedule to condition your straw bales and prepare them for planting.
- Day 1 – Sprinkle 2 cups of fertilizer over your bale and water thoroughly to push that fertilizer down into the bale.
- Day 2 – Water thoroughly.
- Day 3 – Sprinkle 2 cups of fertilizer over your bale and water thoroughly to push that fertilizer down into the bale.
- Day 4 – Water thoroughly.
- Day 5 -Sprinkle 2 cups of fertilizer over your bale and water thoroughly to push that fertilizer down into the bale.
- Day 6 – Water thoroughly.
- Days 7-13 – 1/2 cup of fertilizer each day, followed by a thorough watering to push the fertilizer down into the bale.
- Day 14 – Add 3 cups of Bone/Fish meal + wood ash.
Preparing the Soil Around the Bales
To ensure your vegetables and fruits are getting the best possible environment, you will want to add soil and other additives.
1. Compost: Compost is a great additive to use whenever you are growing. Use your own compost, or you can purchase an organic mix.
2. Fertilizer: Even though you will be using fertilizer to condition the bales, you may also need to add it routinely throughout the growing season. If possible, opt for an organic fertilizer such as a soluble plant food, worm casings,
3. Mulch: Mulch is great to add around the base of the plants as it adds protection from extreme temperatures, helps to retain moisture, and prevents weeds.
Once you’ve completed these steps, your straw bales should be ready for planting! With some work upfront, you can create a delicious backyard garden that will provide fresh produce all season long. Happy gardening!
More Straw Bale Gardening Resources: