How to Make a Lasagna Garden
This step-by-step guide on how to make a lasagna garden will help you try out this fast-start approach to growing food in your own backyard. If you are looking for a short cut, this guide is it.
How to start a backyard garden that is easier on your back, your land, and your time.

I love to garden, but starting a new growing area is hard work, especially for me. The older I get the harder it is for me to do the projects that were once easy for me.
When it comes to homesteading as a midlife woman, I am always looking for an easier way that still gets the job done effectively.
That is how I was introduced to lasagna gardening, a no-till, no-dig method that uses compostable items from nature and your home to turn grass into soil.
If you are curious about the idea of skipping over the hard work of tilling up a patch of your backyard and getting right to planting, you are going to love this shortcut approach.
What us lasagna gardening?
Lasagna gardening is using different materials layer them on top of each other as you would in a compost bin.
By alternating green and brown layers on top of the grass, you can compost everything down, grass included, until you have soil that is ready for planting. This Lasagna Gardening for Beginners guide will walk you through the process from layering to planting.
What are the Benefits of Lasagna Gardening
Before we dive in, let’s talk about why I love this type of garden and some of the advantages and benefits.
- It’s easy on your back – With lasagna gardening, there is no need for heavy tilling, removing a layer of stubborn sod, or even digging. The layers of organic material break down over time, creating a nutrient-rich soil without the hard labor.
- It saves time – You can create a lasagna garden in just a few hours, whereas traditional gardening methods can take days or even longer.
- Healthier soil—By adding organic materials to help create the soil, you are starting in the healthiest way before the seeds even go into the ground.
Melnor 65173AMZ RelaxGrip 8 Pattern 16 HIRALIY 50ft Drip Irrigation Kit Plant Watering System 8x5mm Blank Distribution Tubing DIY Automatic Irrigation Equipment Set for Garden Greenhouse Flower Bed Patio LawnEden 96213 Lawn & Garden Essential Oscillating Sprinkler | Water Sprinkler for Yard,Covers up to 3,600 sq. ft., Heavy Weight BaseGarden Grid Watering System | Garden Watering System, Raised Bed Watering System, Drip Irrigation System, Raised Garden Sprinkler | Preassembled Drip Irrigation Kit – 4×8 (44LAVEVE Sprinkler Hose for Yard, Garden Soaker Hose Leakproof, Heavy Duty Watering Hose Sprinklers for Lawns, Large Area Drip Irrigation Three Tube 100FT (50FT x 2 Pack) Watering HoseSprinkler Timer, Vimlinc Programmable Water Timer for Garden Hose with Rain Delay, Manual, Automatic Watering System, Hose Timer for Lawns Pool, Waterproof Digital Irrigation Timer System, 1 Outlet


Materials Needed for a Lasagna Garden
The materials you use for the layers are the same as the ones you would use in a compost bin. The great news is that most of these materials can be found around your home or easily purchased at a local garden center.
- Cardboard or newspaper: This will act as the bottom layer to smother any existing grass or weeds.
- Compost: You can purchase compost from a store, but it’s even better if you have your own compost pile at home.
- Organic materials: This can include leaves, grass clippings, straw, kitchen scraps, or any other organic material you have on hand.
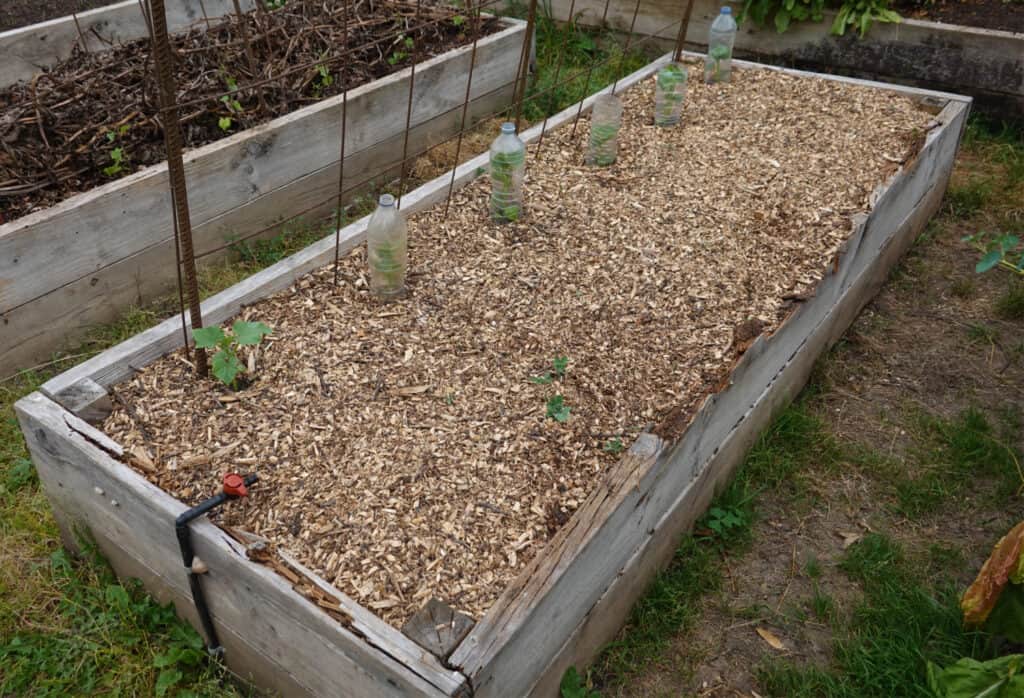
- Mulch: You will need a layer of mulch to help retain moisture and suppress weed growth.
How to Make a Lasagna Garden
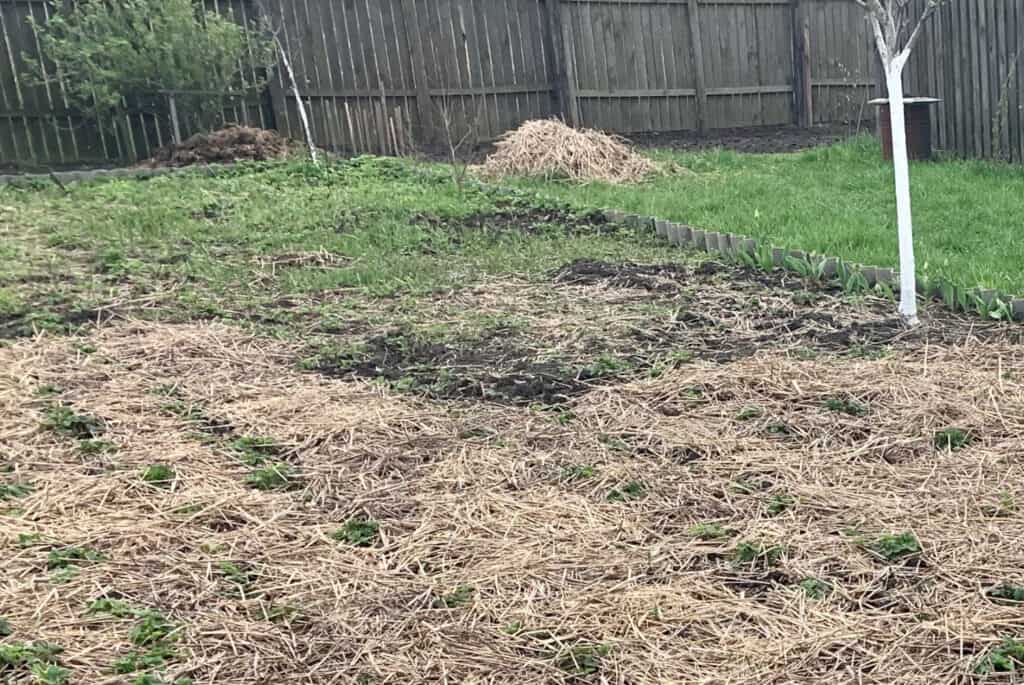
Now that you have your layering supplies, you can start your first area. I like to have “patches” of garden that are about 4’x8′.
This size, I have found, is large enough to grow a good supply of plants while still making it easy for me to reach all areas for plant care and weeding.
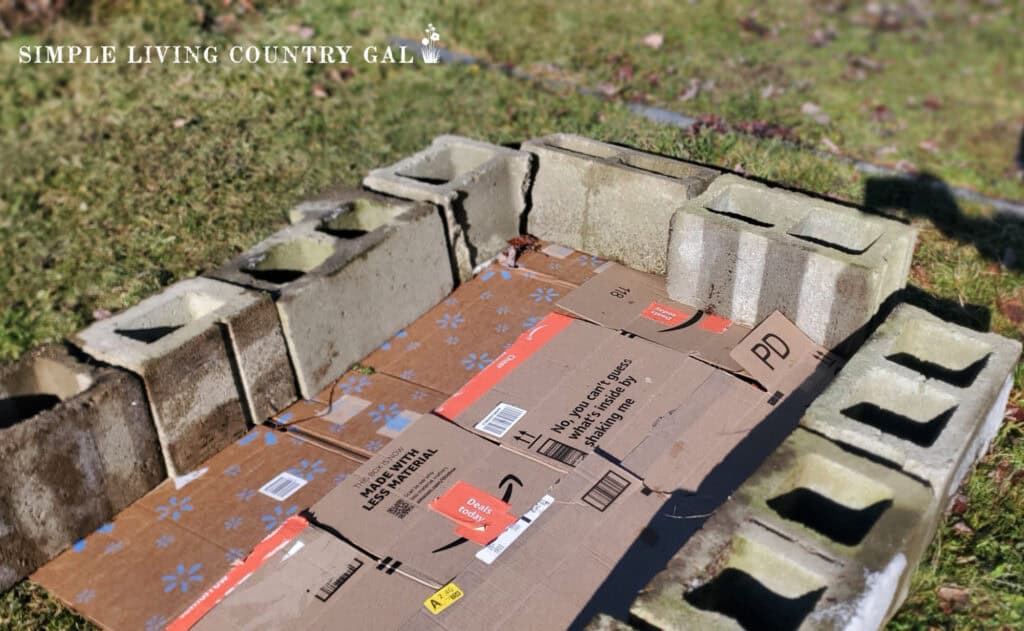
Step #1. Mark Out Your Garden Area
Start by marking out the border of your garden. This will help to keep things neater and more organized with your layout. A few things to use for a border are:
- Stakes with string
- Metal panels or a premade setup
- Wood boards
- Cinderblocks
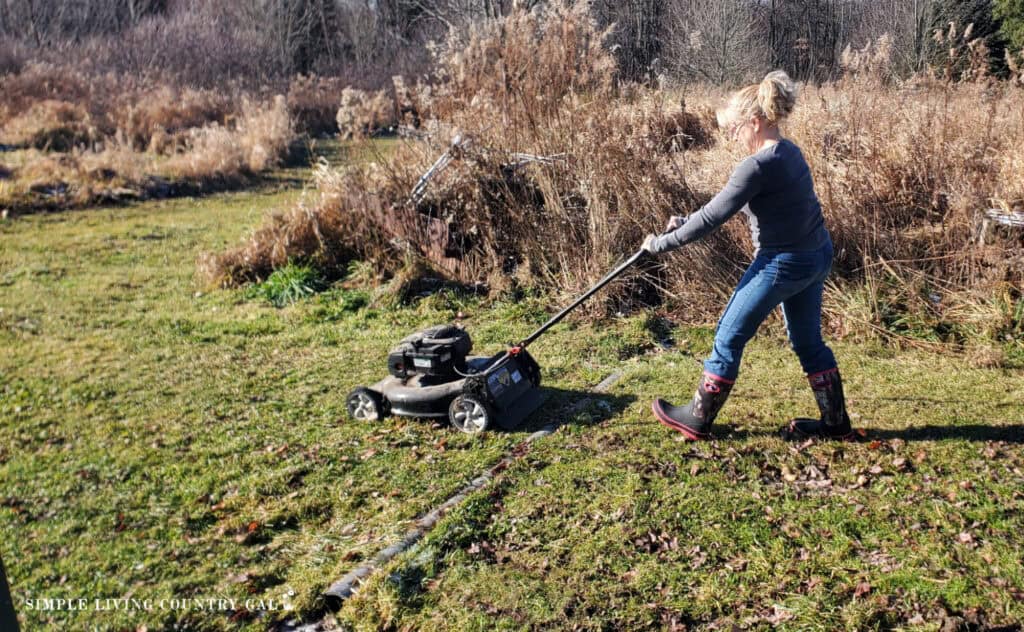
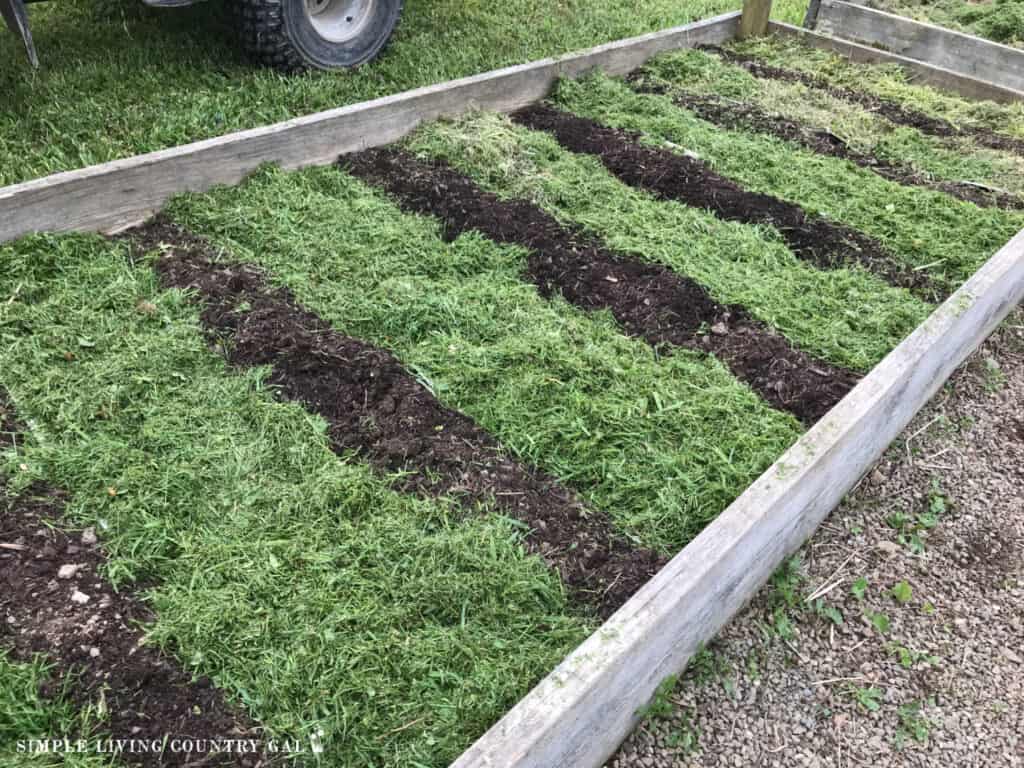
Step #2. Mow things down
Before you start, mow the area as low as possible. If the grass you cut is healthy, you can use it in your layers later.
Step #3. Laying the first layer (brown material)
Start with a thick layer of brown material, such as paper or cardboard. This will act as a barrier to prevent weeds and grass from growing up into your garden bed. I feel cardboard works best as a first layer because it is thicker than paper and prevents weeds from growing through.
Make sure to overlap the pieces so there are no gaps for weeds to poke through.
Step #4. Water
I find things work easier if you wet each of the layers down with a good watering. Not only does it keep your layers from blowing away, but it helps to jumpstart the composting.
Step #5. Laying the second layer (green material)
Next, add a layer of green material such as compost, grass clippings, or livestock manure. Spread a generous layer on top of the cardboard about 2-3 inches thick.
Step #6: Add a thick brown layer
Cover with a thick layer of brown materials such as straw, leaves, pine needles, etc. Again your goal is about 3 inches think or more if you have the materials available.
Step #7. Repeat the process until the desired height is reached
Continue layering brown and green materials until the desired height is reached. I suggest going a bit higher than where you want it to be when you plant. As things compost down, it will settle lower to where it is now.
Step #8. Water, water, water
Finish with a good watering. This will help with decomposition as well as attract beneficial worms to your pile.
SLCG Pro Tip: It is best to let your layers sit and work their magic over the next few months. This is why doing the layers in the fall is ideal as you will have a good plantable area come spring.
Square Foot Garden Planner+Guide 2024 Garden PlannerHerb Garden Planner+Guide


Step #9. Prepare for planting
Since we want to plant right away and not have to wait months for composting to complete you will need to add a layer of compost and soil. This will give your seeds and plants a place to start that is above all the layers.
Be sure it is thick enough to plant the seeds at the correct depth.
Step #10: Plant your garden!
Now, you are ready to plant and can do so as you would any traditional backyard garden.
Step #11: Add mulch on top
To help your plants flourish, you will want to add a layer of mulch around the base of each plant and seedling. You can use straw, grass clippings, wood chips, or shredded leaves.
The mulch helps in two ways.
- Keeps weeds from growing and harming your plants.
- Helps to keep more moisture in and around the roots.
With each new growing season, you can add on a few more layers, keeping your new bed in peak condition for growing.
Making a lasagna garden is a great way to enjoy growing your own veggies even if you are not as physically able as you once were. All you need are a few tools, some yard waste, and a compost pile, and you are all set. Give this fun way of gardening a try, and start a new patch in your backyard today!