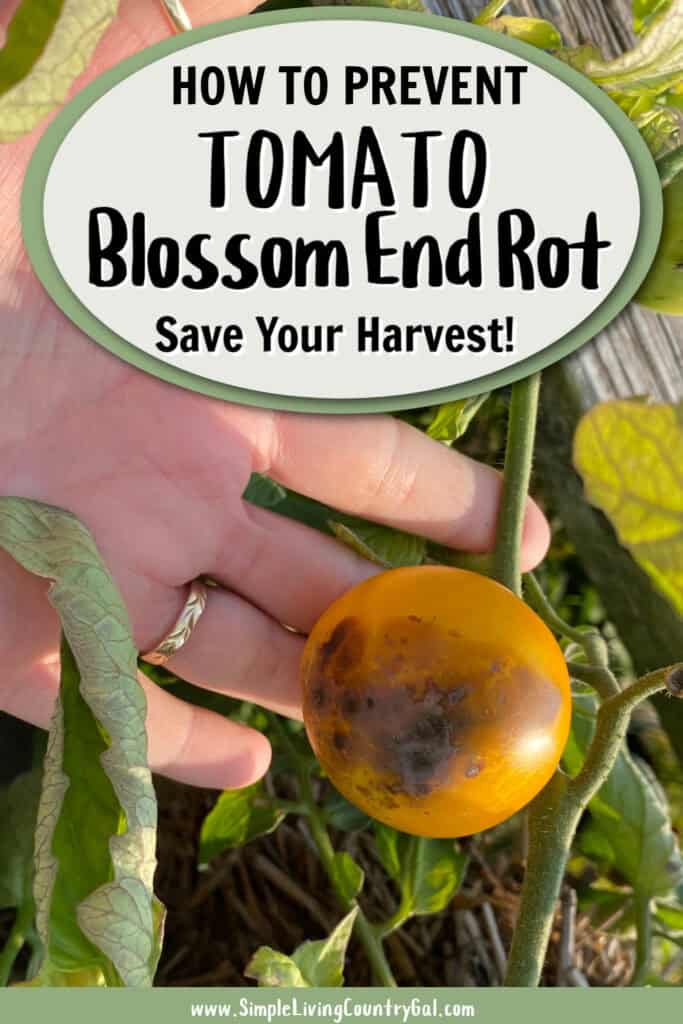
How to Handle Tomato Blossom End Rot
Learn how to handle tomato blossom end rot to save your hard-earned harvest and avoid throwing away your precious tomatoes. Discover what to look for, the early signs, and symptoms that can help you catch the issue before it becomes a bigger problem.
Gardening 101 tips for preventing disease and other issues, giving you a healthy and robust harvest.
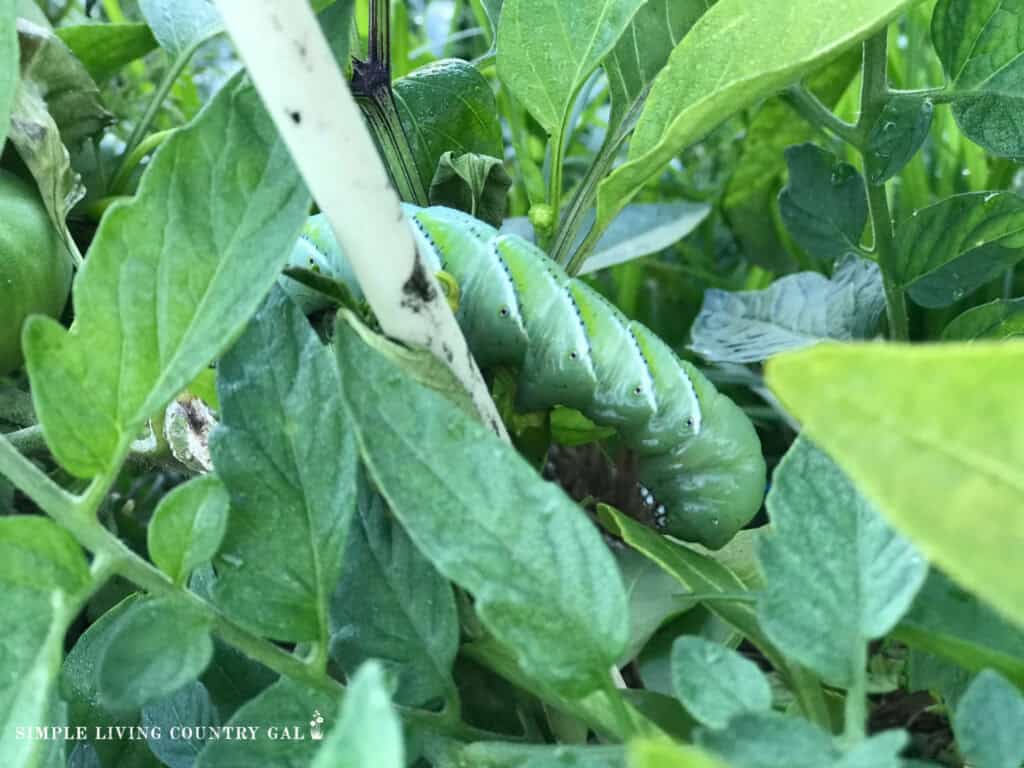
I’ve been growing tomatoes for quite a while, and I swear, I’ve dealt with almost every issue you can imagine. From tiny pests like aphids to those massive hornworm caterpillars that look like they belong in a horror movie.
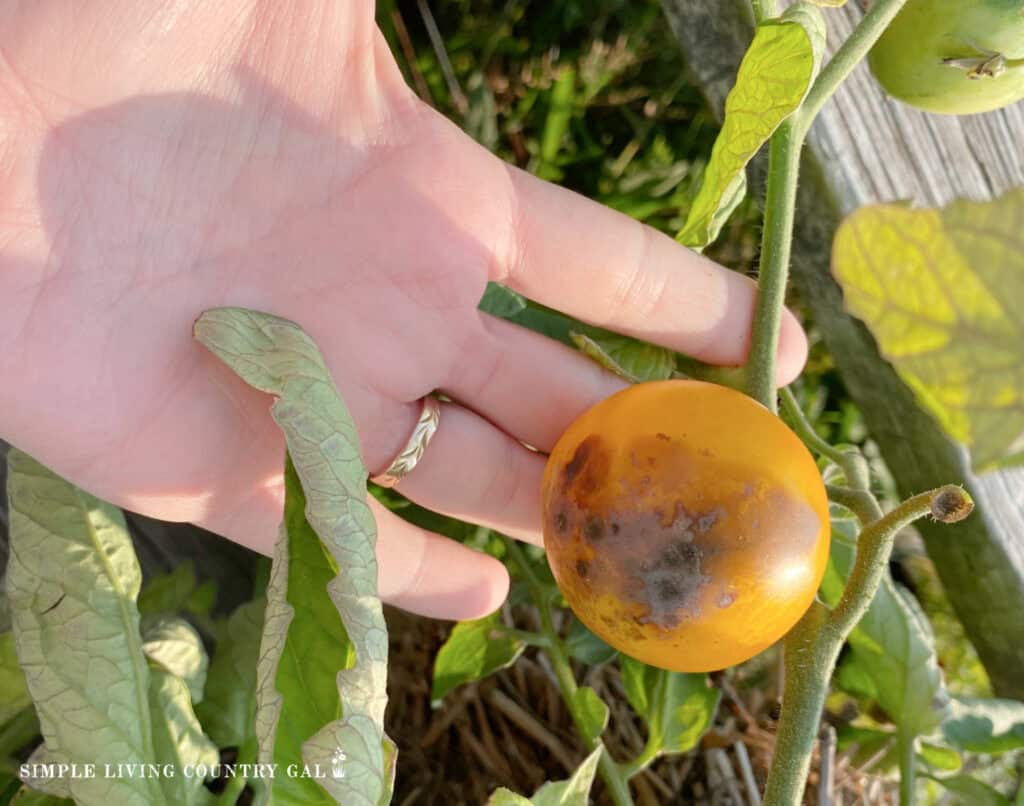
But honestly, the one that frustrates me the most is bottom rot. You don’t even realize there’s a problem until you pick up a beautiful red tomato and flip it over. So many times, I’ve thought I had a plant full of perfect, ripe tomatoes, only to find those awful brown or even black spots on the bottoms. It’s such a disappointment.
How to Handle Blossom End Rot
If you’ve been growing tomatoes or other garden crops, chances are you’ve run into some challenges along the way. One of the most frustrating issues? Blossom end rot. It can sneak up on you without warning and when you discover it, it can be so frustrating. But understanding what causes it can help you take steps to prevent it from happening to your harvest.
What is Tomato Blossom End Rot?
Blossom end rot happens because your plant isn’t getting enough calcium to support proper cell growth in its fruit. Without calcium, the cells at the blossom end of the fruit break down, resulting in those ugly spots.
But there’s a catch: this issue isn’t always just a soil problem, sometimes it can also be related to how well the plant is able to absorb what’s already there. Things like inconsistent watering, poor soil preparation, or even root damage can make it hard for plants to take up calcium. That’s why some gardens struggle with blossom end rot while others don’t.
Get out tips on how to water your garden so you can grow the healthiest food that can withstand pests and issues.
Preparing the Soil Before Planting
The first step in fighting blossom end rot starts long before you put your plants in the ground. It’s all about building healthy soil. Here’s what you can do to prepare:
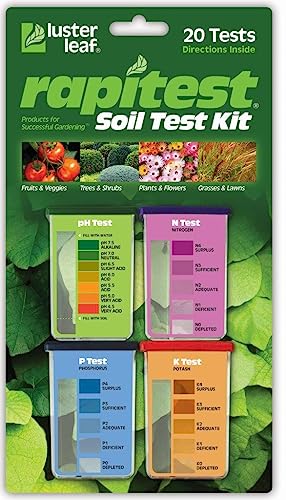
#1. Test Your Soil
Before you start planting, it’s a good idea to check your soil’s pH and nutrient levels. Tomatoes do best in slightly acidic soil, with a pH between 6.0 and 6.8. If things are out of that range, your plants might have trouble absorbing nutrients like calcium. Don’t worry, though—if the pH is too low, you can add some lime to bring it up, and if it’s too high, sulfur can help bring it down.
Rapitest Soil Test Kit for Gardens, Vegetables, Flowers and Lawns. USA designed and assembled soil tester completely, quickly and accurately measures/analyzes soil pH acidity and garden nutrients. SONKIR Soil pH Meter, MS02 3-in-1 Soil Moisture/Light/pH Tester Gardening Tool Kits for Plant Care, Great for Garden, Lawn, Farm, Indoor & Outdoor Use (Green)Garden Tutor Soil pH Test Strips Kit – 100 High-Accuracy Soil Tester Strips & 2025 AI-Powered Web Reader – Fast Reliable Soil Test Kit for Garden, Lawn, Vegetables, Flowers & Compost (3.5-9 Range)


#2. Add Calcium
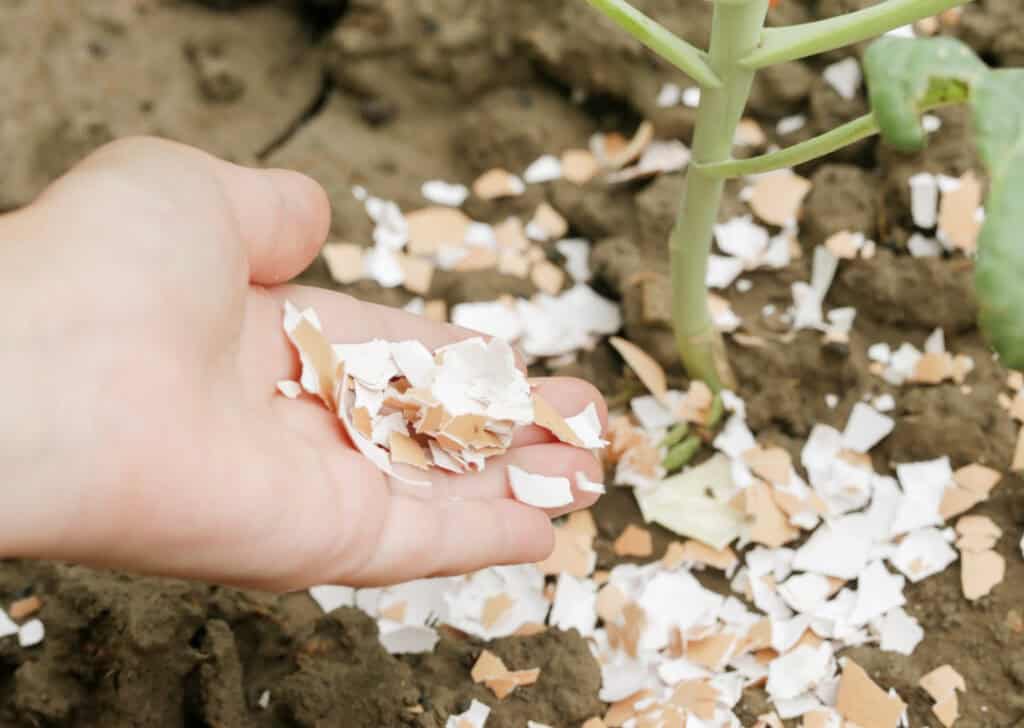
If your soil test shows it’s low on calcium, you can fix it by adding things like agricultural lime, gypsum, or even crushed eggshells. Just make sure to mix them into the soil thoroughly so your plants can actually use that calcium as they grow.
#4. Add Organic Matter
Work some compost or aged manure into your garden bed to boost the soil’s structure and help it hold water more evenly. When your soil stays consistently moist, it can go a long way in preventing blossom end rot.
#3. Improve Drainage
If the spot still holds water, try planting in raised beds or using containers with drainage holes. It’ll give your plants a much better setup to thrive.
Tips for Planting Young Seedlings
Planting young seedlings is a big step for your garden, and giving them a strong start can make all the difference. These little plants are still getting established, so a bit of extra care early on will lead to healthier, more productive growth down the line.
#1. Space Them Out
Avoid overcrowding. When plants are too close together, they end up competing for the same nutrients and water. This can stress them out and cause nutrient deficiencies. Make sure you give each seedling plenty of space to stretch out and grow comfortably.
#2. Avoid Root Disturbance
Handle seedlings with care. Their roots are delicate and play a crucial role in taking up nutrients, like calcium, that help them thrive. When planting, be extra gentle to keep their root system intact and healthy.
#3. Mulch Right Away
Don’t wait to mulch. Add a nice layer of mulch around your seedlings as soon as they’re in the soil. Mulch locks in moisture and keeps the soil temperature steady, creating an ideal environment for growth. Plus, it helps reduce weeds, which is always a win.
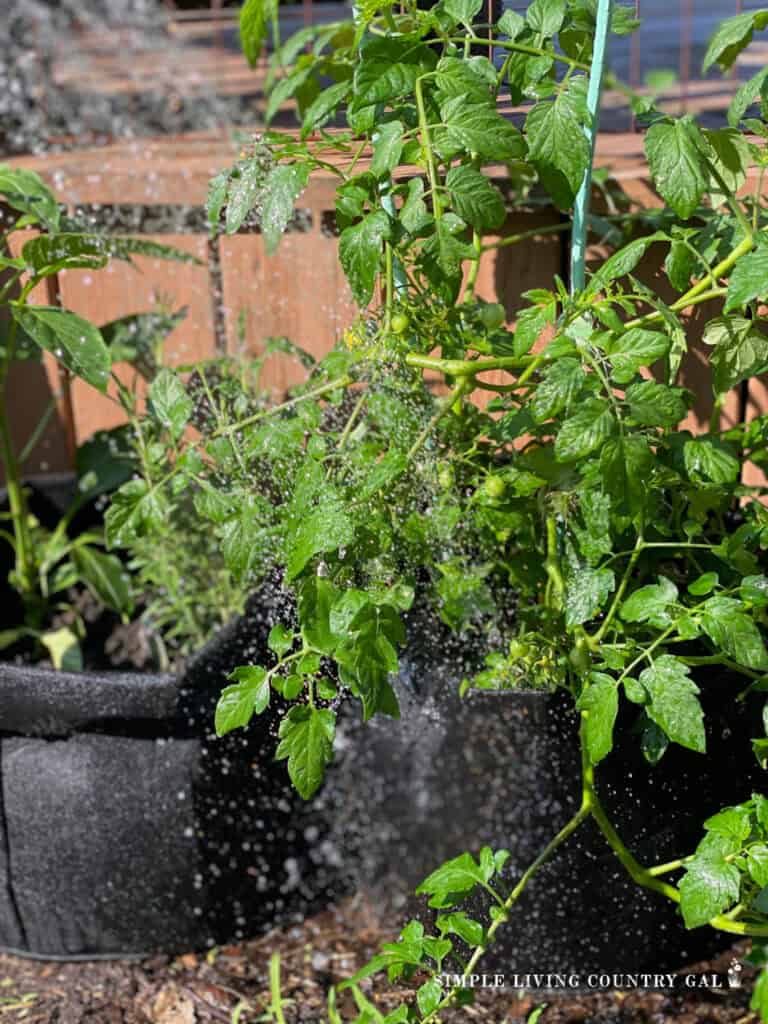
#4. Water Consistently
Seedlings love consistency, especially when it comes to water. Keep the soil evenly moist—not sopping wet but not dry either. Deep watering on a regular schedule works best. If rainfall is unpredictable where you live, think about installing drip irrigation or using soaker hoses to make life easier for you and your plants.
Monitoring Your Plants and Catching Issues Early
Keeping an eye on your plants as they grow is one of the best ways to catch any problems before they turn into bigger headaches. With a little extra attention, you can keep your garden thriving. Here’s how to stay ahead of any issues:
#1. Watch the Leaves and Growth
Your plant’s fruit isn’t the only place to look for problems. Keep an eye on the leaves and overall growth, too. If you notice stunted growth or discolored leaves, it could point to an underlying issue that needs attention.
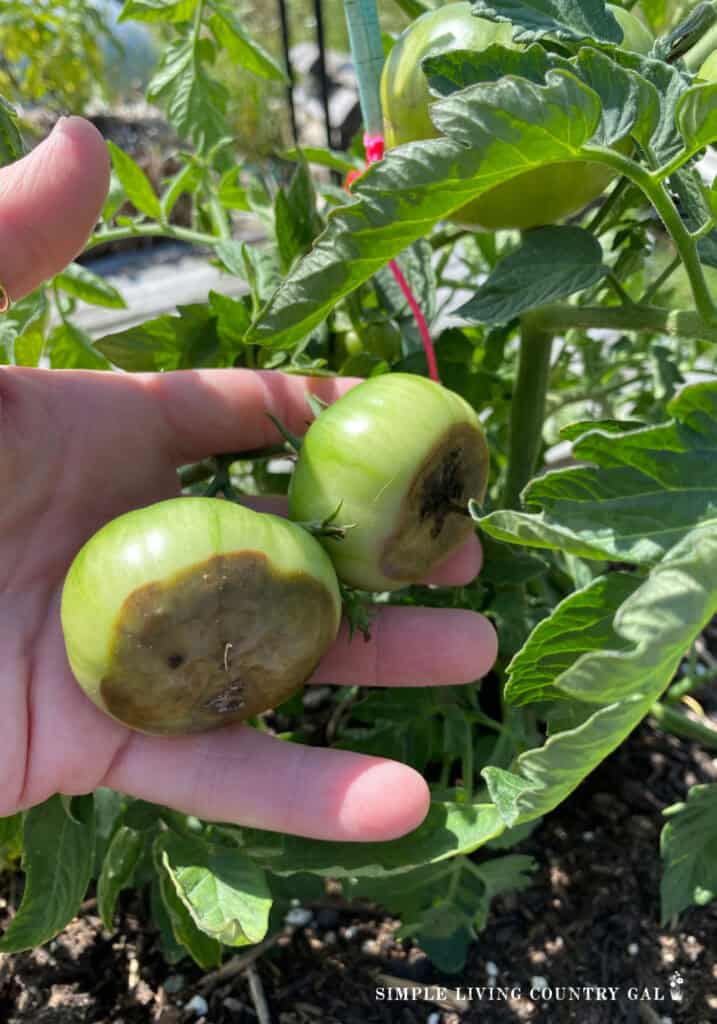
#2. Inspect the Fruit Early
I can’t say this enough—don’t wait until your tomatoes are fully ripe to start checking for issues. Peek under the young green fruit for any small dark spots that could be a sign of blossom end rot. Spotting it early can save you a ton of hassle down the road.
#3. Check the Soil Regularly
Make a habit of checking the soil for moisture so you can avoid overwatering—that’s one of the main culprits behind blossom end rot. And if you want to take it a step further, grab a soil test kit. It’s a super handy way to check calcium and nutrient levels, which are essential for preventing the deficiencies that can lead to rot.
Keeping an eye on your plants doesn’t have to be a big chore, but it can make a world of difference. Spotting problems early means you’re not just saving your tomatoes but also setting yourself up for a delicious, abundant harvest. A little extra attention really goes a long way.
Common Questions About Blossom End Rot
Here are a few questions gardeners often ask about this issue, along with answers to help you feel more confident about prevention and management:
1. Can I eat tomatoes with blossom end rot?
Yes! Blossom end rot only affects the bottom of the fruit. Simply cut off the damaged portion, and the unaffected part of the tomato is perfectly fine to eat.
2. Does fertilizer help prevent blossom end rot?
It depends on the type of fertilizer. Fertilizers with high nitrogen levels can actually make things worse by causing fast growth that demands more calcium than the plant can handle. Look for a balanced fertilizer or one with added calcium.
3. How long does it take to correct the problem?
If you address the underlying issue quickly (like improving watering practices or adding a calcium supplement), you might see improvement in new fruit within a few weeks. Unfortunately, damaged fruit won’t recover, so the key is focusing on new growth.
Tomato blossom end rot can be a real headache for gardeners, but the good news is it’s something you can prevent and fix with the right care and attention. By learning what causes it and taking steps like keeping the soil evenly moist and providing enough calcium, you can set yourself up for a successful harvest.
And if you do spot signs of blossom end rot, acting quickly can limit the damage and help your plants get back on track for healthy growth.