How to Build a Chicken Run
Having a run for raising chickens that will keep them protected and safe is easier than you think and this step by step will show you how!

With each new flock of birds comes new challenges. Just when I think I have seen it all, my chickens go and throw me a curveball. Our newest flock of chickens is just shy of 6 months old.
They love to free-range which I allow them to do as long as I am home to keep an eye on things. Unfortunately, these hens prefer to venture out just as soon as the sun rises and firmly believe they can do whatever they want wherever they want.
More Free Range Reads Here:
- How to Free Range Chickens
- Keep Free Range Chickens Warm in Winter
- How to Protect Free Range Chickens
What does free-ranging mean?
Free-ranging chickens means you allow your entire flock to have the run of your property. Your chickens are left to roam and scratch for bug in nature as they were intended to do.
Free-ranging helps your flock to be more relaxed and even healthier, as scratching is a calming practice for them.
Where we live, having our chickens free-range the entire day is not an ideal situation, mainly because we have a large variety of predators that can hurt our chickens during the day as well as after dark.
If you have been wanting to raise chickens but are worried it is a lot of work to care for them, you can read my tips on setting up a self-sufficient chicken coop here.
What are the common predators for chickens?
Knowing what animals are a threat to your chickens will help you create a setup that will keep them safe. If you are not sure, you can ask your neighbors or anyone in your area that is already raising backyard chickens.
Here is a common list of chicken predators:
- Hawks
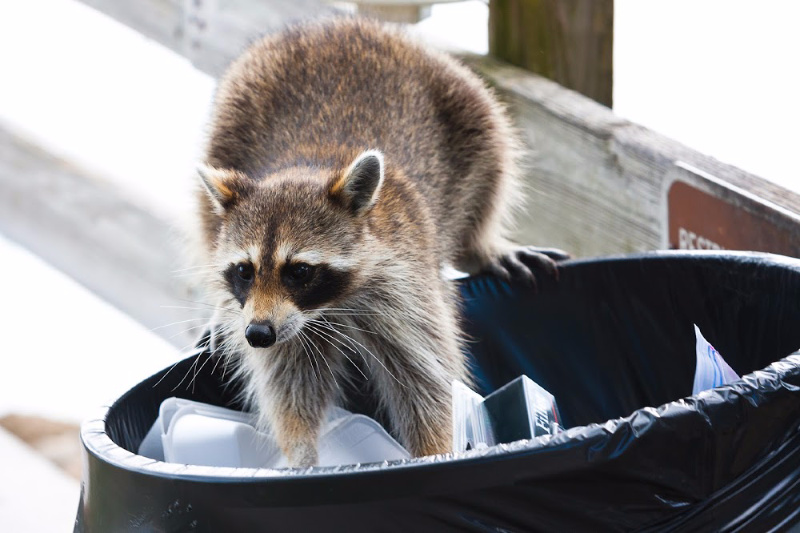
- Raccoons
- Coyote
- Fox
- Dogs
- Weasels
- Opposums
- Skunk
- Snakes
Read this guide on How to Keep Your Chickens Safe From Predators for extra tips that you can put into place to keep your flock safe.
For any animal owner, safety is and always should be at the forefront of our homesteading minds. But this is even truer for those who own and raise chickens.
Chickens tend not to notice if danger is nearby, and for that reason having some protection set into place will really help to keep everyone safe.
Cons of free-ranging chickens
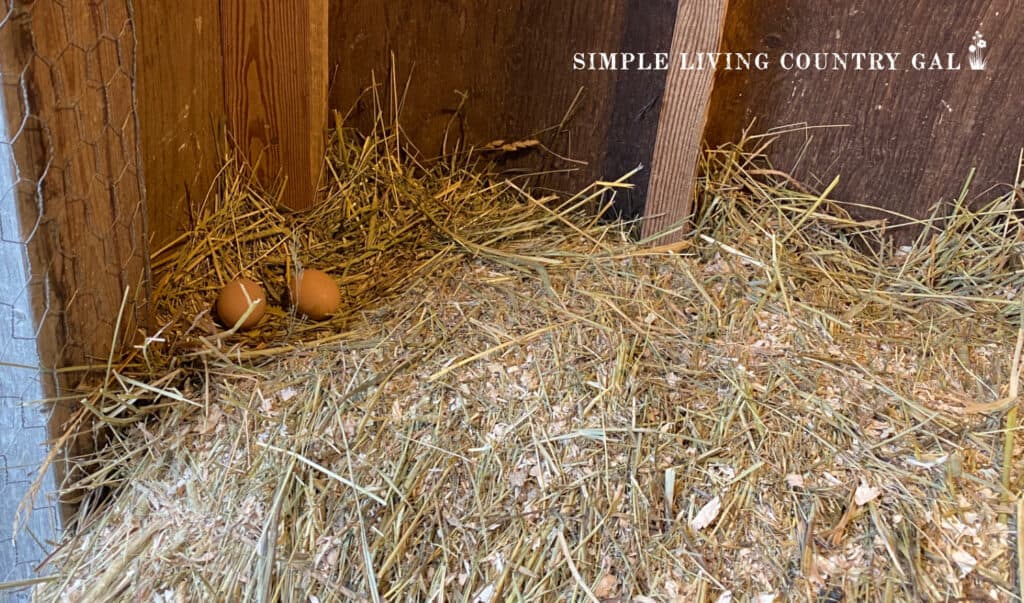
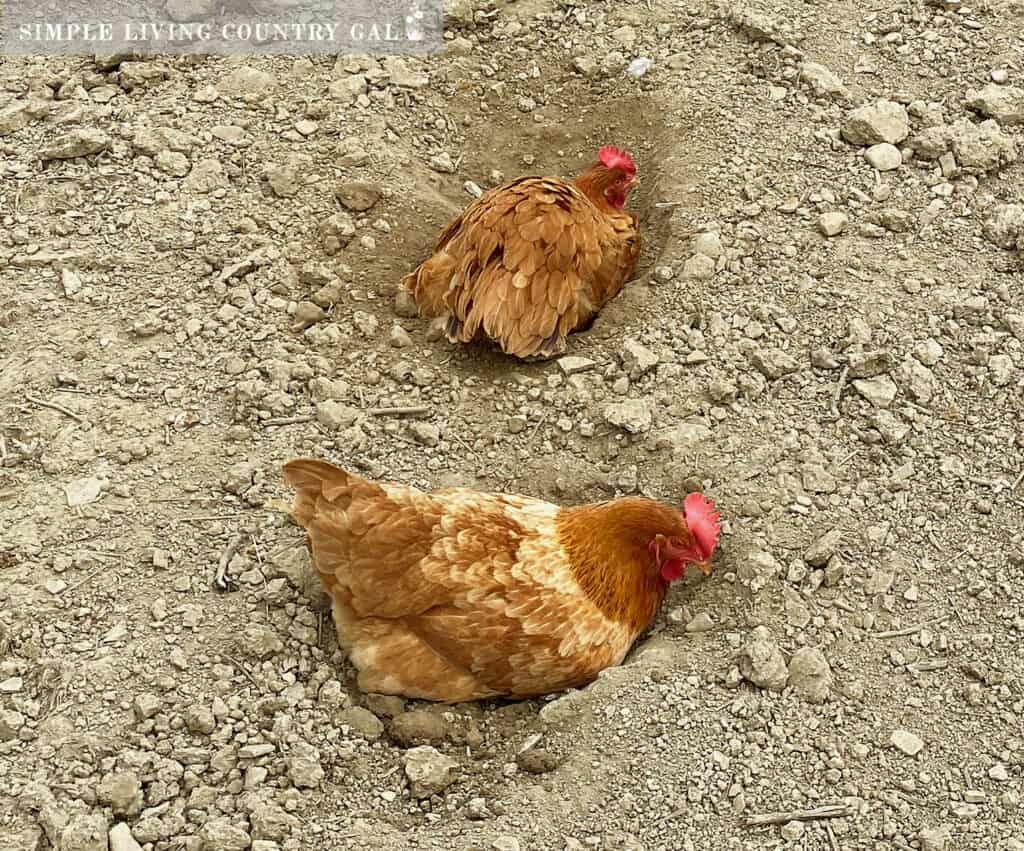
Our chickens free-ranging presented us with a problem we were not prepared for. Instead of laying their eggs in the nesting boxes inside their coop, they were venturing into the barn and laying their eggs in the hay bins from which our goats were eating from.
This is not good for egg production because when I did find eggs in the barn, I was never sure how long they had been there. It also wasn’t good for the animals in the barn because the chickens were making a mess with their manure.
Another thing you may want to know about chickens is they go to the bathroom… a lot.
This means if you free-range your flock, you will have chicken manure all over. In our case, that meant in the barn, in the hay bins, in the feed room, and even in the milking stall.
What can you do if you don’t want to free range your chickens?
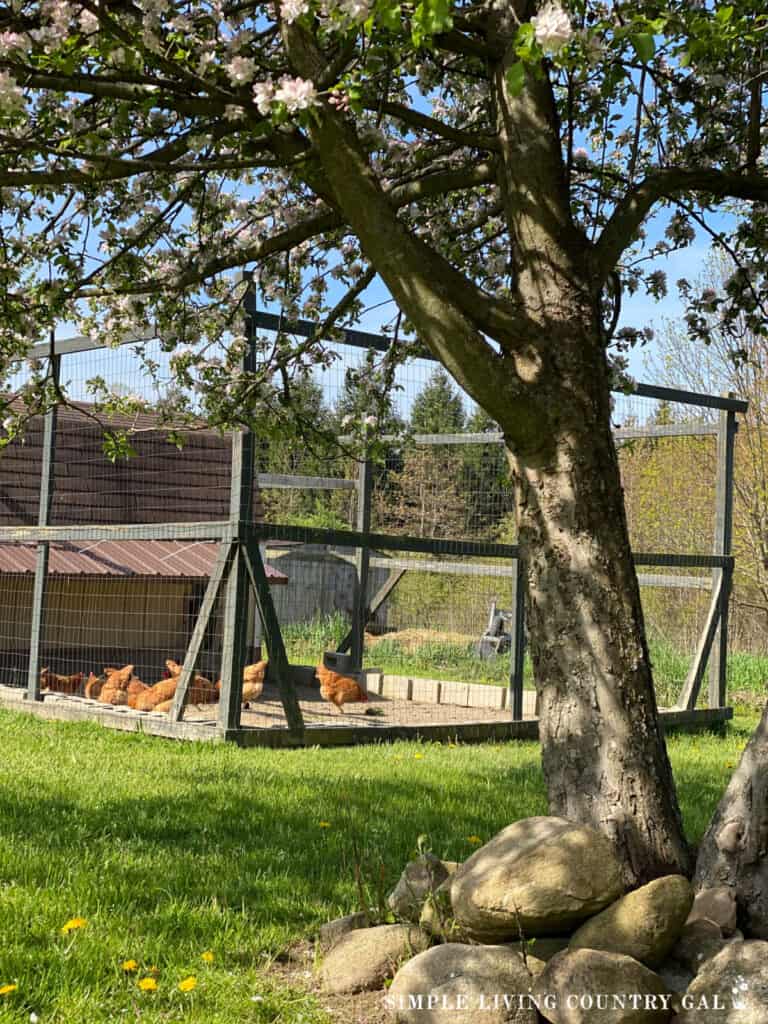
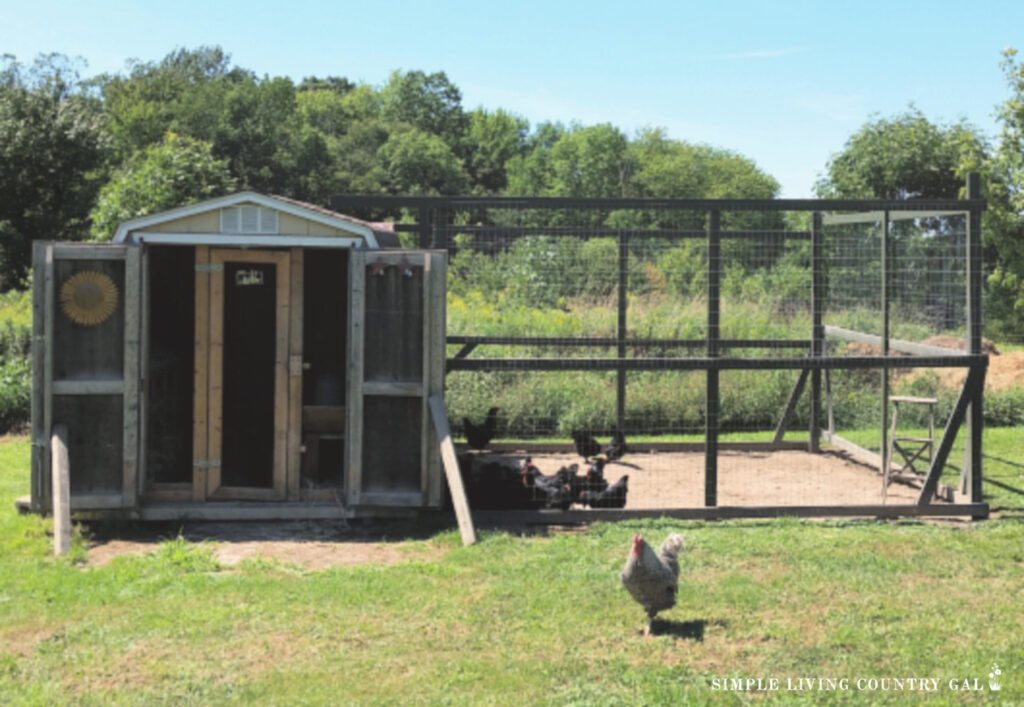
If you choose not to free-range your chickens, you will need to build an outside run that is safe and secure from both ground and sky predators. A run is an enclosed area for your chickens to roam, scratch, and wander safely throughout the day.
How to Build a Safe Chicken Run
This is how we did our own run, and overall, it was relatively easy to do. Know that the more effort you put into the run, the longer it will last. Our enclosed chicken run is the same one we built many years ago, and other than a few light updates, it is still holding up well.
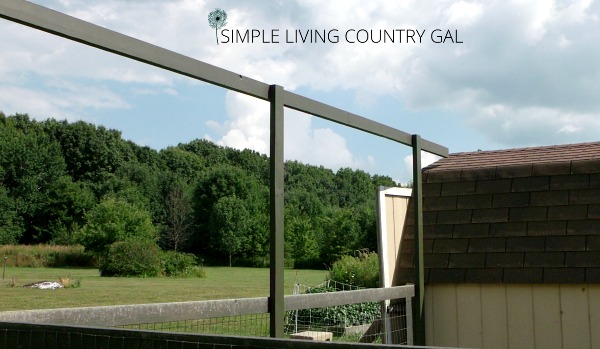
Step # 1. Know the height needed for your flock.
The ideal chicken run is high enough to keep your chickens inside and secure enough to keep any predators out. This includes predators from the ground as well as the air. As I mentioned earlier, hawks are a common predator in our area so high walls are necessary to keep our flock protected.
For a time we thought our run was high enough, but with one particular flock of hens, we realized it was not. Each day, I kept finding a few hens out in the yard and quickly realized our run was not high enough.
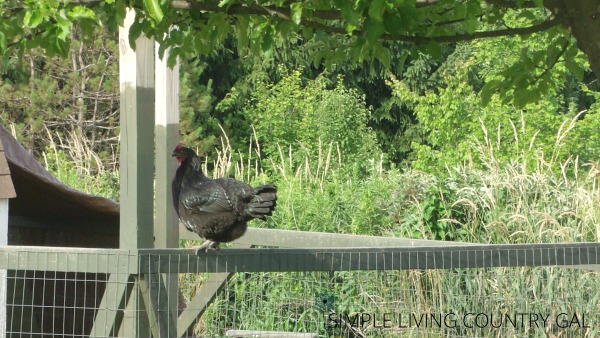
With the low walls of our chicken run, they were easily able to jump up and hop out whenever they wanted to. The fence we had before was about 4 feet high and kept our previous flock inside just fine. To help contain our current flock, we added another 4 feet, doubling the height of the walls. Our run now has 8-foot high walls, and this, we find, is effective at keeping all of our hens inside.
Step #2. Prep the wood for your project.
Stain and/or paint the wood you will be using to construct the run. This not only makes it look better but it also protects things from the seasonal weather. A good outdoor stain or wood sealer that is safe for animals will work fine to protect the wood you use for constructing your run.
SLCG PRO TIP: Remember, before heading out to shop for supplies, to always shop your homestead first. Using what you have before buying what you need is the homesteading way and something I encourage you to do each time a new project comes up.
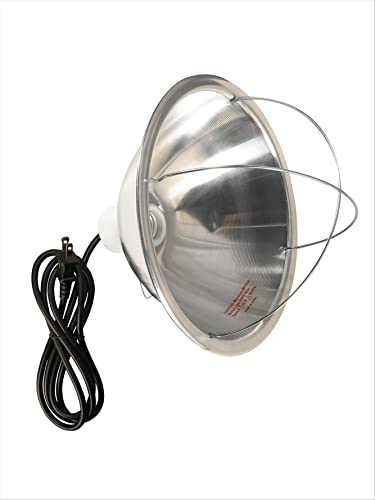
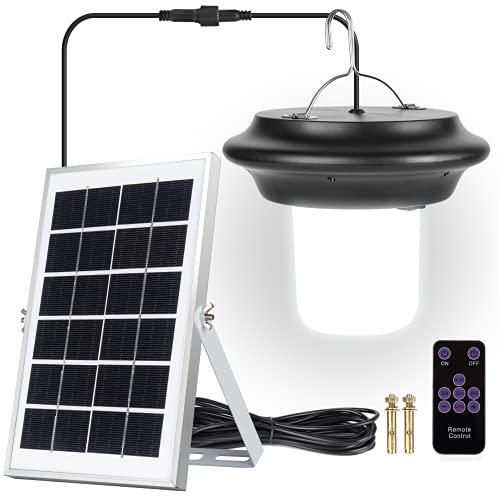
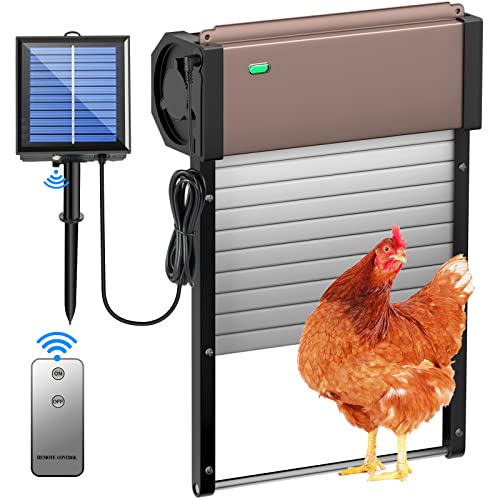
DABAOLUM Solar Light Bulbs with Remote Timer, 9W USB Rechargeable Emergency Light Bulb Chicken Coop Light 1800mAh 5 Lighting Modes for Home Shed Hiking Camping Tent Hurricane Power Outage Lamps(Grey) Woods 0165 Brooder Lamp with Bulb Guard;10.5 Inch Reflector and 6 Foot Cord (250 Watt; 18/2 SJTW); 0JACKYLED Solar Shed Lights, 3300mAh Hanging Light with Remote Control & 16.4ft Extension Cord for Chicken Coop Gazebo Carport Pergola Garden, 6000K Cool WhiteAutomatic Chicken Coop Door, Solar Powered Chicken Door with Timer & Light Sensor, Full Aluminum and Weatherproof Multi-Modes Poultry Coop Door with Anti-Pinch Design(Brown)
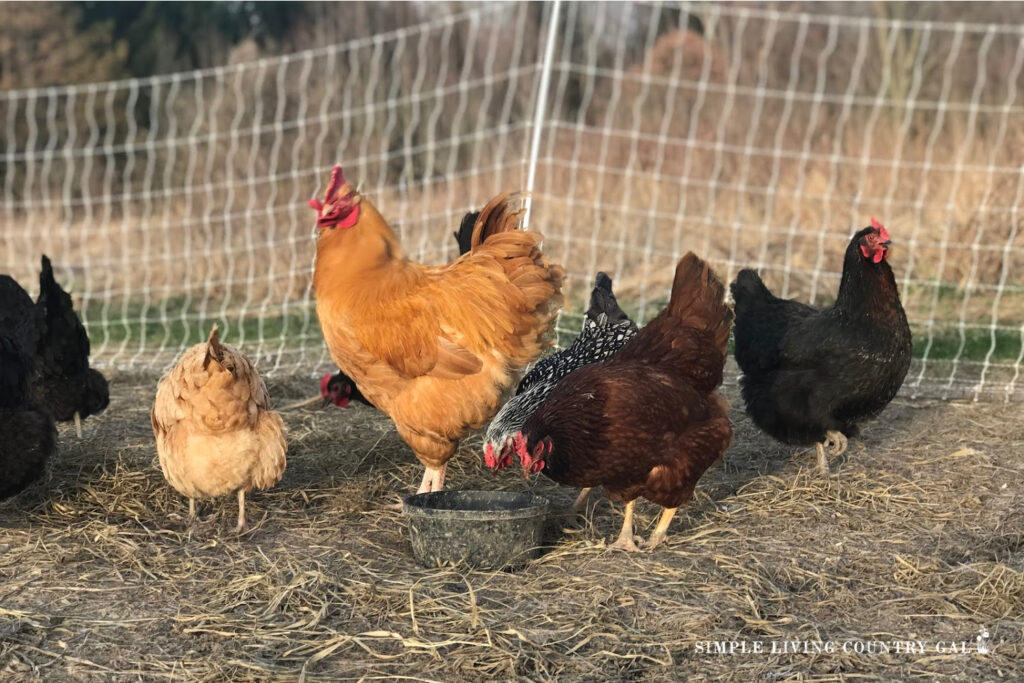
Step #3. How much room do you need?
For each chicken, you will want to allow 8-10 square feet of outdoor space, but more is always better. Chickens love to scratch, which is their way of clawing the ground with their feet to bring up worms, bugs, grubs, etc.
The more they scratch, the more content and relaxed they are. And the more content your chickens are, the healthier they will be, giving you more eggs throughout the year. For this reason, it is best to be generous when figuring out the size of your run.
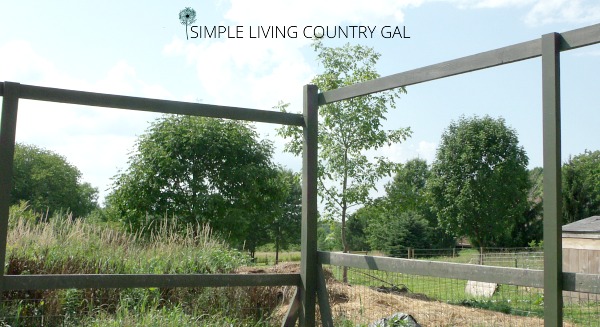
Step #4. Build the framework.
When building the framework of your run, you will need to secure it so it can withstand the weather in your area. Where we live, heavy winds and drifting snow can do pretty hefty damage to any outbuildings. To help withstand the weather, we prefer to anchor the framework both in the ground and to the coop.
You can do this by digging a hole in the ground at each corner and filling it with a concrete mixture that will securely hold the corner posts. If you have a large run, you will also need support posts along each side that should also be anchored in.
Allow ample time for the concrete to set before continuing on with the rest of the build.
Once dry, you can finish up the framework. Regarding the size of the framework, we used the fencing we purchased for our measurements. The rolls we had were 4 feet high, so that is where we put our horizontal boards. The role of these boards was to hold the fence in place.
When choosing the fencing for your chicken run, you will want something durable yet easy to work with. For small temporary projects, I like to use chicken wire; for permanent projects like this one, I prefer to use a stronger steel fence.
GILPWA Welded Wire Fence, 50ft(L) x 36inch(H) PVC Coated Wire Fencing for Dog, 2 Inch x 3 Inch 16GA Fencing for Chicken, Anti-Rust Roll Metal Wire Mesh Fence for Yard Vegetable, BlackChicken Wire Fencing Mesh, 17 Inch x 60 Feet Metal Floral Chicken Wire Fence for Crafts Poultry Garden, 0.6 Inch Hexagonal Galvanized Hardware Cloth Netting for Chicken Coop Barrier Rabbit CageHardware Cloth Chicken Wire Mesh Galvanized 48inx50ft 19 Gauge Heavy Duty Galvanized Wire Fence for Chicken Poultry Coop, Animal, Fencing,Garden Protection


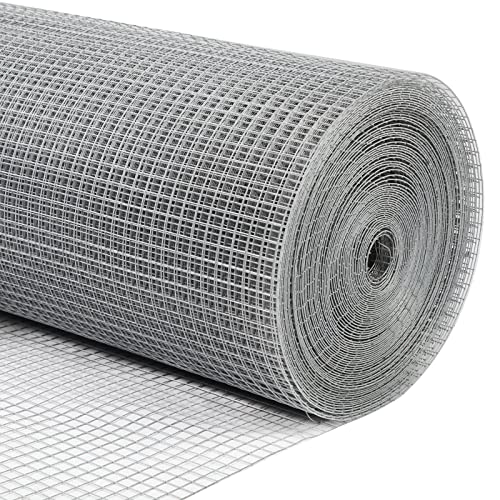
Whatever fence you choose, you will want to be sure the openings are small enough to keep your chickens safely inside.
Once the framework is in place and secured, attach the wire fencing to the outside. You can use staples or fencing nails. I prefer to use fencing nails as I find they stand up longer and stay in place better than staples.
Lastly, plastic zip ties or metal ties should be used to close up any holes or openings.
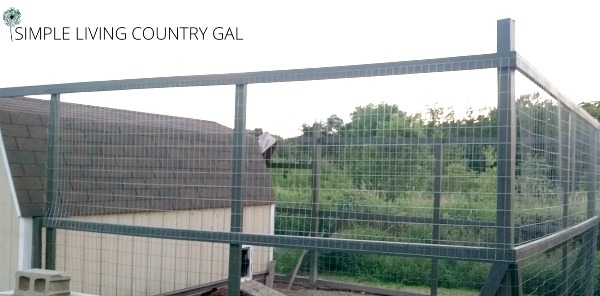
Step #5. Assess things and adjust if needed.
Once the fence is securely in place, walk the area and inspect the build to ensure it will adequately do its job. Never underestimate a chicken that wants to get out of a run. I suggest giving them time to test the fence so if there is an issue, you can catch it and correct it quickly.
Take our chickens, for example. After we finished our run, we noticed a while later that 5 chickens had gotten out and were in the barn…oh no.
After an inspection of the run, we realized there was a small open section above the gate that we used to get in and out. It just amazed me how quickly they found an escape route. Lesson learned… don’t believe for one minute that your chickens are not intelligent.
It can be hard to guess what your animals will try to do, so you may find it easier to keep an eye on things closely in the beginning. Let your hens out so they can explore the new setup. Allow them time to “test” things as they roam and scratch and get comfortable. If there is a way for your chickens to escape, they will find it, and once they do, you can quickly seal up any routes they conveniently point out to you.
Step #6. Give your chickens a chance to roam.
Even though we prefer to keep our chickens secured in their run, we do like to have another option for them. This is what I like to call a temporary run. A temporary run is a movable sectioned off area where you can let your flock scratch in. This is a great way to give them access to fresh ground yet keep them protected at the same time.
You can use woven fence netting made specifically for chickens to make a temporary run. This netting has small openings that will keep your chickens inside where it is safe. It is pretty durable and will withstand being out all winter long.
Finally, you can move this fencing, giving your chickens a chance to scratch in a new area, one that you can specifically choose. This will keep them out of any location you are not comfortable with them being in.
Step #7. Things you can add to your chicken run.
Keeping your animals from getting bored is important for preventing bullying or hen pecking in your flock. I also believe a bored animal can become a stressed animal that can quickly turn into a sick animal. Over the years, I have found that when you keep your animals curious and entertained, you will find that overall, everyone seems to be healthier.
How do you keep a chicken from getting bored? It sounds like the beginning of a joke. But there are actually a few things you can add to your new DIY chicken run that will keep your chickens happy and entertained all at the same time.
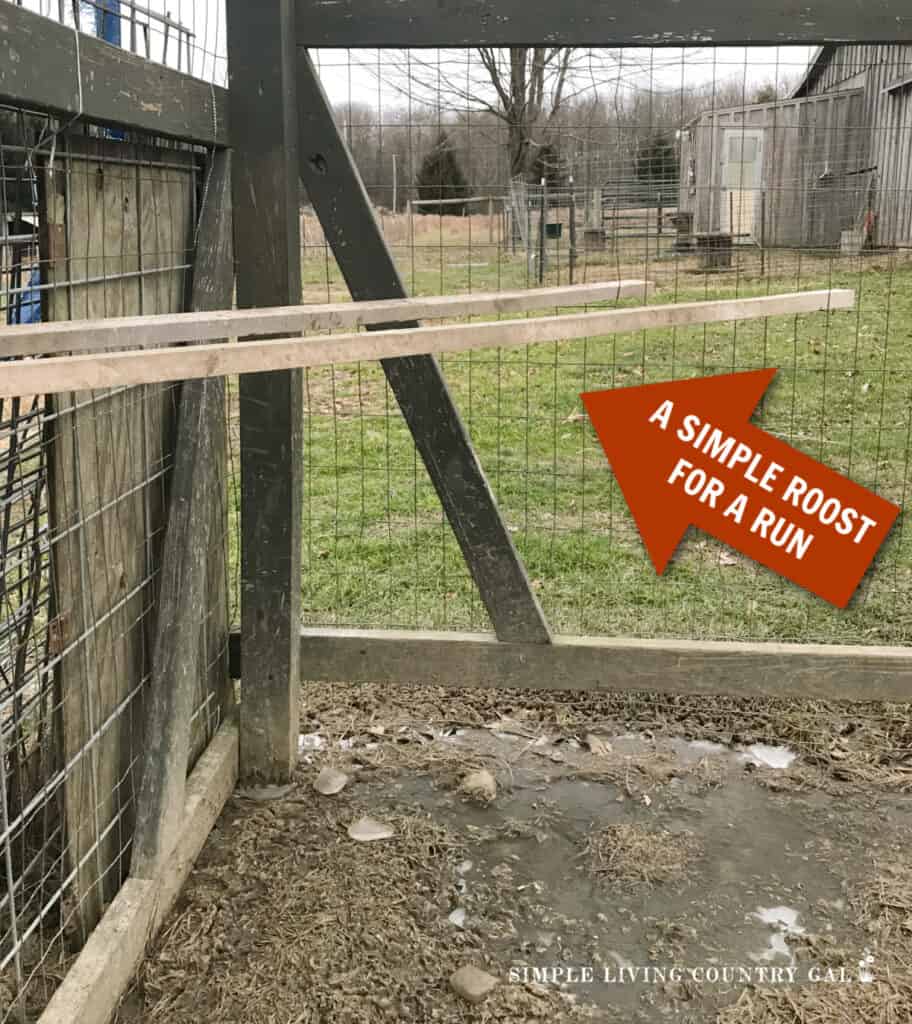
Add in a few roosts.
Roosts are not just for sleeping at night; many chickens prefer to be on them during the day as well. When you have a run that is wrapped in fencing, you can slide in a few boards in the corners. This gives your chickens a nice roost to hop onto throughout the day.
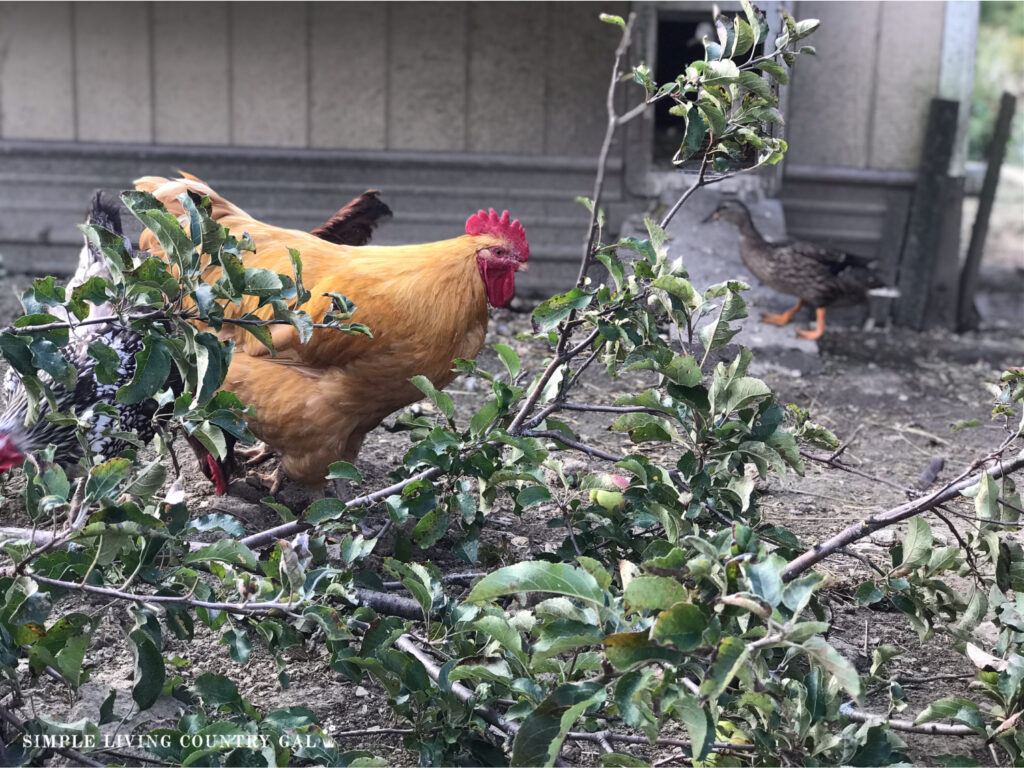
Toss in some branches.
Chickens LOVE to explore, and fresh branches give them not only a new area to wander around but also allow them to peck at the wood and eat any bugs on the leaves and branches.
Dust baths
Chickens not only love to use a dust bath, but it is important for their overall cleanliness, health, and well-being. You can add in a container with some sand or create a more DIY dust bath using a few supplies you may already have on hand.
Read our guide on How to Set up a DIY Chicken Dust Bath for our step-by-step plan along with a mixture recipe that will benefit your birds.
When you prepare to add chickens to your homestead, you will want to provide a safe environment for them to live in. Build a coop that will keep them safe and free from the weather so they can live comfortably and give them a safe area outside to scratch and roam free from danger or harm.
FAQ’s About Chicken Runs
Q1: What materials do I need to build a chicken run for my backyard chickens?
To build a chicken run, you’ll need sturdy materials that will the job and last for years. Be sure the fence material is woven with openings small enough to keep chickens in and predators out.
Q2: What are the benefits of having a chicken run for backyard chickens?
A chicken run offers many benefits for both our chickens and us. It provides a safe, enclosed area where chickens can roam, exercise, and forage without the risk of predators.
A chicken run also protects your garden and flower beds from being scratched or eaten by chickens.
Q3: How much space do my chickens need in a chicken run?
The amount of space needed in a chicken run depends on the number of chickens you have. A good rule of thumb is to provide at least 8-10 square feet per chicken. This space allows them to move freely, spread their wings, and engage in natural behaviors such as dust bathing.
When building a run for your chickens it is important to consider the in your weather, the size of your flock, and the predators that are common in your area, then build a run that will protect everyone and keep them safe.
Now that you know how to build a simple chicken run. You can get started setting up a safe area for your chickens to scratch during the day.
More Chicken Coop Resources:
Loved your ideas and advice. Another thought – you could easily trim the feathers on one of the wings (they truly are like our fingernails) and that would prevent the little escape artists from ever tricking you again!! The feather “scraps” can then be used as a great addition to your compost pile!
Have a blessed day.
yes, thank you for that tip, Kathy. I did trim the feathers but the stinkers still were able to make that short jump.
Tracy Lynn
Thank you so much for sharing. keep it up and update more information.
Every spring, we rough up the ground in the run then we add a bucket of earthworms and cover them with straw. Happy chickens!
What a genius idea! I love this!