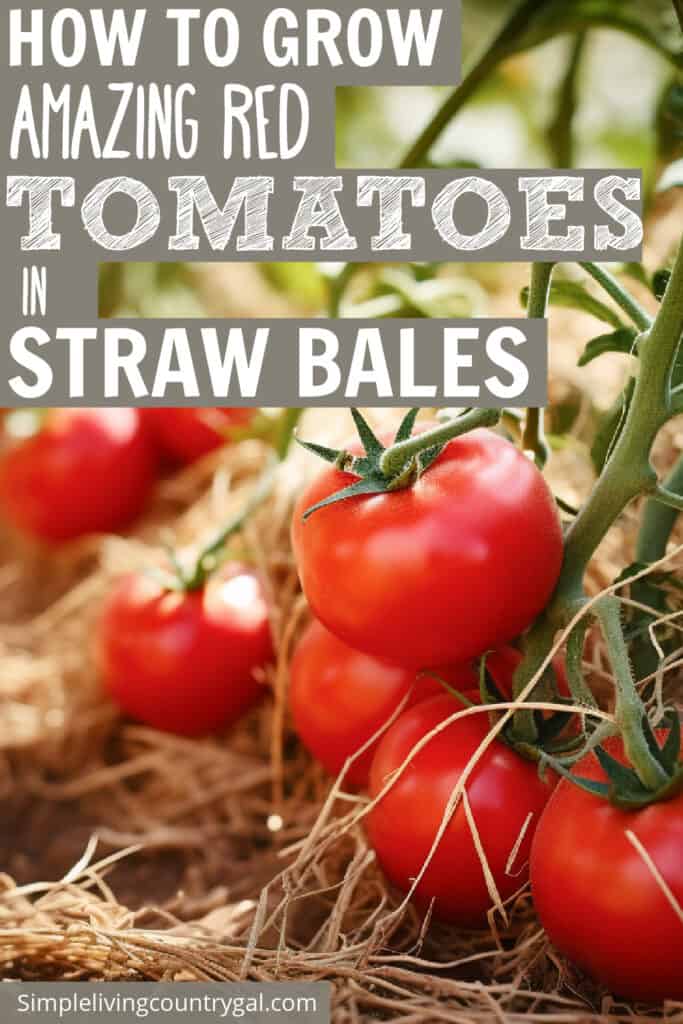
Growing Tomatoes in Straw Bales
I love to grow our vegetable garden in containers because it is easier on my back and knees. My favorite container is a straw bale and this type of gardening is quickly growing in popularity. Today, we are going to look at growing tomatoes in straw bales so you can start a garden no matter where you live or what your physical limitations are.
How to start a backyard garden in a bale of straw, growing the foods you love in a nontraditional way.
About ten years ago, I had to give up my garden because of a bad back. Bending over was painful, and that meant gardening had to go. Luckily, a few years later, I discovered straw bale gardening, and just like that, we were able to have fresh-grown produce once again. Growing a garden using bales of straw is easy once you know the basics. To get you started, I have a step-by-step guide on how to grow tomatoes using bales of straw as your container.
What is straw bale gardening?
Straw bale gardening is a method of growing plants in straw bales rather than traditional soil. It’s a form of container gardening that eliminates the need for bending and kneeling, making it an accessible option for those with physical limitations. By prepping the inside of the bale, you can turn the straw into organic material that roots love to grow in. In just a few short weeks will take a bale of straw and turn it into the perfect container to grow your tomatoes in.
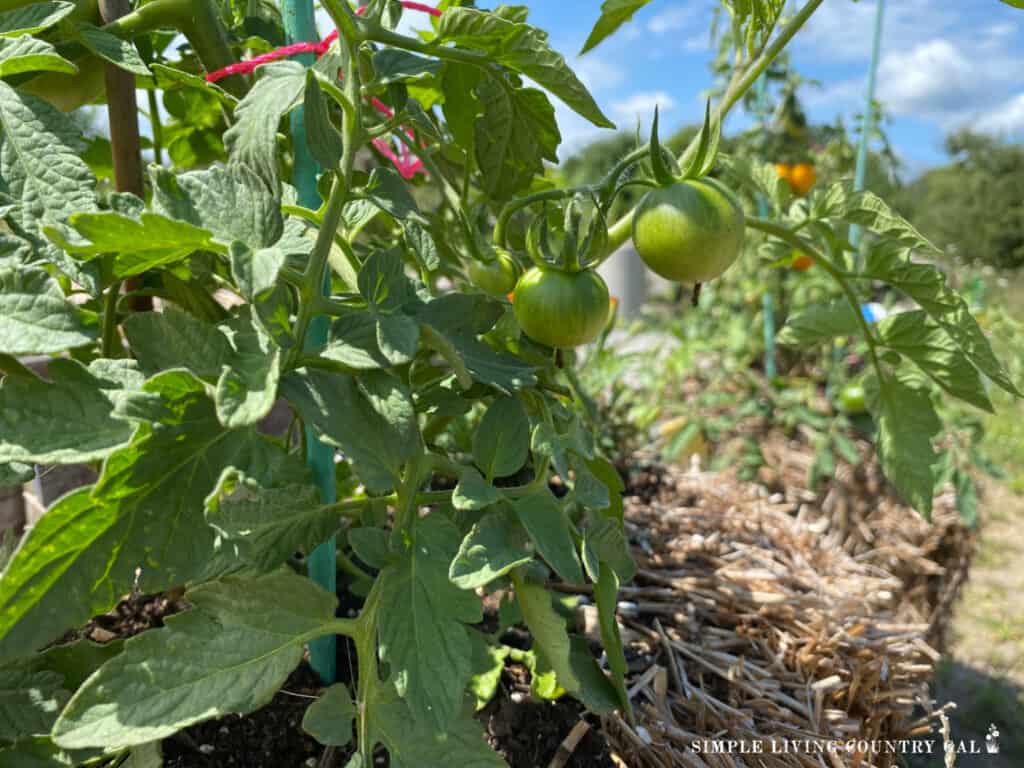
Growing Tomatoes in Straw Bales
There are a few things that are different when using straw bales over a traditional garden, the most obvious being the prep work. Instead of tilling up an area in your backyard, you will compost down the interior area of each bale, prepping it for planting. After that, the growing is similar in a bale as it is in a traditional backyard garden. Let’s break it all down.
Related: How to Grow Potatoes in Straw Bales
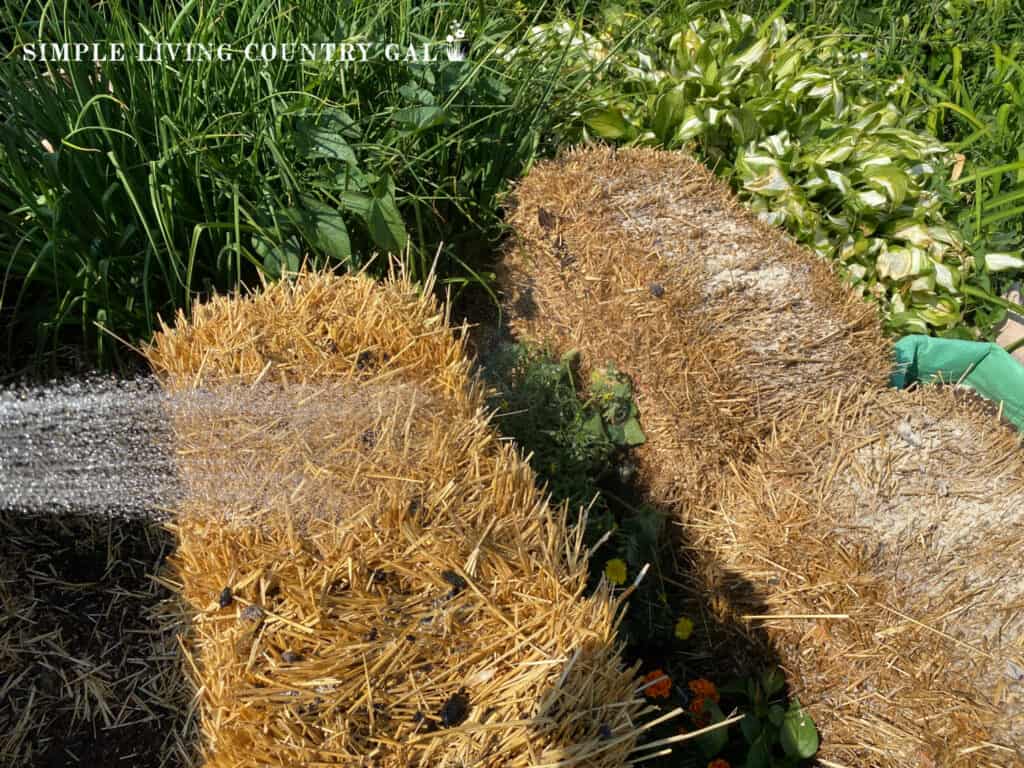
Step #1. Prep the Bales
Before you can plant anything, you need to prep the bales. This step takes about two weeks total and is essential for your plants’ success.
- To start, find a space in your yard that gets at least six hours of sunlight per day and lay down some landscape fabric or cardboard to prevent weeds from growing up through the bales.
- Then, place your straw bales in the desired location, with the cut side up and the strings on the sides.
- Water the bales thoroughly for three consecutive days. This will start to activate decomposition within the bales.
- On day four, add a high-nitrogen fertilizer to your daily watering routine for another three days. This will help accelerate decomposition even further.
- On day seven, decrease the watering to every other day. This will prevent over-saturation and allow for proper air circulation within the bales.
- By day ten, you should see visible signs of decomposition, such as a rise in temperature and white mold growth on the interior of the bales.
- Once this happens, stop watering and let the bales sit for a few days to cool down. The interior temperature should be around 85°F before you start planting your tomatoes.
- Before planting, add some organic compost on top of the bales to provide additional nutrients for your plants.
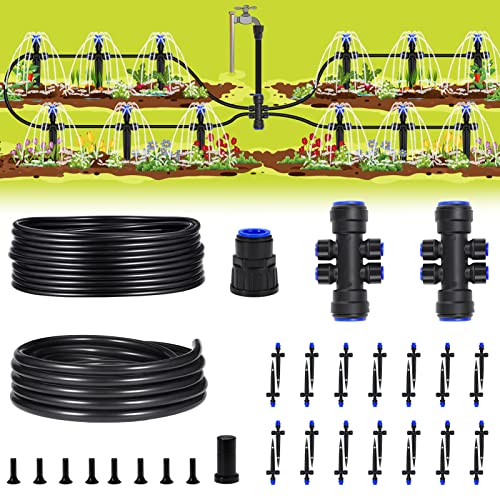
Gardening Hand Tool Set 3 Pack – MDSXO Heavy Duty Gardening Kit with Non-Slip Soft Ergonomic Handle, Great Garden Gift for Women Men[Stainless Steel]![Gardening Hand Tool Set 3 Pack - MDSXO Heavy Duty Gardening Kit with Non-Slip Soft Ergonomic Handle, Great Garden Gift for Women Men[Stainless Steel]](https://easyproductdisplays.com/wp-content/uploads/2017/07/buy6.gif) BESTHLS Garden Kneeler and Seat – Heavy Duty Folding Stool for Gardening, Protects Knees and Back, Supports up to 330 lbs – Great Gift for GardenersNoCry Extra Thick Professional Garden Kneeling Pad — Heavy Duty Anti-Slip Coating, Ultra Soft High Density Foam Cushion, Water & Dirt Resistant, Shock Absorbent Garden KneelerWeed Puller Tool Garden Weed Pulling Tool, Portable Garden Weeder Tool Uprooting Weeding Tool, 4 Teeth Manganese Steel Forged Hand Weeder for Vegetable Gardening Backyard Farm Planting & WeedingHIRALIY 118FT Garden Watering System, Drip Irrigation Kits for Plants, New Quick-Connect Fittings, Blank Distribution Tubing, Saving Water Automatic Irrigation Equipment for Patio Lawn
BESTHLS Garden Kneeler and Seat – Heavy Duty Folding Stool for Gardening, Protects Knees and Back, Supports up to 330 lbs – Great Gift for GardenersNoCry Extra Thick Professional Garden Kneeling Pad — Heavy Duty Anti-Slip Coating, Ultra Soft High Density Foam Cushion, Water & Dirt Resistant, Shock Absorbent Garden KneelerWeed Puller Tool Garden Weed Pulling Tool, Portable Garden Weeder Tool Uprooting Weeding Tool, 4 Teeth Manganese Steel Forged Hand Weeder for Vegetable Gardening Backyard Farm Planting & WeedingHIRALIY 118FT Garden Watering System, Drip Irrigation Kits for Plants, New Quick-Connect Fittings, Blank Distribution Tubing, Saving Water Automatic Irrigation Equipment for Patio Lawn
![Gardening Hand Tool Set 3 Pack - MDSXO Heavy Duty Gardening Kit with Non-Slip Soft Ergonomic Handle, Great Garden Gift for Women Men[Stainless Steel]](https://m.media-amazon.com/images/I/41qgPIFVlJL._SL500_.jpg)

Read: How to Prepare Straw Bales for Planting
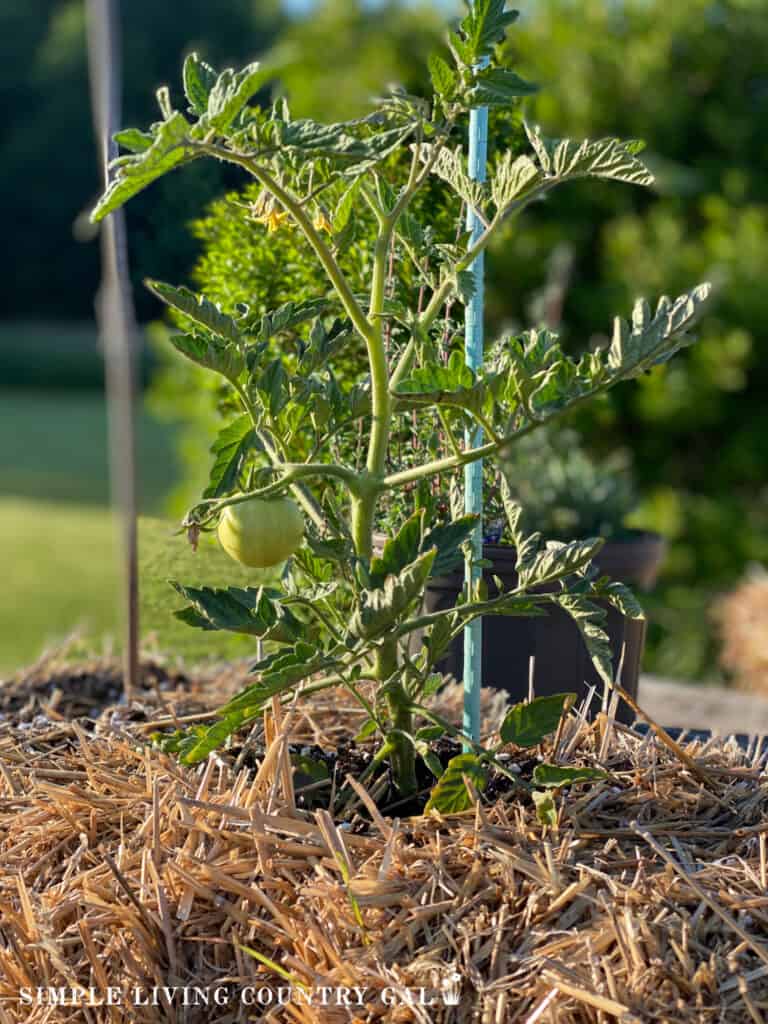
Step #2. Plant Your Tomatoes
Now that your bales are prepped and ready to go, it’s time to plant your tomatoes.
- Start by making a small hole in the top of the bale and adding some potting mix or soil with organic fertilizer.
- Add your tomato seedling to the hole, gently spreading out the roots before covering them with more soil.
- Water thoroughly after planting, and continue watering every other day for the first week.

Step #3. Tend Your Tomatoes
Once your tomatoes are planted, you will care for them as you would any garden.
- As the plants grow, make sure to add a layer of mulch on top of the bales to help retain moisture and prevent weeds from growing.
- Add a tomato cage or stake to support your plants as they grow taller.
- Monitor your plants closely and water regularly, making sure not to over-water as this can cause root rot.
- Prune your tomato plants regularly to encourage healthy growth by pinching off extra shoots from already heavy stems.
- You may also choose to add some organic fertilizer every few weeks to provide extra nutrients for your growing tomatoes.
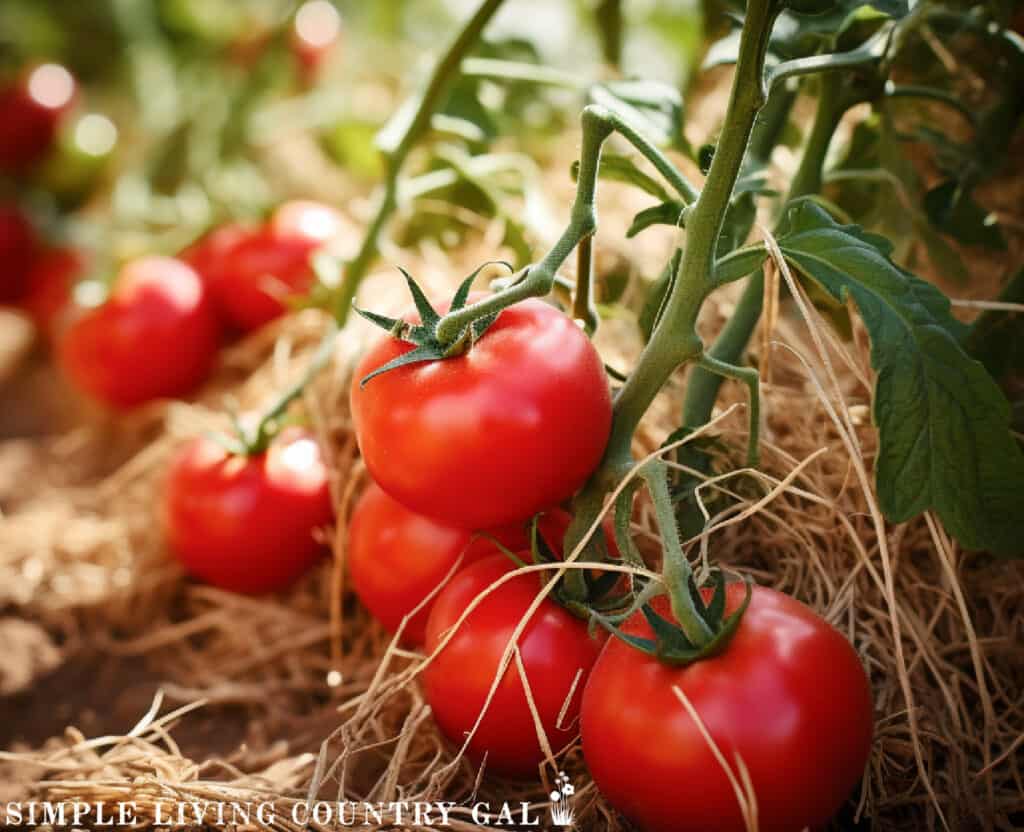
Step #4. Harvest
The time frame for growing tomatoes in straw bales is the same as in traditional gardens.
- In about 8-10 weeks, you should start seeing ripe, juicy tomatoes on your plants.
- Harvest them by gently twisting them off the plant with your hand.
- Eat right away or store to enjoy later.
- Remember to continue monitoring and caring for your plants throughout the growing season, as tomatoes are heavy feeders and require consistent care.
Step #5. Closing Up Your Garden
At the end of the growing season, there are tasks to do to close up your straw bale garden so you are ready to start a new one the next year.
- Remove all plants and safely dispose of them.
- Take the bales to your compost area.
- Be sure to cut and remove the bale twine and toss.
- Allow to compost down and use as your soil for the next growing season.
Growing tomatoes in straw bales is a great way to enjoy gardening no matter where you live. With the right materials, technique, and care, you can enjoy a bountiful harvest of juicy tomatoes without the need for traditional gardening methods. Give this easier way of gardening method a try and see if it changes the way you grow your food.
More Straw Bale Garden Resources:
- Best Plants for Straw Bale Gardening
- Straw Bale Garden Plant Layout
- How to Grow Herbs in Straw Bales
