How to Grow Cauliflower for Beginners
If you love fresh, flavorful veggies in the summer, cauliflower is a fantastic addition to your garden. Here’s how to grow cauliflower for beginners, step-by-step—from planting to harvest. With just a little effort, you can enjoy even more homegrown produce straight from your backyard.
The good news is it is easier than you think, so be sure to add this to your gardening 101 binder.
Many times, I like to tell stories about how I used to hate a veggie when I was a kid, but now I enjoy it. Well, cauliflower isn’t one of those. I’m still not a fan. My husband, on the other hand, absolutely loves it. He’ll eat it any way you can think of—raw, grilled, and even as a pizza crust (yes, really).
But he is not alone. Cauliflower has become super trendy lately with many folks. It’s not just a healthy veggie but also a clever stand-in for carbs. You can turn it into rice, whip it up as mashed potatoes, or even use it as a crunchy coating for chicken tenders. It’s a sneaky way to get more veggies into your meals while keeping things tasty.
Things to Know About Cauliflower
Cauliflower (Brassica oleracea) is part of the Brassicaceae family, just like broccoli, cabbage, kale, collards, Brussels sprouts, and kohlrabi. It thrives in cooler weather, making spring and fall the best seasons for growing.
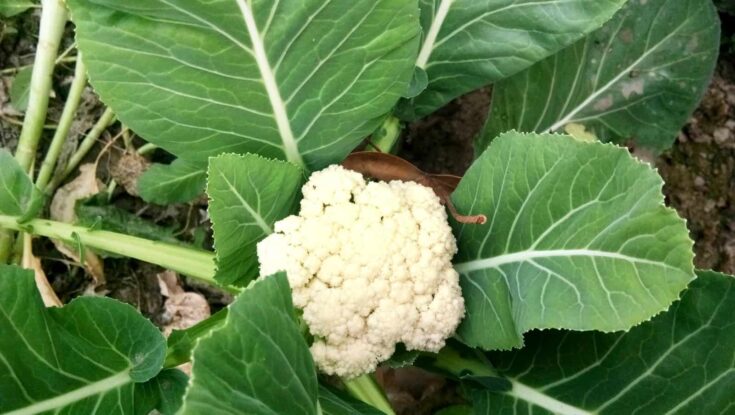
Similar to broccoli, it grows in a head, and you can eat pretty much all of it—the head, leaves, and stems. But unlike broccoli, cauliflower forms a dense, domed head made up of edible flower buds. Its texture is firm and curd-like, with a mild, slightly sweet, nutty flavor.

Cauliflower is packed with good stuff like vitamins B, C, and K, plus fiber and beta-carotene.
If you’re thinking of growing cauliflower, fair warning—it can be a little tricky for gardening newbies. It prefers consistent cool temps around 60°F. If it gets too hot or too cold, cauliflower can “button,” meaning it forms lots of tiny heads instead of one big one. But with the right care and patience, you can enjoy its unique flavor and all its health benefits right from your garden.
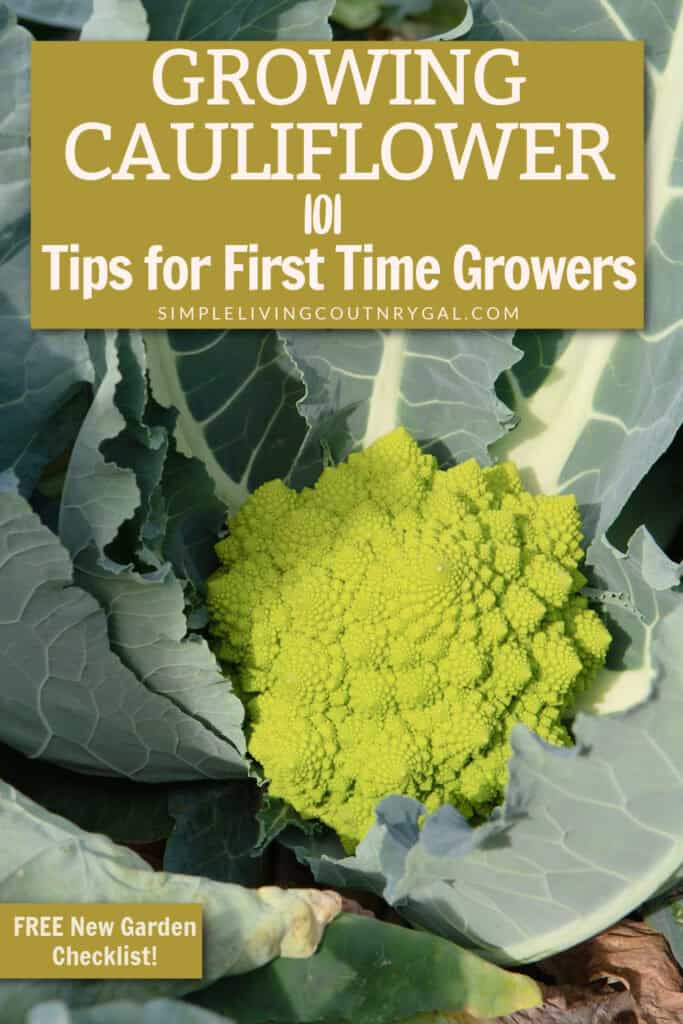
Here’s a fun fact: Cauliflower isn’t just white. It actually comes in a variety of colors, including purple, orange, and green. The purple variety gets its vibrant hue from anthocyanins, the same antioxidants found in red cabbage and red wine.
Be sure to grab the FREE How to Start a Garden From Scratch guide below!
Types of Cauliflower
Cauliflower comes in so many cool varieties, and each one has its own unique features. If you’re thinking about growing some, here’s a breakdown to help you pick the perfect fit:
- Attribute Hybrid: This early variety is a great pick for beginners. It matures in about 60 to 70 days and has a bright white head that’s roughly 7 inches wide. Plus, it’s tough enough to handle a light frost and some heat, which makes it perfect for areas with unpredictable weather.
- Cheddar Hybrid: If you want a pop of color, this orange variety matures in 60 to 70 days and grows heads that are 4 to 7 inches across. It’s loaded with beta-carotene, and the orange color gets even deeper when cooked.
- Depurple Hybrid: Vibrant purple and full of antioxidants, this variety takes a little longer to mature at 80 to 100 days. The heads average 6 to 7 inches in diameter, and the plant can grow up to 20 inches tall. Heads might turn green when cooked, but a splash of vinegar or lemon juice can help keep their gorgeous color intact.
- Early White Hybrid: This one’s speedy. It matures in just 50 to 60 days, with big white heads reaching up to 9 inches. It’s super cold-tolerant and grows to about 30 inches tall, making it a great choice for cool climates.
- Flame Star Hybrid: A lighter version of the Cheddar Hybrid, this pale orange variety matures quickly in 55 to 60 days. Its heads are firm, dense, and about 7 inches in diameter. Plus, it’s more heat-tolerant, so it works well in warmer areas.
- Graffiti Hybrid: This stunning purple variety is not only a feast for the eyes but also highly practical. It matures in 70 to 80 days, with heads that are 6 to 7 inches wide. It’s resistant to humidity and fungal diseases and has a mildly sweet flavor.
- White Corona Hybrid: Perfect for small gardens or container planting, this fast-growing variety matures in just 30 to 35 days. The heads are smaller, about 3 to 5 inches in diameter, but this little guy can handle a light frost. Just keep in mind, it might need some blanching for best results.
Seed Needs, Purple Sicily Cauliflower Seeds – 100 Heirloom Seeds for Planting Brassica oleracea botrytis – Non-GMO & Untreated for an Outdoor Garden (1 Pack) Seed Needs, Snowball Y Improved Cauliflower Seeds – 200 Heirloom Seeds for Planting Brassica oleracea -Untreated & Non-GMO for an Outdoor Vegetable Garden (1 Pack)Seed Needs, Cauliflower Seed Packet Collection (3 Varieties of Heirloom Vegetable Seeds for Planting) Non-GMO & Untreated – Includes Romanesco, Purple Sicily Cauliflower and Snowball Y Improved


How Much to Plant
For a good size harvest, plan on planting 2 to 5 plants per person in your household, depending on how often you plan to enjoy it.
Seeds or Seedlings
Cauliflower always starts out as a seed, but if you’re looking to speed things up, starting with small nursery plants is the way to go.
Growing from seeds: If you’re going the seed route, make sure to start them about 4 to 5 weeks before your area’s last spring frost.
Growing from seedlings: Opting for seedlings? Plant them 2 to 4 weeks before the last spring frost. Timing is key here—planting too early or too late can mess with their growth.
What You Need to Grow Cauliflower
Cauliflower will need well-draining, yet moisture-retentive and fertile soil to grow well. You’ll need to test your soil’s pH level; cauliflower prefers soil with a pH of 6 to 7. You may need to add potassium and phosphorus according to your test results.
- When to Plant – Plant in spring or fall for best results. Start seeds 4-5 weeks before the last frost or seedlings 2-4 weeks prior. For fall, plant in July, depending on your starting method.
- Sun – Make sure your cauliflower gets at least 6 hours of direct sunlight daily. Choose a sunny spot.
- Soil – Use well-draining, nutrient-rich soil with a pH between 6 and 7. Add compost or aged manure, and apply a 5-10-10 fertilizer if needed.
- Location – Pick a spot with good sun and airflow. Avoid overcrowding and rotate planting locations each year to prevent disease.
How to Grow Cauliflower for Beginners
Growth time varies based on the variety you plant. Some early varieties can grow quickly, in about 30 days; others take up to 60 days, and still other varieties can take up to 80 to 90 days. Be sure to check the growth time for the particular variety you’re planting.
#1. Temperature
Cauliflower is a bit picky when it comes to temperature. It grows best in cooler weather, ideally in the 60°F range. If it gets too hot or drops below freezing, the plants can struggle, leading to smaller “button” heads instead of a full, healthy one. To get it right, plant in early spring or fall, depending on your region, and aim for consistent, mild temperatures during its growing period.
#2. Sun
Cauliflower thrives in full sun, needing at least 6 hours of direct sunlight each day to grow strong and develop healthy heads. A bright, sunny spot is crucial, but if you live in an area with very hot summers, a little afternoon shade can help prevent heat stress.
#3. Soil
Cauliflower needs nutrient-rich, well-draining soil that can also retain enough moisture to keep the plants happy. Aim for soil with a pH between 6 and 7, as this range supports healthy growth. Mix in compost or aged manure before planting to boost nutrients, and if needed, apply a balanced fertilizer like 5-10-10.
#4. Watering
Cauliflower plants need plenty of water, about 1 to 1.5 inches per week or either rain water or a soaking from your hose. It’s important to keep the soil moist, but not too wet. If the soil is too wet it will rot the roots so be careful of over watering.
#5. Fertilizing
Side dressing your plants with a high-nitrogen fertilizer 3 to 4 weeks after transplanting seedlings will help them mature healthy and full.
#6. Support
Cauliflower is a ground plant and doesn’t require support from a trellis or fence.
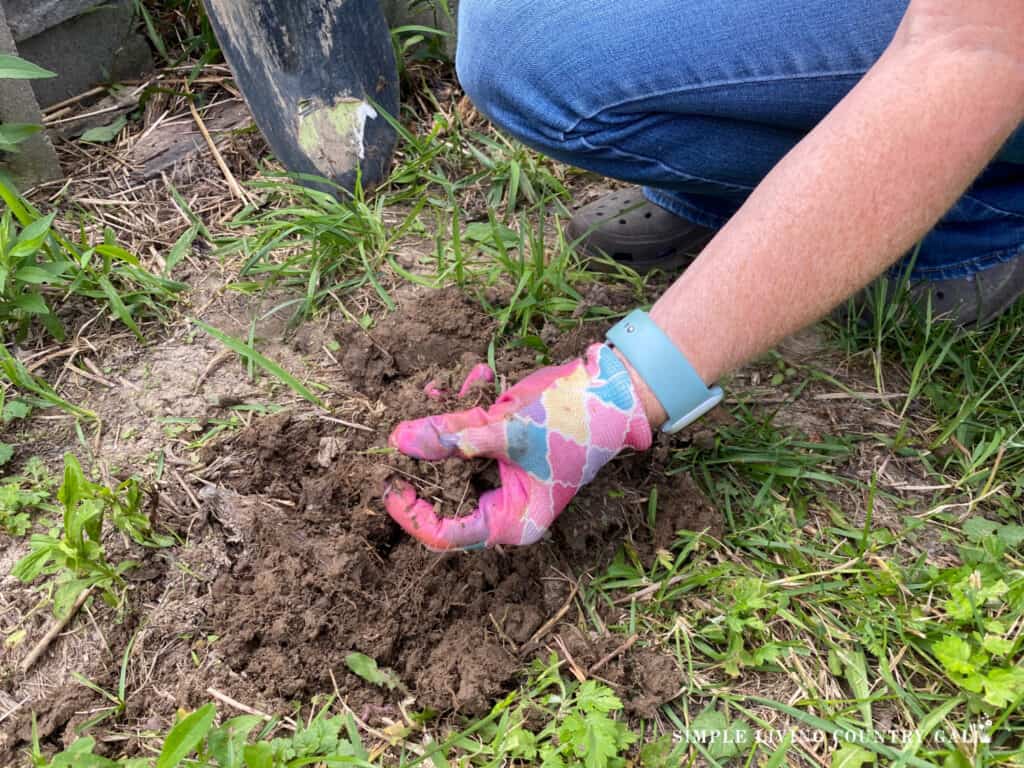
How to Plant Cauliflower
Planting cauliflower in your backyard garden is simple once you know the basics. Here’s how to get it right:
Planting Seeds
Start by sowing your cauliflower seeds about ½ inch deep in loose, fertile soil. Space the seeds about 3 to 6 inches apart in rows to give them room to grow. Once the seedlings sprout, thin them out, leaving the strongest plants spaced evenly. This helps ensure they have enough space to develop healthy heads.
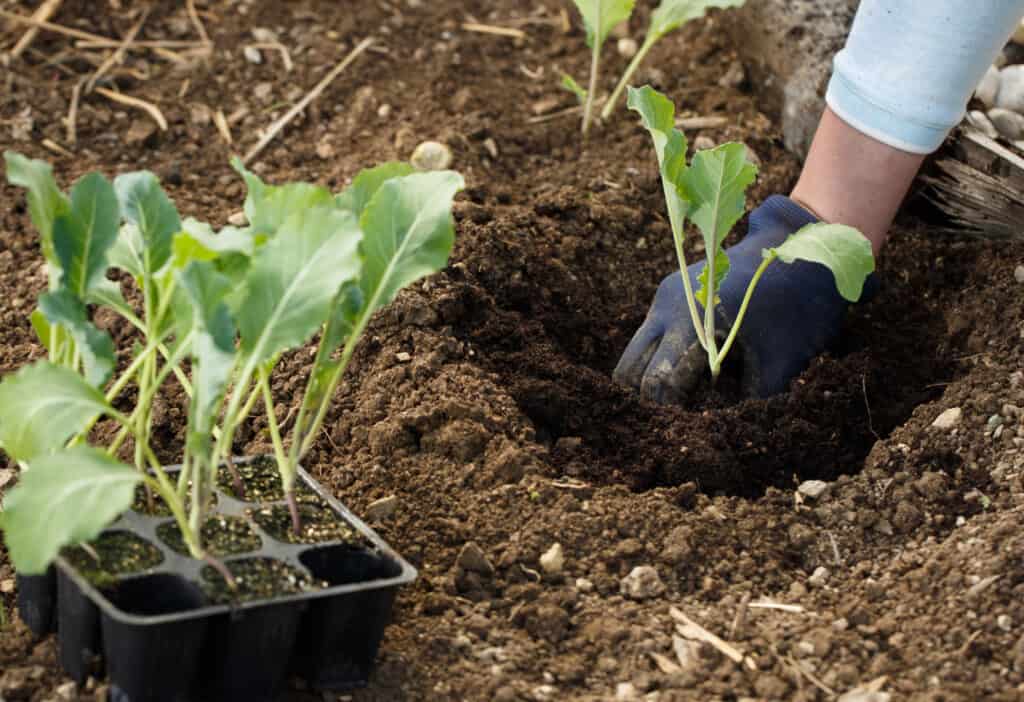
Planting Seedlings
If you’re working with seedlings instead, plant them 18 to 24 inches apart, with about 30 inches between rows for good airflow. Make sure to plant them 1 ½ to 2 inches deep, so the roots are well-covered and secure. Spacing is key here, as overcrowded plants can compete for nutrients and struggle to grow.
Gardening Tools Set of 10 – Complete Heavy Duty Garden Tools Set with Fashion Handbag – Durable Gardening Supplies Kit Ideal Gardening Gifts for WomenSeeding Square – Seed and Seedling Spacer Tool for Bigger Harvests, Organized Plants & Fewer Weeds – Color-Coded Gardening Template with Magnetic Dibber, Ruler & Planting GuideSONGMICS Garden Kneeler and Seat, Multifunctional Garden Kneeling Bench, Gardening Gifts for Women Men, Folding Gardening Stool, with 1 Tool Bag, 6-Inch Wide Kneeling Pad, Dark Green UGGK49L


Diseases and Pests to Watch Out For
Many diseases crop up due to overwatering, a lack of soil nutrients, or incorrect soil pH. Another common issue is planting in soil that previously housed diseased plants. To avoid spreading problems, don’t compost diseased plants, and give the area a break for at least three years before planting cauliflower again. Here’s a closer look at the pests and diseases to be aware of:
- Aphids – These tiny insects cluster on leaves and stems, sucking out plant sap and causing stunted growth.
- Cabbage loopers – Green caterpillars that chew large, unsightly holes in cauliflower leaves, weakening the plant.
- Cabbage root maggots – These larvae attack the roots, making plants wilt, turn yellow, and eventually die.
- Cabbageworms – These velvety green worms feed on leaves and can quickly decimate your plants if left unchecked.
- Black rot – A bacterial disease that causes yellowing leaves and blackened veins, often spreading in wet conditions.
- Clubroot – This disease causes swollen, misshapen roots, leading to poor nutrient absorption and stunted growth.
- Powdery mildew – A fungal disease that appears as a white powdery coating on leaves, blocking sunlight and slowing growth.
- Thrips – Tiny, slender insects that puncture plant cells and suck out the contents, leaving leaves speckled and discolored.
- Stinkbugs – These pests pierce leaves and fruit, causing spots and making the plant more vulnerable to disease.
- White rust – A fungal disease that creates white, raised spots on leaves, reducing the plant’s overall health and productivity.
Some cauliflower varieties are naturally more resistant to pests and diseases, so take a look at the seed packet to see what protections your chosen variety offers. You can also take preventative steps like using row covers to keep pests at bay or planting pest-resistant companion plants. For example, zinnias attract ladybugs, which in turn help control cabbageworms.
Agfabric Plant Covers Freeze Protection Frost Blankets for Plants 10’x50′ 1.2oz Floating Row Cover Garden Plant Cover Freeze Cloths for Plants Winter Frost Freezing Protection,WhiteZinnia Seeds Bulk 5,000+ | Outdoor Flower for Planting | Zinnia Seeds for 2025 | Mixed Colors & Large Blooms for Gardens| High Germination, Beginner-FriendlyGardeners Supply Company Garden Row Accelerator Plants Cover | Mini Greenhouse Seedlings & Plant Protector for Raised Garden Beds and Vegetable Rows – 45


How to Harvest Cauliflower
Use the seed packet guide for the variety you’re planting to determine the approximate number of days until maturity so that you can harvest at the correct time. Once the time and head size has been reaching and you have a large head of dense curd-like flesh, you’re ready to harvest.
Use a knife to make a clean cut across the stem a few inches below the head. You can leave more of the stem attached and even some of the leaves if you plan to eat them. Leaving some stem and leaves behind can encourage some side shoots to grow although cauliflower usually only grows one plant.
How to Store Cauliflower
Freshly harvested cauliflower will keep up to a week if stored properly. Don’t clean it before storing, simply wrap it in damp paper towels and store in the low-humidity crisper in your refrigerator.
You can also freeze your crop if you’d like. If you plan to freeze, wash, cut, and blanch the individual florets in boiling water for 3 minutes then lay them out on a towel to dry. Spread the fully dried florets on a cookie sheet and place it in the freezer, lying flat. Once they are frozen, you can move them to a zippered plastic freezer bag and store them in the freezer for up to a year.
Growing Tips for Cauliflower
- After planting, make sure to water consistently, giving your plants up to 2 inches of water per week during germination.
- Cauliflower can be a bit fussy and doesn’t handle change well. Sudden shifts in moisture, soil nutrients, or pest activity can cause the plant to mature too quickly or fail to fully develop.
- Don’t worry if it looks like a loose head at first—that’s just the beginning. Cauliflower heads need time to fully form, so be patient.
- When the head reaches 2 to 3 inches in diameter, you might need to blanch it, unless you’re growing a self-blanching or colored variety. To blanch, gently tie the outer leaves over the top of the head with string or a rubber band to block out sunlight. About 7 to 12 days after blanching, your cauliflower should be ready to harvest.
- If the head turns brown, your soil might lack boron. Try soaking the soil with a mix of 1 tablespoon of borax and 1 gallon of water, but avoid drenching your other plants. Repeat this every two weeks until the issue clears up. You can also use liquid seaweed extract as a solution. For future plantings, work extra compost into the soil before you begin.
- For white varieties, pink heads usually mean too much sun or large temperature swings. A purple tint on white heads is typically due to low soil nutrients or stress from water, heat, or sunlight.
- Row covers can come to the rescue. They help regulate temperature and sunlight while also keeping insects away. Just make sure to place them high enough to leave room for growth and leave the ends open for better airflow.
Cauliflower is a great addition to your family meals, with endless varieties and countless ways to cook it, so you’ll never get stuck in a rut. On top of that, it’s packed with nutrients, making it as healthy as it is versatile. Plus, since it freezes well, you can enjoy your homegrown cauliflower all year round, even when it’s out of season.
There’s nothing quite like the flavor of cauliflower fresh from your own garden. It beats anything you’ll find at the grocery store, and growing it yourself gives you the chance to experiment with different varieties until you discover your favorite.
I hope this beginner’s guide to growing cauliflower gives you the confidence to plant this adaptable veggie in your backyard. Once you do, you’ll always have a delicious and nutritious option straight from your garden.
More How to Grow Resources:
How to Grow Cauliflower
If you love fresh, delicious vegetables in the summer, this post is for you. How to grow big healthy cauliflowers in your own backyard that are perfect for any meal! Learn the steps you need for how to grow Cauliflower for beginners step-by-step, from planting to harvest.
Materials
- Cauliflower Seeds or Seedlings
- Water
- High-nitrogen Fertilizer (optional)
Tools
- Garden or garden containers
- Rake
- Shovel
Instructions
- Plant seeds or seedlings 18 to 24 inches apart with about 30 inches between rows. Seeds should be sown in rows 3 to 6 inches apart and thinned out as they sprout. Seeds should be planted about .5 inch deep, but seedlings about 1.5 to 2 inches deep.
- Water up to 2 inches of water per week.
- When the head is 2 to 3 inches in diameter, you will need to blanch it. (this is not necessary for self-blanching or colored varieties.
- To harvest, use a clean knife to make a clean cut across the stem, a few inches below the head.
- To store, wrap it in a damp paper towel and store in the low-humidity crisper in your refrigerator. The harvest should be good for about a week.
Notes
- Row covers can help control the temperatures and sun light. They can also help to prevent insect infestation. Place them as high as possible and leave the ends open to help keep the air circulating.
- You can also freeze your crop if you’d like. If you plan to freeze, wash, cut, and blanch the individual florets in boiling water for 3 minutes then lay them out on a towel to dry. Spread the fully dried florets on a cookie sheet and place it in the freezer, lying flat. Once they are frozen, you can move them to a zippered plastic freezer bag and store them in the freezer for up to a year.
Recommended Products
As an Amazon Associate and member of other affiliate programs, I earn from qualifying purchases.
-
 EXTRAEASY Plant Covers Freeze Protection 10ft x 50ft,Garden Floating Row Covers for Raised Beds/Vegetables Insect/Winter Frost,Frost Cloth Plant Freeze Protection 0.55oz 10x50ft
 -
RAW- Nitrogen/Plant Nutrient for Treating Deficiencies, Increase Plant Growth During vegative Stage/Plant Feeding Supplement/for Indoor Outdoor Use/Hydroponics (2 Ounce)
-
Snowball Cauliflower Seeds for Planting - Non-GMO Heirloom Packet with Instructions to Plant & Grow a Home Outdoor Vegetable Garden (200 Seeds) – Great Gardening Gift, 1 Packet