Trimming the fence line – keep goats inside
If you want to be sure your goats stay in your pasture, you will need to do a bit of maintenance to ensure your fence is doing its job effectively. The most important is trimming the fence line—another tip to use in your goat fencing setup.
Add this to your list of goat fence ideas so you can create a setup for your goats that will keep them safe while grazing.
Nothing is more frustrating than getting a phone call from a neighbor letting you know your buck is out again. This tends to happen every spring as the weather begins to warm up, that is when our animals get adventurous.
If you have a homestead, I am sure you understand entirely.
My to-do list in the spring is quite impressive and not in a good way. Hubby and I have so many things that need to be done that instead of having one massive list of projects, we make a list for each month of the year. This breaks things down and removes the stress an overwhelm that a large list can bring.
If you want to learn our effective way of planning, you can jump over and read PLANNING PROJECTS ON THE HOMESTEAD for our step-by-step approach.
So after the 3rd call regarding our roaming buck who swears the grass really IS greener on the other side of his fence, I knew it was time for a fence inspection to find out just what was up.
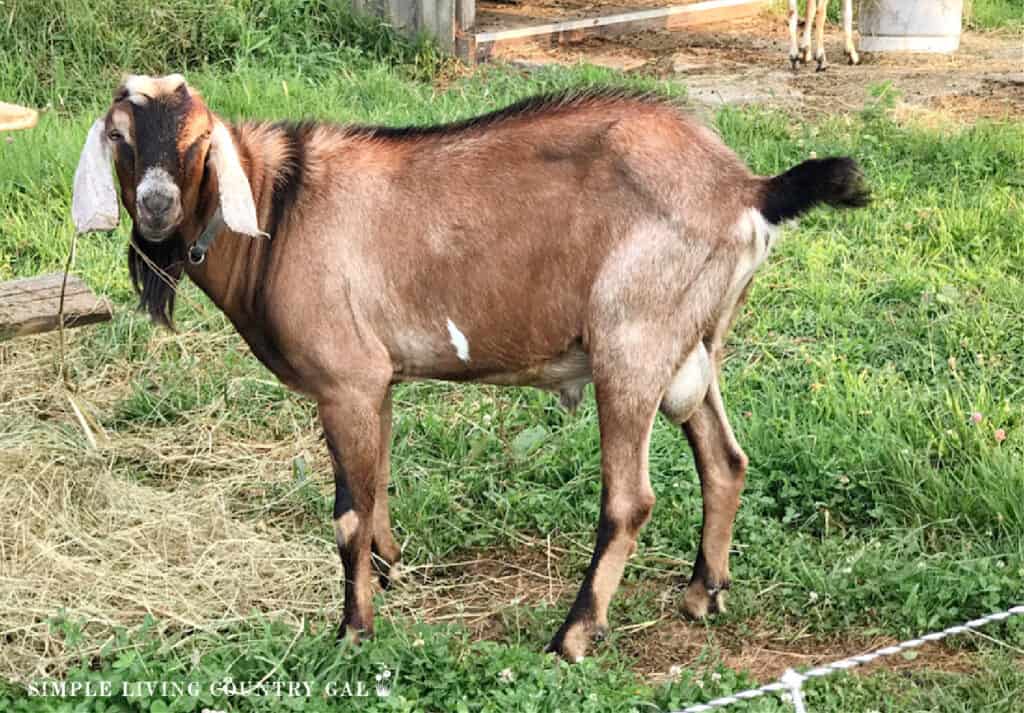
When you have livestock on your homestead, fence maintenance is an important chore that should be noticed. We had no idea how necessary this chore was until we began having issues with goat buck escaping.
The funny thing is, he never really went very far. We usually found him just a handful of feet outside the fence, chewing on grass.
How do you inspect a livestock fence?
Fence inspection is relatively easy and will all depend on your setup and the type of fence you have. Let’s look at each of the most common fencing options and a good timeframe to use for the best maintenance.
#1. Electric Fence Netting:
You should inspect this type of fencing every week in the spring and every few weeks in the summer and fall. Walk the fence line and inspect the netting for holes or tears in the wire.
#2. High Tensile Fencing/Electric Tape:
You should walk this type of fencing thoroughly after winter is over to look for any snow damage, then every few weeks after that. Walk the fence line and look for slack wires or holes dug under the lowest line.
#3. Steel Fence Panels (non-electric):
You should walk this type of fencing thoroughly after winter is over to look for loose panels or stakes. Also, be sure to check to see if any holes that may have been dug under the fence.

How did our buck escape our fence setup?
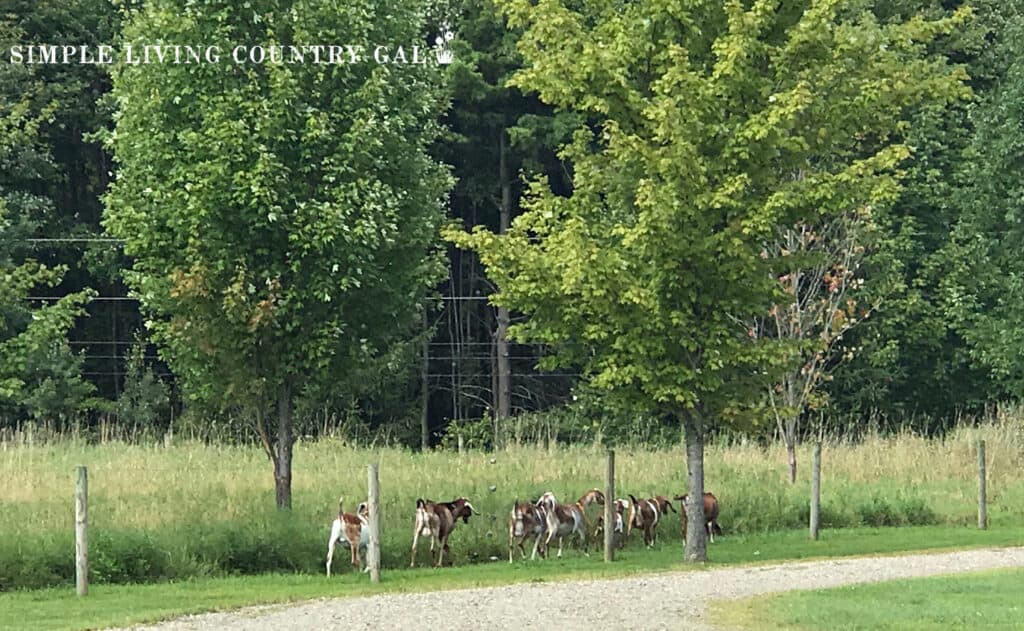
After a few escapes from our buck, we walked the entire fence line and found the grass had grown up in some areas to a point where it was grounding out the electric current. We have since learned that a monthly walk, at the very least, is important to ensure our herd is being kept on the right side of the fence where it is safer for them and our neighbors.
This may sound like an obvious and simple task, but when I first started out I did not realize 2 major things.
#1. If you do not trim the grass around the base of your electric fence, it grounds out and will be completely useless keeping anything in a pasture, let alone a determined 180-pound buck.
#2. Trimming a goat fence line, especially when you have quite a bit of fence, is a pretty time-consuming task. My advice? Enlist some help.
Goat Fencing 101-Trimming the Fence line
Let’s take a look at the two most common electric fencing options for goats and what you can do to ensure the current stays strong.
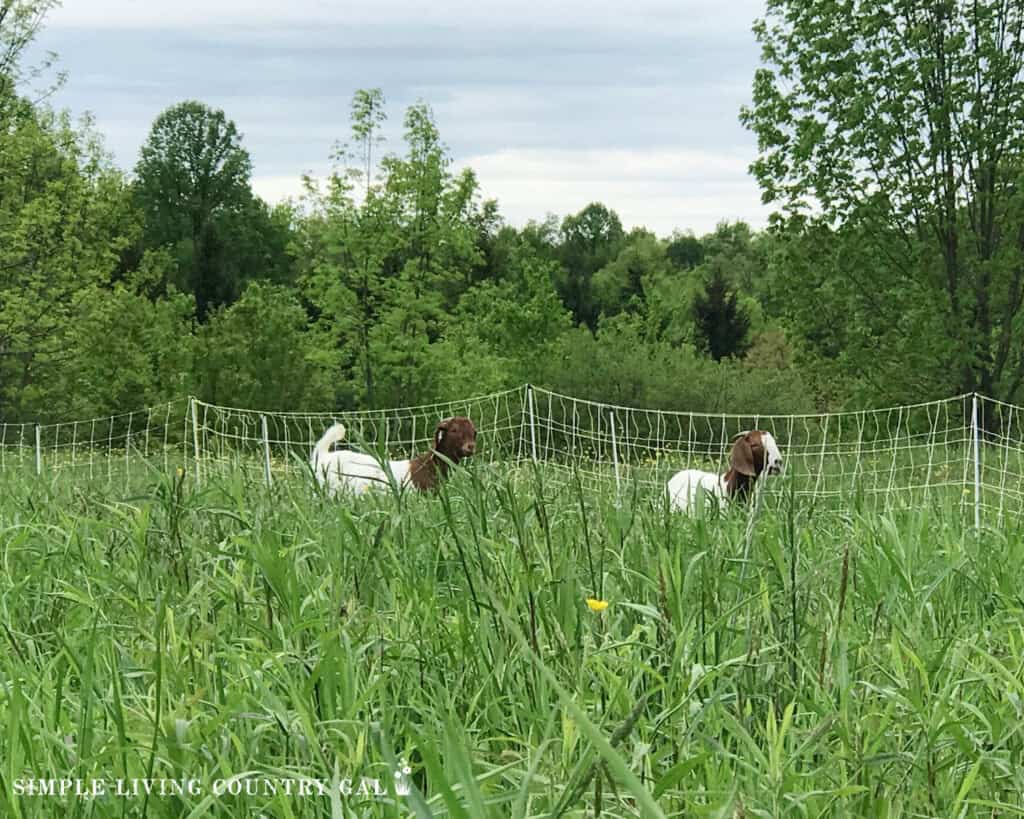
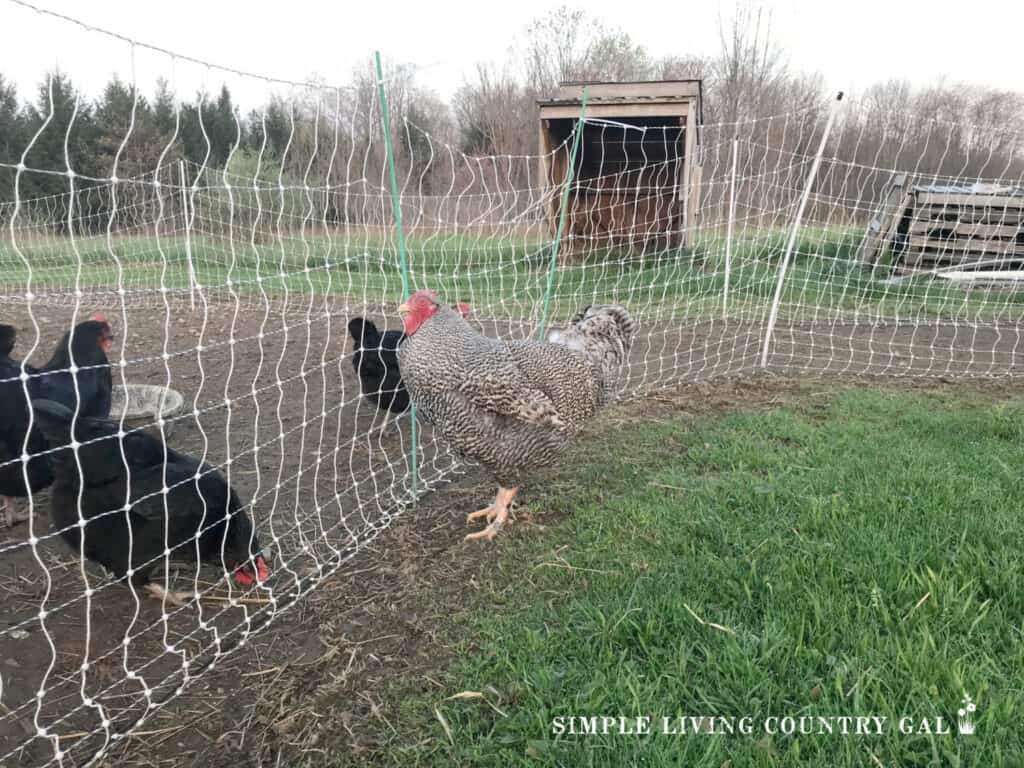
Electric Net Goat Fencing
Electric fence netting is a woven, prefabricated, portable fence that you can purchase in sections that are around 160 feet or longer. They can be hooked together, creating a much longer fence that is able to be electrified.
Step #1 Move the fence
If you use an electric netting fence, you will need to move the fence off the line so you can cut the grass more easily. One of the perks of netting is you can move it quickly and quite easily making this project one you can do without outside help.
- Move your goats to another area or lock them inside your barn until you have finished.
- Be sure you have the electric turned off.
- Pull the stakes out of the ground and move each section off to one side. We just lie the fence in the grass until we are finished.
- About 5 feet should be enough space.
Our fence netting was purchased from Premier One, but you can find the same fence at the same price from Amazon. I love this fence so much that I now have 4 of them, including one for my chickens.
Premier 1 Electric Chicken Net | Yellow Poultry Fence for Backyard Chickens, Ducks, Turkeys – 48 Electric Fence Netting Livestock Fencing with Voltage Tester for Sheep, Goats, Hogs – 35ANDMON MINI400 30 Miles Solar Electric Fence Charger, 0.4 Joule Solar Electric Fence for Livestock, Horses, Cattle Sheep, Solar Fence Charger with Day or Night Mode, Easy Installation


Poultry netting is the only thing I have found that will safely keep my chickens inside where they belong. It also works well, preventing daytime predators and allowing our flock to range safely in a bigger area.
Step #2 Cut, mow, or trim the grass
Once the fend is moved out of the way, mow a 5-10 foot ease way along the path of your fence line. Try to take the grass down as low as you can.
If you haven’t done this in some time, you will need to start higher and make a few passes, lowering the deck each time.
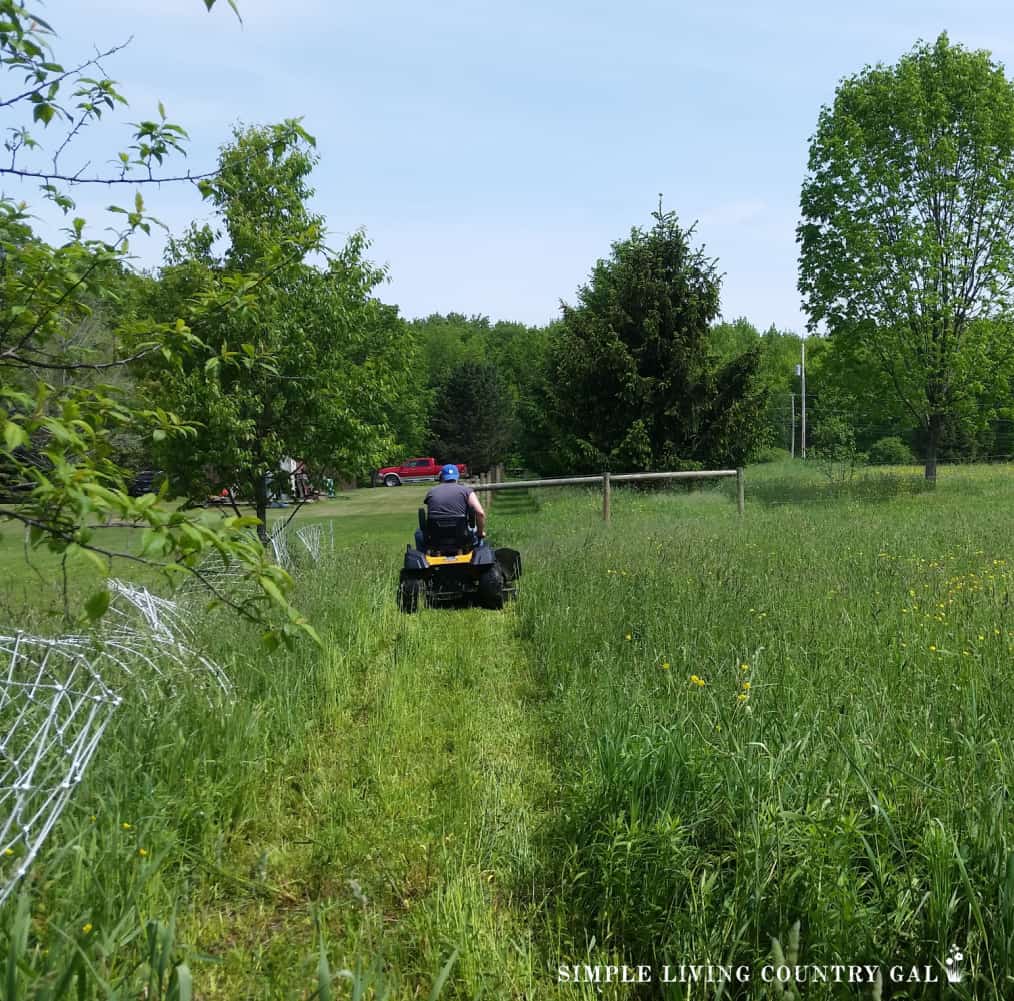
We also like to make a wide easeway along the fence line to give our goats a pathway to walk down when moving around the pasture. This is helpful when the kids are out as I cn see them more easily in the mowed areas.
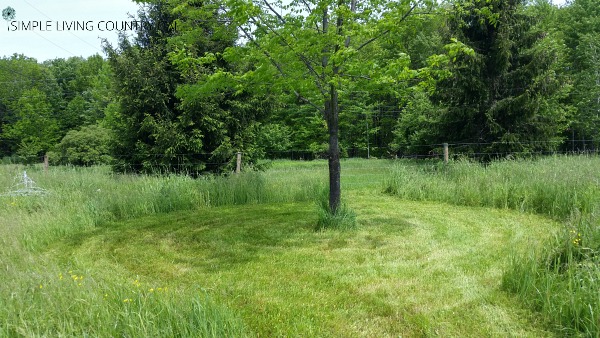
I now even go so far as to mow a border around the base of our shade trees and a few paths throughout the pasture. The paths are perfect for the entire herd, but especially for my goat kids, as they tend to get lost rather quickly in the tall grass. The mowed areas help them to stay near to the older goats and I can see them playing together in the shady spots.
Step #3 Return the fence
Once the grass is trimmed you will want to put the fence back into place. As you replace your fence, take the time to check the condition of your netting as you go. This is a really good habit to get into.
I always try to stay one step ahead of my goats; if there is a tear in the netting I would rather find it myself than have them make me aware of it by getting out and into the neighbor’s garden.

Let me jump in here quickly to say that if you are brand new to homesteading and just thinking about getting animals, this may all be new to you. Read my post on Goat Fencing 101 to learn the different types of fencing and the pros and cons of each.
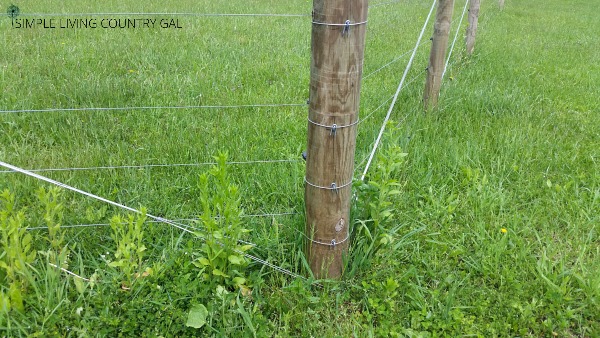
High Tensile Fencing
Another fence option is high-tensile. This is a permanent option but one that works great if you have a collection of different animals on your homestead.
Dairy Goat Milking Guide+Bundle Goat Care CalendarGoat Fencing Bundle


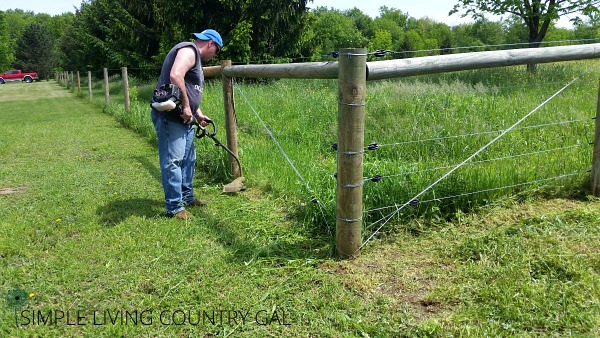
Step #1 Mow down the grass
Before you begin, be sure to turn off the power to your fence. Start out by using a mower to cut as much of the grass as you can reach under the lowest strand. This is the easiest way to get rid of most of the grass and weeds, but be careful there is a chance that you can get hung up or tangled in the wires with the mower deck. Go slow and watch the clearance so you do not create a bigger issue.
Also, it is better to mow the grass on your fence line from both sides as this will give you a wide area that your goats can use to walk around the pasture.
Step #2 Take it down to the ground
To ensure you do not need to do this chore more often than necessary, use a weed whacker to cut the grass under the lowest wire all the way to the dirt. I know this step seems like a lot of work, and it is!
However, you will buy yourself an additional 2 weeks before you will need to do this project again.
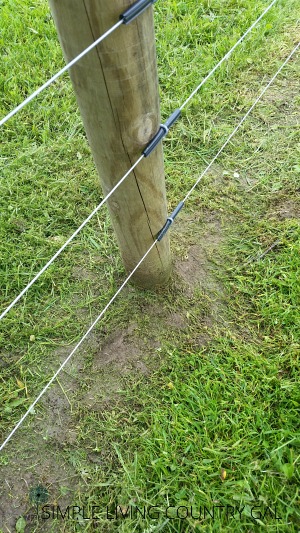
Step #3 Inspect
As you are working, take the time to check the condition of your goat line fence. Look for slack areas, kinks, or even areas where animals may have dug under the lowest line. If you can find these issues and correct them, you will ensure small.
Again, staying on top of things on a homestead is a good thing, especially when you are raising livestock.
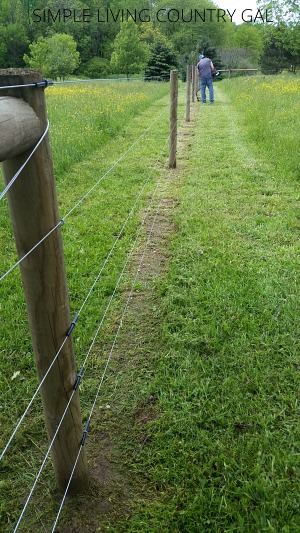
Trimming the fence line may seem like an obvious chore, but it is an important one that you do not want to postpone. The purpose of an electrified fence is not only to keep your herd in but to keep predators out. Keep this chore on your routine list so your fence is able to do the job effectively.
It can be easy to overlook the obvious and before you know it you have a huge problem on your hands. Get goat fence line trimming on your monthly to-do list so it is a task and not a day-long chore.