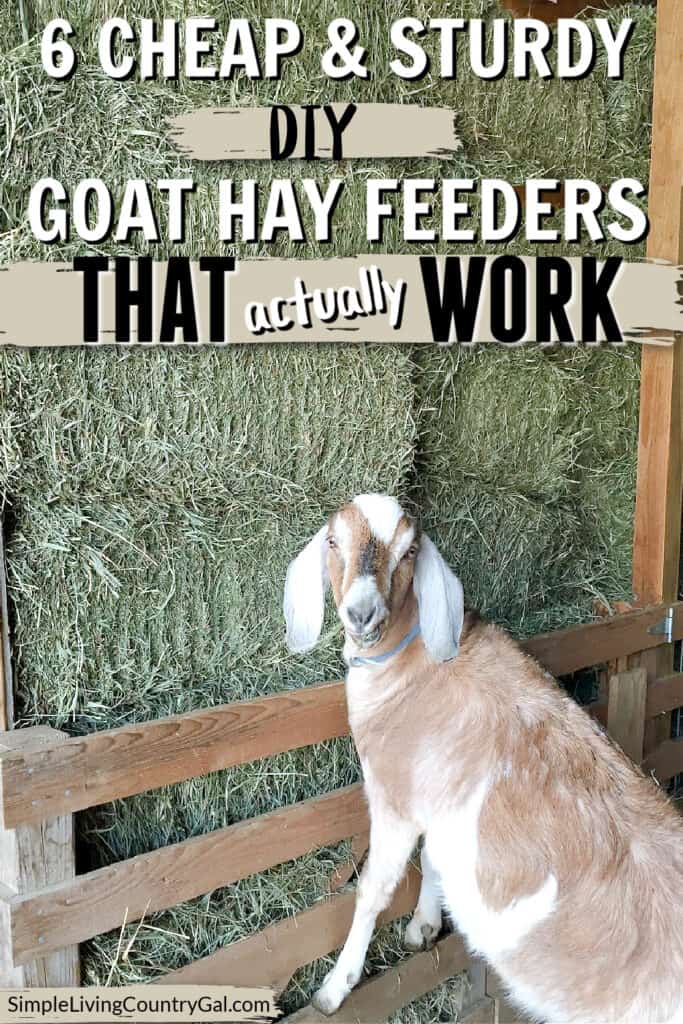
diy goat hay feeder
If you’ve had goats for more than five minutes, you already know—keeping hay off the ground is a full-time job. The right DIY goat hay feeder can save you money, reduce waste, and make chore time so much easier. I’ve gathered a few sturdy, budget-friendly ideas you can make yourself, so you can try different styles and see what works best for your herd.
Because here’s the thing, how to raise dairy goats successfully isn’t just about good genetics or fancy shelters. It’s also about simple, practical tools that keep your goats healthy and your wallet happy.
After years of raising animals, I’ve learned one big truth,keeping them healthy from the start saves you a whole lot of headaches (and vet bills) down the road. From day one, there are simple things you can do to raise strong, hardy animals with immune systems that can handle most of what life throws at them.
The number one thing you can do? Feed them clean, good-quality food. Sounds simple enough, right? The tricky part,especially with goats,is that they can be incredibly picky. Forget the old “they’ll eat anything” myth. If they don’t like it, they simply won’t eat it.
Take hay, for example. Goats will happily pull out the pieces they like and let the rest fall straight to the ground, where it instantly becomes “inedible” in a goat’s view. That’s why having a good hay setup is so important. The right feeder keeps hay clean, reduces waste, and saves you time, money, and frustration.
If you’re wondering what hay is best, check out my guide on what hay do goats eat for the best options.
Why You Need a Hay Feeder
A hay feeder is more than just a convenience, it’s a must-have for any goat barn. It keeps hay off the ground where it can get dirty, damp, or full of things you don’t want your goats eating. Less waste means more money stays in your pocket and more nutrition stays in your goats.
A good hay feeder also helps prevent the spread of parasites and disease by keeping food clean. This matters even more if your goats share a space, since one messy eater can ruin hay for everyone.
How to DIY Goat hay Feeders
Over the years, I’ve tried just about every hay feeder style you can imagine. Below are my top picks for affordable, sturdy options you can build yourself. Each one includes what worked well, what didn’t, how many goats it can feed, and who it’s best for.
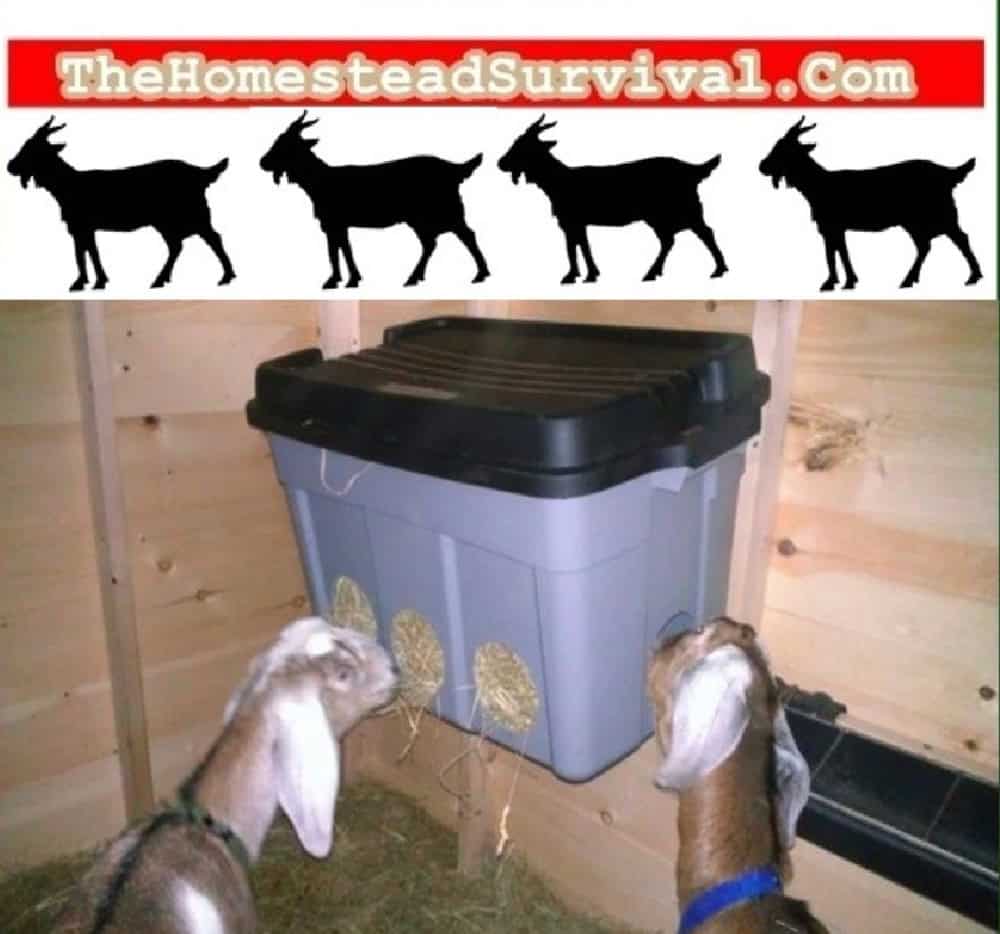
#1. Tote Feeder
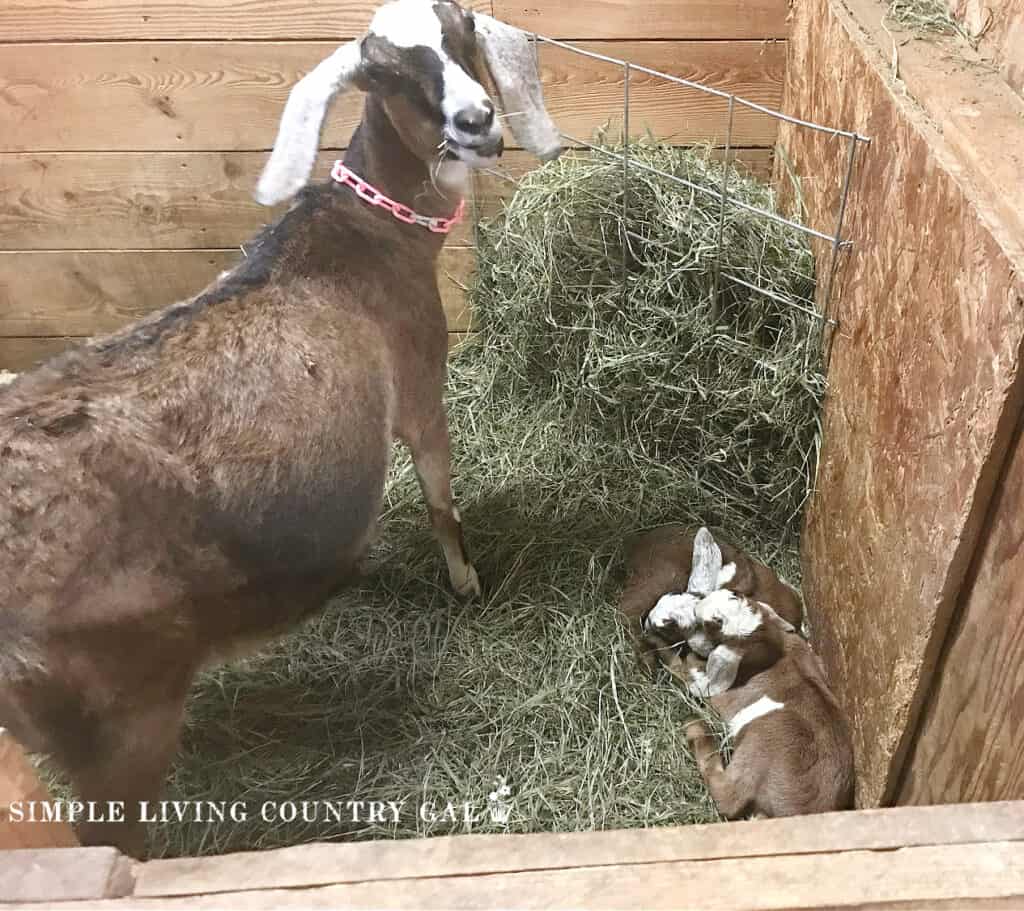
If you need something quick, inexpensive, and easy to set up, the tote feeder is worth considering. It works especially well if you only have a few goats to feed, think 2 to 4 at most, since it’s small and compact.
This style is also a lifesaver in situations where you need a temporary feeder, such as a kidding pen, sick pen, or a short-term holding area. While it’s not built for long-term use with a large herd, it’s a great solution for keeping hay clean in smaller, controlled setups.
Plastic Tote Feeder Instructions:
- Choose a tote that is large enough for the goats you plan to feed.
- Be sure you have a lid that fits securley in place.
- Using a utility knife, cut 1-5 holes near the bottom of the tote.
- Hang the tote using bolts, washers, and a sheet or plank of wood to keep the tote from cracking.
- Hang at a height that allows your goats to eat while standing comfortably.
Pros: Easy to make, inexpensive (free if you have a tote on hand).
Cons: Won’t hold up well with rough or aggressive adult goats.
Bottom Line: Perfect for young goats, sick pens, or very small herds. Not a long-term solution for bigger, stronger goats.
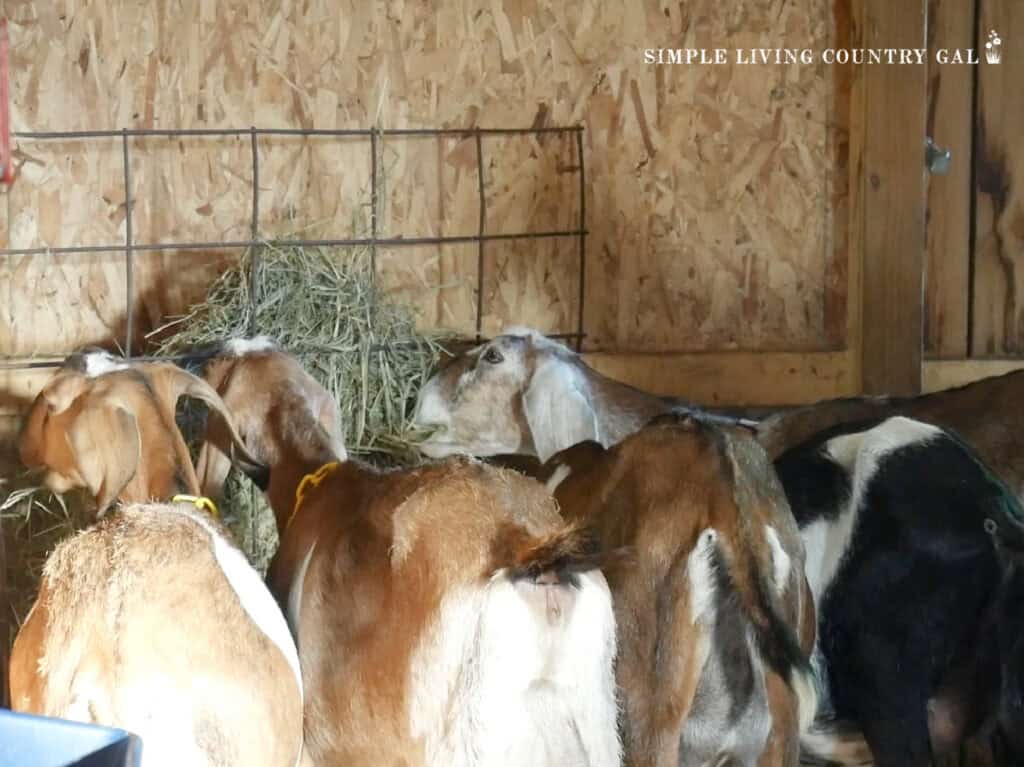
#2. Fence panel Feeder
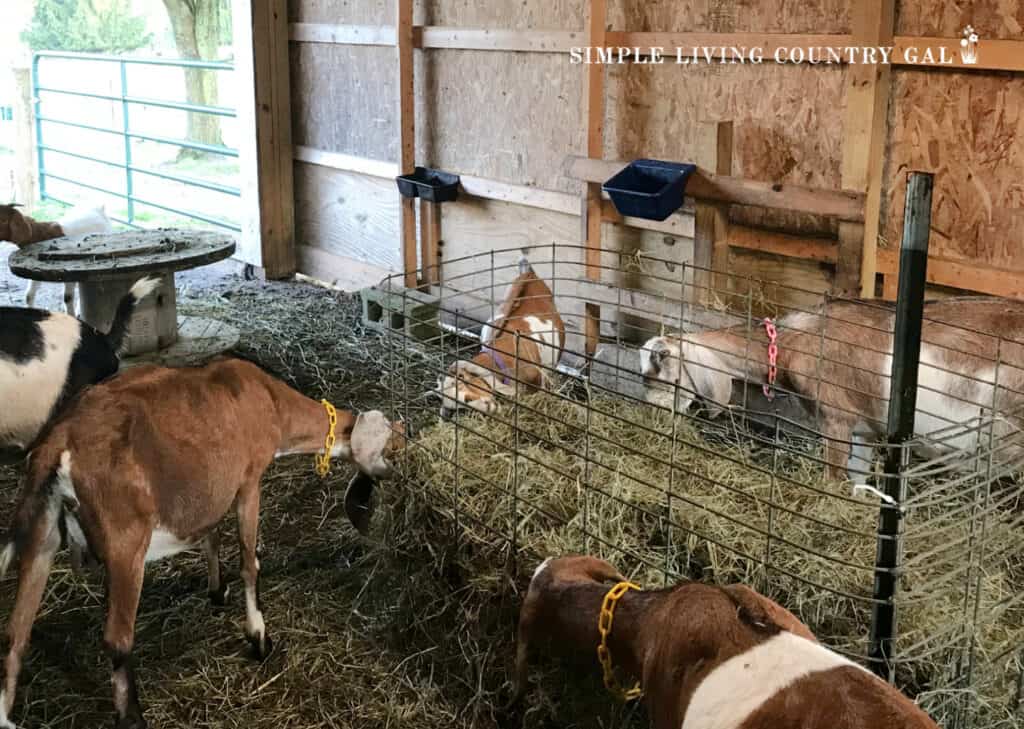
If you’re looking for a long-lasting, low-maintenance feeder that can handle daily use, the fence panel feeder is one of the best options you’ll find. It works well for anywhere from 4 to 8 goats (or more if you install multiple), and the design allows several goats to eat at the same time without crowding.
Because it’s mounted in a corner and close to the ground, waste is minimal, making it a money-saver over time. If you have leftover fencing from another project, this can be built with almost no extra cost.
Fence Panel Feeder Instructions:
- Look for a piece of fence that is about 4 feet high x 3 feet wide.
- This option works best in a corner of a barn or pen.
- Use fence nails/staples to attach it to the wall on each side of the corner.
- Fill with hay.
Pros: Durable, minimal hay waste, works for multiple goats at once.
Cons: Not safe for goats with horns; openings must be big enough to avoid stuck heads.
Bottom Line: Ideal for large or mixed-age herds, just avoid if you have horned goats.
#3. Bag hay Feeder
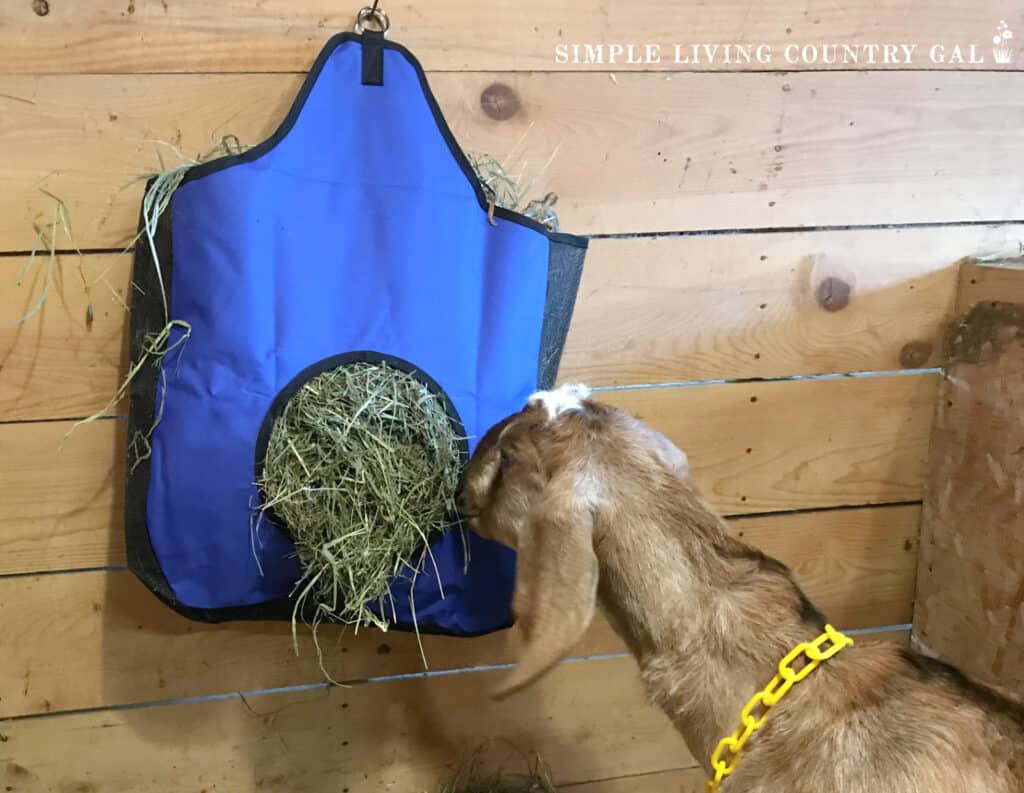
When space is at a premium, a bag hay feeder is a great option. It can be hung on almost any wall, which makes it ideal for narrow barns, small stalls, or milking areas. It’s best suited for feeding one goat at a time, two if they’re willing to share without pushing each other away.
This design keeps hay contained and off the floor, which means less waste and less cleanup. You can make one from heavy-duty material or buy one ready-made online if you don’t sew.
Qicfrk 2 Pcs Hay Feeder for Goat, Nylon Goat Feeder, Slow Feed Hay Bag Less Hay Waste Tote Bag with Metal Ring and Adjustable Strap for Sheep Horses Paddock (Black) Tough 1 Slow Feed Hay Bag, Royal BlueTylu Hay Bags for Horses,Slow Feed Hay Bag Hay Feeder Net for Goats Alpacas Indoor Outdoor Grazing Feeding – Large Capacity


Bag Hay Feeder Instructions:
- Using a heavy-duty material such as canvas, construct a bag that is long and slender.
- Cut a hole in the front and reinforce the opening to deter it from fraying or tearing.
- Add metal rings at the top for hanging and one at the bottom to prevent twisting.
Pros: Durable, great for tight spaces, reduces waste.
Cons: More effort to make; not ideal for big herds.
Bottom Line: Best for single goats, milk stands, or small spaces. Skip for larger groups.
#4. Troth Pallet Feeder
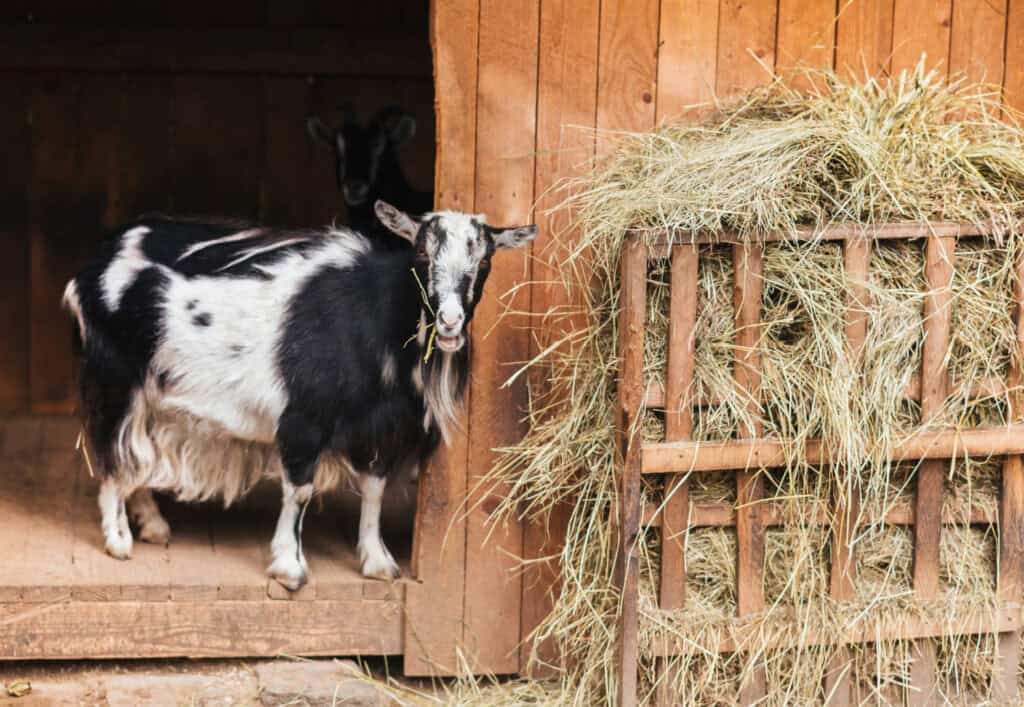
If you have a few pallets lying around, this feeder is an easy, affordable option that can be ready in minutes. It’s best for small herds, around 2 to 4 goats, because it holds a modest amount of hay. The wall-mounted design keeps hay off the ground and contained, making it a good choice for small barns, side pens, or as a backup feeder.
While it’s not built for heavy-duty, all-day feeding, it’s perfect for part-time use or as a budget-friendly starter option.
Troth Feeder Instructions:
- Remove the back of a wood pallet.
- Attach to the wall using spacers on the sides to give more room.
- Fill with hay.
Pros: Very low cost, quick build.
Cons: Limited hay capacity, best for small herds.
Bottom Line: Great for small herds or as a temporary fix. Not built for heavy daily use.
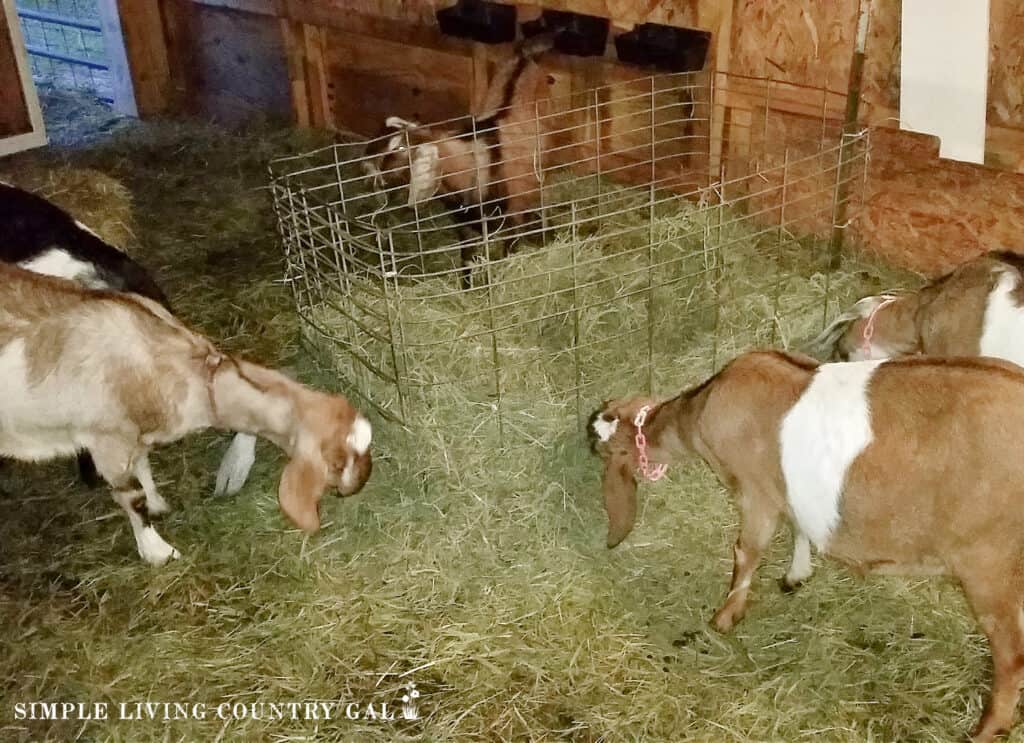
#5. Open Feeder
If you have a larger herd and need a feeder that can keep everyone happy, the open feeder is hard to beat. It can hold enough hay to feed 8 to 12 goats (or more) at once, and the design allows them to eat from all sides without pushing or fighting.
Because dropped hay lands back in the trough, waste is minimal. The downside? It takes some muscle and teamwork to bend the panels into shape. Once it’s built, though, it will last for years.
Open Feeder Instructions:
- You will need one full sheet of metal hog panel fencing. Do not use cattle panels as they are too high.
- Lie it flat on the ground and measure it into four sections so it will form the shape of a rectangle.
- With the help of at least one more person, bend at each of the three sections.
- Using heavy-duty zip ties, attach the open ends together, making a rectangle.
- Place in a central area of your barn so all goats can access the hay.
Pros: Handles large herds, very little hay waste, works for all ages.
Cons: Hard to bend panels alone; not safe for horned goats.
Bottom Line: Perfect for large herds with plenty of space, just avoid if your goats have horns.
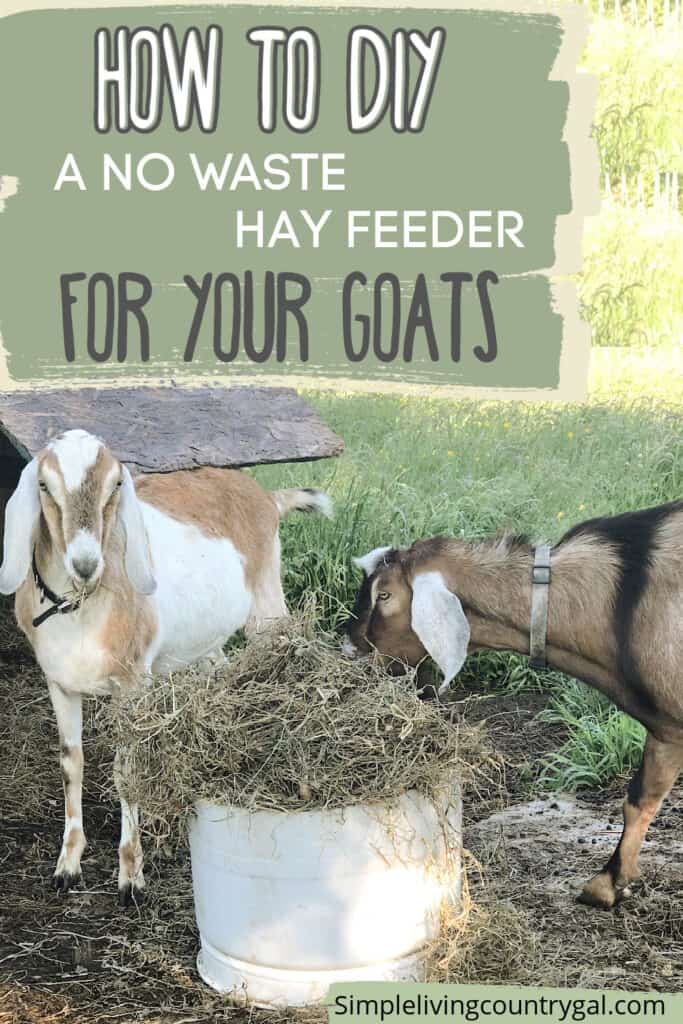
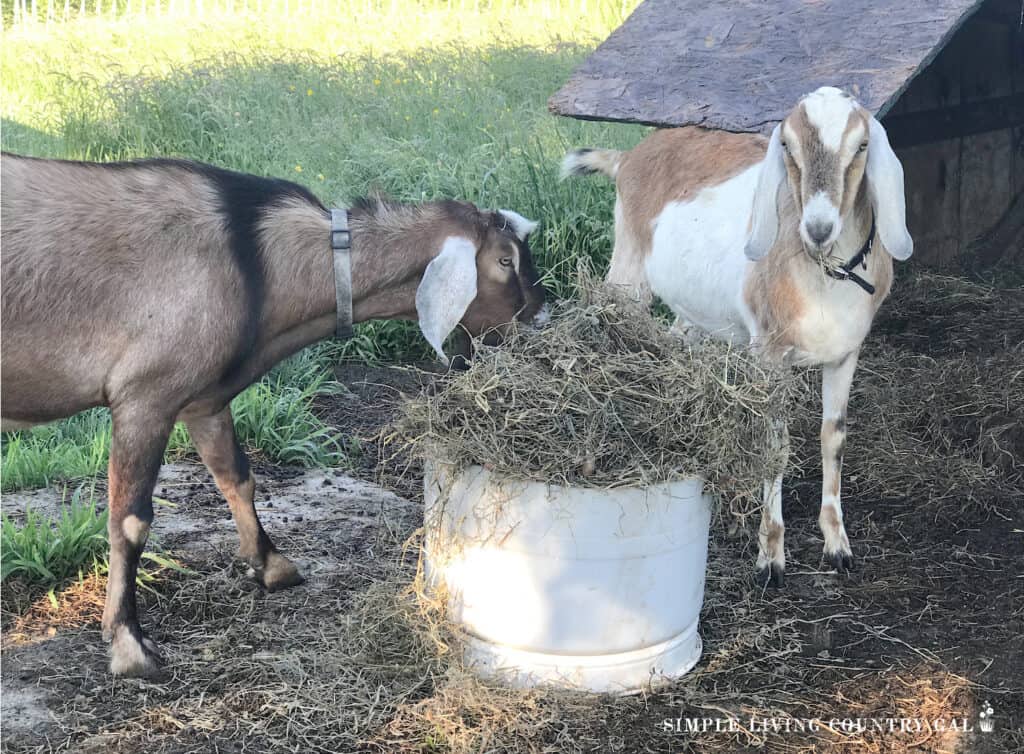
#5. Bucket Feeder
When you need something fast and don’t have a wall to hang a feeder, a bucket feeder can do the job. It’s best for 1 to 2 goats at a time since space inside the bucket is limited. This setup is especially handy for temporary pens or when you’re working on a bigger feeder project. Just keep in mind that goats can knock it over, and if you use it outside, the hay can get damp quickly.
Bucket Feeder Instructions:
- Find a bucket that is clean and dry.
- Put it on a platform and weigh it down.
- Fill with hay.
Pros: Fast, cheap, and easy.
Cons: Tips over easily; hay can get damp outside.
Bottom Line: Handy in a pinch or for temporary use. Not for long-term outdoor feeding.
Finding the right DIY goat hay feeder can make a big difference in how efficiently you feed your herd and how much money you save on hay. The best setup is one that works for your space, your herd size, and the way you manage your goats day to day.
Start with one of these simple designs, see how it works for you, and adjust as needed. With a good feeder in place, you’ll spend less time cleaning up wasted hay and more time focusing on the bigger picture of raising strong, healthy animals.
More Goat Care Resources:
- Goat Playground Ideas
- How to Convert a Shed Into a Goat Barn
- Goat Fencing 101 Everything You Need to Know