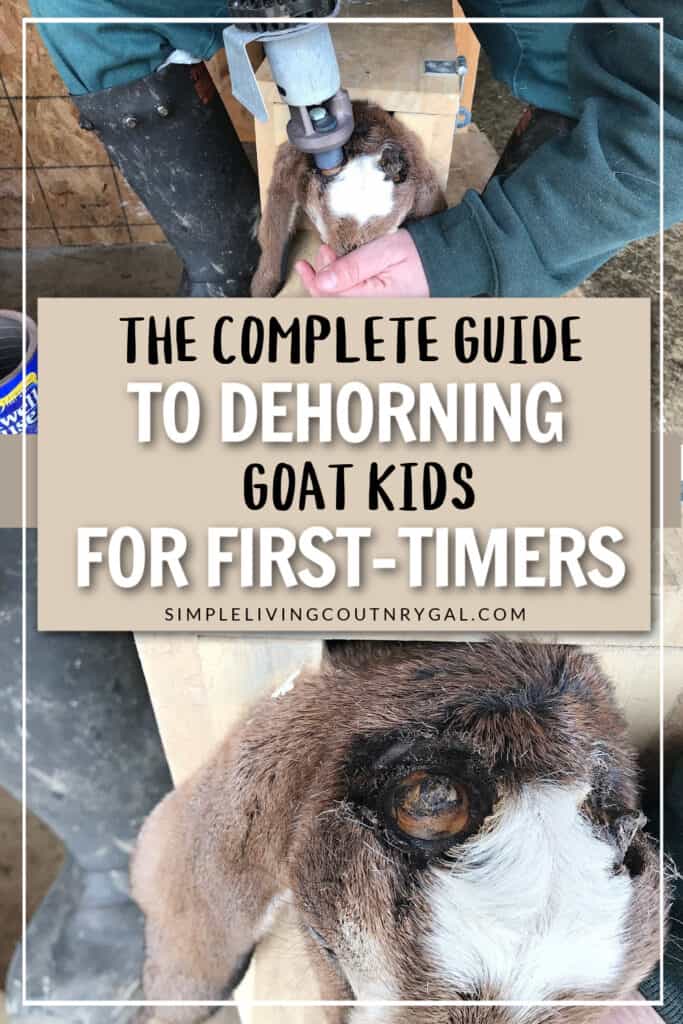
Disbudding Baby Goats
Disbudding baby goats isn’t exactly a task folks get excited about, but it’s something that needs to be done on many farms and homesteads. This guide will help you tackle the process of dehorning goat kids more confidently.
This guide will cover everything—from the tools you’ll need to the safest techniques for disbudding, along with tips to keep both you and your little ones safe. Learning how to raise dairy goats means getting comfortable with even the tough tasks.
When I first started raising goats, I was more excited than anything else. I couldn’t wait to have adorable little goat kids bouncing around our small homestead—not to mention all the milk we’d have! That first kidding season taught me a lot, and after a few sleepless nights and some close calls, I really thought I had tackled the hardest part.
And then I remembered… disbudding season was right around the corner.
Disbudding is definitely not my favorite task, but it’s something we do on our homestead. I’ll be honest, the first time I had to disbud our kids, I was absolutely terrified. But after doing it a few times, I started to feel more comfortable with the process. Don’t get me wrong, it’s still not on my list of fun chores, but at least I’m no longer intimidated by it.
What is Goat Kid Disbudding?
Disbudding, or dehorning, is the process of removing the tiny horn-producing buds on a young goat’s head to prevent horns from growing later.
It’s typically done when the kids are very young, usually within the first few days to two weeks after birth. At that age, the horn buds are small and haven’t fused to the skull yet, which makes the process easier for both you and the goat kid.

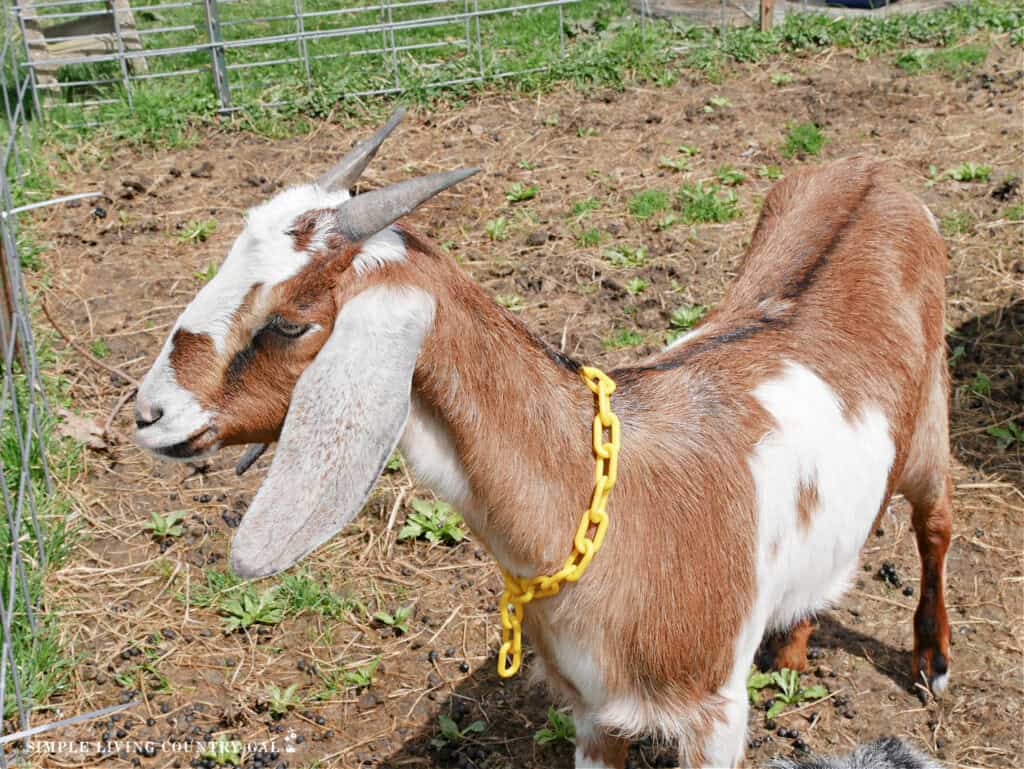
Why Do Goats Need to Be Dehorned?
Goats with horns can sometimes accidentally (or even intentionally) hurt each other, other animals, or people. Horns also pose risks like getting stuck in fences or other objects, which can be dangerous. Disbudding is a common practice for many farms and homesteads because it helps protect the goat and makes handling a lot safer in the long run.
If you’re ready to take on this task, this guide will walk you through everything you need to know to disbud your goat kids more confidently.
Supplies Needed for Disbudding
Getting your supplies ready ahead of time makes disbudding smoother and less stressful for both you and your goat kids. Here’s a quick breakdown of what you’ll need, why you need it, and how it fits into the process:
- A Dehorner – A dehorner is a hot metal iron specifically designed to remove the horn buds from the kid’s skull. It heats up enough to cauterize the area quickly and stop horn growth. It’s important to use the right size and type of dehorner for goat kids to ensure the process goes as it should.
- A Dehorner Stand – This metal stand keeps your hot dehorner safely in place, so you don’t have to worry about it accidentally burning anything around it.
Rhinehart Electric Cauterizing Iron Dehorner X30 3/8 Rhinehart Electric Goat Dehorner or Calves Dehorner 1/2 inch Inner DiameterVET.PLUS Electric Dehorner for Calf, Lamb, Sheep and Goat, 316 Stainless Steel. Heat up promptly, Temperature Higher Than 1140 F, with Temperature Display


- A Metal Coffee Tin (or Similar Holder)
If you don’t have a stand for your dehorner, a sturdy metal coffee tin can be a lifesaver. It gives you a safe place to set the hot iron so it doesn’t accidentally burn you, your work area, or anything else nearby while it heats up or cools down. - Goat Kid Box – A goat kid box helps keep the kid secure and still while you’re working. Goats are wiggly by nature, and trust me, you’ll appreciate having both hands free to focus on the delicate task of disbudding. If you’re just starting out, investing in a good stand can save you a lot of frustration, or you can DIY one using our Goat Kid Box guide.
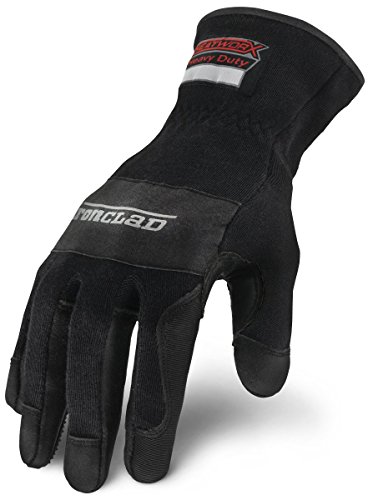
- Gloves – Heat-resistant gloves are a must for handling the dehorner safely. This is a job where you’ll want to protect your hands while keeping a good grip on the tool.
- Clippers (Optional) – While not absolutely necessary, clippers can make the process easier. Shaving the area around the buds gives you a clear view of what you’re working on, so you can more easily see the tops of the buds.
- A Helper or Extra Hands – It’s always a good idea to have someone around to help hold the kid securely or hand you tools as needed. A calm and steady helper can make the whole process less nerve-wracking.
- Aftercare Essentials – After disbudding, you’ll want some items handy to soothe the area and keep it clean. An antiseptic spray or goat friendly wound care can help prevent infection and speed up healing.
Ironclad HEATWORX HEAVY DUTY; Heat Resistant Gloves, Silicone-Palm, Rated up to 600°F (315 °C) Kevlar-Liner and Shell, (1 Pair), BlackPetsaunter Dog Clippers for Grooming, 4-Speed & LCD, Low Noise Electric Trimmer for Grooming, Cordless Rechargeable Dog Hair Clippers, Super Quiet for Pets with Thick or Heavy Coats(C95)Vetericyn Plus All Animal Wound Care Hydrogel Spray | Healing Aid and Wound Protectant, Sprayable Gel to Relieve Dog, Cat, Horse Itchy Skin, Safe for All Animals. 16 ounces


Disbudding Baby Goats – A Step-by-Step Guide
Here’s a simple, step-by-step walkthrough to help you get through it, keeping both you and your little ones safe and comfortable along the way.
SLCG Pro Tip: If you’re new to dehorning, consider having a vet come out and walk you through the process. That’s exactly what I did, and it made a world of difference to see it done in person. The pictures in this post actually feature our amazing vet, Dr. Leslie, who was incredibly patient and taught me everything step by step.
Remember, our goal as goat owners is to make this process as humane as we can, and this guide is designed with that in mind.
1. Prepping the Area
Before you start, gather all your supplies and set up in a clean, safe, and well-lit area. If you’re indoors, choose a space free of anything flammable, as you’ll be working with a hot dehorner.
If you are outdoors, find a shaded spot to keep your goat kid calm and prevent overheating. Having everything within arm’s reach will make things go as smoothly as possible.
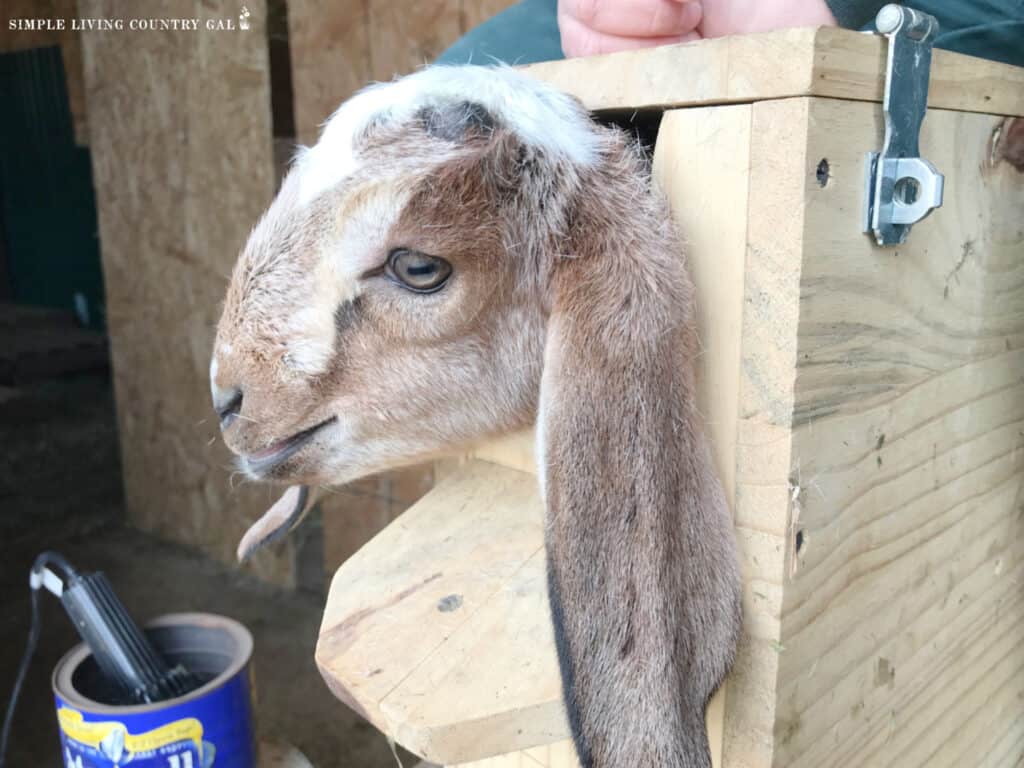
2. Secure the Kid in a Kidding Box
To keep the goat kid safe and still, use a kidding box or disbudding stand. This keeps the kid’s head secure so you can work quickly and accurately. Wiggly kids are adorable, but during disbudding, you need them to be steady for their own safety.
If you don’t have a kidding box, having a helper to hold the kid firmly but gently can make a big difference.
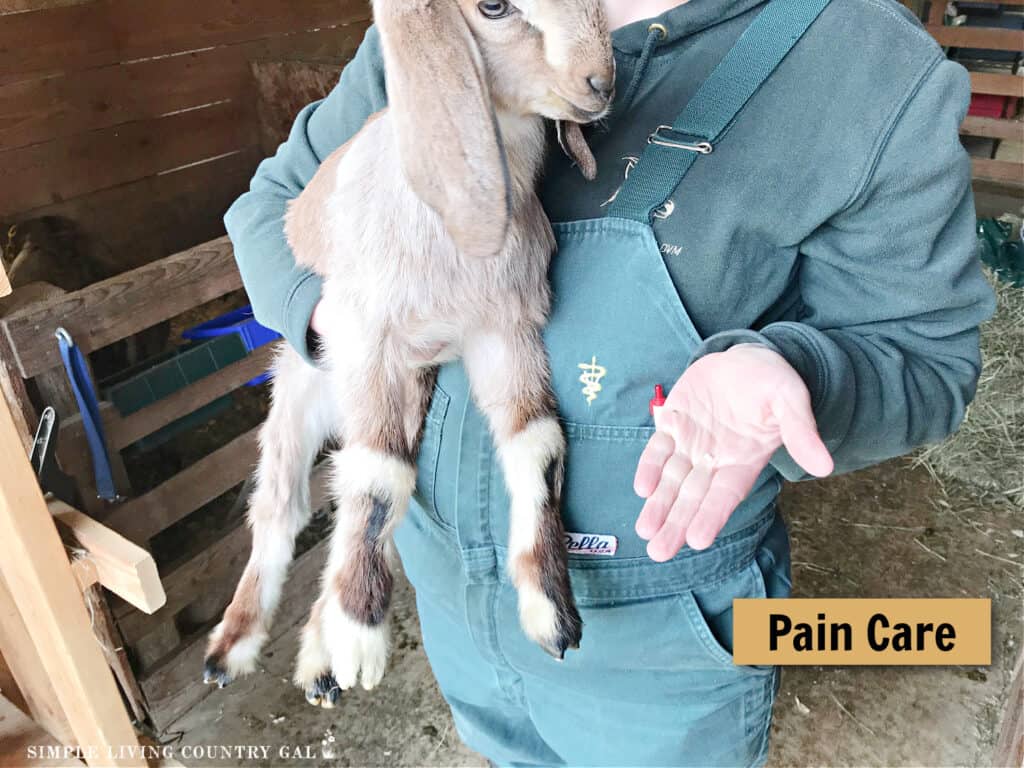
3. Administer Pain Relief
Pain relief is an important step to make the process as humane as possible. Some goat keepers use a local anesthetic or consult their vet for the best options. Not only does this help the kid, but it also makes the process calmer for you.
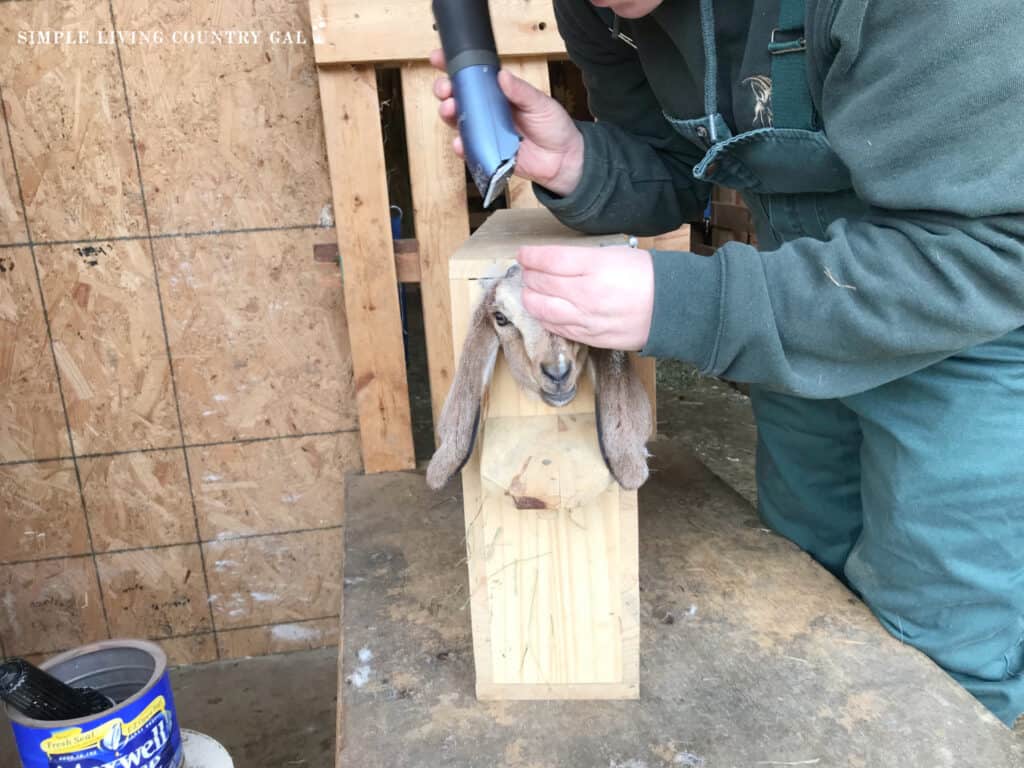
4. Shave the Horn Bud Area
Using clippers, shave around the horn buds for a clear view of the area. This step ensures you can see exactly where to place the dehorner, reducing the chance of missing the buds or placing the iron incorrectly.
5. Heat Up the Dehorner
Plug in your dehorner and let it heat up fully. It should be hot enough to cauterize in just a few seconds. Check the manufacturer’s instructions to know when the iron is ready. A common test is to touch the tip to a piece of wood briefly. If it immediately leaves a dark, circular mark or smokes slightly, it’s ready to use.
6. Placing the Iron and Timing
Now comes the critical step. Place the hot dehorner directly over the horn bud, ensuring the ring of the iron is centered around the bud.
Hold it firmly in place for about 5 to 10 seconds. The timing will differ depending on the iron and the size of the kid.
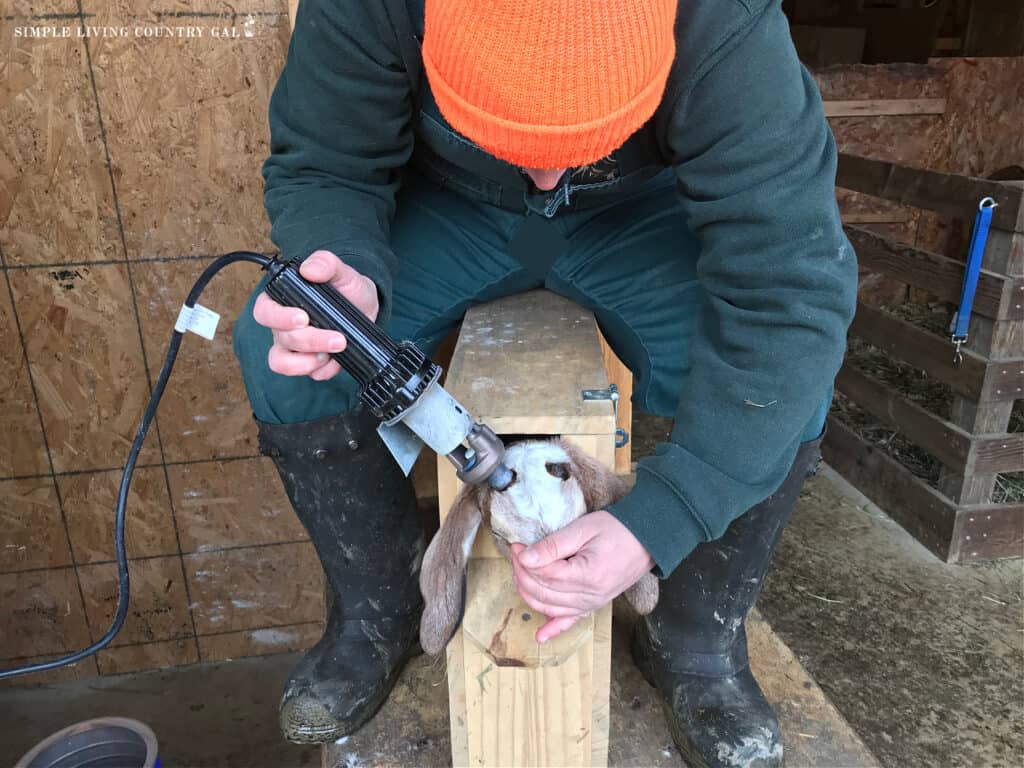
While holding it, use a gentle but firm rotating motion to evenly cauterize the entire horn bud area.
A word of caution: Never leave the iron on too long. Overheating the area can cause damage to the skull or surrounding tissues, so pay close attention to your timing.
7. Knowing You Did the Job Right
You’ll know you’ve done a good job disbudding when the cauterized area turns a coppery color and you see a clear, unbroken “donut” ring around the base of the horn bud. This donut is your sign that the growth tissue has been completely destroyed and the horns won’t grow back.
It’s super important that the copper ring is solid and complete.
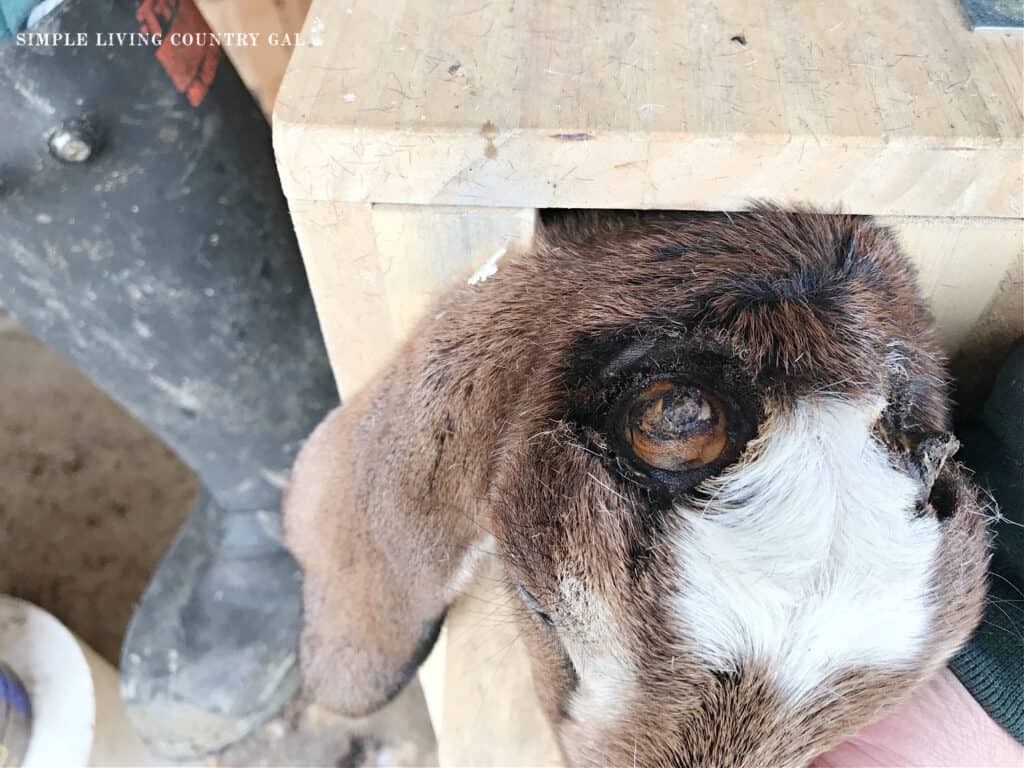
If it’s broken or uneven, you will need to go back and touch up those spots to close the ring.
A fully closed ring is your confirmation that the job is done correctly. If you skip this step, you’re likely to end up with partial or deformed horn growth later on. Taking the extra moment now saves headaches down the road.
8. Aftercare for Healing
Once the disbudding is done, apply an antiseptic spray or ointment to the site to reduce the risk of infection. Keep a close watch on your goat kid over the next few days to ensure the area heals properly. Avoid letting the kids rub their heads on dirty surfaces, and provide a clean and dry resting area.
9. Comforting the Kids
Goat kids typically cry during disbudding because they dislike being restrained more than anything else. While it can be hard to hear, remember that it’s over quickly, and you’re doing this for their long-term safety.
Once the process is done, cuddle your kid, offer a bottle or let them in with their mom to nurse. Goats are incredibly resilient, and they’ll usually be back to bouncing around in no time.

Goat Dehorning FAQ
1. How do I know when it’s time to disbud my goat kids?
The best time to disbud your goat kids is within their first few days to two weeks of life. At this point, the horn buds are still tiny and haven’t fused with the skull. This makes the process quicker and less stressful for you and them.
That said, this window can sneak up on you, so it’s a good idea to keep a close eye on your little ones. Check daily by gently feeling the tops of their heads for tiny horn buds starting to push through the skin. The sooner you catch them, the easier it’ll be. Waiting too long can make the process trickier—for both you and the kids.
2. What’s the best way to keep a goat kid still during disbudding?
Using a kidding box or a specialized disbudding stand is a great way to hold the goat kid securely and safely. These tools keep the kid’s head steady so you can focus on positioning the iron correctly without worrying about too much movement.
If you don’t have access to a box or a stand, having a helper hold the kid firmly but gently is another good option. This makes the process less stressful for both you and the goat kid.
3. What should I do if the copper ring around the horn bud isn’t complete?
If the copper ring isn’t solid or if parts of the growth tissue still look intact, you’ll need to go back with the dehorner and touch up the area. Keeping the iron in place just long enough to close the ring is key.
A fully closed, unbroken “donut” around the horn bud indicates that you’ve successfully destroyed the growth tissue. Skipping this touch-up can lead to partial or misshapen horn growth later on, so it’s worth taking the time to finish it correctly.
Disbudding baby goats isn’t the easiest chore, but it’s an important one that helps ensure their safety within the herd and yours with their care. By preparing thoroughly, working confidently, and comforting your kids before and after the process, you’ll feel better about doing this essential part of raising goats.
Remember, the first time is always the hardest, but with each time you’ll get more comfortable. Finally, don’t forget to call your vet for tips if you want a hands on walk through before you try it yourself.