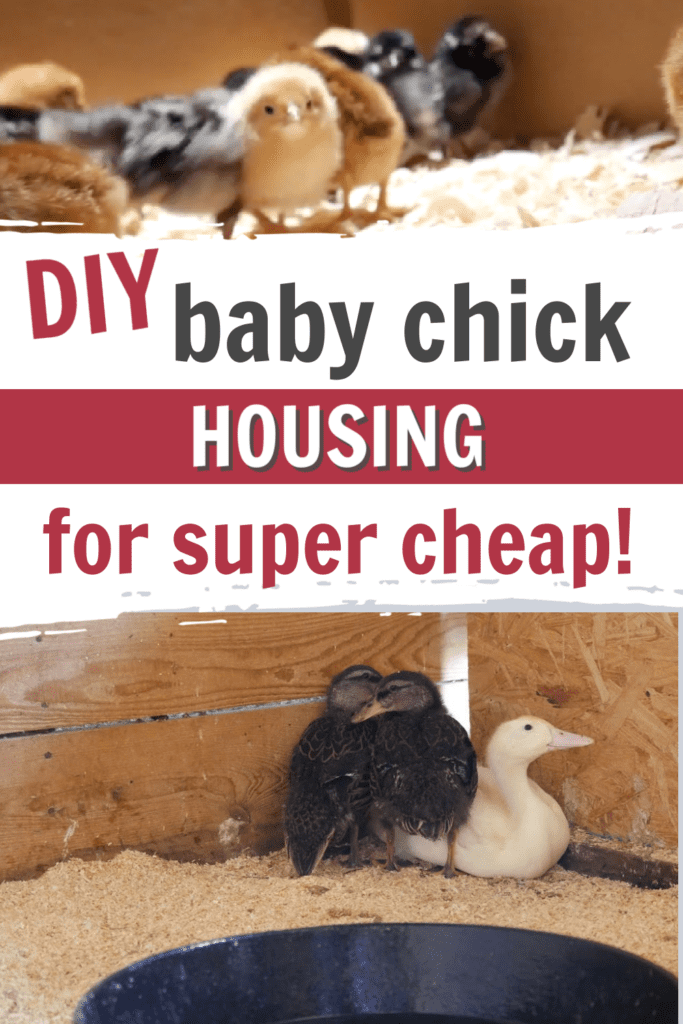
DIY Baby chicks Ducks housing
A simple guide for DIY baby chicks ducks housing that will help you make a home for your new hatchlings. Setting up a home for your baby chicks doesn’t have to cost a fortune, you can put together a setup that’s not only perfect for chicks but works just as well for ducklings, too. And here’s the good news—you probably already have most of the supplies you need lying around the house.
Getting your baby chicks off to a great start begins with setting up a safe space that keeps them protected and warm. This guide will walk you through what works best for both chicks and ducklings, the must-haves for your setup, and things to avoid when starting out raising chickens.

Spring and Baby Chicks — A Perfect Match
Spring is such a welcome time of year for me. The snow is finally melting (hallelujah!), the days are getting longer, animals are being born, and tiny seedlings are starting to peek out of the soil.
And, of course, it’s also the season when adorable baby chicks and ducklings are making their way into homes—sometimes for the very first time. If you’re a brand-new chick owner, you might be feeling a little nervous about these new additions heading your way.
No worries, this guide will give you everything you need to know to set up a quick, easy, and affordable housing that your new baby chicks will flourish in.
This is the temporary spot they’ll hang out in until they’re ready to transition to the big kid digs—the main chicken coop outside.
I have been raising chickens for almost a decade now, and I thought I knew just about all I needed to know. Boy, was I ever wrong. Every year when the new chicks come to our home, I learn something new.
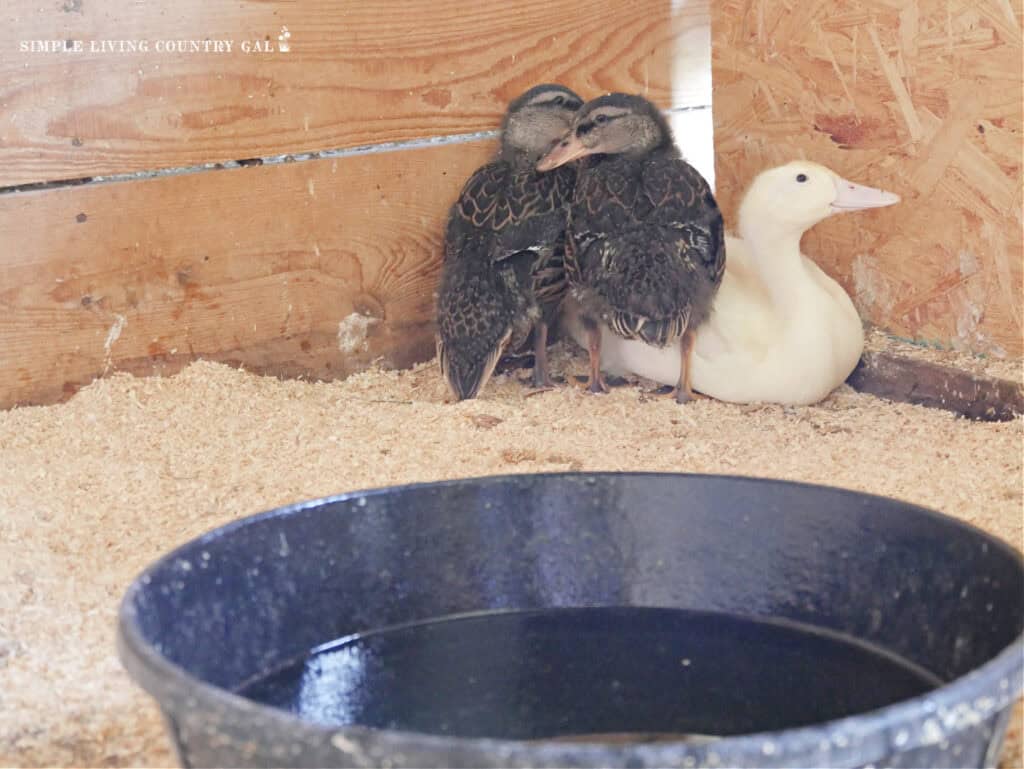
This year, we decided to do something a little different. We added three little ducklings to our flock of baby chicks.
The Difference Between Ducklings and Chicks
Normally I keep all my little chicks in a large box using our plastic waterer and feeder found on Amazon. Baby chicks are delicate, dainty creatures that sip their water and nibble their food.
Ducklings on the other hand (and I say this with love) are clumsy and sloppy and dive into their food and water as if they have not had either in weeks.
That box I had planned on using the entire two months my chicks were indoors only lasted 1-week thanks to our ducks. They splashed so much water that the box was soon sopping wet.
This guide is for our new design, and the one that we find works the best for chicks, ducklings, or a mixture of both.
DIY Baby Chick Housing
Over the years, I’ve fine-tuned my setup for baby chick housing, and I’ve finally landed on a design that’s simple, budget-friendly, and works like a charm—whether you’re raising just chicks or a mix of chicks and ducklings.
Picking the Right Container
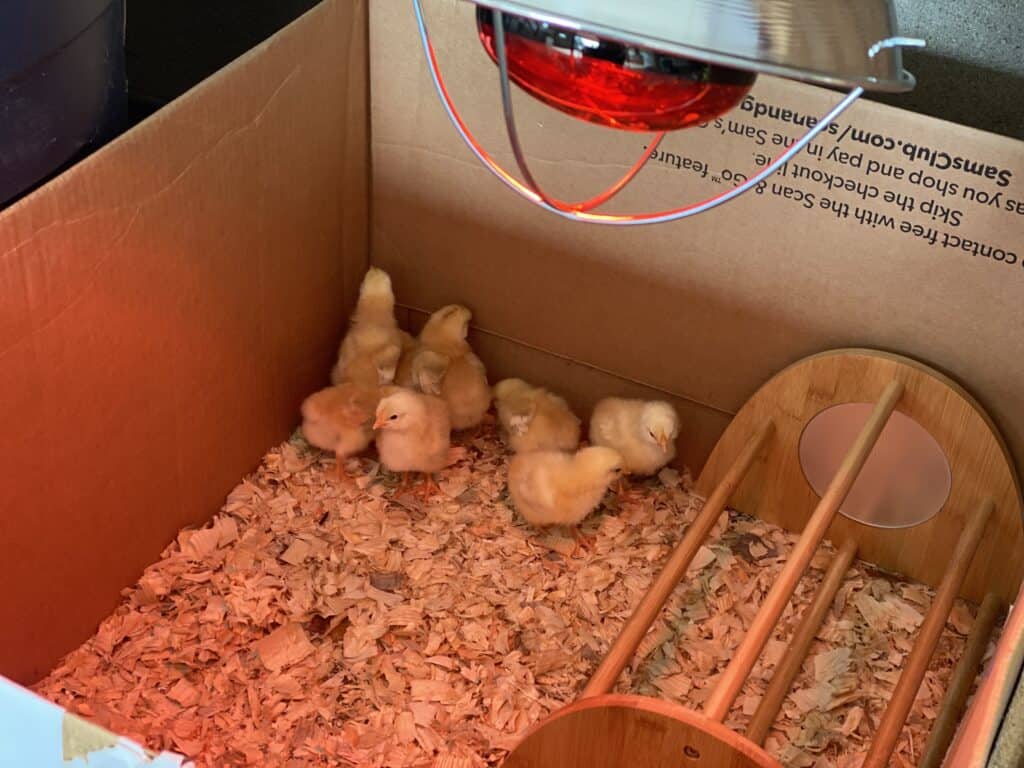
The first thing you’ll need is a good container, and honestly, you can’t go wrong with a sturdy cardboard box. They’re easy to come by, allowing you to find the exact size you need. You’ve got two main options here. You can go with a box that has higher sides, which helps eliminate the need for a lid, or one with shorter sides, making it easier to access your chicks.
For me, I prefer a box with shorter sides. It makes daily tasks like cleaning and feeding so much easier, especially if you’d rather skip the bending and knee strain.
Comfortable care for you means better care for your little flock.
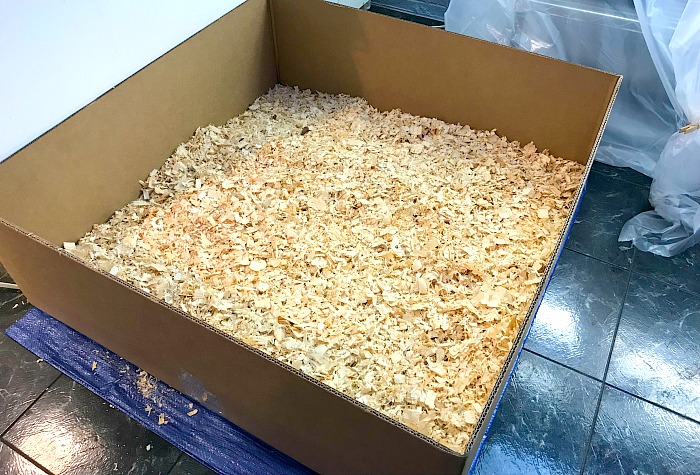
Fill the box with bedding to help keep the floor area dry and clean. There are a few affordable options that you can use for bedding:
- Shredded newspaper
- Soft hay
- Wood shavings
I prefer to use wood shavings, because they work the best to keep the brooder dry and clean.
31OZ Sukh Chicken coop Bedding – Aspen shavings Animal Bedding as Chicken Supplies for Chicken House Bedding winterizing Nesting for Small pet Guinea Pig Rabbit Chinchilla Bird Gerbil Odor Control Purina Start and Grow | Non-Medicated Chick Feed Crumbles | Nutritionally Complete – 5 Pound (5 lb) BagManna Pro Chick Grit with Probiotics | Formulated with Probiotics and Supports Healthy Digestion | 5 Pounds


Setting up the Water Area
Once your box is ready, it’s time to sort out the water situation for your chicks. Water is absolutely vital for their growth and health, so it’s important they have constant access to fresh, clean water.
- Shallow Dish
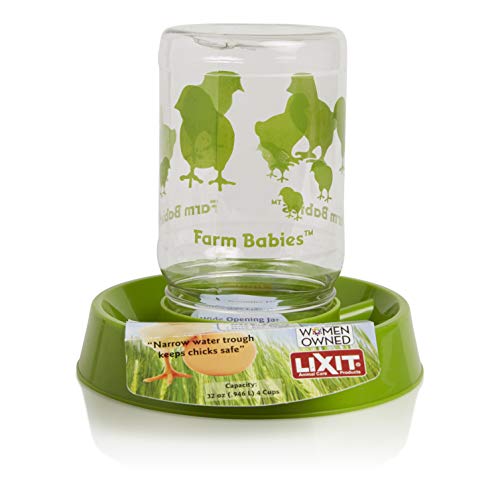
A shallow dish is a quick and easy option, but it can get messy quickly. Just place the dish inside the brooder and keep it filled with water. - Chicken Fount Feeder
These feeders are designed specifically for chicks, offering a steady supply of water while minimizing spills. They’re super convenient if you’re looking for something foolproof. - Mason Jar Waterer
Want a budget-friendly DIY option? You can transform a mason jar into a waterer by attaching a watering base to the bottom of the jar, filling it with water, and flipping it over. It’s simple, affordable, and gets the job done.
Pecking order Chick Waterer, RedLixit Baby Chick Feeder or Waterer (Pack of 1)Chick Feeder Waterer Set Baby Chick Waterer Feeder with Carrying Handle Capacity 0.5 L Chicken Water Feeder Pet Supplies


Adjustments for Ducklings
Now, if you’ve got ducklings alongside your chicks, things get a little more interesting. Ducks love water—so much so that the moment they see it, they try to turn it into their personal pool. I didn’t realize just how much until I watched them attempt to climb into the water dish for a swim.
This time around, I decided to tackle the inevitable water chaos head-on. After a bit of research and trial an
DIY Waterer
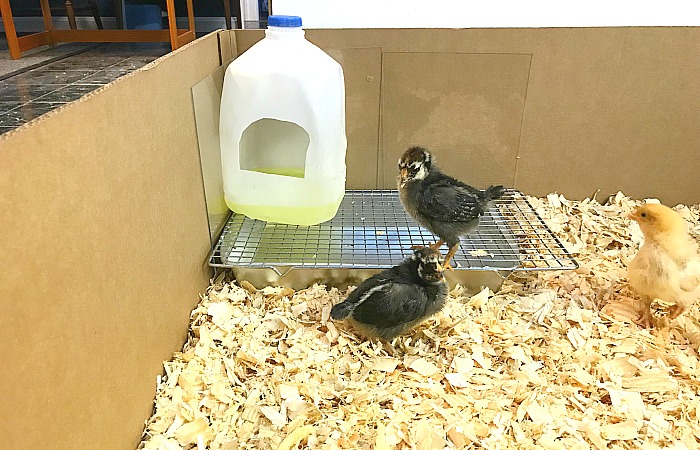
This DIY Chick Waterer will help to keep your brooder floor dryer while giving water to your chicks and a place for your ducklings to explore.
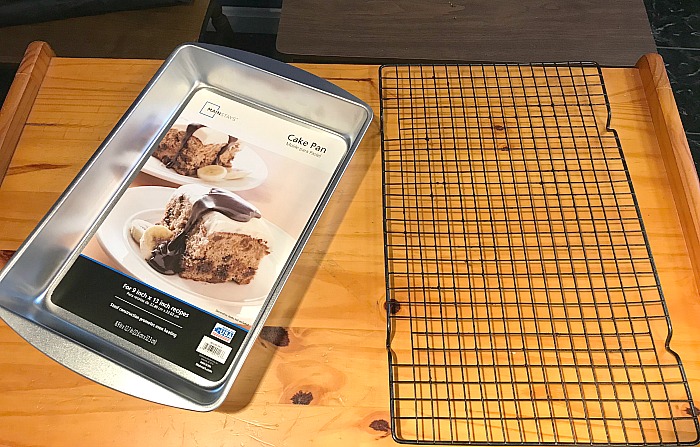
Supplies You’ll Need:
- 1-2 inexpensive cake pans
- 1-2 cookie cooling racks (look for ones with small openings to keep tiny feet safe)
- An empty milk jug
- Scissors
- A black marker
Step-by-Step Directions:
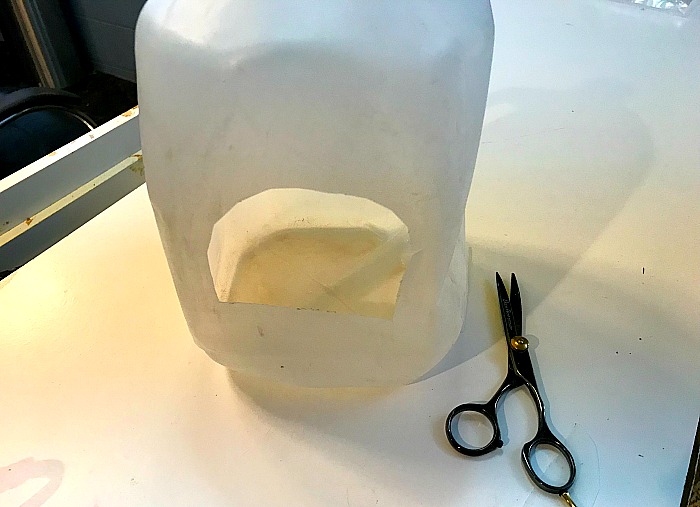
- Prep the Milk Jug. Start by cleaning out the milk jug thoroughly, making sure there’s no residue left inside. Rinse it well and dry.
- Mark the Openings. Use your black marker to draw a half-circle opening on each side of the milk jug. Place the openings at a height that lets chicks and ducklings reach the water easily, but not so low that water can splash out all over the brooder.
- Cut and Smooth. Carefully cut out the openings you’ve marked, and check for any sharp edges. Smooth those out to prevent injury.
- Set Up in the Brooder. Place the cake pan in a corner of your brooder. Put the cooling rack on top of the pan to create a grate that keeps chicks and ducklings from stepping directly into the water.
- Extra Protection for Ducklings. If you have ducklings (and their notorious love for water), you can take extra steps to minimize mess. Add a sheet of plastic behind the water setup to keep the walls of the brooder dry.
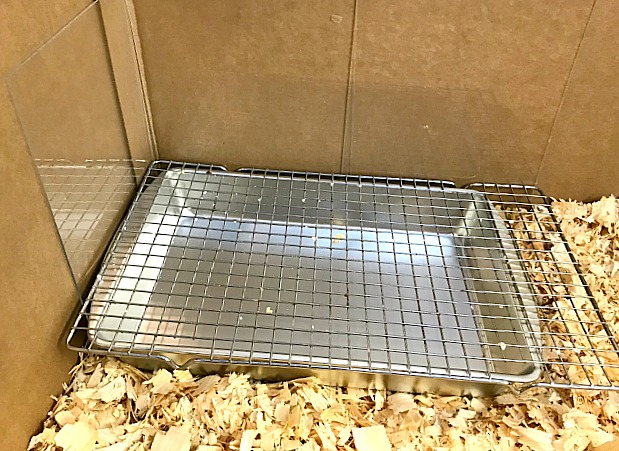
- Fill and Finish. Fill the milk jug with water, making sure to keep the water level an inch below the openings to avoid unnecessary spills. Place the jug on the cooling rack, so any splashes drain into the pan below.
- Introduce Them to the Water. To help your chicks and ducklings understand where their water is, gently dip their beaks into the openings. They’ll catch on quickly and drink instinctively from their new waterer.
This DIY waterer not only keeps the brooder more manageable but also ensures your chicks and ducklings stay hydrated and have a bit of fun without making a total mess.
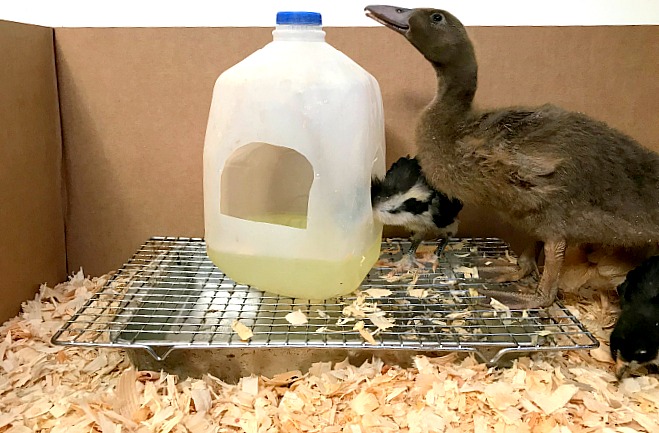
SLCG PRO TIP: You may notice the water inside of the milk jug is yellow, which is from the chick additives we used when our flock was young. This extra addition helps them to get a good, solid, and healthy start.
Feeding Setup
When it came to feeding, I decided to use the same approach as I did with the water setup—placing the feeders on a grate-covered tray on the other side of the brooder. Ducklings are just as good at throwing feed around as they are water, so having this system in place really helps keep feed loss to a minimum and the brooder much easier to manage.
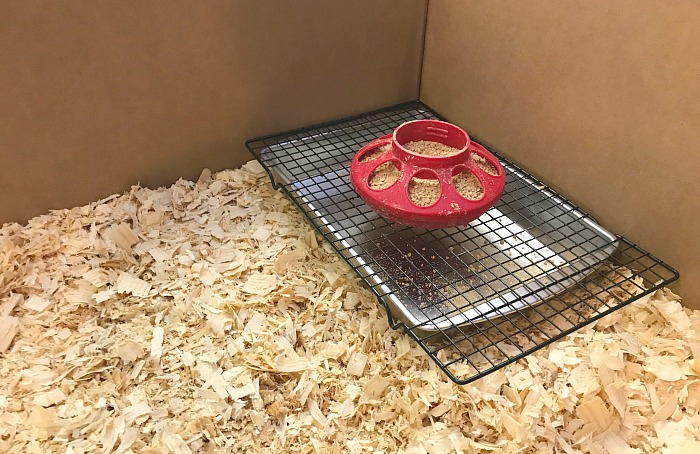
For the feeders, I opted to leave the tops off since my ducklings are already quite large at just ten days old and tend to bump into the top section.
While this does mean I need to refill their food a little more often, I don’t mind—it’s a small price to pay for a smoother feeding setup.
If you’ve got smaller chicks sharing the space, make sure the grate is safe for them too. Tiny feet need a secure surface, so check that the holes in the grate are small enough to keep them from getting stuck or tripping. Here’s a quick tip—if you can easily stick your finger into the holes, chances are the openings are too big for your little chicks.
This setup works wonderfully for both chicks and ducklings, helping everyone eat comfortably while keeping things clean and efficient.
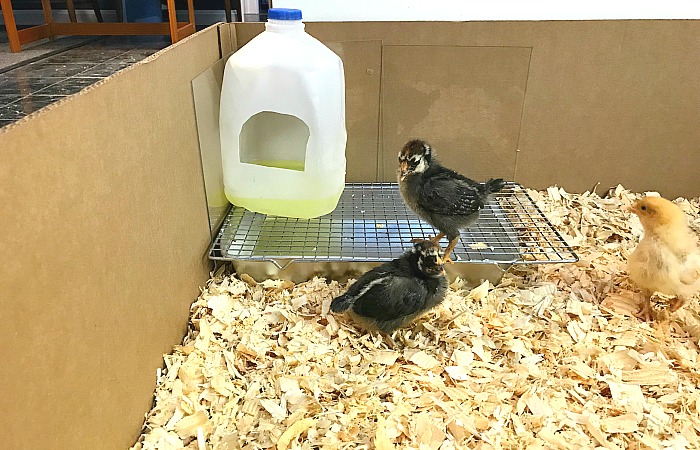
Introduce the Flock
Once the setup was ready, it was time to welcome the rest of the flock and give them a chance to settle into their new home. Adjusting to new surroundings can take a little time, but I was surprised to see that our chicks caught on quickly.

Remember, if you have chicks who are struggling to find the water, use this tip to help. Gently holding the chick, dip their beak into the water, showing them exactly where it is.
Not all chick brooders are created equal. Check out new Housing for Baby Chicks and keep them safe, warm, and happy.
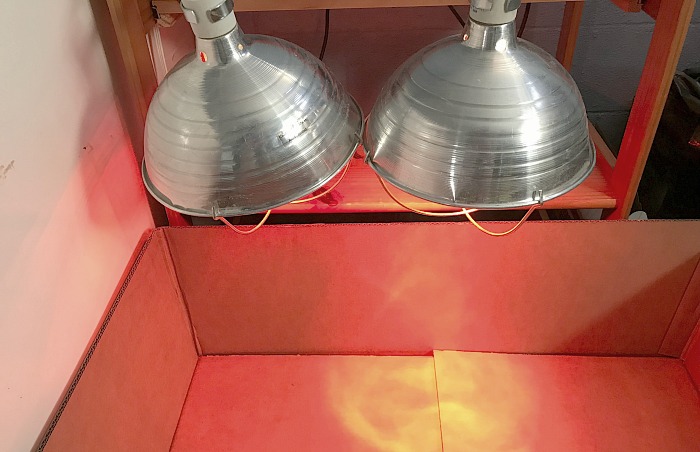
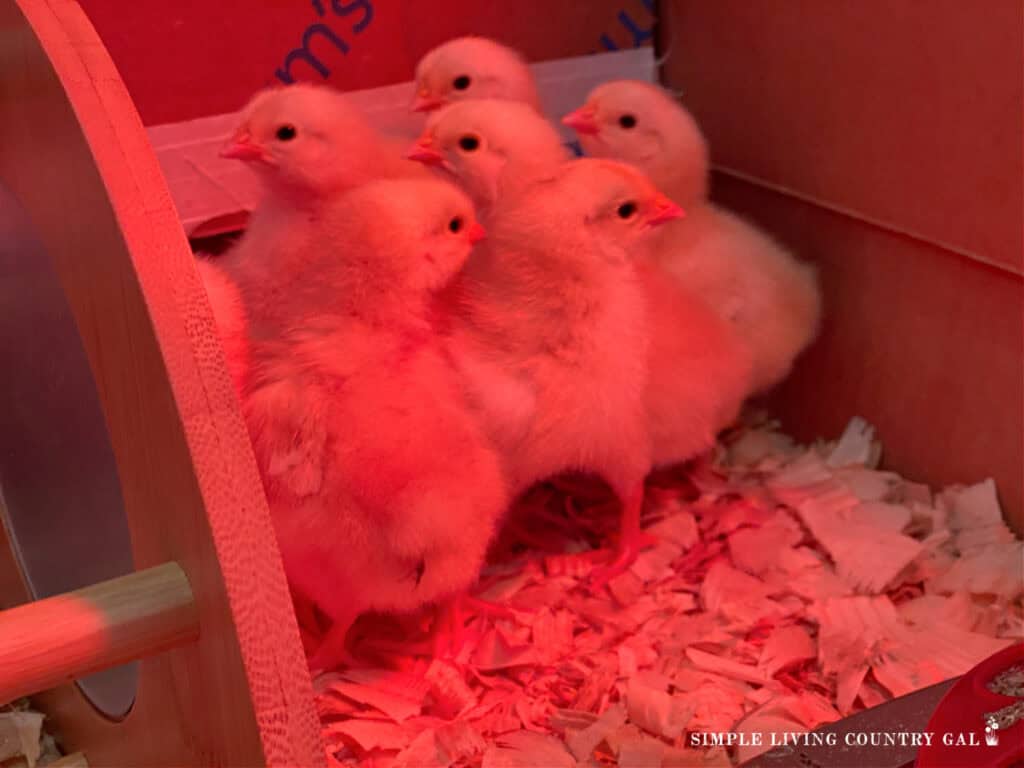
Bringing in heat
Providing the right amount of warmth is essential to keeping your chicks comfortable and healthy. Heat is a critical part of a brooder setup, and how you provide it can make all the difference. Here’s what you need to know to keep your little ones warm and safe.
Safety First
Before anything else, a quick but important reminder—if you’re using heat lamps, proceed with extreme caution. Heat lamps can start fires almost instantly if they’re too close to flammable materials or if they fall.
To avoid any accidents, take extra precautions. Secure them firmly with zip ties, metal safety clamps, or other sturdy attachments. Consider using a heat-proof plastic cover over the housing for an extra layer of safety.
We also make it a habit to check on the chicks throughout the day and night to ensure everything remains stable. With heat lamps, it’s always better to be overly careful than to risk a disaster. Always double-check your setup—it’s worth the peace of mind.
Ideal Brooder Temperatures
Maintaining the right temperature is especially important during your chicks’ first weeks of life. Here’s a simple guide to follow as they grow and adjust to their environment:
- Day 1–7: Start with the heat lamp set to 95°F (35°C).
- Days 2 onward: Gradually reduce the temperature by 5°F (3°C) each week until it matches the ambient temperature of their environment.
- Weeks 5–6: By now, your chicks should be ready to transition to the coop, as they’ll be less dependent on external heat.
Heat Sources for a Brooder
While heat lamps are popular, there are other options that might work better for your setup or preference. Some safe alternatives include:
- Specialized heating pads: These are designed specifically for chicks and offer consistent warmth.
- Heating plates: Great for mimicking the gentle heat of a mother hen.
- Hot water bottles: A short-term solution that works in a pinch, as long as you monitor their effectiveness.
No matter which heat source you choose, ensure it’s positioned securely and can maintain a steady, appropriate temperature.
Chicken Brooder for 20 Chicks – Anti-Scald Aluminum Brooder Heater Plate, 3 Adjustable Temperatures, Washable Cover- 12ANPHSIN Pet Heating Pad for Small Animal – Fire Retardant Heated Pad with Overload Protection Anti Chew Cord for Puppy Kittens Chicks Rabbits Ferrets Hedgehogs Outdoor Indoor 9”x12”Fluker’s Repta-Clamp Lamp, Heavy Duty Clamp Light For Reptile Tanks and Terrariums, UL/CUL Approved, Great for Reptile Basking, 150-Watt Maximum with On/Off Switch, 8.5


Recognizing Temperature Issues
Not sure if your brooder’s heat is just right? Watch how your chicks behave—they’ll give you clues:
- Chicks huddling close to the heat source? It’s too cold.
- Chicks keeping their distance from the heat? It’s too hot, and they’re trying to cool down.
- Signs of distress or unusual behavior should never be ignored. Comfortable chicks will seem content and relaxed, with a good mix of resting and exploring their surroundings.
Keep Monitoring
Regular temperature checks are essential to maintaining a healthy brooder. Factors like colder nights or drafts can impact the heat inside. If needed, make small adjustments to keep things consistent.
Remember, as your chicks grow and start developing feathers, they’ll rely less on external heat. Until then, their comfort and health depend on your close attention and care.
Where should you keep your baby chick housing?
Usually, chicks are purchased in the spring, so they can grow during the warmer months making them ready to start laying eggs by the end of summer. That means most people are bringing home chicks when the weather is cold, damp, and miserable.
For us, that timeline also means snow is still falling, making things even more precarious. If you are able, I suggest keeping the chicks indoors until the temperatures are a bit more tolerable. Look for a room that is not used often or other area that is free from little hands and pets.
If you’ve decided to raise your chicks indoors, here’s a heads-up—baby chicks create a surprising amount of dust. Because of this, you’ll want to choose a spot in your home that minimizes disruption and is easy to clean.
Through trial and error, we’ve found that the basement works best for us. It keeps the dust contained and out of our main living spaces while still providing a warm and protected area. A few other options are:
- A spare room in your home.
- A stall in a barn.
- A protected corner in a garage.
- Mudroom or other low-traffic area might also work well, as long as it’s draft-free and temperature-controlled.
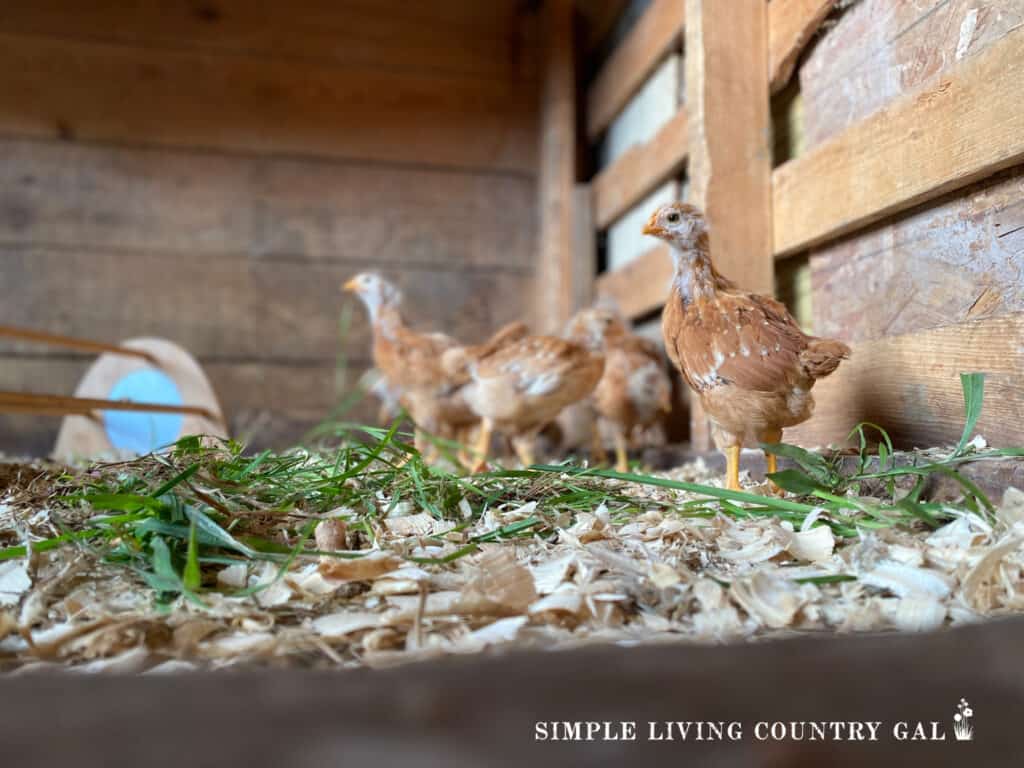
Once your chicks and ducklings have acclimated to the outside temperature and you feel they are old and hardy enough, it is time to move them out to the coop.
Adding new chickens to an established flock
If you add chicks in with older hens, you will want to ensure your chicks are close to fully grown. New chickens have a better chance of being bullied and/or henpecked to a point that can cause serious injury.
The best time to add new chickens to a coop is at night when everyone is sleeping and docile. Chickens are very sound sleepers and do not have good night vision. That means you can add new members without much of a fuss. Simply take your new chickens inside the coop and put them on the roost. Come morning, most of the flock will think the new gals were there all along and, more often than not, leave the newbies alone.
You cannot do this with ducks, however, as they do not like to roost. Ducks prefer to stay in the group and will usually find a corner to sleep in that is out of the way of the rest of the flock.
Above all, be sure your new chickens are large enough to defend themselves before adding them to your established flock
Baby Chicks Ducks Housing Supply List
Raising baby chicks and ducklings is not only fun but rewarding too. Knowing what you are in for before you bring that first chick home and having a sturdy setup is key.
As long as your chicks are safe, have plenty of fresh water, are warm, and have access to food, your flock will grow into a solid egg-laying group that will reward you for years to come.
I hope you found this baby chick housing list helpful and that you are ready to start your new flock. And if you want even more help with raising chickens, be sure to check out the articles below!
Tired of boring, hard-to-clean coops? These DIY Chicken Coop Ideas are practical, beautiful, and built to last—your chickens will love them.
More Chicken Care Resources:
- How to Discourage Hen Pecking in a Flock
- DIY Chicken Coop Deodorizer
- Supply List for Your Chicken Coop
How to Set Up a DIY Watering Area for Baby Chicks and Ducklings
This DIY waterer is the perfect addition to your brooder setup.
Materials
- Empty milk jug
- Cake pan
- Cooling rack
- Water
Tools
- Scissors
- Black marker
- Utility knife (for more precise cuts on the milk jug)
- Sandpaper or file (to smooth out sharp edges after cutting)
Instructions
- Prepare the milk jug. Clean it well and let it dry before moving on.
- Mark the openings. Use a black marker to draw half-circle openings on both sides of the jug. Position the openings at a height that allows chicks and ducklings to drink comfortably without excessive splashing.
- Carefully cut out the marked openings using scissors. Check for sharp edges and smooth them out to prevent any injuries to the birds.
- Place a cake pan in a corner of the brooder to catch water spills.
- Put a cooling rack over the pan to create a stable surface and keep chicks and ducklings from stepping into the water.
- Give the ducklings and chicks extra protection. If they are in the brooder, consider adding a plastic sheet behind the water area.
- Pour water into the milk jug, keeping the level an inch below the openings to prevent spills.
- Place the jug on the cooling rack so that any drips drain into the pan below.
- It's time to introduce the waterer to the birds. Just gently dip their beaks into the openings to show them where to drink.
Notes
- Even with a good setup, chicks and ducklings can still get bits of food and bedding in their water. Check and refill it at least once or twice a day.
- Even tiny sharp edges can cause scratches or irritation on soft chick beaks. If sandpaper isn’t available, a nail file or the back of a spoon can help smooth rough spots.
Recommended Products
As an Amazon Associate and member of other affiliate programs, I earn from qualifying purchases.


I just got my first chicks a few weeks ago and definitely struggled with finding a safe but cheap option. I did end up splurging for the hover heater cause of the risk with heat lamps. I appreciate the the cake pan and cookie rack! I will definitely try that as they’re putting bedding in their waterer. Thanks for this information. Found you on the blog hop!
Hi, Leilani!
Yes, no one really warned me how messy chicks can be. And the dust? Oh boy!! Wasn’t prepared for that on at all! Hope this setup helps you as much as it has helped me!
Thanks for stopping by!
Tracy Lynn
I just bought ducks and chickens. & I’m so glad I found this read. Super helpful…especially since ducks are so dirty. Curious how long I should wait to join both though? Ducks are probably 2 weeks older than the chicks? Thanks for posting!
Hello, Kami!
I would join them early so they adjust to being together. Just keep a close eye on them for a bit to ensure they do not pick on anyone. You just never know with animals!
Enjoy!
If you have any more questions you can email me directly for faster responses, [email protected]
Tracy Lynn