Gift Tags DIY Made From Old Ribbons And Greeting Cards!
Gift tag DIY from recycled materials.
If you are like me then you just might HATE to throw anything away. What some folks see as clutter and trash I see as a future crafting supply.
Each year during the Christmas season I get loads of beautiful greeting cards and wrapped gifts. Sometimes the wrapping is more wonderful than the gift. Says the girl that has received a beautifully wrapped Yard ‘O Beef.
Year after year at the end of the holidays I would be left with loads of cards and piles of pretty ribbons and no ideas as to what to do with them.

One year my mother-in-law gave me a gift using an old greeting card as the tag. She had cut out the photo of a bundle of silver bells tied with a large red bow and lovingly wrote:
To: Tracy From: Mom.
What a great idea she had!
Finally a great use for all those amazing holiday greeting cards! I could hardly wait to put my stash of holiday cards to good use.

How to Create DIY Gift Tags
Step #1. Sort
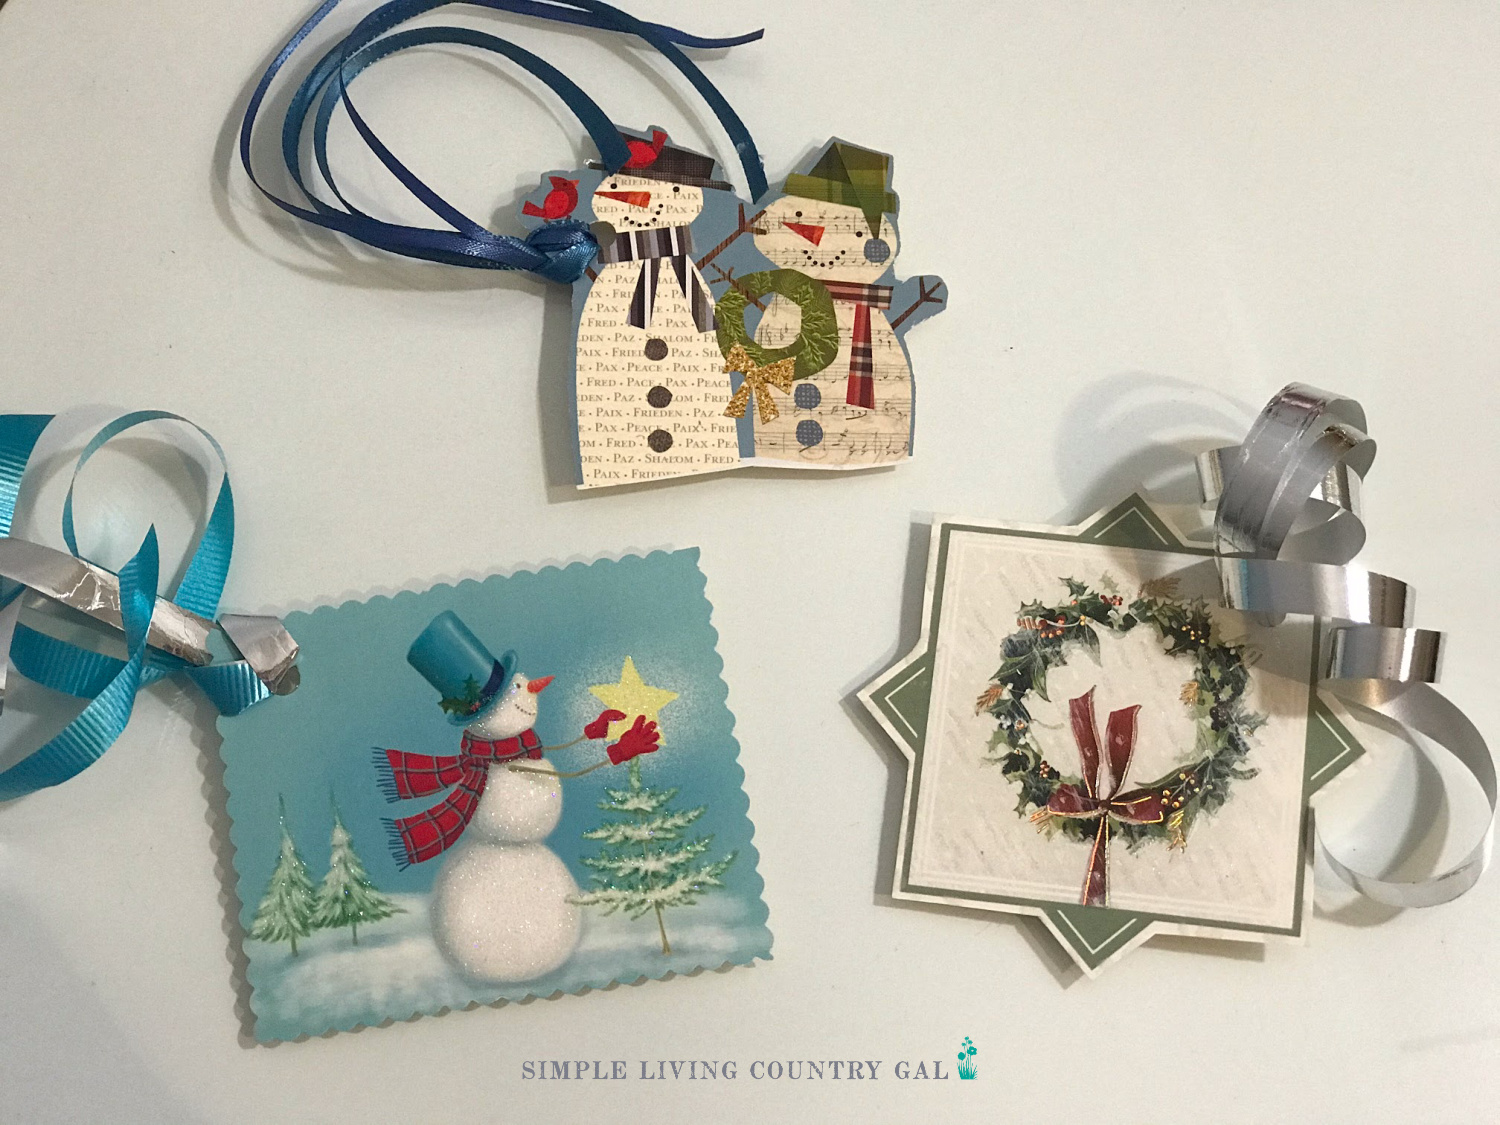
Go through your cards and pull out any that you love or just have a great outer page you can turn into an adorable tag.
Step #2. Cut
Armed with a good pair of scissors, a cup of coffee and a comfy seat on your couch – cut out the portion that can be used as a tag. Make things even cuter by using pinking sheers giving the border a bit of pazazz.

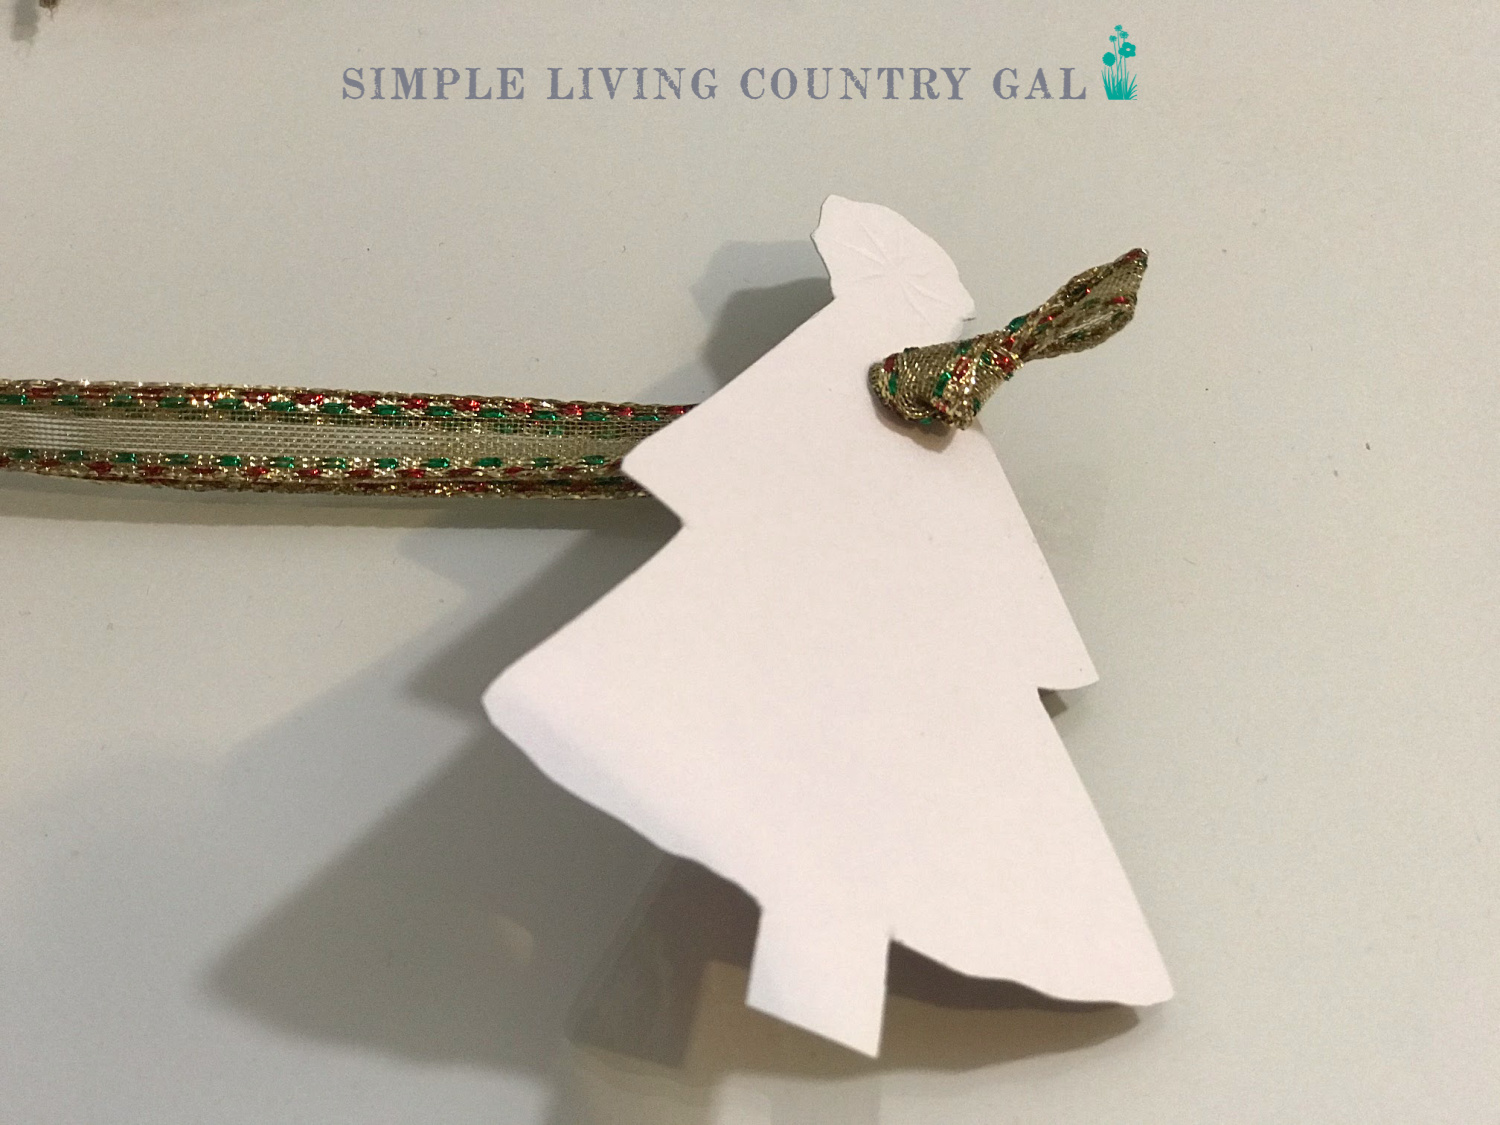
Step #3. Punch a Hole
Next, you will need to punch in a hole with a regular hole puncher. Choose a spot on the tag that is close to the edge of the corner.
Step #4. Add a String
Using leftover ribbon or string, loop a strand or two through the hole. This is what you will use to attach it to your holiday gift.
Now, after the holidays are over I gather all of those greeting cards, ribbons, and embellishments. I sit down sorting through what can be reused.
I can spend hours in my craft room with my holiday box making tag after tag. The best part is, these tags can be made throughout the year so when the holidays come around you are all ready to get wrapping.
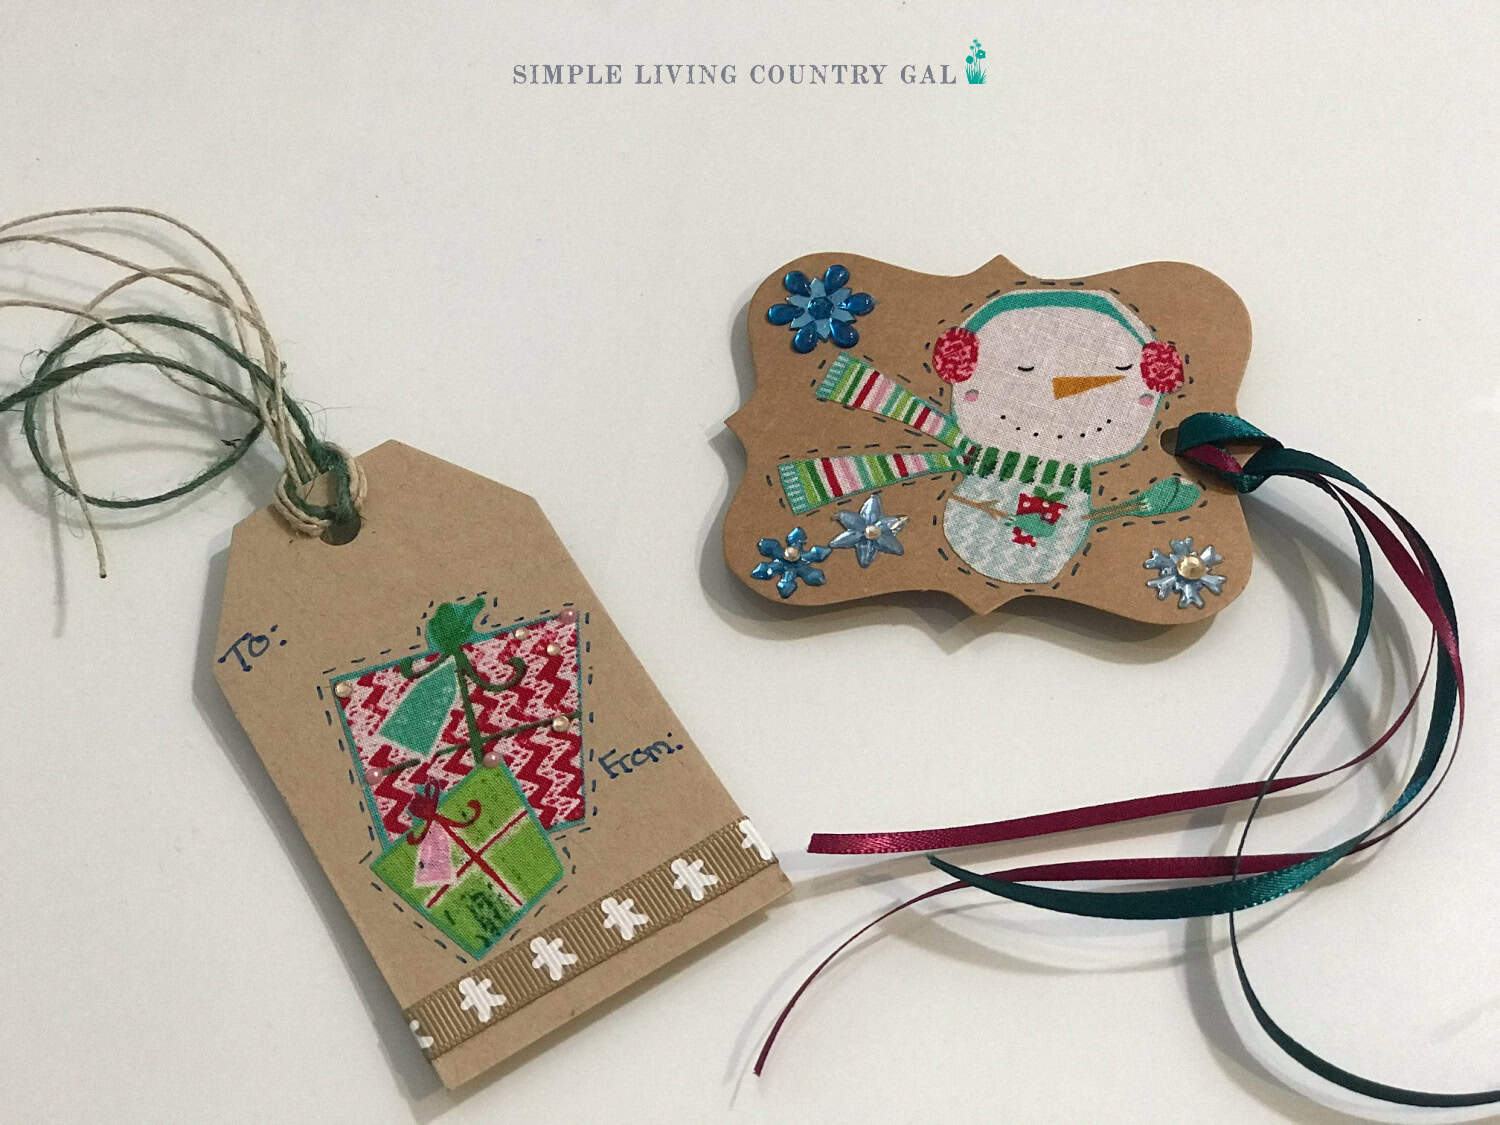
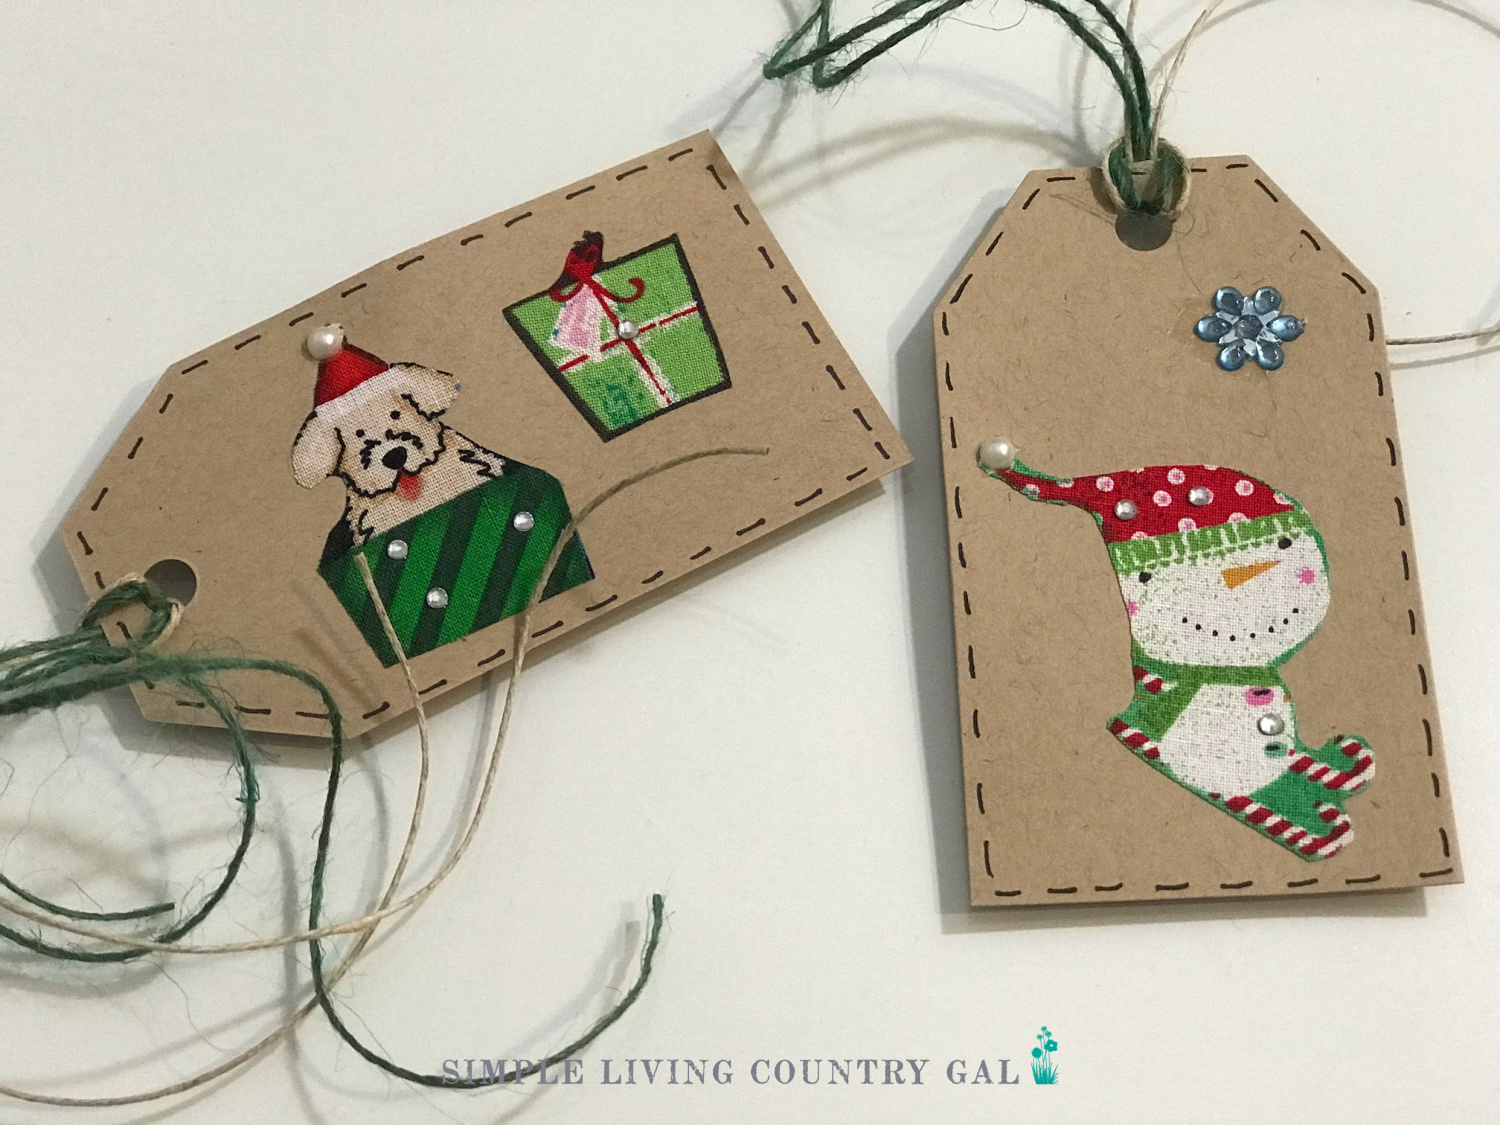
You can also use up scraps of holiday material with fusible backing. Apply the backing, allow to cool. Cut out the images and scenes that are on the fabric. Once done iron the material right onto the tag.
Once cooled, use a black think magic marker to add a dashed line around the border to look like stitching.
This simple touch really adds to the quaintness of the tags.
I thought I would share a few of mine to help get your creative juices flowing.
Enjoy these DIY gift tags and reuse your holiday greeting cards today!