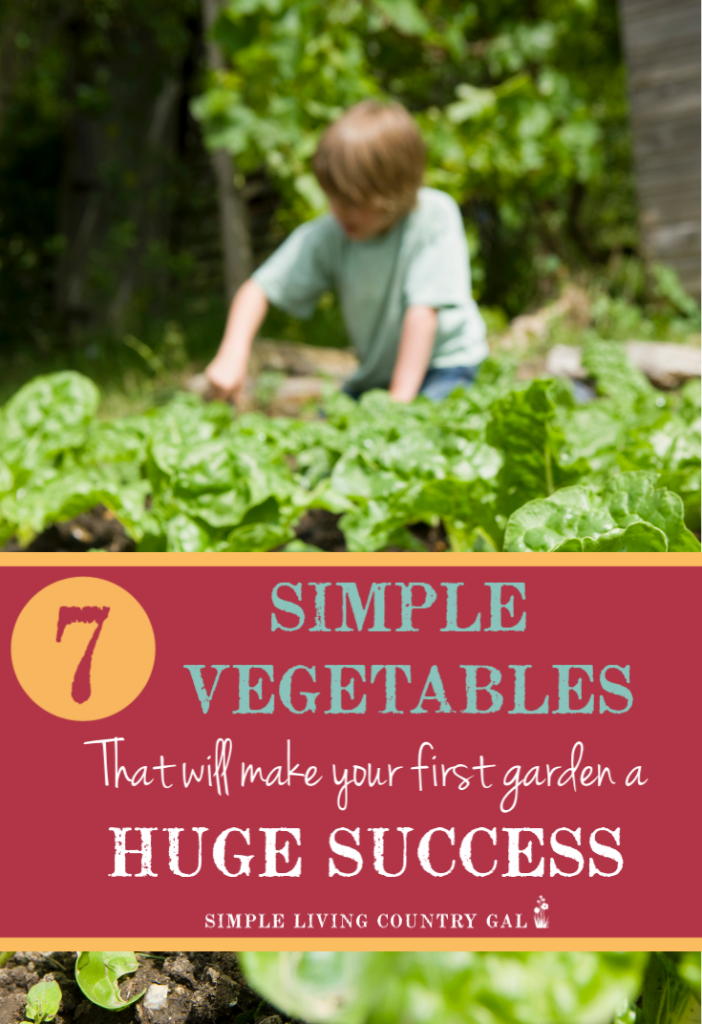
7 Easy First Time Gardener Vegetables to Grow
Use this guide as a starting point on how to start a backyard garden that will continue to grow as your skills do year after year.
Be sure to grab the Companion Vegetable Garden Checklist fro free, below!
Growing the food your family enjoys eating is a great way to start living a homesteading lifestyle. Going outside your kitchen door and gathering up the makings for a delicious salad is, to me, the meaning of summer.
On top of that, there is nothing more soothing to the soul than the sight of bright red tomatoes growing on the vine. That is what called me to the garden so many years ago. And that feeling never gets old.
The problem is that what starts out as excitement and good intentions can quickly turn into burnout and overwhelm. Because not all vegetables are created equal, and that means that some veggies are easier to grow than others. To help you out a bit, I have a list of easy and delicious vegetables that will be perfect for any beginner gardener to grow.
First Time Gardener Vegetables
To make things even easier, I will go over each of them to give you tips on how to plant, grow, and harvest everything this growing season. Follow along and prepare for an amazing harvest of fresh produce you can enjoy all summer long.
Vegetable # 1. Tomatoes
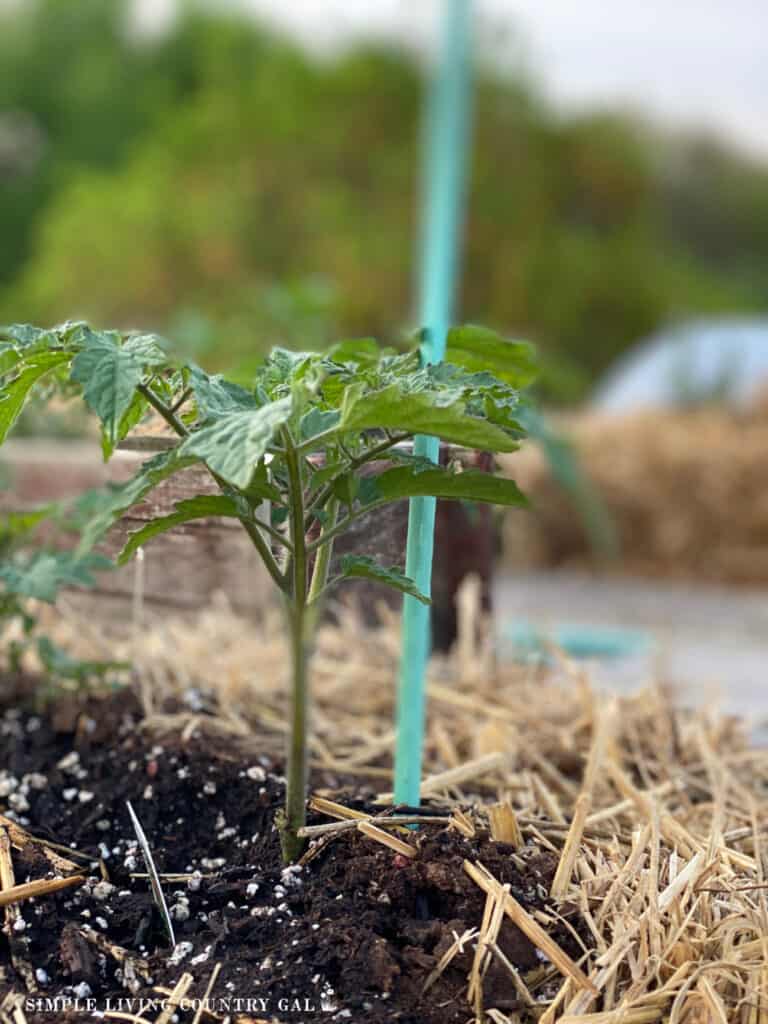
Whenever you think of a garden, tomatoes are usually what you think of first. There are so many varieties, colors, and flavors they are staples to any summer garden. Once planted, tomatoes will do most of the work on their own. You only need to watch for pests and add support to keep the fruit fresh and water consistently.
How much to plant:
This used to be so much easier to answer back when there were fewer varieties to choose from. But with so many different options comes so many different results. That means this number is going to be very broad.
The best way to measure a harvest is in pounds and that is how we are going to approach things here. An average plant can produce anywhere from 10-25 pounds of tomatoes in a growing season. With some varieties giving less and others giving much much more. To find the exact number, you will want to research the specific variety of plant to truly know what you can expect.
A good rule of thumb is to have 1-3 plants per person in your family.
But again this will depend on who is eating them and how much they love them. If you are planning to preserve your tomatoes, then you will want to plant a few more to ensure you have enough to can or freeze.
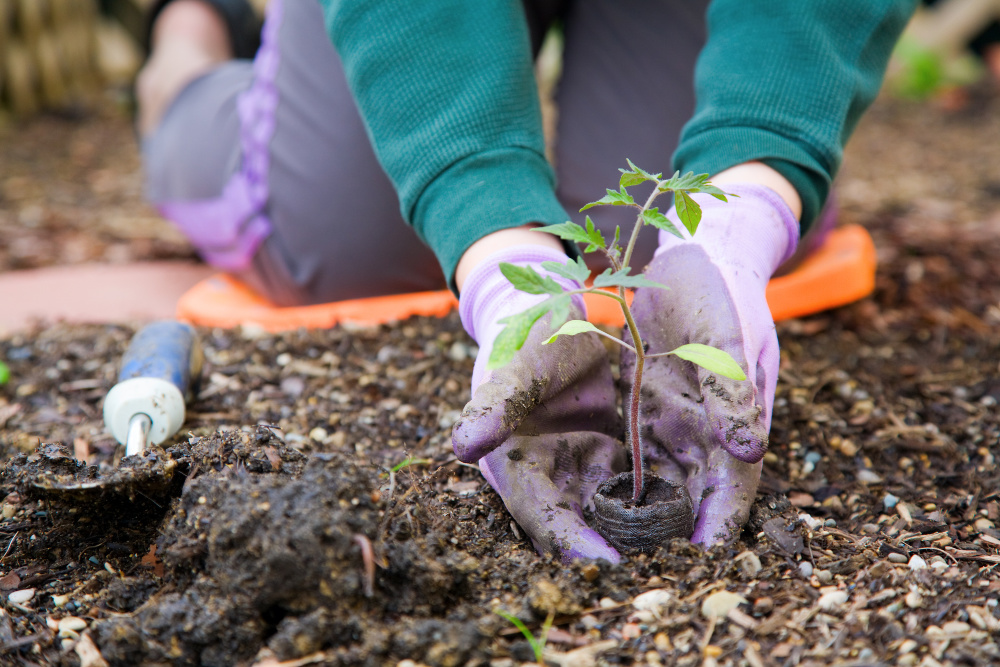
Should you plant seeds or plants?
If you are a brand new gardener, then it is best to purchase plants that are ready to go directly into the ground. When shopping, you are looking for a nice, sturdy stem with lush deep green leaves with or without blossoms. If the plant looks healthy, then it should be perfect for your garden.
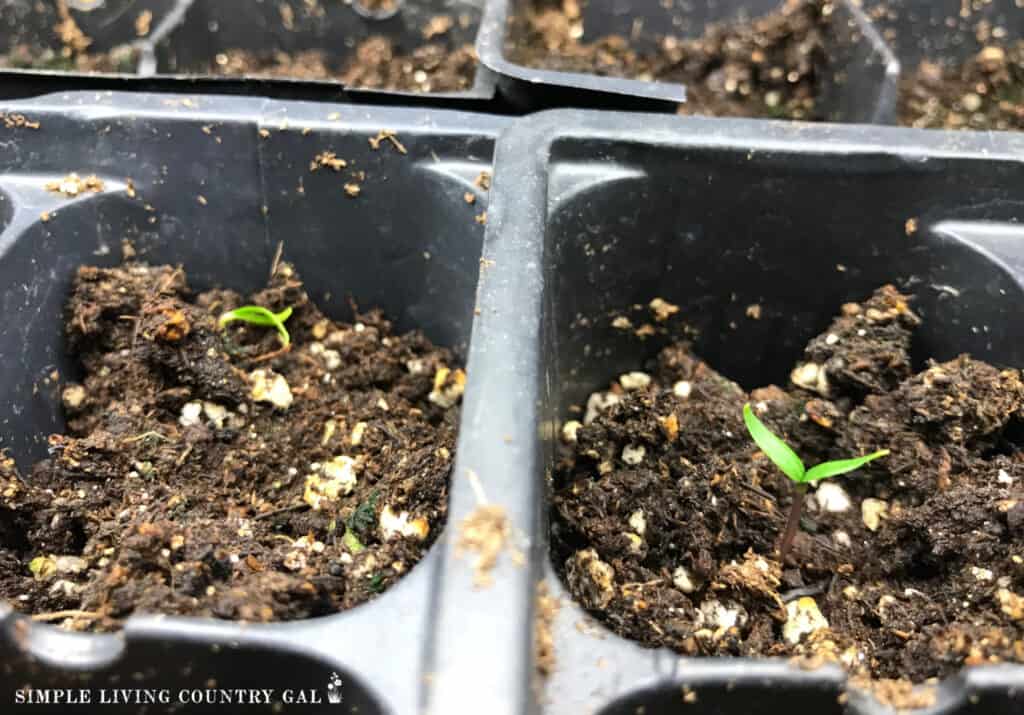
SLCG PRO TIP: You can grow plants for your garden by starting seeds indoors about six weeks prior to planting. Look for the planting date in your area and count back about 8 weeks to give you the seed starting date.
The key is choosing the date so they are the correct size and age when it is time to plant your garden. You can read my step-by-step guide here: HOW TO START TOMATO PLANTS INDOORS
How to plant tomatoes:
Here’s the thing about tomatoes: they hate the cold. Because of this, you will want to be sure to plant long after the threat of frost has passed.
When planting you want to do so deep putting 2/3’s of the plant into the ground. You can “pinch” off any leaves that fall below this measurement. The reason for planting so deeply is tomatoes have the ability to sprout additional roots above the stem. You will want these extra roots to really strengthen up your plant so it can better hold the weight of the tomatoes.
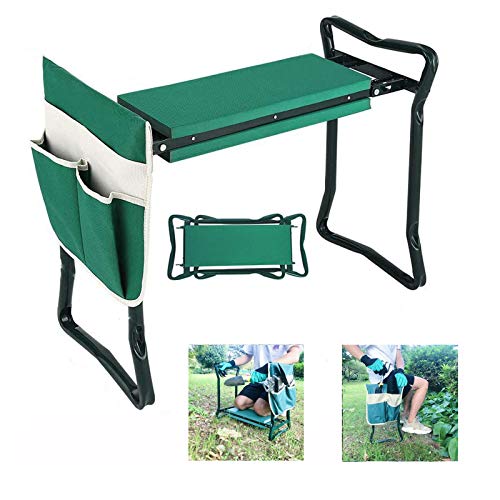
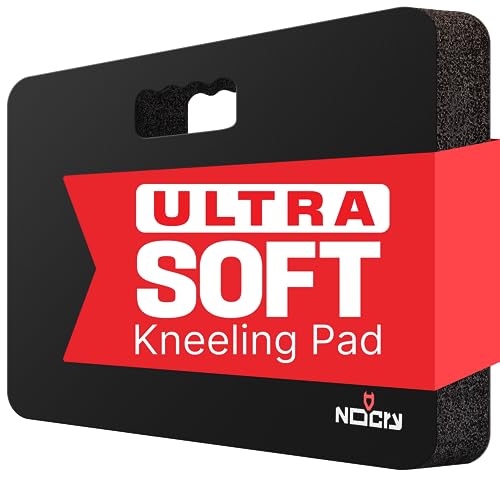
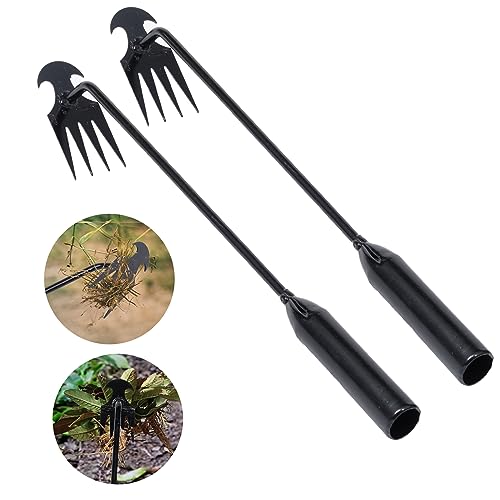
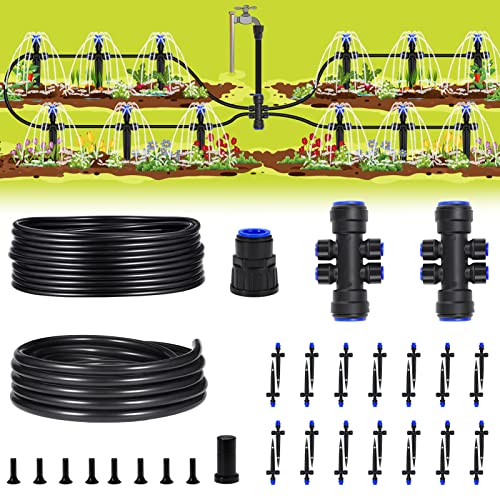
Great Gardening Tools to Have:
Gardening Hand Tool Set 3 Pack – MDSXO Heavy Duty Gardening Kit with Non-Slip Soft Ergonomic Handle, Great Garden Gift for Women Men[Stainless Steel]![Gardening Hand Tool Set 3 Pack - MDSXO Heavy Duty Gardening Kit with Non-Slip Soft Ergonomic Handle, Great Garden Gift for Women Men[Stainless Steel]](https://easyproductdisplays.com/wp-content/uploads/2017/07/buy6.gif) BESTHLS Garden Kneeler and Seat – Heavy Duty Folding Stool for Gardening, Protects Knees and Back, Supports up to 330 lbs – Great Gift for GardenersNoCry Extra Thick Professional Garden Kneeling Pad — Heavy Duty Anti-Slip Coating, Ultra Soft High Density Foam Cushion, Water & Dirt Resistant, Shock Absorbent Garden KneelerWeed Puller Tool Garden Weed Pulling Tool, Portable Garden Weeder Tool Uprooting Weeding Tool, 4 Teeth Manganese Steel Forged Hand Weeder for Vegetable Gardening Backyard Farm Planting & WeedingHIRALIY 118FT Garden Watering System, Drip Irrigation Kits for Plants, New Quick-Connect Fittings, Blank Distribution Tubing, Saving Water Automatic Irrigation Equipment for Patio Lawn
BESTHLS Garden Kneeler and Seat – Heavy Duty Folding Stool for Gardening, Protects Knees and Back, Supports up to 330 lbs – Great Gift for GardenersNoCry Extra Thick Professional Garden Kneeling Pad — Heavy Duty Anti-Slip Coating, Ultra Soft High Density Foam Cushion, Water & Dirt Resistant, Shock Absorbent Garden KneelerWeed Puller Tool Garden Weed Pulling Tool, Portable Garden Weeder Tool Uprooting Weeding Tool, 4 Teeth Manganese Steel Forged Hand Weeder for Vegetable Gardening Backyard Farm Planting & WeedingHIRALIY 118FT Garden Watering System, Drip Irrigation Kits for Plants, New Quick-Connect Fittings, Blank Distribution Tubing, Saving Water Automatic Irrigation Equipment for Patio Lawn
![Gardening Hand Tool Set 3 Pack - MDSXO Heavy Duty Gardening Kit with Non-Slip Soft Ergonomic Handle, Great Garden Gift for Women Men[Stainless Steel]](https://m.media-amazon.com/images/I/41qgPIFVlJL._SL500_.jpg)
Do not be deterred by going so deep for your tomato plants. Large plants will look quite small once planted, which is good. Remember you need the strength below the ground where the roots are, so you can have a healthier plant above the ground.
As the plant grows, you will want to add support to keep things from getting too heavy. Most gardeners use tomato cages, and I find these work very well. You can also use garden stakes if you do not have cages. Whatever support you choose to use, put them in the ground the day you plant your plants. Trying to add support after a plant has started growing will risk breakage to the stems.
How to grow:
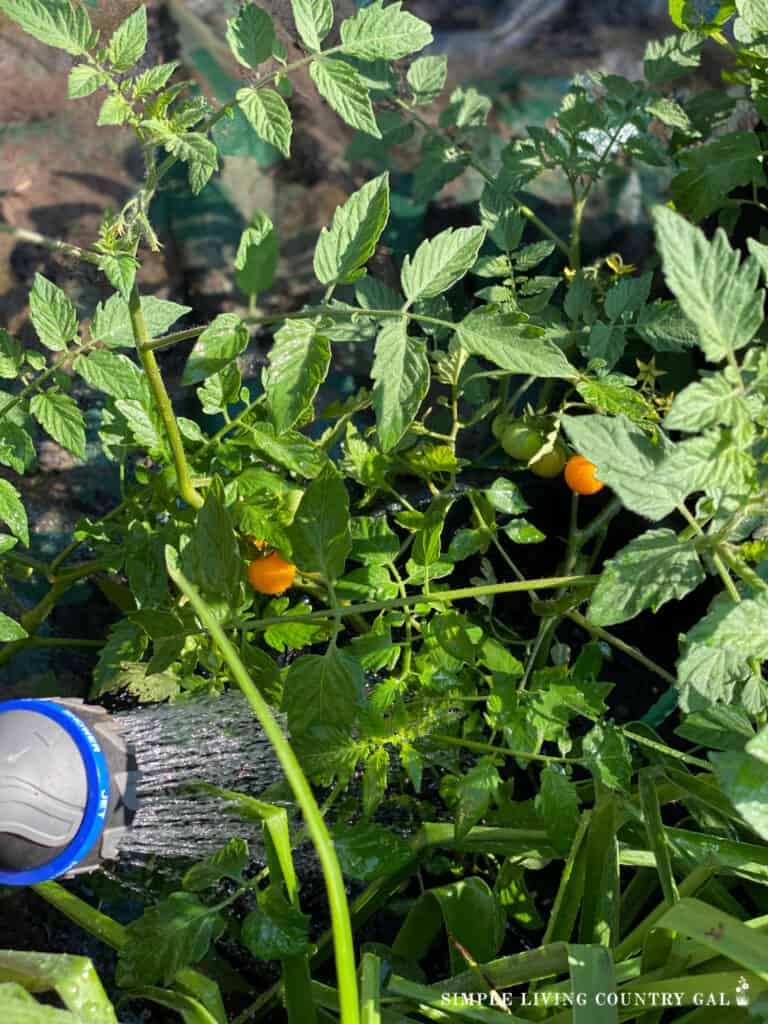
Tomatoes need to be watered regularly and consistently without overwatering. To know if your plant needs to be watered, stick your finger into the soil near the base of the plant. If it feels dry, water; if the soil is wet or damp, don’t. Always water very close to the ground to keep from splashing any soil up onto the leaves. This will help to prevent any soil-born diseases from harming your beautiful plants.
What to watch out for:
If you see the leaves of your tomato plant turning yellow or that the tomatoes themselves are turning yellowish, then there is a good chance that they are lacking Nitrogen. To correct this, you can add fish meal or soybean meal to the soil around the base of the plant.
How to harvest:
Most tomatoes mature around 60-75 days after planting. When your tomatoes are the color and size you are looking for, it’s time to harvest.
To do this, pick off the fruit or twist them to loosen them enough to pick. If they will not release easily, you can use your other hand to support the plant allowing you to pull a bit harder. If you plan to preserve your tomatoes, be sure to do so right away. You want to can the freshest fruit, so always pick the day you plan to can.
Starter Vegetable Gardens, 2nd Edition: 24 No-Fail Plans for Small Organic GardensMini Farming: Self-Sufficiency on 1/4 AcreRaised-Bed Gardening for Beginners: Everything You Need to Know to Start and Sustain a Thriving GardenThe Family Garden Plan: Grow a Year’s Worth of Sustainable and Healthy Food


Vegetable # 2. Snap Beans
Beans are one of those fun plants to grow. They require little work because they pretty much grow themselves. Also, a single plant can yield a large amount of beans for your family.
How much to plant:
One bean plant can produce up to 120 beans. This will vary a bit depending on the variety you plant and the conditions in which you are growing your beans.
Should you Plant Seeds or Plants:
Beans are planted by seed and can be purchased at any store that sells garden supplies. Be sure to read the back label so you are buying a variety your family will enjoy.
How to plant:
To plant beans, make a trench in your garden using a garden hoe. Plant the seeds 1-2″ deep and space 4-6″ apart. Cover lightly with soil and water. Beans can get top-heavy fast, and they do love to grow. You will want to have a support system like a trellis in place to help the plant from getting top-heavy.

How to grow:
Water regularly and remove any weeds as you see them. You can use mulch, such as cut grass, to help keep any weeds to a minimum.
What to watch out for:
If your plants are top-heavy, you will want to adjust your support as needed. If you see your plants starting to shrivel up, that is a sign that you are under-watering. Always test the soil with your finger before watering so you know how much to add.
How to harvest: Pick when ready and eat as you go or save for later. Beans also great fopr canning and do very well in mason jars – another great way to fill that pantry for the winter season.
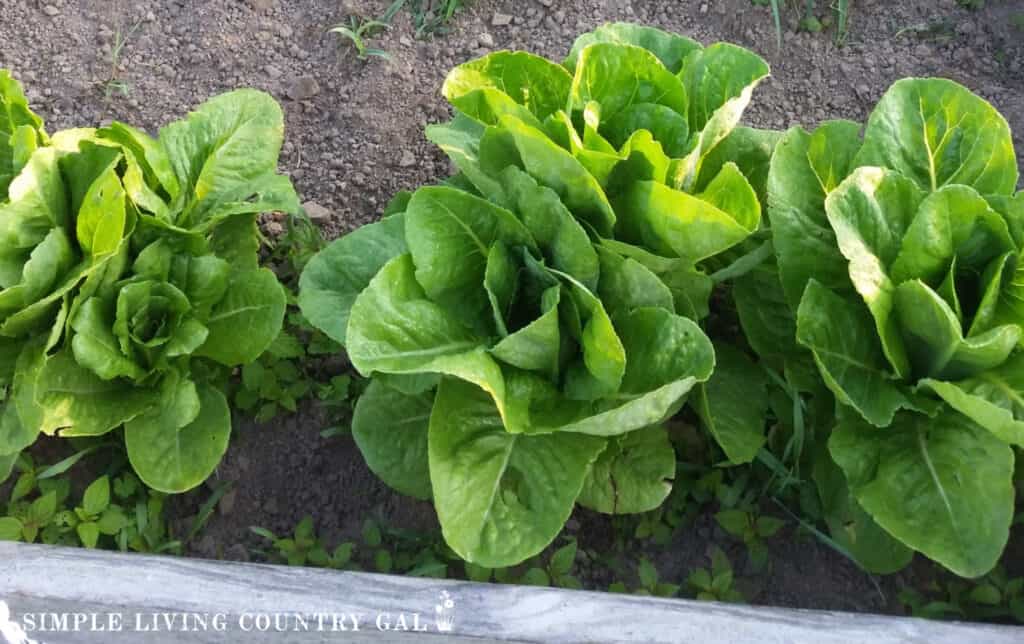
Vegetable # 3. Leaf Lettuce
I think lettuce is one of the easiest things to grow even if you do not have a full garden, making it a perfect addition to our first-time gardener vegetables list. Lettuce does not require a lot of room; all you need is a small planter on your back porch and you can grow enough lettuce to last all summer long.
How much to plant:
Lettuce is a plant that continues to grow. Just a few plants should be plenty for your family. As you pick the lettuce, it will continue to grow for as long as the weather cooperates.
Should you Plant Seeds or Plants:
Seeds are your best option here, and again, you will find many different varieties. Choose the type you and your family will like, or plant a mixture to try different varieties and try them out.
How to plant:
Lettuce doesn’t mind the cooler weather so you can begin planting when your soil is able to be worked. Lettuce does well in full sun unless you live in a very hot climate. If you do then you will want to choose a location that has a bit of shade as well.
Plant your seeds shallow, 1/4-1/2 inches deep. Water lightly so you do not risk washing the seeds away. These seeds are very small, so you might want a seed dispenser to make planting a bit easier.
How to grow:
As your lettuce grows, you will want to thin your small seedlings to prevent overcrowding. This will depend on the variety you are planting. Please take a look at the seed envelope for advice in this area.
Watering lettuce is a bit different than other plants. since you want more leaves than roots you will want to keep your watering light and frequent.
What to watch out for:
If you see your leaves are wilting, then you may need to water more frequently. If the plant’s soil feels moist, then you might need to watch the sun. If your lettuce is in a very hot area, you will need to water it consistently to prevent it from bolting.
What is bolt in lettuce?
Bolt is when the plant goes to seed casing, and the lettuce leaves turn bitter. To prevent this, watch your plants closely water often, and give them shade if possible.
How to harvest:
Lettuce matures around 21-70 days after planting. Just take a pair of scissors and cut off what you need when you need it. Use immediately to get the very best flavor.
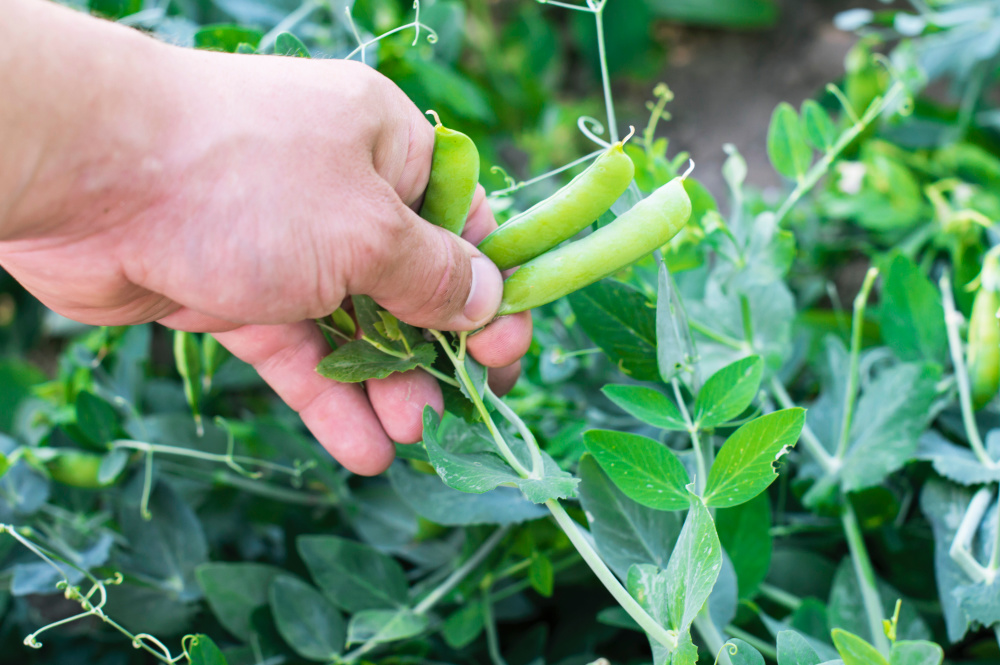
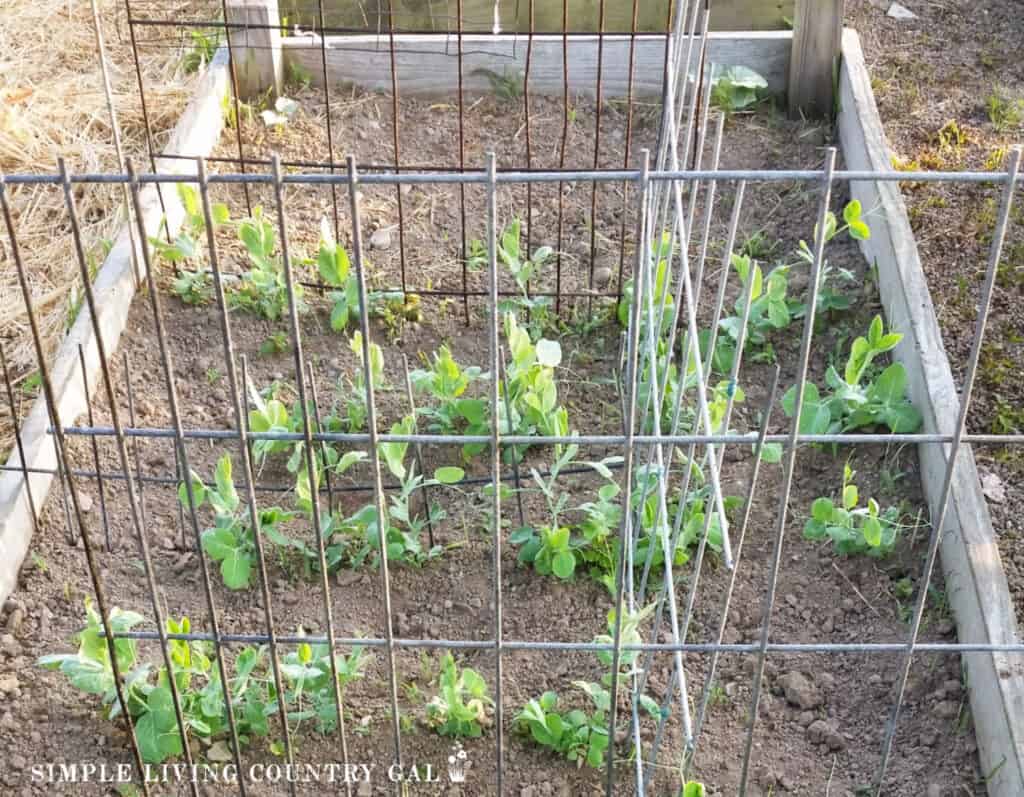
Vegetable # 4. Sugar Snap Peas
This is by far one of my very favorite plants to grow. There is nothing I love more than walking my gardening while snacking on snap peas. A wonderful treat that is easy to grow and even more fun to eat!
How much to plant:
If you and your family love peas I would go all out and plant 10-15 plants per person. That will give you quite a bit of peas so be sure you love them before you go crazy.
Should you Plant Seeds or Plants:
You will want to purchase seeds choosing a variety that your family will enjoy. Snap peas are one of those plants that taste good in just about every variety. Read the label so you know the look of the pea and how sweet it will be.
How to plant:
Plant 2-4 inches apart and 1 inch deep in rows that are 8 inches apart.
Just like with your beans, sugar snap peas can get very fruit heavy. This means you will need some kind of support in place before this happens. Trellises work perfectly here and you can either purchase them or make them yourself. If you choose to make your own trellises make sure they are able to withstand the weight of hundreds of peas.
How to grow:
Peas prefer cooler temps so you will want to mulch the ground to stretch out the growing season as long as possible. Once the temperatures hit 80 or more you are nearing the end of the growing season.
What to watch out for:
If you think you love peas, then you can be sure nature’s animals will, too. Dear, rabbits and other visitors will enjoy munching on your sweet peas so protecting them is important. If you can, have a small fence or other barriers in place. I like to hang a few tin pie plates in a small bunch to make a banging noise. Hang these high and low to scare off deer and rabbits. This doesn’t always work, but it does just enough to keep them away.
If you see leaves turning yellow or wilting you may have a disease. To prevent this, water early in the morning so leaves are dry at dusk.
How to harvest:
The only way to know for sure that your peas are ready to pick is to try one. If it is not too firm and has the right amount of sweetness, then you are good to go.
The magic of peas is that the more you pick, the more peas you will have. Also, try to harvest your peas before they get too fat. Overly plump peas tend to be chewy or even tough. A sure sign you waited too long to harvest5. Eat peas right away or can them to enjoy later.
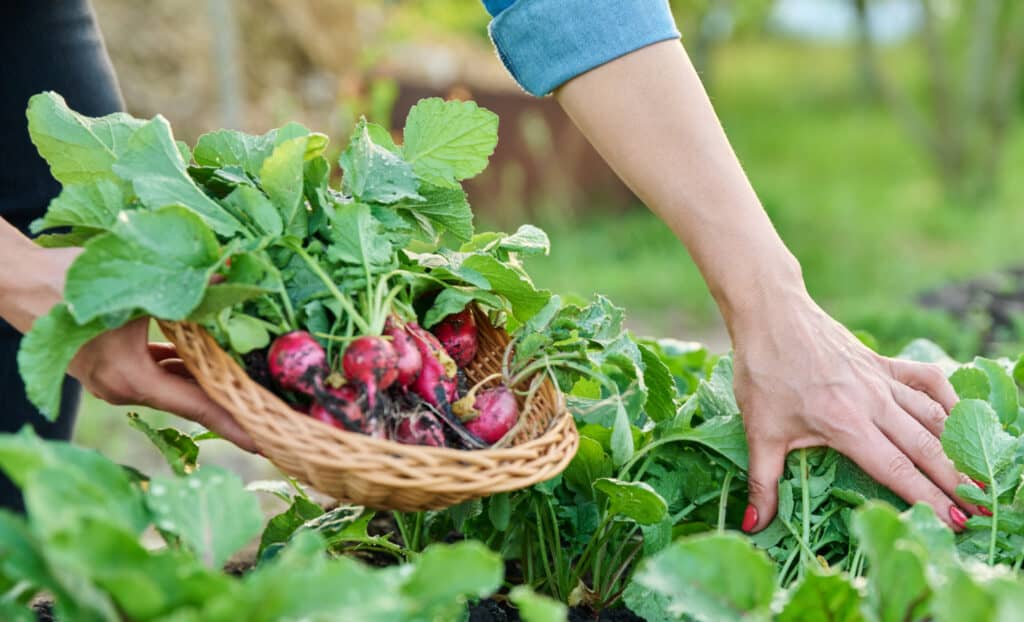
Vegetable # 5. Radishes
Besides the fact that radishes are hardy and super easy to grow, you can plant these a few times over the spring and early summer to keep your harvest going strong. Radishes also do well with other plants, so you can tuck them in other areas throughout your growing area.
How much to plant:
You can expect to get one radish per plant, so you will want to plant double the seeds for as many radishes as you want to end up with. The reason for the heavy planting is you will need to thin as your plants grow. I like to have a dozen planted each week until I have a full crop planted of about 40+ plants in my growing area.
Should you Plant Seeds or Plants:
Purchase radishes as seeds, choosing a variety that your family will enjoy. To pick the best variety, read the description of the flavor and size to determine which seeds will work best.
How to plant:
Radishes are root plants and require a healthy loose soil to grow in. Plant seeds directly into the ground at 1/2-1 inch deep and 1 inch apart. Plant more seeds weekly for as long as the ground remains cool. This will ensure you have a nice supply of radishes without getting overrun.
How to grow:
Try to keep your radishes in full sun and away from larger plants that can easily shade them. Radishes grow better in the sun rather than in the shade. When your plants are about a week old, thin them out to prevent overcrowding. Be sure to water slowly and steadily without overwatering.
What to watch for:
Radishes do not do well in extreme heat and will bolt quickly when the temperatures rise. For this reason, try to keep planting to the cooler months of spring and fall.
Weeds are another thing to watch for and, if not kept under control, can quickly overtake a radish crop. Get into the habit of a bit of light daily weeding as you water to keep things cleaned out.
How to harvest:
Full maturity is approximately 3 weeks after planting. To know just when to pick your radishes, watch the base of the plant looking for around 1 inch in size. Test pick a plant or two to confirm that your radishes are the right size.
Once picked wash and remove the green part of the plant and any roots. Store in a bag in your refrigerator. Radishes do not last long, just 3 days in the refrigerator, so I suggest picking only as you need them.
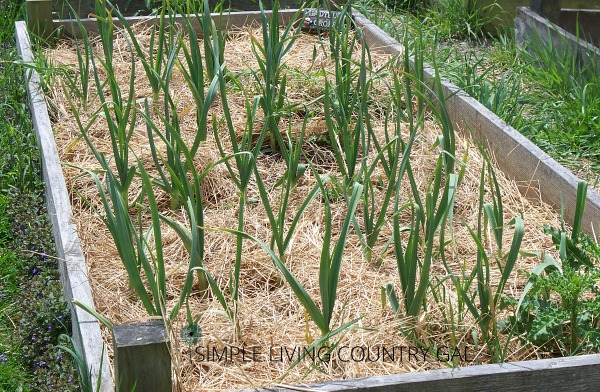
Vegetable # 6. Garlic
I love to grow garlic. The ease of care and hardiness of the plant is great way to branch out with your own garden. For us, we usually plant double what we can expect to use. This will give us enough seed garlic to plant for the following year and allow us to have enough to share with our family and friends.
Garlic is planted in the fall and harvested in mid-summer. You can do a spring planting but for our area, we find that fall planting works the best.
How much to plant:
One head of garlic will give you about a dozen or so cloves. So if you use garlic often you may want to have a dozen or so plants. If less frequently then just a few may be enough for your family.
Should you Plant Seeds or Plants:
Seed garlic is purchased as a head or as individual cloves. You can save a few heads from your current harvest to plant in the fall or purchase a fresh set of cloves from a seed supply store.
How to plant:
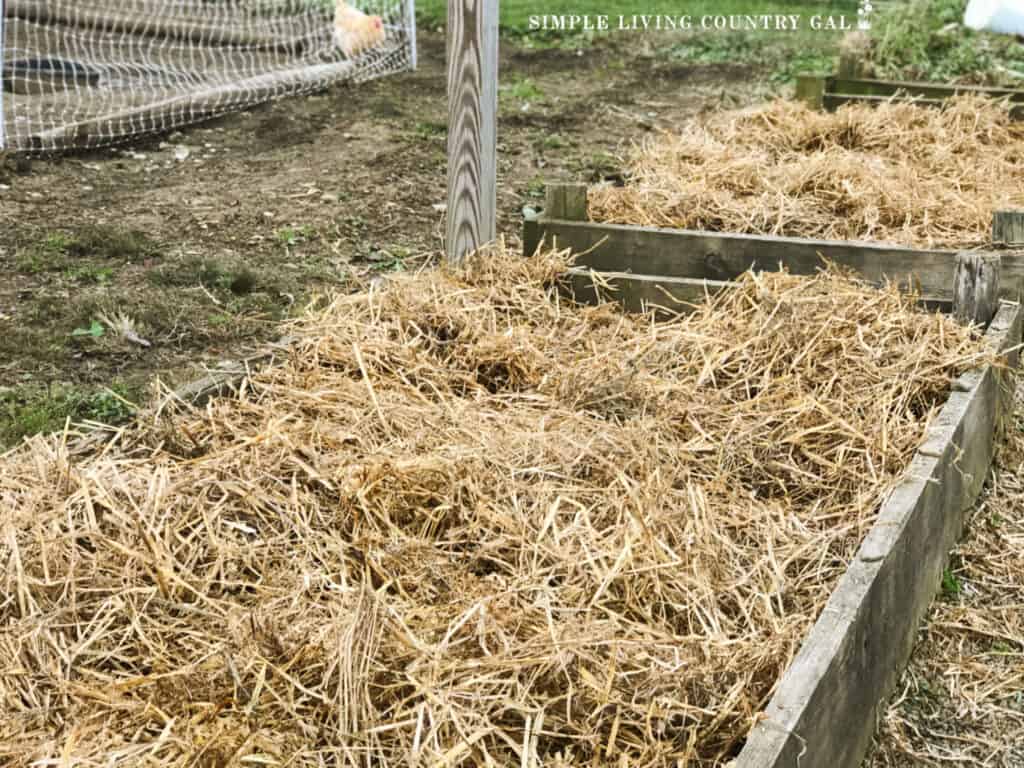
Plant cloves in the fall with the base of the clove placed into the soil vertically. Plant about 1-2 inches deep and 4-5 inches apart. Cover with soil and a layer of mulch such as straw, wood shavings, or dried leaves. This will protect the plants from the cold winter weather and snow.
How to grow:
Garlic is normally planted in the fall before the first frost hits. Once planted, cover with a thick layer of protective mulch and leave alone all winter long. There is no need to water until spring comes.
What to watch for:
Come spring, you will want to weed to help protect your plants and encourage growth. With such a long dormant time, weeds can take hold fast; a good spring wedding will help your garlic to flourish.
How to harvest:
Harvest your garlic when the green stalks begin to turn brown. To dig up your garlic you will need a full shovel and a strong back. Since the garlic has been in place all winter long, the ground it is planted in will most likely be compacted tight. This is why a shovel is your best bet when harvesting.
Place the tip of your shovel about 5+ inches out from the base of the plant. Dig down about 8-10 inches deep and angle the shovel up, bringing the garlic head with it. If you dig too close you run the risk of “cutting” the garlic, so always go out further than you think you need to go.
Shake off the excess soil and allow it to dry. This will make removing the rest of the soil easier to do. Braid them together and hang them to finish the curing. Once cured, you can cut the tops and the roots and store them inside a mesh bag. READ: HOW TO GROW GARLIC IN 10 EASY STEPS for helpful tips.
Vegetable # 7. Onions
Another one of my favorite first time gardener vegetables and a simple addition to a first-time garden is the onion. This versatile veggie is a great item to have in a pantry and can be stored for a long period of time or chopped and frozen for longer storage options.
How much to plant:
One plant will yield you one onion that can vary in size depending on the variety you plant.
Should you Plant Seeds or Plants:
You buy onions in sets that resemble small little onions.
How to plant:
Plant each onion in a row about 1/2-1 inch deep and 4 inches apart. Cover with soil and water well. If you live in a wet area, you can plant your onions in a mounded row to keep them from getting too wet, risking moldy onions. READ: HOW TO GROW HUGE ONIONS IN A WET AREA
How to grow:
Onions require quite a bit of water so you will want to compensate with extra watering if you live in a dry location.
What to watch for:
Weeds can quickly overtake onions especially when they are first growing. Weed frequently and use a mulch to help give your onions a weed-free location to grow.
If the weather is very hot, onions may bolt. Bolt is when a flower is formed at the top of the plant and, if left too long, can cause your onions to become bitter. If this happens, quickly cut off the flowering plant and pick the onion to use right away. Once the bolt occurs, it is done growing, but it is still good to use and will taste just fine.
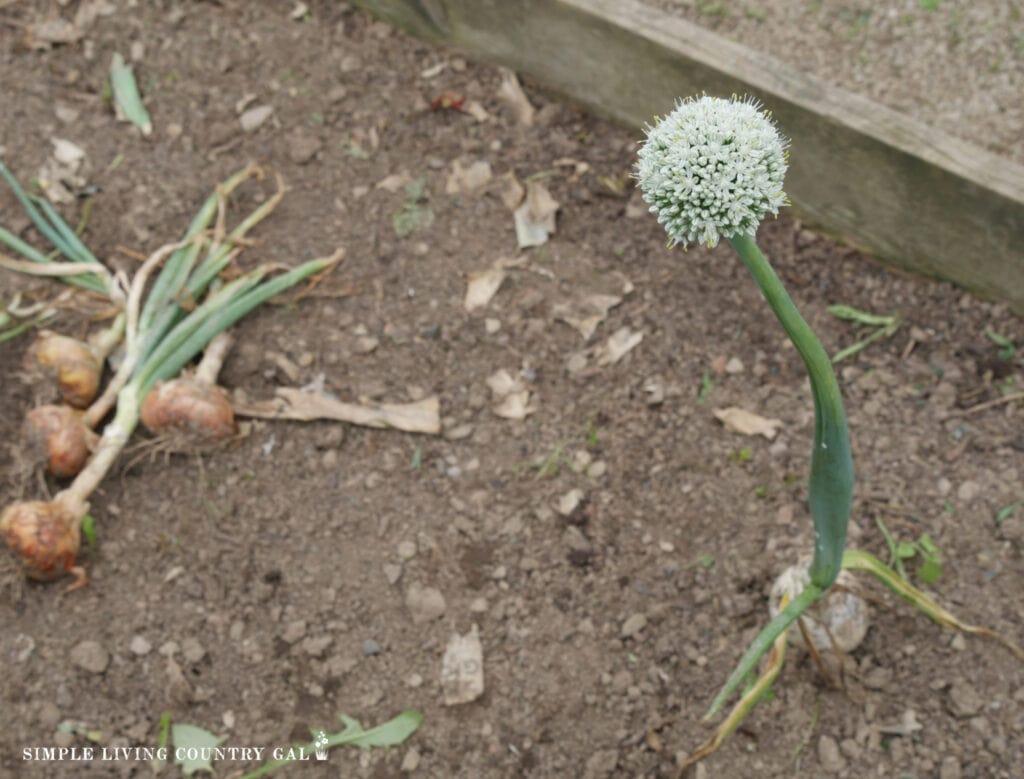
How to harvest:
When the green part of the plant begins to turn brown, that is your cue to harvest. Dig your plants up with a hand shovel, or gently pull them from the ground. Allow freshly picked onions to lay in the sun to dry, making the soil on them easier to remove. After they are completely dried, you can remove the excess soil, trim the green of the plant to the base of the onion, and trim off any roots.
You will want to give a bit more drying out time to any onions that still seem overly wet. Once your onions are completely dry, you ca. store them in a mesh bag or chop an freeze.
If you are brand new to gardening, this list will give you all you need to get growing this season. Each year add a few more plants so you can find just what you and your family love the most.
Always keep track of what you plant, how you planted it, where you planted it, and how it did. These records are crucial to a successful garden year after year and a step I encourage you not to skip over. And, of course, keep this first time gardener vegetables list close by too!
More How to Grow Guides
- How to Grow Celery for Beginners
- How to Grow Bell Peppers for Beginners
- How to Grow Pumpkins for Beginners
