Simple DIY Kitchen Herb Garden
If you have longed for fresh food even while the snow is falling outside, this article will give you a taste of that. How to DIY kitchen herb garden using items you may already have for a fresh taste of garden goodness any time of the year.
This a great way to use up some of the items on your container gardening supply list to grow all the herbs you love.

Gardening 101 tips that will help you grow the food you love year round.
For the longest time, I wanted to grow herbs in my kitchen. I longed to have a variety of plants sitting on my kitchen counter that would be ready to use whenever I needed them. I had visions of cute little planters in my window filling the room with amazing smells. I tried just about everything I could think of, but the plants either got bumped and knocked over or I completely forgot to water them.
For some unknown reason, I can grow just about anything outside…but inside? That is a completely different story.

In my kitchen, I have this lovely huge window right over my sink and for the longest time all that sat in it was a vase of fake flowers.
Not the best way to use the space I have.
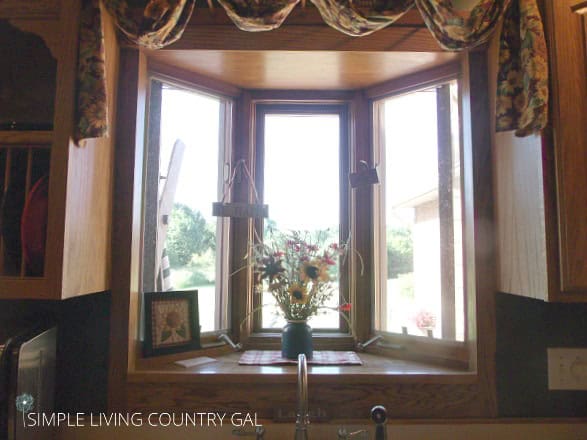
After several attempts to grow herbs, I eventually found a setup that I was able to keep up with. A solution that I have been using for many years.
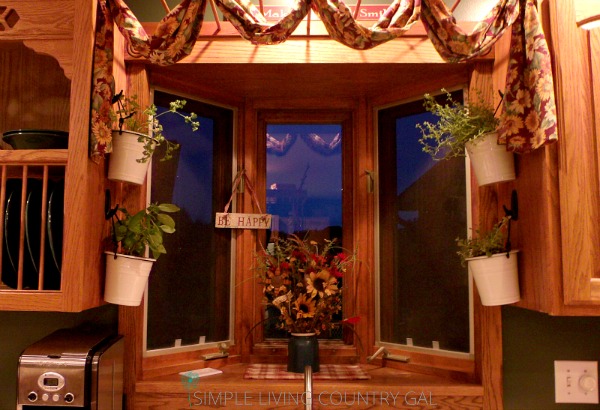
Now my window is lined with plants and they are growing so well with the sunshine that streams in. And the best part is, they are not at risk of getting knocked over.
READ: HOW TO GROW HERBS IN POTS
DIY Kitchen Herb Garden
This DIY is for a hanging herb garden, but if you prefer to keep your planters on the counter or window sill most of the steps will still help you to give them a good start to grow.
To setup a hanging garden, there are a few supplies you will want to have on hand, but before you head off to the store take a look around your home and see if you can find the items on the list. As homesteaders, we are always looking for ways to reuse and repurpose and this project is a great way to do just that.
Supply list:
- small buckets with handles or rings.
- leather string or rope
- Command removable hooks
- soil for in your pots
- herbs of your choice
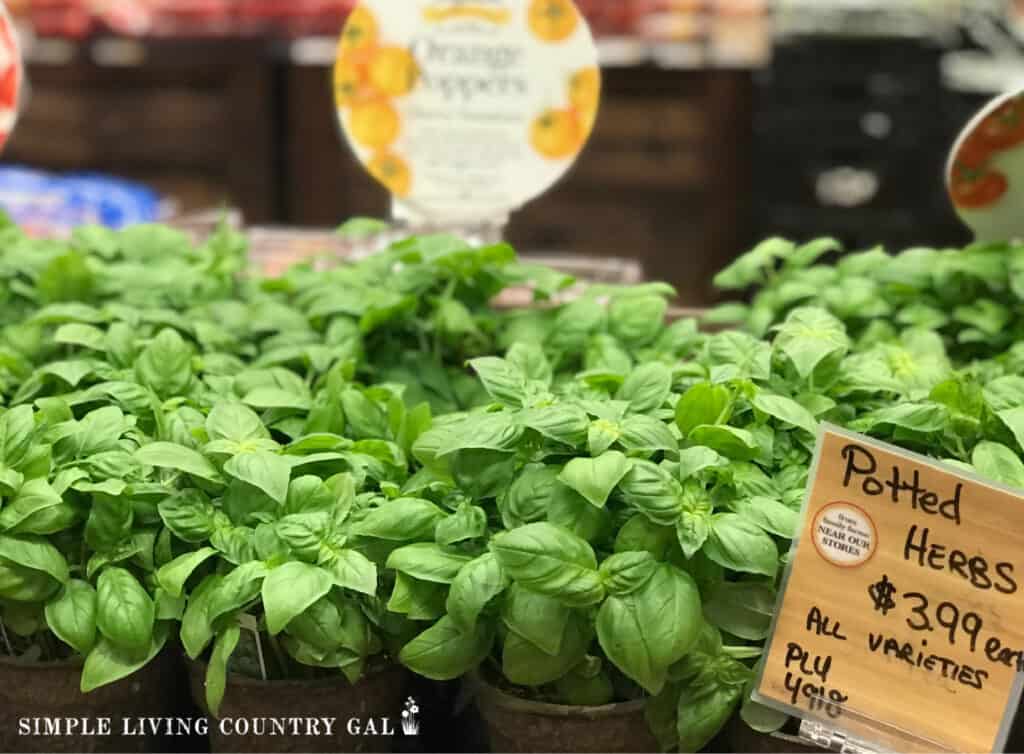
You can start with seeds or you can purchase plants. If it is in the winter then a great place to find herb plants is at the grocery store right in the produce section.
Step #1 Find a nice sunny spot.
You will want to make sure your plants will get enough sun throughout the majority of the day so you do not have to move them. You will also want to choose a warm area as your plants will not do well where it is drafty.
This is when a little research goes a long way. Take a look at the windows in your home and see if you have any that meet the criteria for a vibrant indoor garden. You can set an alarm on your phone so that it goes off every few hours and take a look at each window to see how much sun is shining in.
Whichever area gives you the most sun and warmth is your new herb garden location.
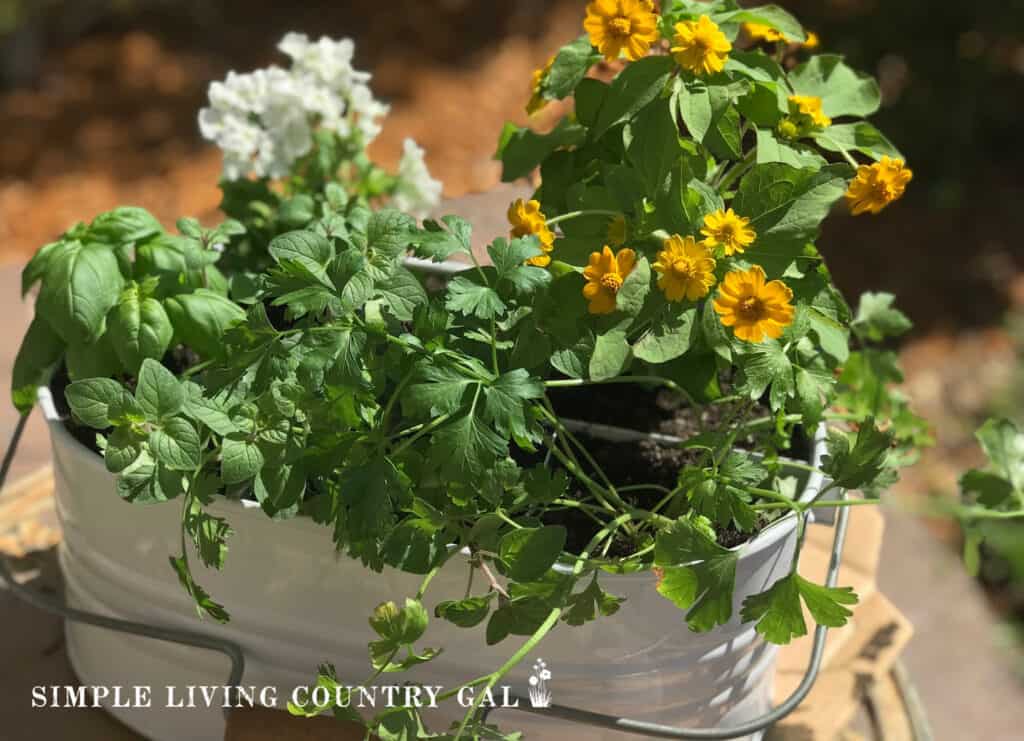
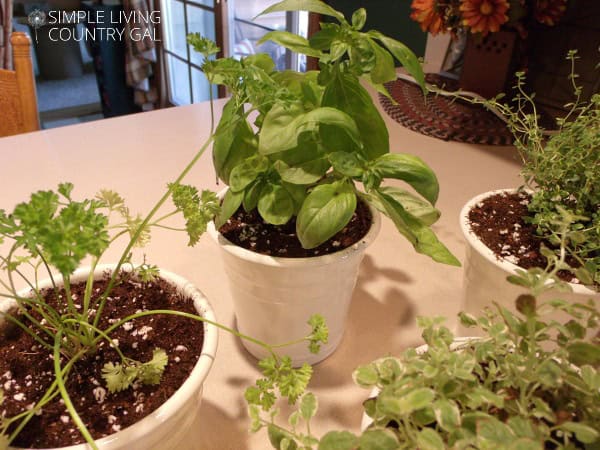
Step #2 Plant your herbs in your pots.
I like to put a few small rocks in the bottom before planting to help give just a little drainage. Roots that sit in water can rot and that will hinder the growth of your plants.
You will also want to be sure your pot is big enough to hold your plant.
What size pot is good to grow herbs in?
When growing herbs indoors it is best to use pots that are 4″ or larger. If you are growing herbs in containers outdoors, then 6″ or larger is a better size. By selecting containers that are the right size you will ensure your plants grow healthy without overcrowding their roots.
Once you have found the containers you plan to use, give them a washing to remove any dirt of dust. Just a mixture of gentle dish soap and water is all you need to clean things up.
Now, you are ready to plant.
• Put in a bit of potting soil, then loosen up the root base gently with your fingers.
• Put the plant in the soil adding more fresh soil around all sides.
• Using your hands, gently press the soil down adding more if you need to.
• Gently water each plant allowing the soil to absorb the water before adding more.
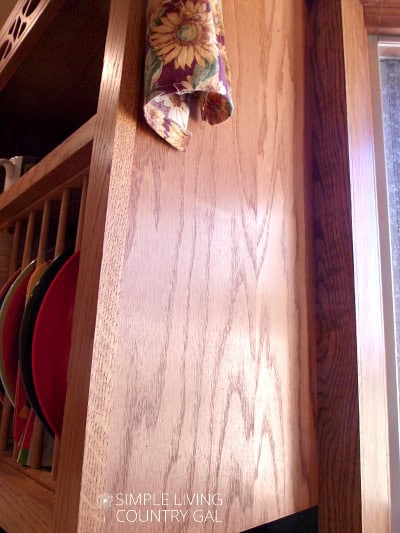
Step #3 Clean the area well.
I like to keep things super simple and that means I am going to be using Command Hooks. These are one of my favorite tools for most of my DIY projects because they work so well.
Before you can use an adhesive hook you will need to remove any dirt or grime to ensure it sticks well.
Wash down the wall or cabinet with soapy water and rinse. Next, using rubbing alcohol wipe the area again to make sure there was no residue left over that would keep the adhesive from sticking.
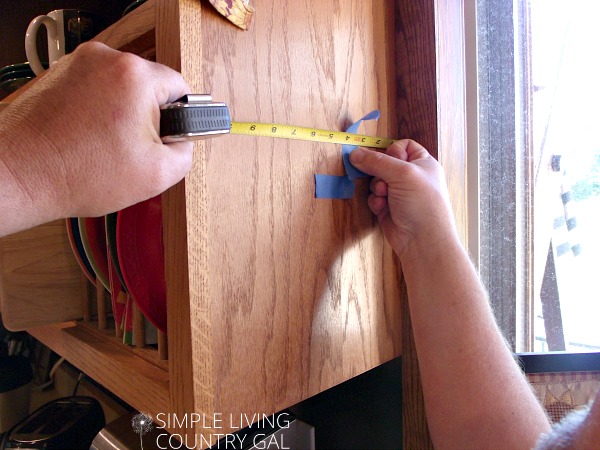
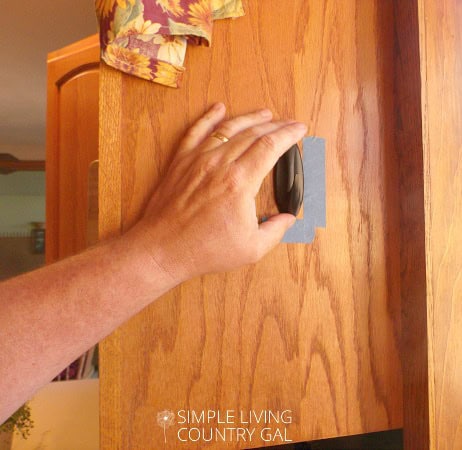
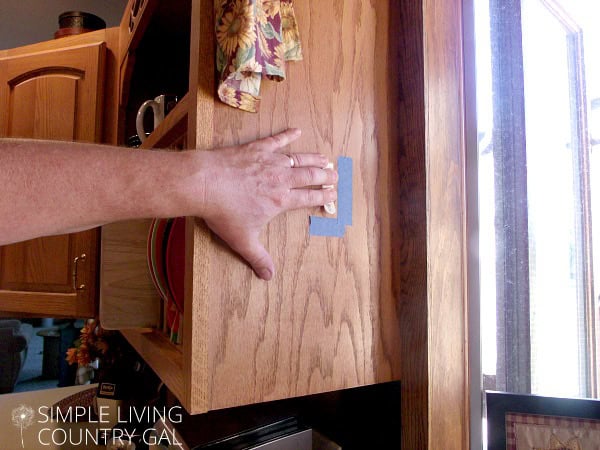
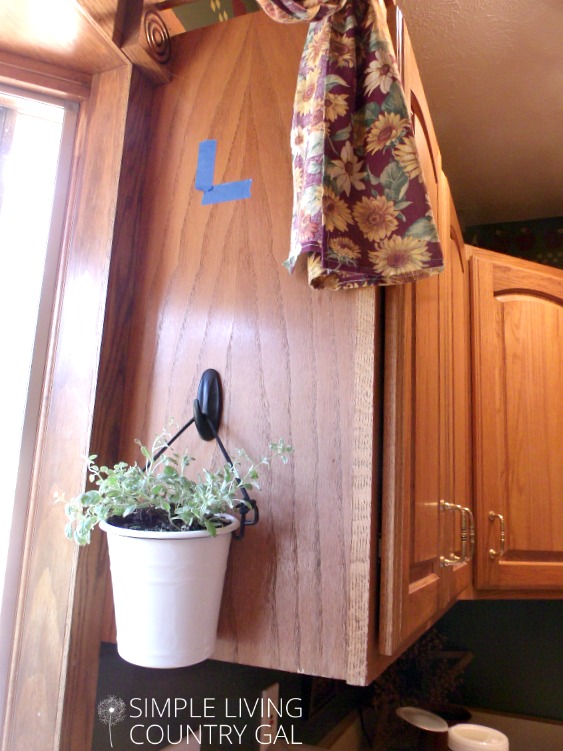
Step #4 Measure the area for your herb plants.
We hung our pots on the sides of our cabinets so finding the right spot was important to keep things looking even from all viewpoints.
The easiest way to do this is to hold up the lowest pot to get a good height, then mark that point with painter’s tape.
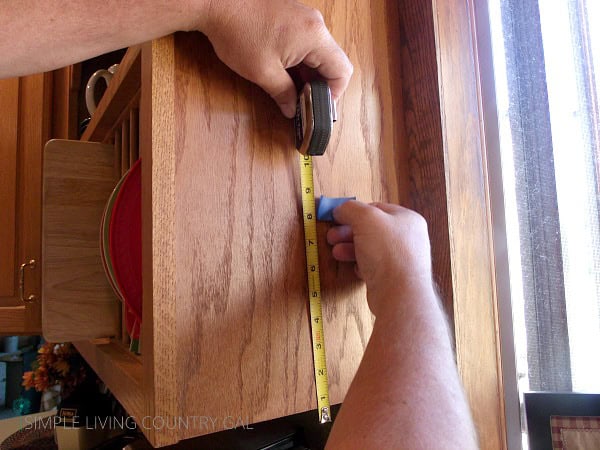
Next, you will want to mark the depth so it sits square in the area yet still gets access to the sunshine through the window.
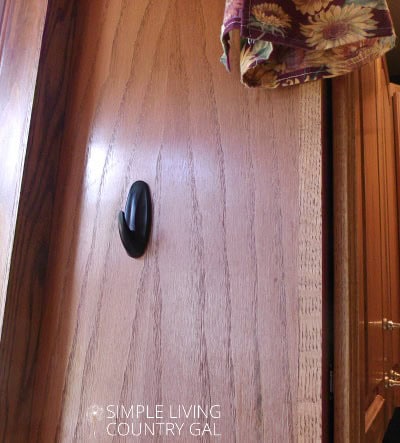
Step #5 Attach the hooks.
As I mentioned earlier I really love adhesive hooks. They are easy to use and eliminate the need for power tools to create a permanent setup. Using hooks also means you can remove them when you are done without damage. I used the medium size. They work perfectly holding up the herb pots that can get a bit heavy when watered.
How to use Command Hooks:
1. Remove the plastic hook from the bag.
2. Attach the adhesive strip to the back of the hook, being sure you are putting the correct side on.
3. Press it down for a few seconds.
4. Remove the protective layer exposing the adhesive.
5. Attach it to the area marked with the painter’s tape.
6. Hold the hook in place for 10+ seconds to ensure it has adhered.
7. Then remove the plastic hook (by sliding it up) leaving the base still on the cabinet.
8. Hold the base down for an additional 30 seconds moving your fingers to ensure even stickage. (hmmm, is that a word?)
9. Repeat the steps for the remaining hooks.
Step #6 Let sit for 1 hour.
This step is important, so don’t skip it. It is important to let the adhesive sit to get a good cure, so the hooks and plants stay in place.
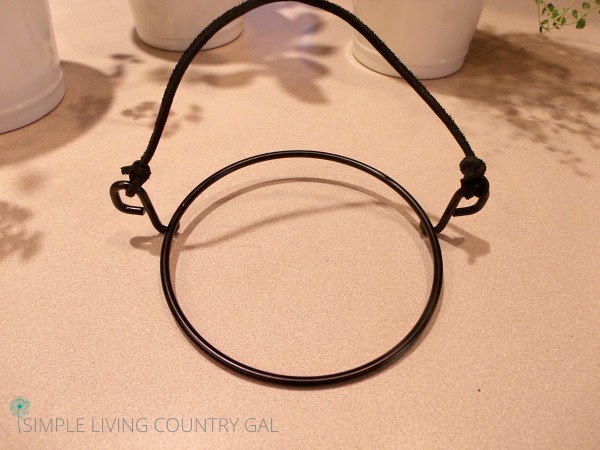
Step #7 Make your hangers.
While you are waiting you can make your hanger for your first pot if you are going to be using them. If you are using buckets you can just use the handle to hang up each pot.

We used black leather that matched the ring handle. We tried several different knots before choosing this one.
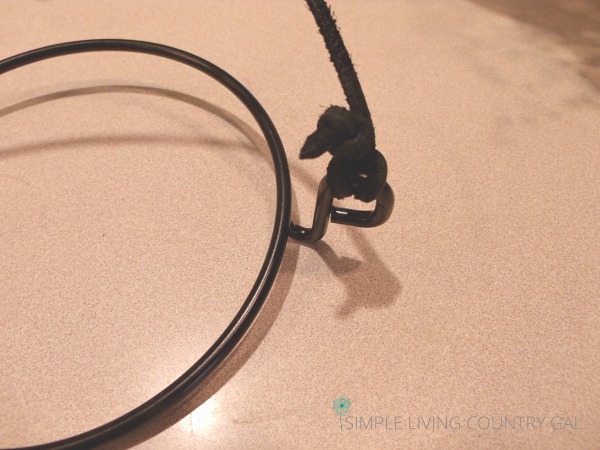
It’s a slip knot on the side showing and a double knot on the side closest to the window.
Since I really liked the look of the slip knot that is what we chose to have facing out. Continue to tie all of your leather straps for each hanger.
Step #8 Once dry, reattach the command hook.
After one hour you can reattach the hook to the base. At this point, it should be very sturdy and ready to handle the weight of your planter.
We were quite surprised at how well these hooks worked. This hanging garden has been in place for years and the hooks have never needed to be replaced.
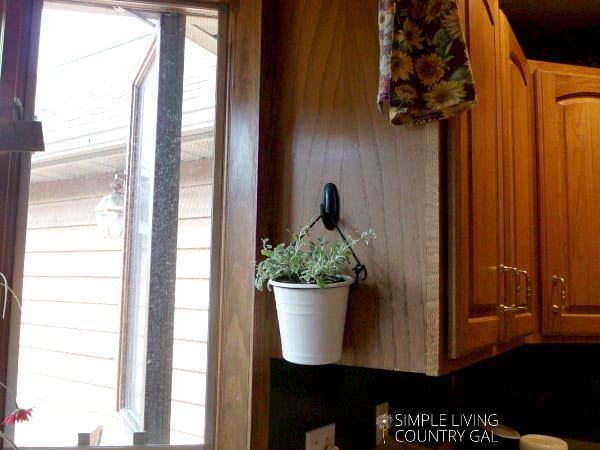
Step #9 Hang your herb pots.
Hang a pot onto the hook and give it a few seconds before moving on. Just to be sure that hook isn’t going to loosen up and fall. The best part of this setup is you can take the planters down to trim or doctor if and when you need to.
Step #10 Move on to the next herb pot and repeat.
Now that you have your first pot up, you can figure out the spacing for the rest. Remember to use the same amount of leather for each pot to ensure they all hang even.
This was probably the most tedious part. We had to tie and re-tie a few knots to get the right length.
Follow the same steps for each hook and bucket until your entire herb garden is completed.

Sit back and enjoy your DIY kitchen herb garden. 🙂
All in all this entire project cost just under $35 dollars and took a morning to complete. And the best part is this is one of those projects that will continue to give you amazing fresh herbs all year long. Herbs you can use to add extra flavor to just about any meal.
Try this herb leaf stripper to make cooking with herbs much easier.
I can’t say enough how much I love my simple DIY kitchen herb garden.
Last night for dinner, I made pasta with roasted veggies and I was able to cut a few leaves of basil for my sauce. I feel like such a grown-up cook now, Giada has nothing on me!
Well, except maybe she is young and simply gorgeous.
This DIY kitchen herb garden is not only easy to do but very inexpensive as well. Oh, and the smells! Nothing smells more wonderful than fresh basil and thyme. 🙂
Love this! I might attempt this diy myself! Great idea. Thx!
Hi, Kari!
Glad you liked it, it was so easy to do and cheap! I adore cheap!!
Tracy Lynn